Blueberry Forest
Back to Trine 4
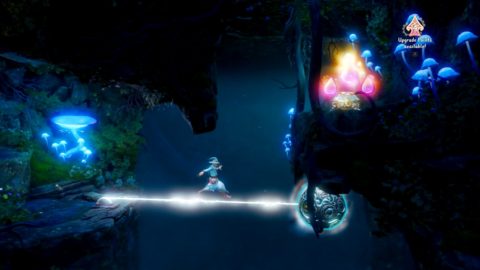
Head to the right and bridge up to the ring so you can grab the Orbs. Continue to the right to the waterfall and pull out the ledge to reveal an Orb. Box up to the ledge so you can jump up.
To the right use a box to push down the platform and then place the box on top of it to hold it in place. Blink over to it and the up to the Letter.
Drop down and go through the gate to the right for another battle with Shadow creatures. This battle is tougher than most. You may need to freeze a few creatures to give Pontius a chance to kill them. Once they’ve been defeated continue to the right.
Use Zoya’s new firm rope to lift up the ledge so you can jump up to the platform above. Lift up the log as well so you can dash underneath and pick up the three Orbs.
Use the firm rope to lift up the ring and bridge across, then stomp on the stone so you can get through.
Pull the thorn from the bear’s claw and head to the right for a battle with more Shadow creatures.
Dash across to the right and lift up the log with spikes underneath and attach it to the ring. Jump down and lift up the next ledge. Attach it to a ring and then bridge up to the next ring for a few Orbs.
Head to the right and lift up the next log using Zoya’s firm rope again and then jump on top of it so you can shoot the jars hanging on the branch. Drop down into the water and swim under the ledge to the left for a secret cave with a few Orbs.
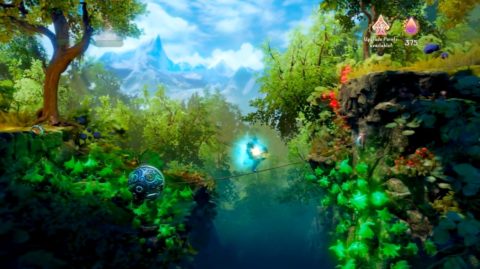
Swim back to the right and use a plank and boxes to make a rope bridge to the top. Continue to the right and attach a steel ball to the ring. Then attach it to the ring on the ledge so you can use it to jump across the gap.
Stomp on the log in the ground just to the right of the next leave and drop down into a secret cave.
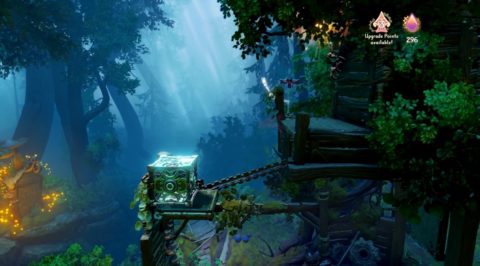
Create a steel ball and attach a firm rope to it. Have Amadeus stretch it across to under the other ledge so it forms a bridge. Walk across for Orbs and a chest with Amadeus’ Teddy Bear.
Climb back out of the cave and use a box or plank attached to a firm rope to lift up the log. Grab the red key and use it to open the door to the right.
Outside lift up the trapdoor on the side of the cliff with a box and Jars should fall out. Continue to the right for another battle with Shadow creatures.
Stomp on the wheel to make it spin around and then jump across to the right.
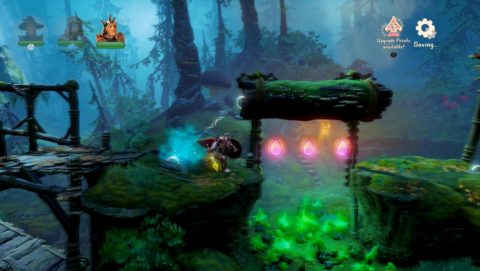
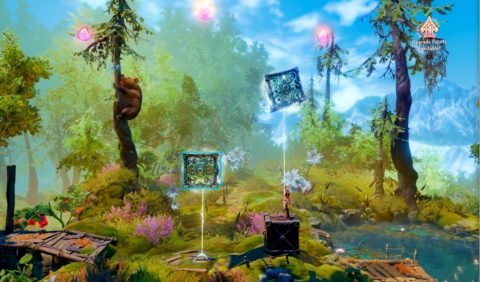
Lift up the log in the poisonous field so you can jump across. Bridge up the wooden structure and up the top you’ll see another bear. There’s Orbs scattered all around here. You’ll need to use boxes and the firm rope to reach them. Amadeus and change the length of the rope by moving the boxes.
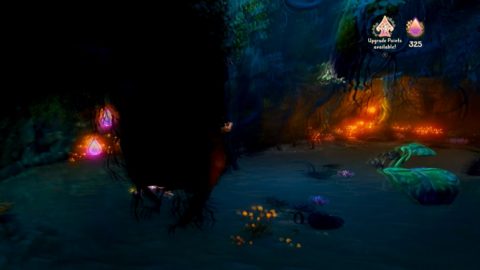
Lift up the box in the water to the right and smash it for a Jar. Swim down and to the left for a hidden cave. Make a plank and lean it on the wall and then smash a steel ball up to break the crystal above. A chest will fall down. Inside you’ll find a part for a Seesaw.
Climb out of the cave and bridge up to the tree log. Pontius can smash it down so you can continue to the right. You’ll be attacked by more Shadow creatures. Kill them and then continue to the right.
Place a steel ball down, roll it down and attach it to the ring before it falls off the edge. Attach a rope to the other ring to make a bridge all the way across.
On the other side places boxes on the spikes and pull out the one on the right so you can grab the key. Use it to open the door and then go through.
Place a plank down on the logs and then a box on the wooden ledge to lower it. When you jump across you’ll be attacked by Shadow creatures.
Place a box on a firm rope, attach it to the ring and drag it across to the right so you can run across the rope. Climb up and continue to the right to complete the chapter.
Back: The Crackling Mire Next: Gossamer Grove