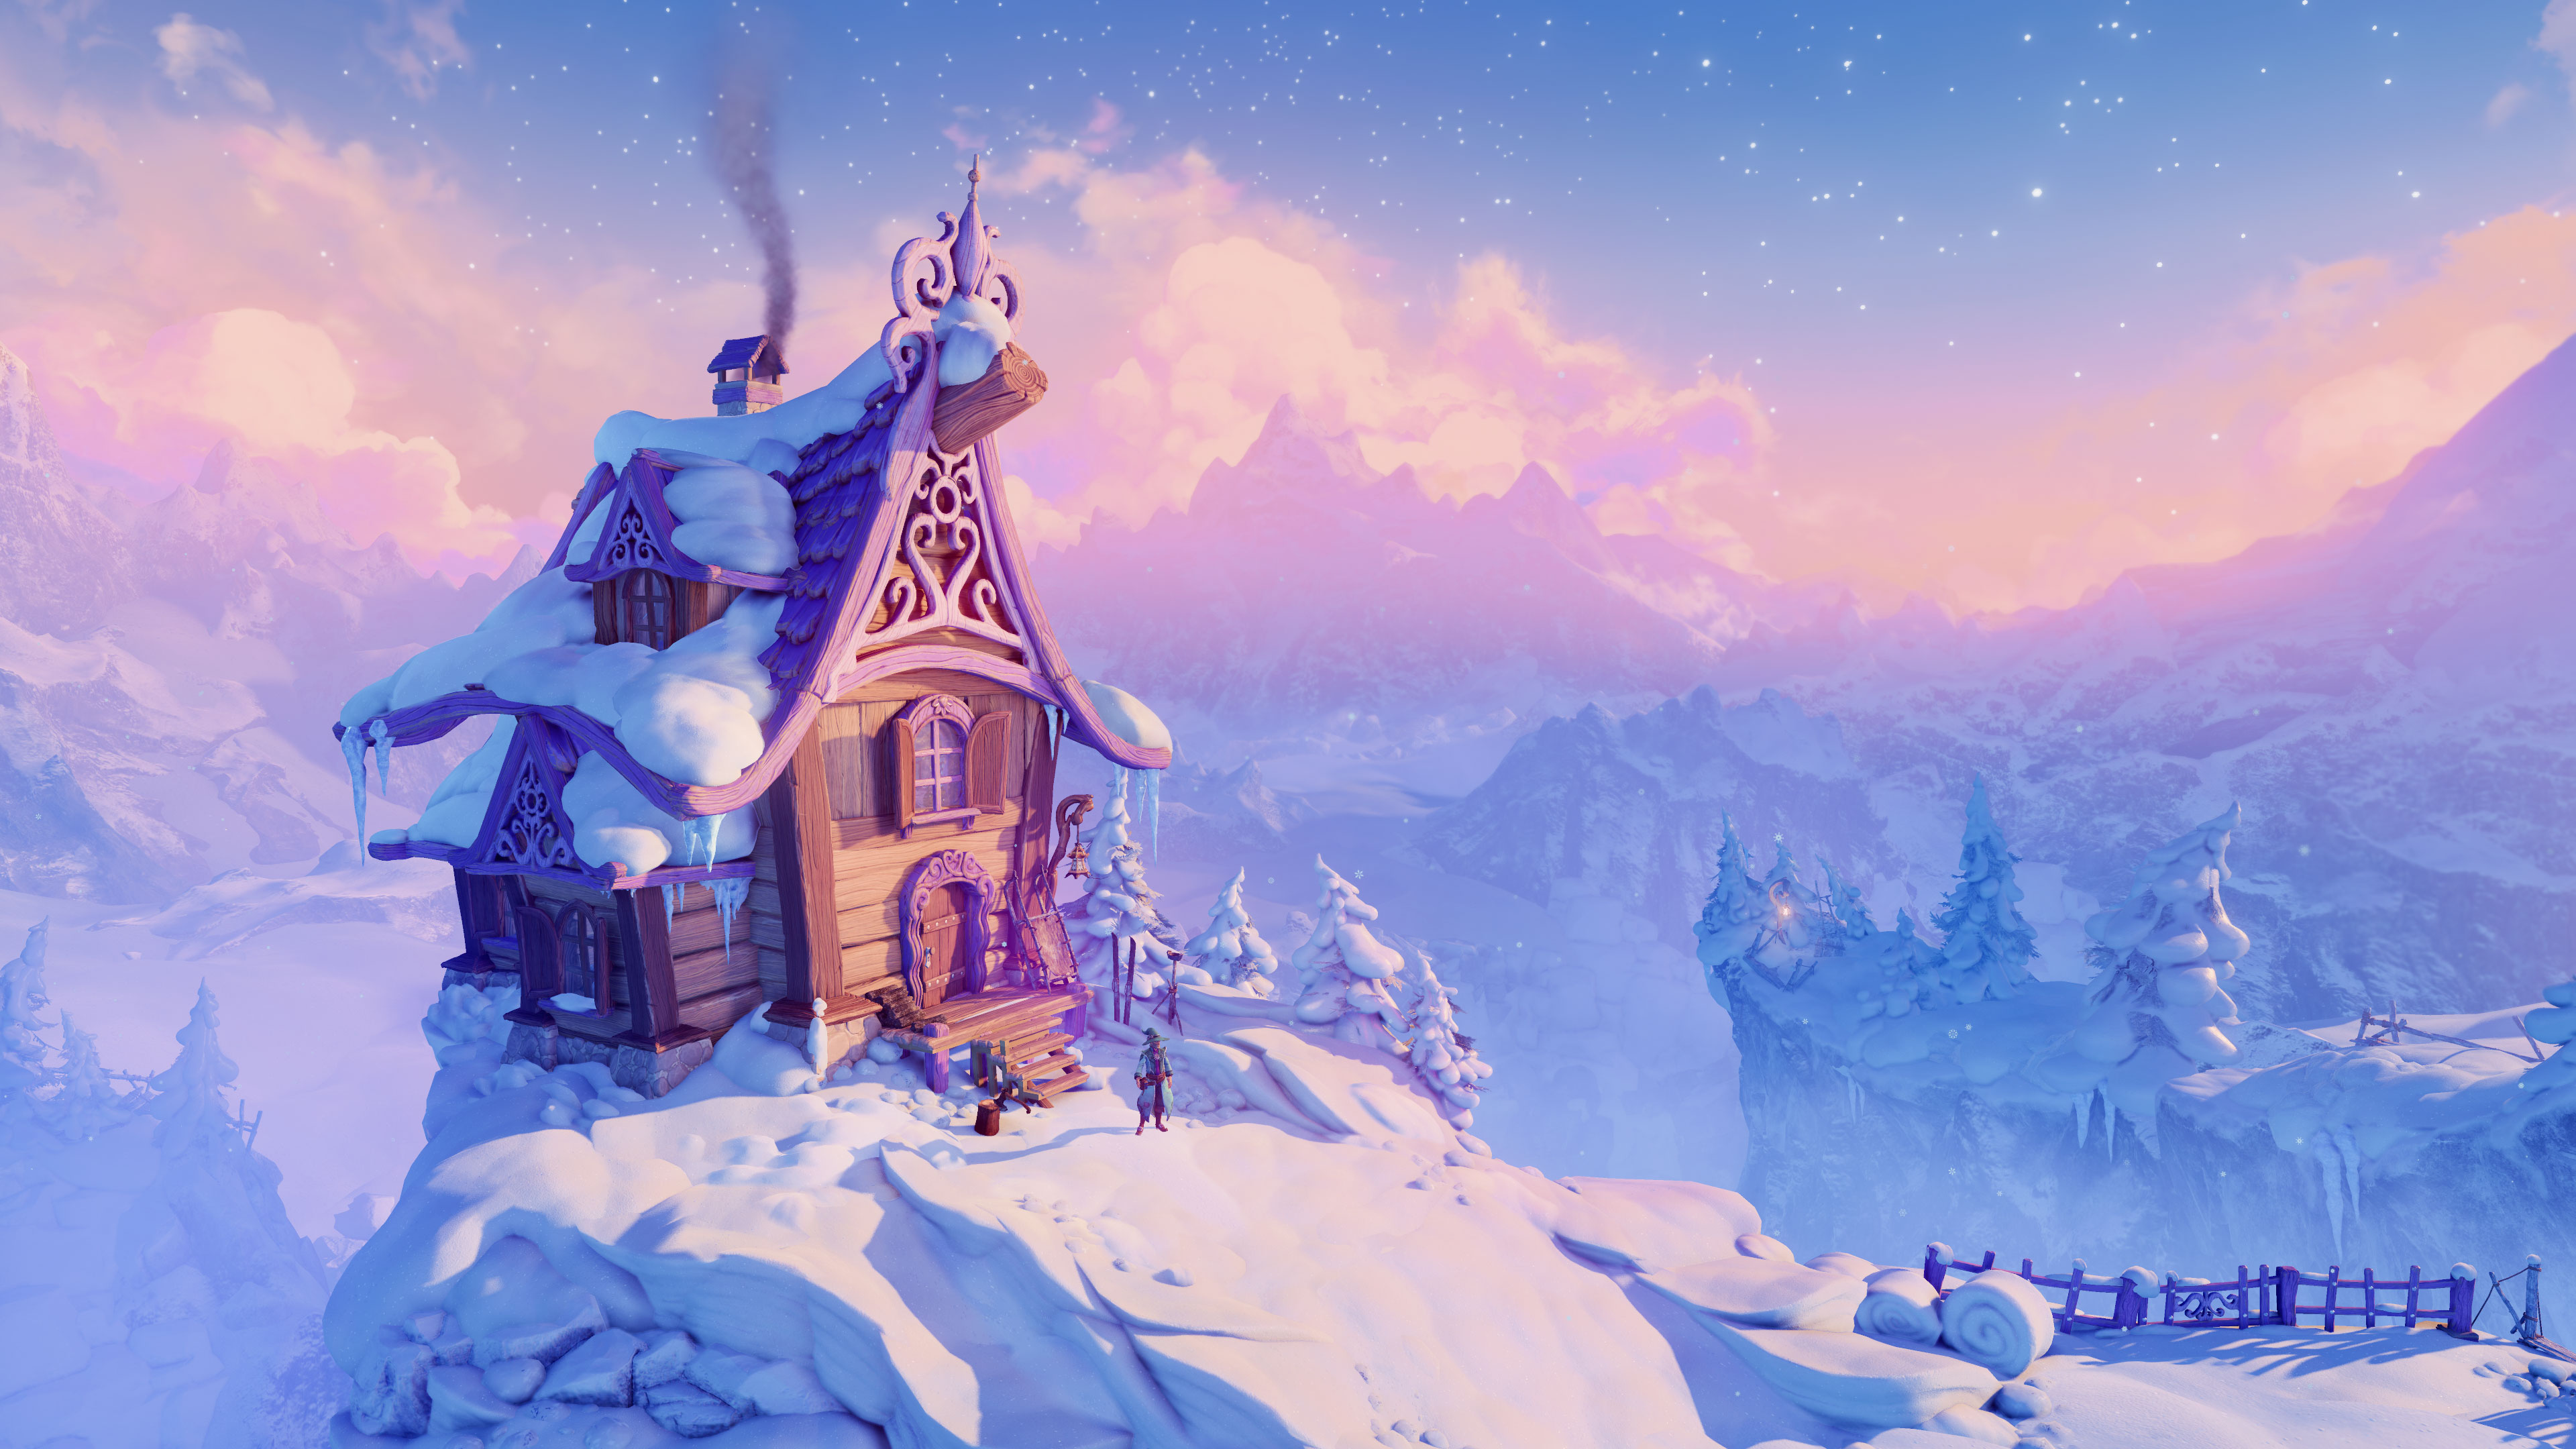
Craghill Moors
Back to Trine 4
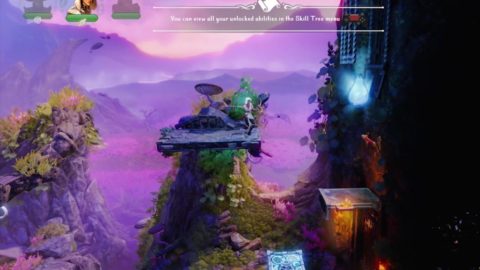
The three heroes are back together again at last. From now on you’ll be able to select between the characters at will by pressing L1 or R1 if you’re using a controller.
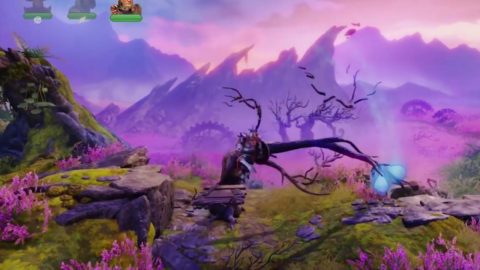
Run to the right and pick up the first experience Jars. Use Zoya to swing up to the rock ledge for 3 more Jars. Next use Pontius to stomp on the platform attached to the tree which lowers the tree so you can grab the next 2 Jars.
Use Amadeus to move the stone to the middle of the spikes so you can jump across. Climb up the other side for an experience Orb.
Place a box on the right side of the see-saw and use Pontius to slam down on the other side. You’ll be flung up to the ledge above so you can grab the experience Orbs.
Slam down on the rock bridge to drop down and then slam the wooden planks on the left for a few Orbs. Pull out the stone to the right so you can grab the Orbs. There’s also a treasure chest with the first treasure, Selius’s Coronet.
Pile up the stone blocks so you can make it back up to the ledge and then swing across the gap.
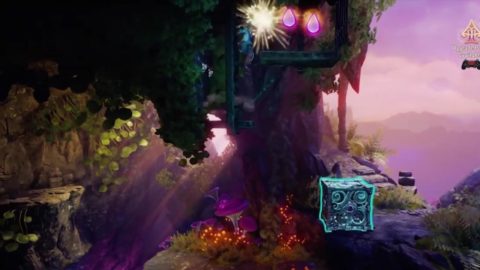
Shoot the branches above to break them and a Jar will drop down. Place a box to the right and use it to jump up to the platform above the door. From here shoot the rope holding the Jar and it will drop down.
The Jar will land on the platform and push down the gate so you can get through.
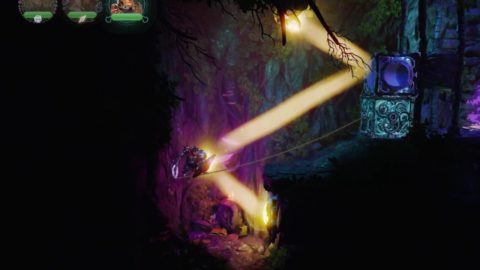
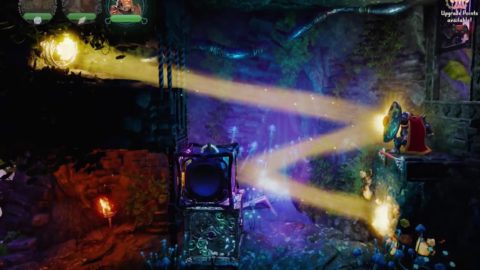
Shoot the branches to release the mirror cube and drop down for some Orbs to the left. Place the mirror cube on the ledge to the right and use Pontius to deflect the light onto the cube and then onto the button.
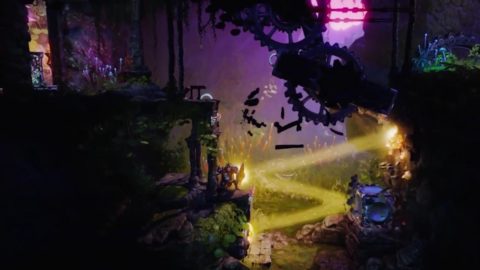
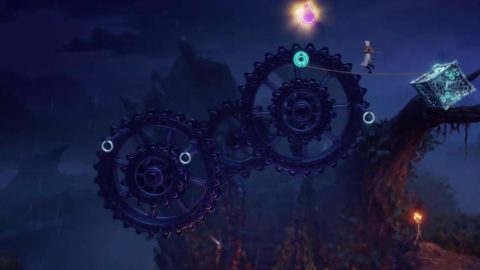
This releases the gears above and starts them spinning. Use Zoya to attach a rope to one end and then onto the rock ledge to hold the gear still. Run across to another two spinning gears.
Shoot the rope above to release two Jars. Attach a rope to the right gear and then up to the platform to stop it and make a bridge up to the platform. Break the box for a Jar.
Continue to the right dodging past the fireballs from the plants above. Break the branches to release the light.
Place one mirror cube on the ledge up to the left and the second on the ledge to the right. Deflect the light onto the first cube and the light should hit the button.
This opens a little trapdoor to the left with a few more Orbs.
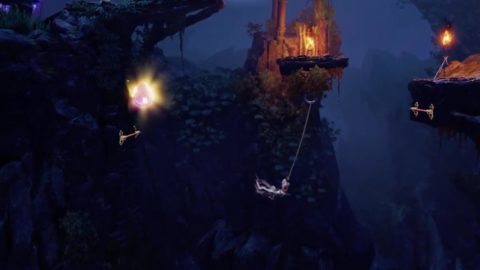
Head to the right and attach a rope to the wall to the right and then to the top platform to form a bridge. Jump onto it and then climb into a secret cave to the right.
Grab the Orb and then slam on the plate to make the two jars flip over the wall towards you.
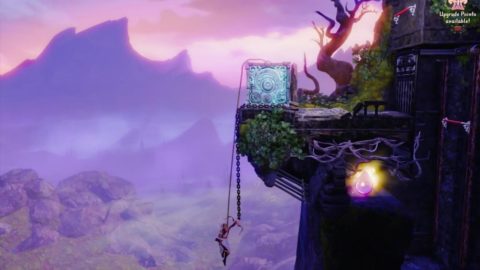
Head back out to the rope and run up to the top platform and then jump over to the rock ledge to find a Letter from the Astral Academy.
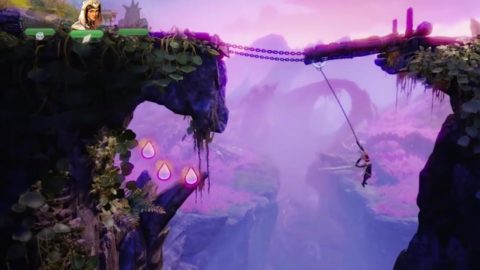
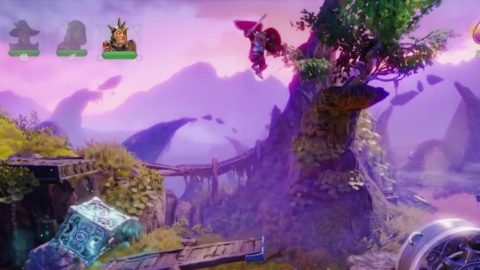
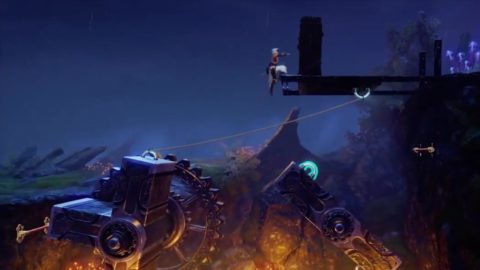
Jump over to the right and you’ll spot a large bird. Use Amadeus to lift up the bridge and then drop down with Zoya. Quickly attach a rope to the underside of the bridge so you can swing over to grab the three Orbs.
Swing back up and head across the bridge. Shoot the ropes to drop the dangling Jars.
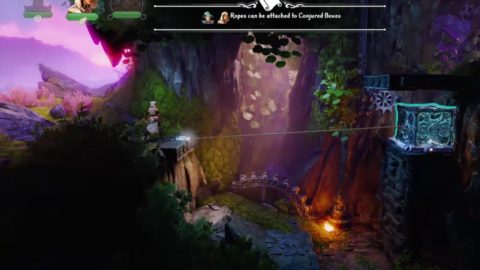
For the next puzzle place a box on the pressure plate to the right. Attach a rope to the box and the ring to form a bridge so you can get across to the gate.
Break the branches and jump across the spike pit. Wolf creatures will spawn. Quickly change to Pontius and take them out. The stomp on top of them is quite effective.
Once they’ve been killed place a box on top of the platform and attach a rope from the box to the rock ledge to form a bridge. Run across for an Orb.
Continue climbing up the ledges to the left for another secret cave. Place a box to the left and the mirror cube on top of it to deflect the light. Make a rope bridge, stand on it and use Pontius to deflect the light down to the button.
A large experience Jar will drop down from the roof. Grab it and then leave the cave. Head across to the right and place a box on the other side of the chasm. Make a rope bridge to get across.
Drop down and break the boxes for a few Jars. Break the planks on the ground for another Jar. Place a box, or the log on the left side of the see-saw. Stomp on the other to be lifted up to the ledge so you can grab the Orbs.
Attach a rope to the stone slab and then to the wheel. The wheel will pull out the slab. Jump on it and then up to the ledge on the right.
Climb up the wall and then swing up to the ring in the rock above for an Orb. Stay there and shoot an arrow to break the rope to the right. The gate below will open.
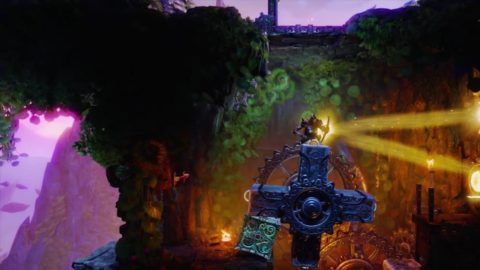
Run through the gate and use Pontius to ride the ball across the bridge. Then use him to stomp on the see-saw so you can get up to the top of the rock wall. Continue to the right to another room with light and a gear.
Smash the wooden boxes above to release a Jar and set the gear moving. Place a box on the edge of the left ledge to stop the gear from rotating. Stand on the gear and deflect the light to the button to open the trapdoor above.
Climb up out of the trapdoor. Place a box on the ground to the left so you can jump up to the ledge for the Orbs.
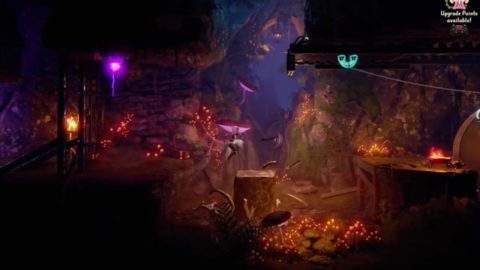
Break the branches on the tree to the left to release the Jar, then jump across the bouncy mushrooms, grabbing the Orbs as you go.
Shoot an arrow to release the stone. This drops onto the planks and breaks them so you can grab a few more Jars. When you walk across to the right you’ll be attacked by more Shadow Wolves. Use Pontius to stomp on them.
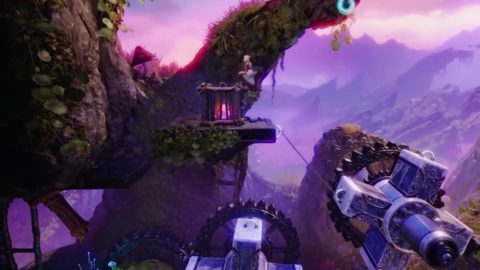
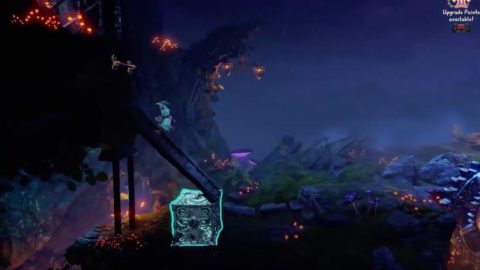
Pull the Lever to set the gears running. Walk across to the right for a secret cave. Place a box above the spinning platform to lodge it in place so you can grab the large Orb.
Go back out to the large gears and attach a rope to one of the rings. Zoya will be lifted up. Jump across to the right once you’re high enough and enter the next cavern.
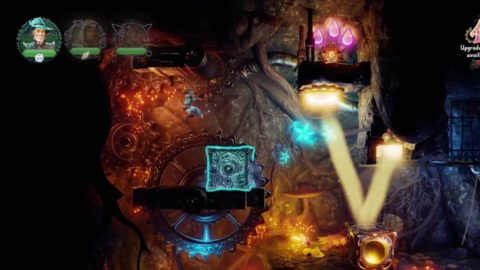
Shoot an arrow to release the mirror cube. Create a box and place it under the mirror cube so it deflects the light. Use Pontius to deflect the light back to the button.
This will open the gate up to the right. Head through and smash the planks for an Orb. Use Amadeus to pull down the block and the wooden box. The box smashes, releasing another Jar.
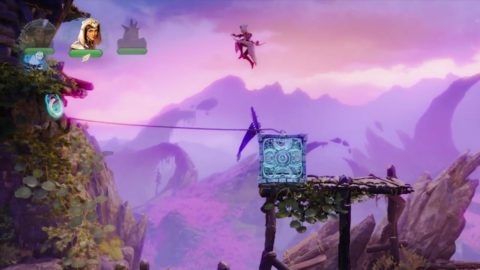
Place a box on the stone so you can jump up to the ledge above. Use the ring to swing across the gap to the next area.
Shoot the branches to the right to release an experience Jar. Attach a rope to the ring on the ground and the one under the top platform to form a bridge. Run up for another Orb and then Place a box on the platform. Climb up it and jump up and to the right for a secret stash of Orbs.
Break the branches to release them and then jump up the wall. Walk across to the right for another battle with Shadow Wolves. Once you’ve killed them the Eagle offers you a ride to a new area.
Drop down to the left and create a box by the edge of the cliff. Have Zoya hook onto it and swing off the edge. Shoot an arrow through the bars to branches and open the gate above.
Climb back up and grab the large experience Orb. Make your way back up and to the right. Break the box to get the gears moving again. Climb up the wall to the left for a few more experience orbs.
Place a box on top of the next gear to stop it moving and run underneath.
Use Pontius to deflect the fireballs as you make your way to the right. Deflect them up to the branches above or have Zoya shoot an arrow. A Jar will come falling down.
Continue to the right and use the fireballs to break the branches holding the large stones.
Stack up the stones and jump up to the ledge. Jump up to the left for a few more Orbs. Place a box to the right and use it to jump up to the platform above for more Orbs.
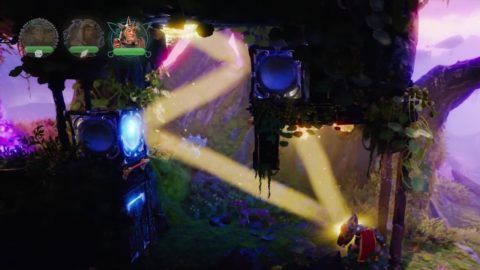
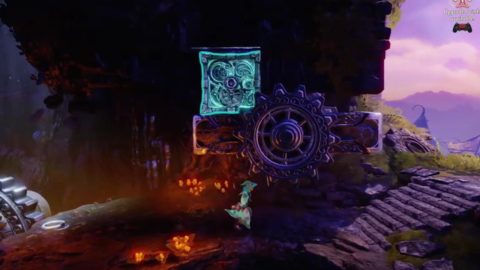
Walk across to the right and drop down. Place a box on the left side of the gear and then deflect the light back up to the button. When the gear rotates the box will get trapped in the corner, holding the gear in place and the door to the right will remain open.

Make your way through the door to the right for a battle with more Shadow creatures. Kill them and then use the rope to make bridge over the gap. Place a box down and use it to jump up to the orbs. Place the box on the see-saw and stomp down to grab the other orbs.
Use a box or arrow to break the branches above and more Jars will come rolling down.
Shoot the rope with the dangling ball to drop it. Pontius can ride it across to the right and jump up for a few more orbs.
In the next room attach rope to the roof and the wheel. the wheel will drag open the ceiling. Shoot the branches to release a stone.
Place another box on the stone so you can jump up to the right.
Create a box and place the plank down on top of the box so it leans against the wall to the left. Climb up the plank to a secret area.
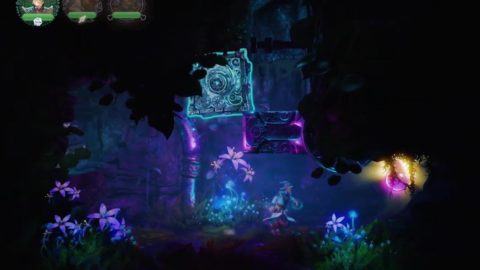
The first thing to do in this room is to deflect the light up to the button to release the gear. This slides across the trapdoor to the right and releases a mirror cube and Jar.
Attach a rope to the trapdoor and push the mirror cube under the light. The trapdoor stays closed and the cube reflects the light back to the button.
Jump on the gear, create a box and use it to jump up to the Orbs and treasure chest. You’ll find a Part for a Door.
Leave the cave and head across to the right. Jump across to the rotating platforms and attach a rope to the underside of the platform above with the rotating platform on the left to form a bridge. Use the bridge to get across to the right.
Continue to the right and grab the Orb. When the Eagle appears lift up the end of the bridge and give it to her to hold. Use a box to jump up to the bridge. Jump onto the Eagle for another couple of Orbs.
Head to the right for a battle with more Shadow creatures. When you’ve dealt with them stomp on the platform to lower the Jars.
Drop off the edge and hook onto the ring under the center platform. Swing across to the Orb.
Swing back up and break the boxes for a few more Orbs. Use a Box to make it across the spike pit and pull the Lever to get the gears moving.
Attach a rope to the plank and the first gear. Stand on the plank as it’s lifted up. Jump up to attach a rope to the second gear.
Place a box on the ledge up to the right and attach a rope to the box and the ring of the second gear to form a rope bridge. Quickly run across to grab the Orb.
Run to the right for a cut-scene and boss battle.
Giant Nightmare Wolf Boss Fight
The wolf needs to be stunned before you can damage it. Jump up the platforms and attack it’s eyes. It will be stunned for a few seconds. Quickly stomp on the wolf to do a little bit of damage.
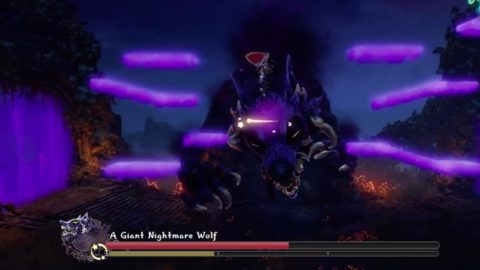
When the wolf gets back up it will spawn shadow creatures before spawning the platforms again. Repeat this process until the wolf has been defeated.
Back: A Masquerade Night Next: The Thorny Hedge Maze