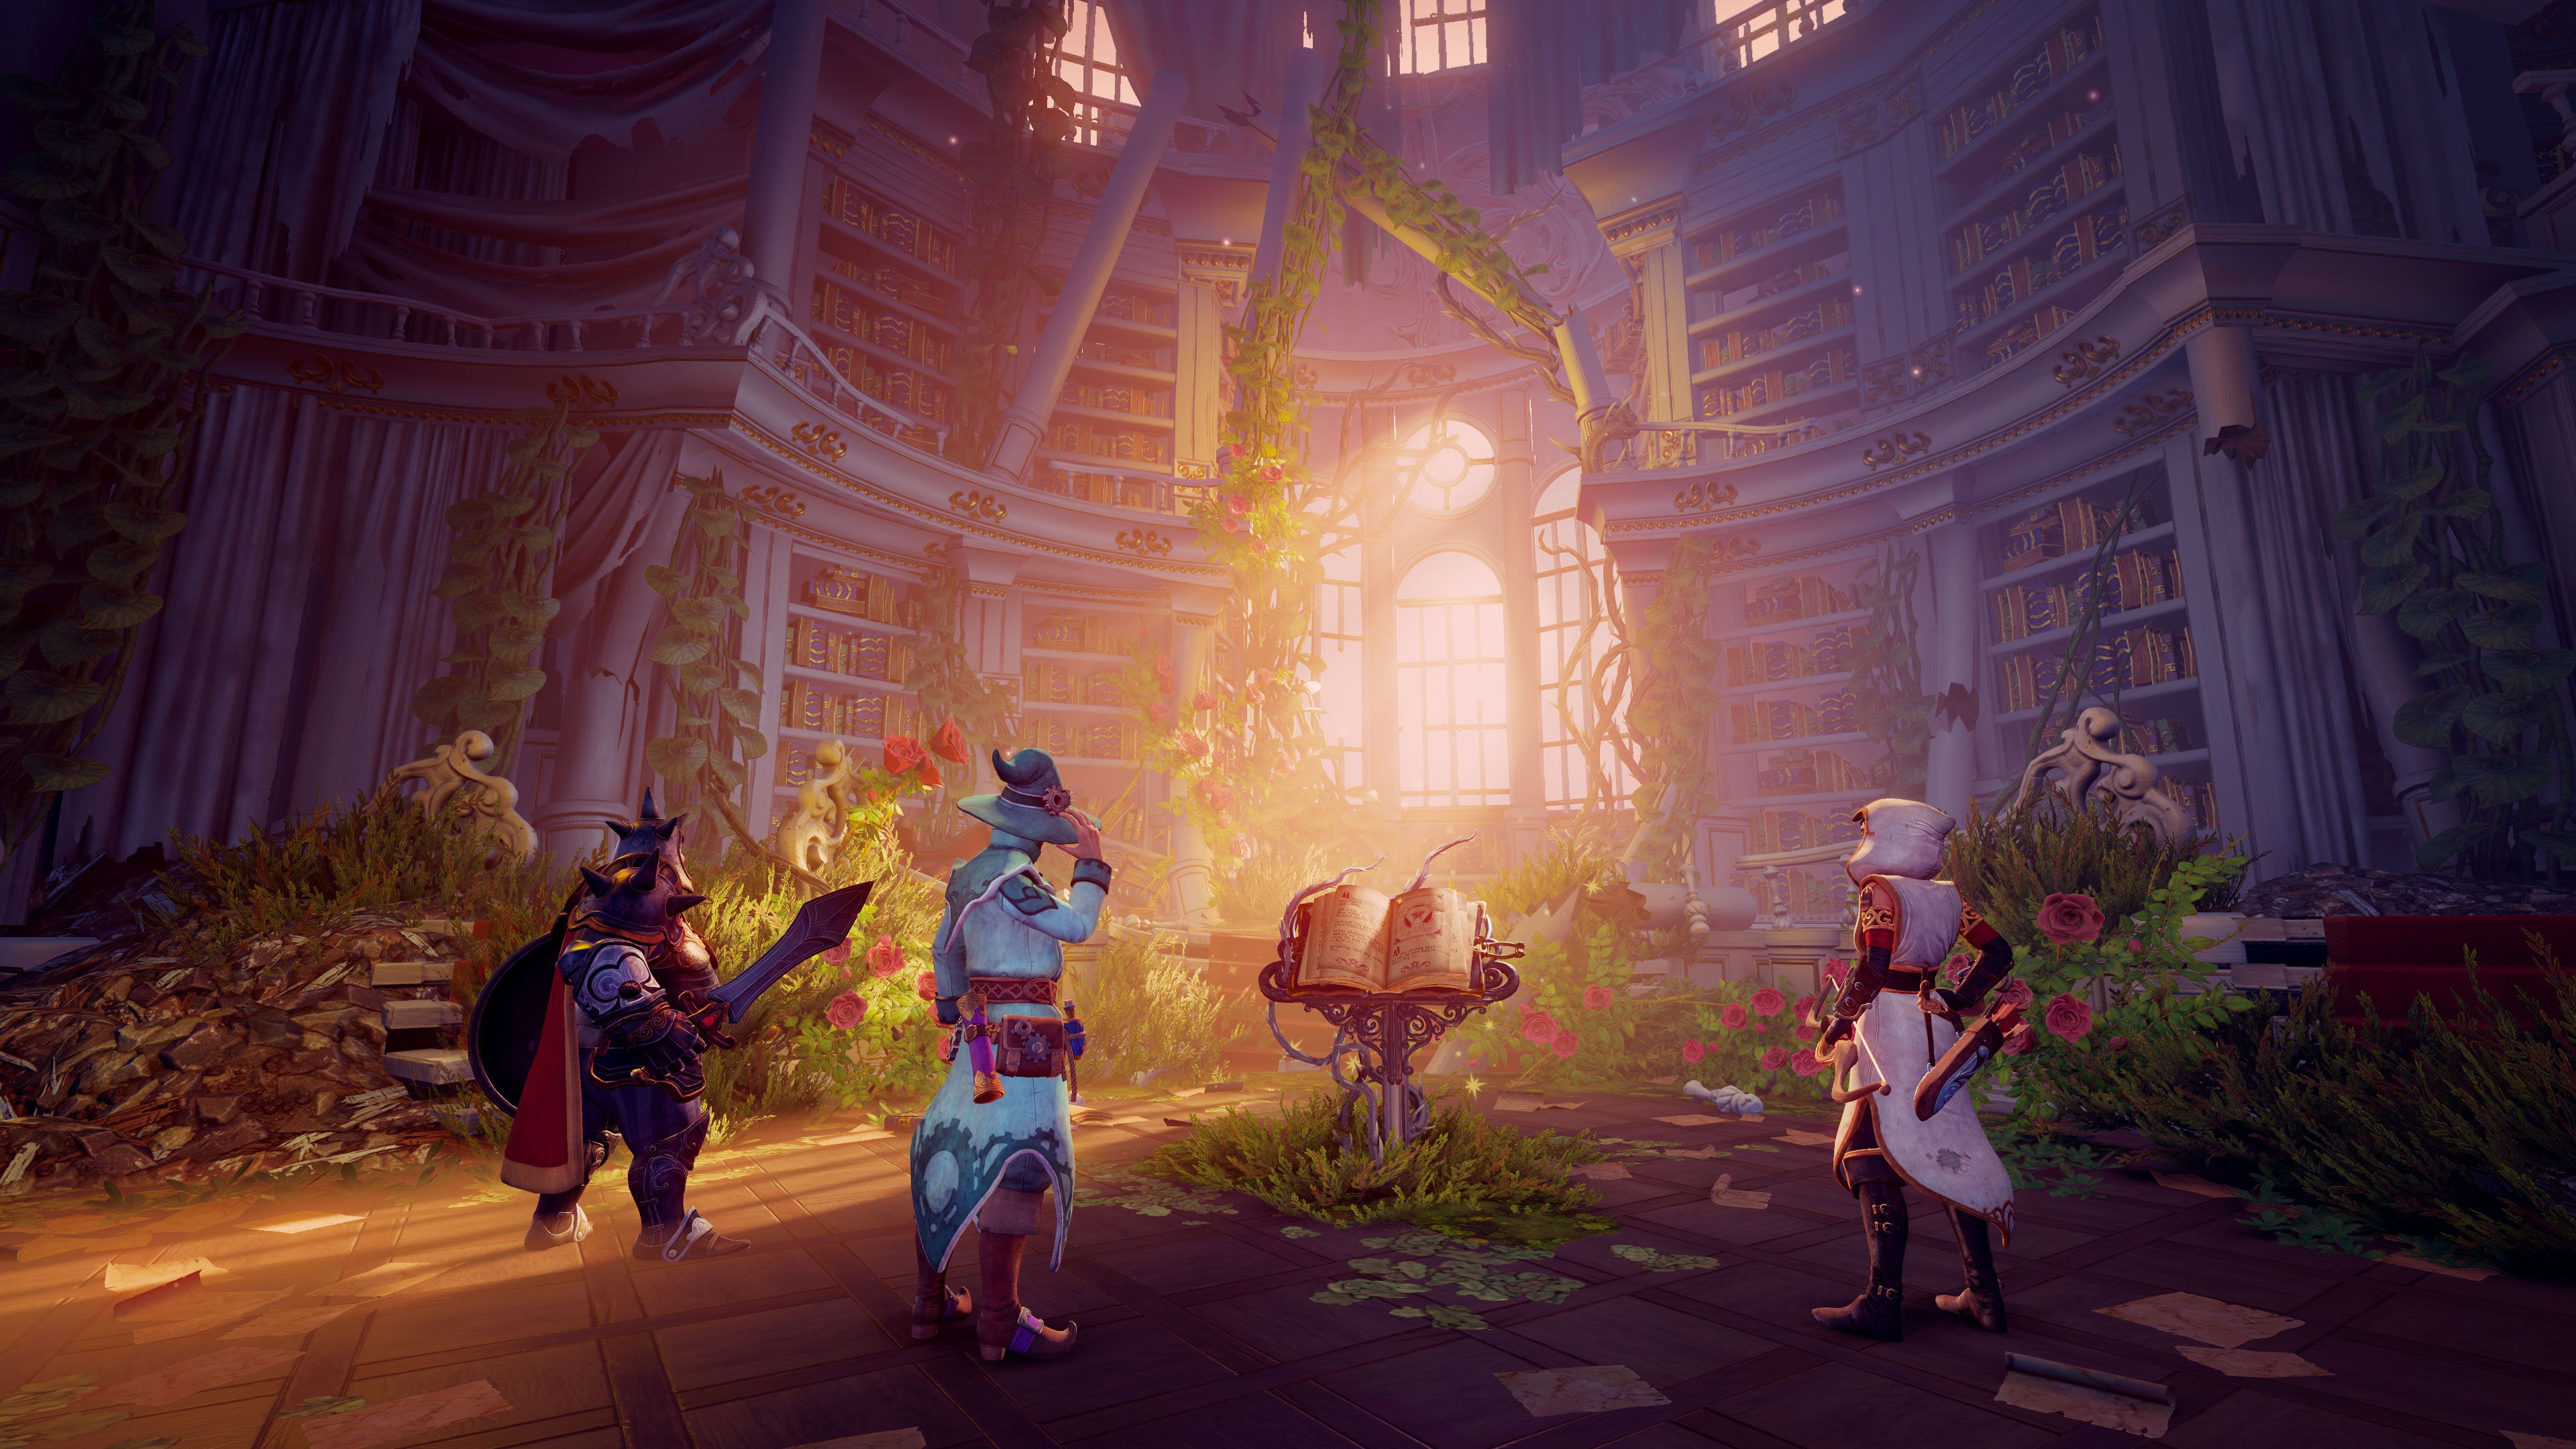
The Prince’s Dream
Back to Trine 4
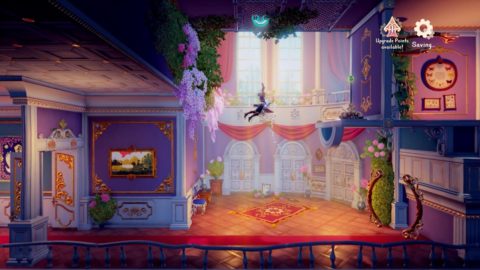
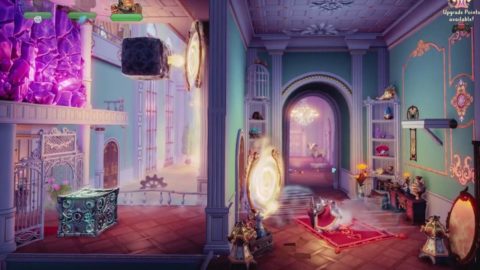
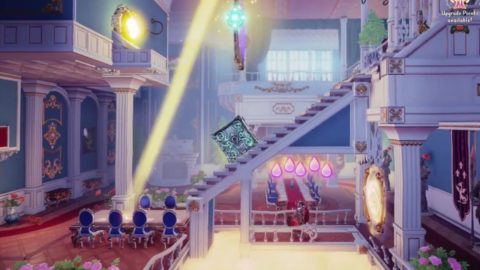
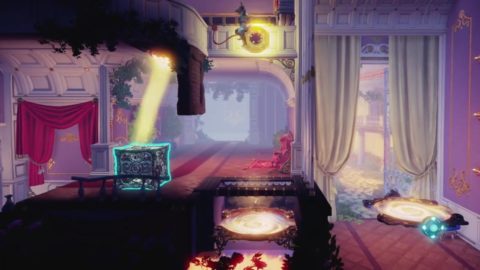
The Prince’s Dream level has quite a few puzzles involving mirror cubes and portals. Begin by walkthrough through the open doors to the right into a large entrance room. Place a box down and make a bridge between the box and the rings on the chandeliers. Run up to grab the Jars.
Place a box on the button on top of the stairs to open the door to the right. In the next room swing up to the ledge and pull the lever. The lever activates the two portals.
Go through the portal to enter the next room. Drop down the portal in the floor and dash or blink to the ledge up to the right as you’re dropping from the roof.
In the next room there are two portals in the center. You can jump through them to reach the Orbs up above. If you stomp down through one of them you’ll reach higher as you come out the other portal.
Stand on the left ledge and stomp down through the first portal. You’ll fly out of the second portal onto the right ledge. Pull the lever to open the door below. Drop down and go through.
Walk down the stairs and smash the stone block onto the crystal wall to break it. Behind the crystal you’ll find two mirror cubes.
Place the stone block on the pressure plate and arrange the two mirror cubes so that one is under the light and the other on the stone block. the light should reflect up to the button above.
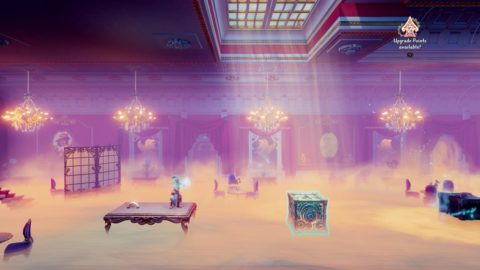
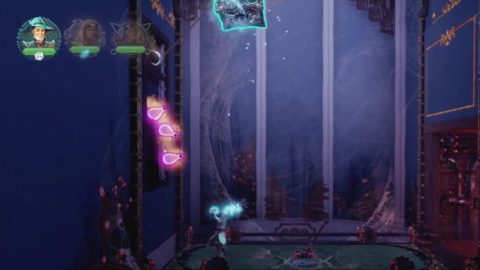
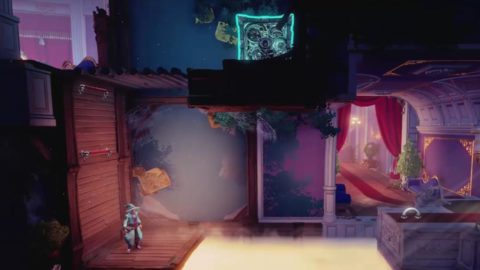
The door to the top right opens so jump up and go through. Continue through the red room to a room filled with fog. If you fall into the fog you’ll die.
Jump across to the table and place boxes on it to reach the orbs above. Place the boxes in the fog so you can safely jump across to the right, or create a rope bridge from the ring on the table to a box further along. You’ll need to space the two boxes apart so you can make it to the ledge on the right.
Jump up to the ledge and head to the next room. Stand on the first button and freeze it, or bring one of the boxes with you. Create a box on the second button. When the door opens grab the box and place it in the fog so you can jump over. You can also make a rope bridge between them if you like.

In the next room you’ll see another two portals. Move the one on the right so that it’s near to the Orbs. Place a box next to the one on the left and jump through so you can pick up the Orbs. Continue to the right to another portal room.
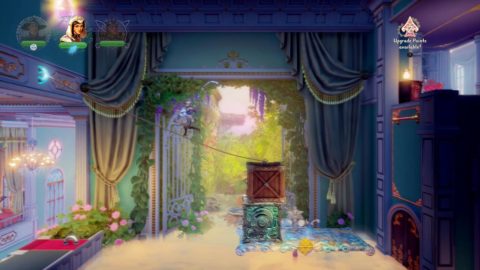
Make a box so you can jump up and go through the left portal. Smash the stone block through the right portal so it shatters the crystal wall blocking the ledge.
Jump up to the ledge and then climb up the wall. Before you continue remove the painting on the wall. Push it in with a box and the trapdoor in the roof will open, dropping down a large Jar.
Shadow creatures will appear so kill them and continue to the right. Create a box and place it in the mist by the platform. Place the wood box on top of the created box and attach a rope bridge from the wood box to the ring on the wall above. Climb up for a large Orb.
Freeze the platform so it doesn’t sink and place a box on the right side. Jump onto the box and climb up the wall to the right.
Head to the right and break the clay jar hanging from the roof for an experience Jar. The two mirror cubes need to be placed so the light hits the button. Pontius can also deflect light with his shield. Create a box and place it on the floor under the ring on the roof. Place the other two mirror cubes on top. Attach a rope from the ring to the top mirror cube.
Break the created box so the second mirror cube falls to the floor. The light should now be deflected over to the right. Use Pontius to deflect the light up to the button. Make sure the mirror cubes are rotated the right way to deflect the light.
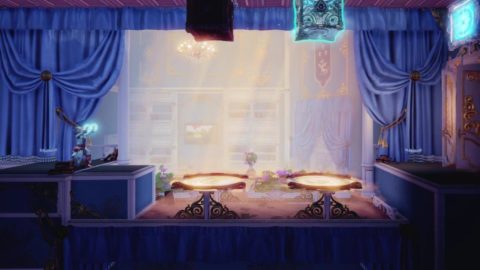
Go through the door to the dinning room. Place the top portal so that it’s facing the button on the wall. Use Pontius to deflect light through the lower portal and onto the button. A staircase will appear. For a little secret go through the top portal and grab the Orbs from under the stairs.
Go back through the portal and up the stairs. Jump through the window and smash the floor to drop down. Jump and dash across the gap for a large Jar. Dash back and climb up the wall back to the top.
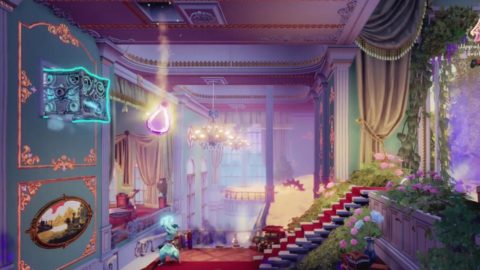
When you walk to the right you’ll be attacked by more Shadow creatures. Take them out and swing up to the ring. Swing up to the garden arch to the left for some hidden Jars.
Drop back down and swing across the gap and into the room. Break the clay jars and boxes for some Jars. Pull out the wooden door and attach it to the ring so you can jump over it. Continue to the right and down the stairs.
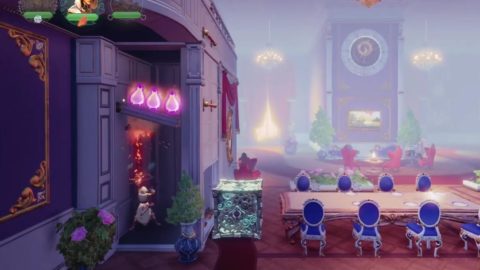
The next room has four mirror cubes! Place a cube to the right of the light with one above it to deflect the light back to the left. Place a cube on the ledge to the left and one above it to deflect the light back to the button. This opens the gate above.
Use the ring on the roof to swing up but don’t go through the gate yet. Swing over to the left instead for a secret room. Pull the lever to reveal bars on the wall and climb up.
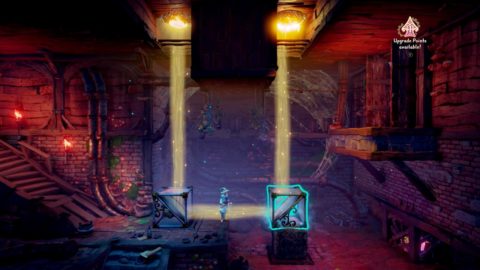
You’ll find two portals on the ground with buttons on the roof above them. There’s also a button on the wall to the right. You need to push all three buttons at the same time to open the door to the right. This puzzle is quite tricky but luckily the door stays open once the buttons are pressed.
Freeze the button on the wall to the right. Drop a box through the portals from a height so that it hits the button above. Create a box to hit the other button.
In the small room to the right you’ll find a large Jar and a Letter from the Lord and Lady Heatherwood.
Head back to the left and drop down. Swing across to the gate on the other side that you opened earlier.
Walk to the right and read the Book in the center of the room. Place a box to the right of the book and climb on it to jump up to the ledge on the right. Jump up for three Orbs.
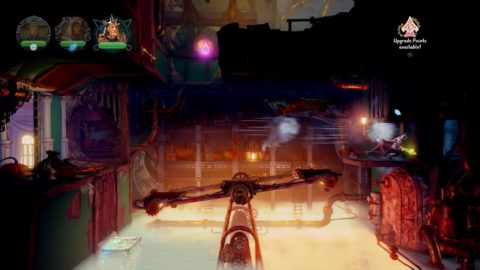
Drop down and head to the right. Pull the lever to operate the lift. You’ll be attacked by Shadow creatures as you descend. At the bottom the panel on the left can be lifted up. Attach a rope to a box and use Amadeus to lift the box up. Jars will come falling out.
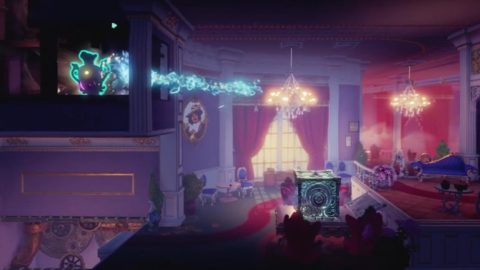
Head to the right and place a box on the pressure plate to open the panel to the right and go through. Swing across the chandeliers to the other side and pull the lever. This removes the fog in this room. Smash the jar above for an experience Jar and then drop down.
Hidden behind the wall to the left you’ll find three more Jars. Break the plank holding the shelf up with an arrow and the three Jars will fall down.
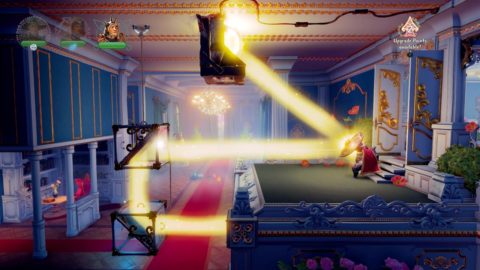
Head to the right to the next puzzle. There are two portals here with a beam of light. Move and rotate the portal on the right so Pontius can shine the light through it. The light will go through the portals and hit the button which opens the gate above and below.
Drop through the lower portal to get to the other side. Place the right portal on the ground, climb up the wall with the bars and drop through the portal. You should have enough momentum to make it up to the ledge on the other side.
Pull the lever to lower the wall to the right so you can climb up. Once you reach the top you’ll be attacked by more Shadow creatures. Kill them and then create a box so you can jump up and into the secret room to the left.
Break the jar for a large experience Jar. Climb up the wall to the room above. There’s another four mirror cubes and a beam of light. First grab the Chandelier from the treasure chest.
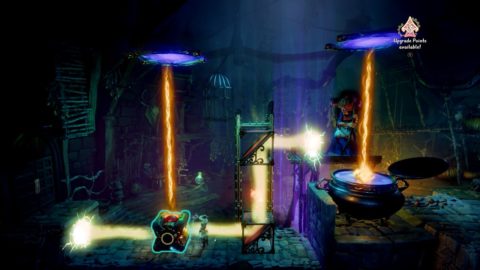
The first two cubes are on a track and can only move up and down. There are two buttons that need to be pressed. One on the wall at ground level which opens the barrier behind the grate and one on the wall behind the grate.
Place the cubes in this configuration to open the barrier and shine light onto the button behind it. Have Amadeus must stand on the left mirror cube and hold a cube above him.
Experience Jars will drop down from the roof when you get it right. Drop back down through the hole and continue to the right.
Jump across to the Orb, stand off the button and then jump across to hang onto the bar. Use Amadeus to place a box on the button to make a platform appear below.
Dash across to the ledge to the right and continue out into the garden. Freeze the see-saw platform over to the right and use a box to jump onto it. Jump up and over the wall to the right and enter the mansion.
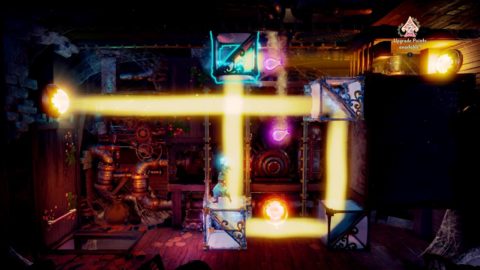
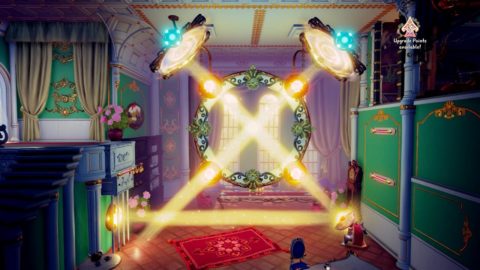
For this puzzle you’ll need to light up all four buttons to make bars appear on the right wall. Use Amadeus to place the portals so the light shines onto the buttons as shown below.
Climb up the bars and head through to the next area. First place a box on the ground on the left side of the pit. This draws out a platform on the right side. Freeze the swing so that you can jump across to the other side and go through the trapdoor you just opened.
Inside you’ll find a treasure chest with Toby’s Collar and a few jars you can smash for experience.
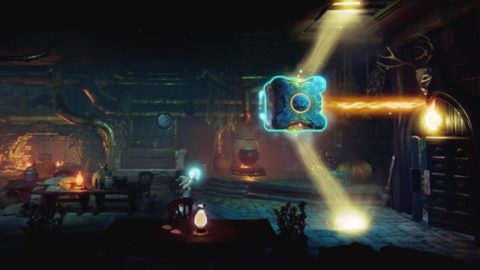
Head back the way you came and freeze the swing in a position so you can climb up through the hole in the roof. Head to the right for a new mechanic. By guiding the two beams to either side of the cube you can combine them into a stronger beam.
Simply hold it up and spin the cube around so the stronger beam is directed at the button on the wall.
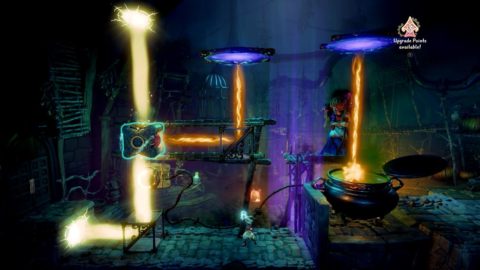
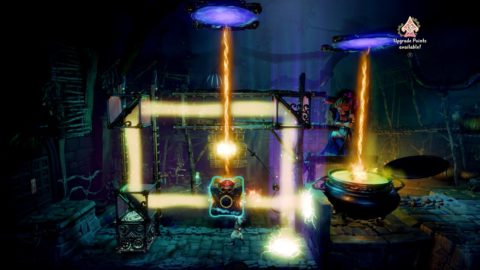
Go through the doors to the final area where you’ll need to solve puzzles to heat up a cauldron. Here are the solutions.
Puzzle 1
Puzzle 2
Puzzle 3
Exit through the doors to the right and go through the gates back out to the field to complete the level.
Back: Heatherwood Hall Next: Moonlit Forests