Wandering in the Dark
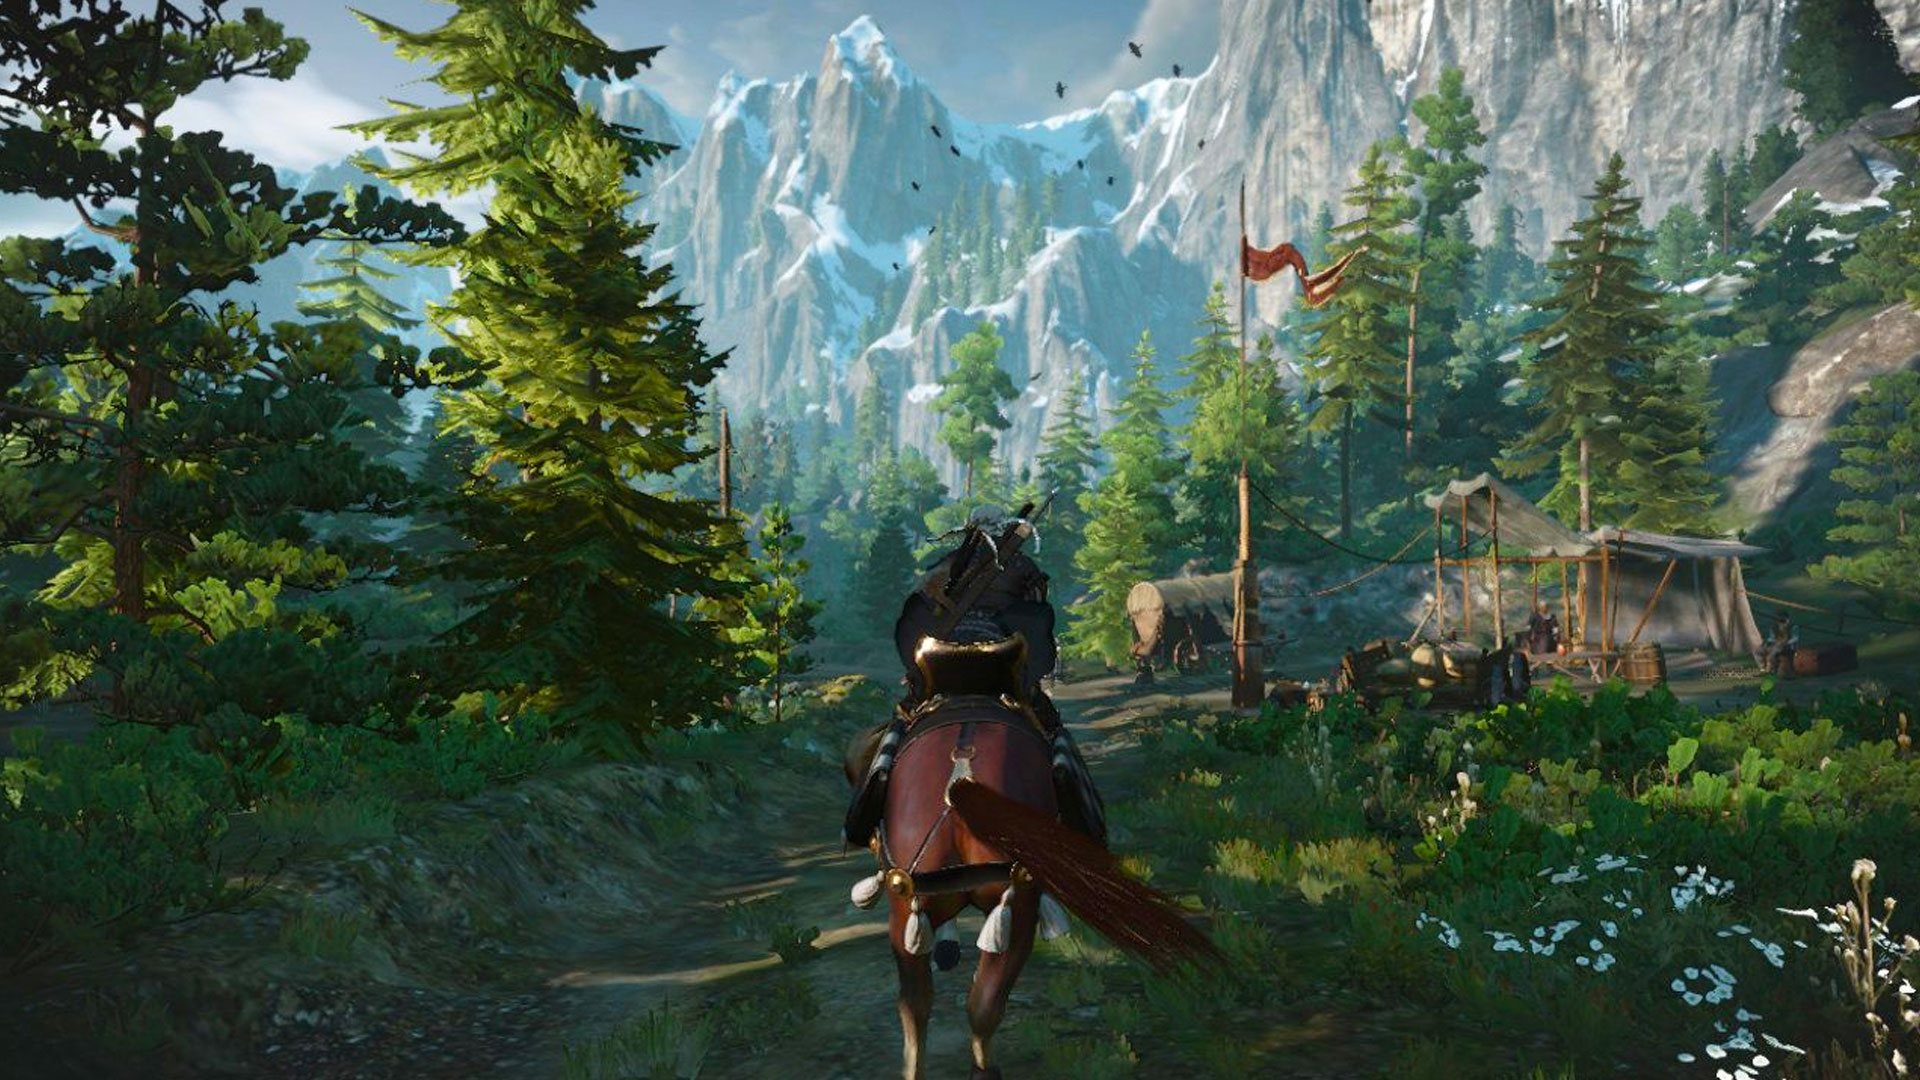
Back to Act I – In Ciri’s Footsteps
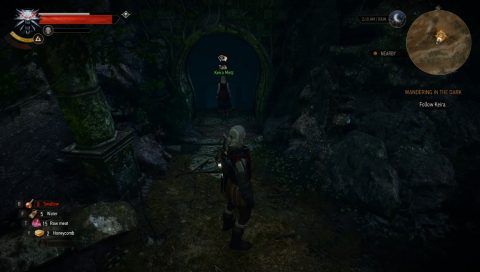
Once you find Keira in the Hunting a Witch quest you can go directly with her to meet the mage. If not you’ll need to use the map tracker to meet her at the Elven ruins.
Meeting the Wild Hunt
Enter a little way into the ruins and you’ll see a few warriors from the Wild Hunt on the far side of the cavern. Keira makes a portal so you can quickly traverse to the other side. Unfortunately while going through the portal the two of you get split up.
Lost in the Caverns
You’ll be in a smaller cavern away from the main chamber. Take out the Drowners and swim through the underwater tunnels. There are are a couple of ways back to the main chamber. You’ll need to find Drowners and possibly a Foglet on your way back.
Once you get back to the portal where you started head to the right and right again. Keira will be calling for help as she fights off rats. Use Bombs or the Igni sign to destroy the nests. Keira will be so upset that she wants to leave but convince her to stay using any of the dialogue options.
Searching for the Mage
Search the ruins until you find some kind of projection from the Elven mage. The mage mentions Ciri’s sword Zireael, which is elven for Swallow. Geralt figures out that they should follow the swallow symbols.
Continue to the next cavern but be wary of the tocix gas. You can disperse it with Igni or Aard although casting Igni on the gas will cause a large explosion.
It’s worth exploring all the side tunnels for random Diagrams. Just be careful of the Wraiths wandering around the area.
Once you’re done looting follow the path to the right for another Swallow symbol. Continue on to find a second projection. This time the mage references Kelpie, a sea monster but also the name of Ciri’s horse.
The two symbols up here are traps. The dog symbol will cause an explosion and the Kayran symbol will summon Wraiths. Instead dive into the pool to find the Horse symbol. Swim through a flooded passageway to another symbol. This one opens a door in the chamber above. Make your way back to Keira and head through the door.
You’ll come across an inactive portal which was apparently the reason Keira’s portal didn’t work as expected. Use the Swallow painting to activate the portal and go through.
You’ll come face to face with a Golem. Keira doesn’t appear to damage the Golem but she can stun it for a short while. If you need help defeating the Golem make sure you’re prepared with Elementa Oil or Dimeritium Bombs.
Head up the stairs to another split in the path. You can take the first door to the left or the second. The first door takes you directly back to where you need to go, the other side of the main chamber. The second door is optional and takes you to a tough fight with a Gargoyle.
The Wild Hunt
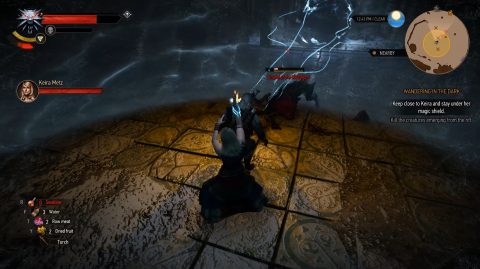
Now that you’ve caught up with the Wild Hunt they’ll open portals to the White Frost which causes a blizzard. Keira will cast a shield as you walk through the room but you’ll need to protect her from the Wild Hunt Hounds as she attempts to close each portal. Using a Demeterium Bomb on the portals will stop the Wild Hunt Hounds from coming through.
Once the portals have been closed Keira will almost faint. You have two dialogue options. “Just don’t faint on me” will increase your romance level with her while “If you can’t go on” will not.
Keira will open the way to the next area and then you’ll need to use Aard to open a blocked side passage for some chests and a fight with a Foglet. Head back to the main passage and continue forwards for a fight with one of the Wild Hunt Warriors called Nithral.
Nithral Boss Fight
Nithral is resistant to staggering, Axii, Aard and Yrden. It’s best to use Quen to protect you from his first heavy attack. When Nithral is getting low on health he’ll summon a shield around him to heal back up. While he’s doing this Hounds will spawn in and attack.
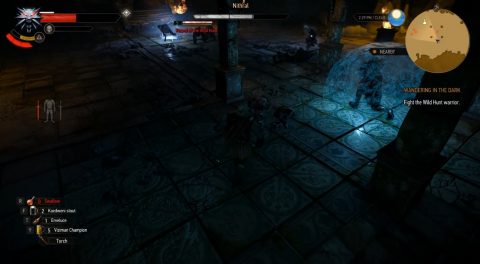
You can’t attack Nithral’s shield directly without taking a lot of damage. Instead kill the Hounds as quickly as possible. Once they’ve been killed Nithral will come out of his shield. The quicker you kill the Hounds the less health Nithral will have when he attacks again. He heals about 3% of his health every two seconds while shielded.
Elven Laboratory
Once Nithral has been defeated look for another projection from the mage. He mentions something about avoiding the Witches of Crookback Bog. Keira will give you more information about them.
Have a look around the area for clues. You’ll find some Herbs, Empty Potion Bottle, Half Burned Notes and a book called After the White Frost.
You’ll also notice a wall that doesn’t seem quite right. Geralts amulet also vibrates when he gets close. Keira will tell you it’s an illusion and give you The Eye of Nehaleni. You can use this to dispel illusions. Geralt will do it automatically when you notice an illusion.
The Way Out
To continue onwards you’ll need to go to the opposite side of the chamber from the laboratory and clear a passage with Aard. Inside is another illusion that needs to be cleared with The Eye of Nehaleni. Beyond this is a flooded area and a Foglet guarding a chest.
Finally you’ll make it to a junction. Keira wants to stay and look for the Magic Lamp. You can leave her to it or help her find it in the Magic Lamp side quest.
Back: Hunting a Witch Next: Ladies of the Wood