Catacomb Level 1
Back to Eye of the Beholder 2
Catacomb Level 1

The first level of the catacombs is filled with Darkmoon Guards and a few poisonous Spiders. The guards may have throwing daggers that they’ll throw at you before engaging in melee combat. The spiders have a chance to poison your party members so try to attack from the sides or have a neutralize poison spell ready. You’ll find the first of four horns on this level, the horn of “Northwind”.
1) Stairs up to Temple Level 1 Location 13.
2) A Rock.
3) Two Rocks.
4) Place a weight on the Pressure Plate to open the door to the north.
5) Two Darkmoon Guards. One of them will drop a Grey Key when killed.
6) Pull the Lever to open the door to the north.
7) A Darkmoon Guard attacks when you open the door. There are 2 Iron Rations on the shelves.
8) Iron-bound barrels. Breaking them may reveal Rations. The barrel at 8A has 3 Pouches of Magic Dust which can be used to reverse the effects of the Medusa’s and Basillisk’s turn to stone gaze.
9) This Pressure Plate opens the door to the east.
10) Grey Key.
11) Use a Grey Key to open the door to the south.
12) Insal the thief is imprisoned here. If you release him and let him join your party he will stay with you until you rest. At which point he will steal a few items and run off.
13) Darkmoon Guard.
14) A Secret Button that reveals a stairway to Sublevel 1 Location 15.
15) Stairs up to the main level Location 14.
16A-B) When you step at 16B Giant Spiders will appear at 16A.
17) The remains of an Elf. If you try to pick the Elf up the bones will crumble to dust. There’s also a Cleric Scroll of Neutralize Poison, a Mage Scroll of Magic Missile, a Copper Key and a Map of the area showing a few secrets.
18) Use a Grey Key to open the door to the north.
19) Two Temple Guards.
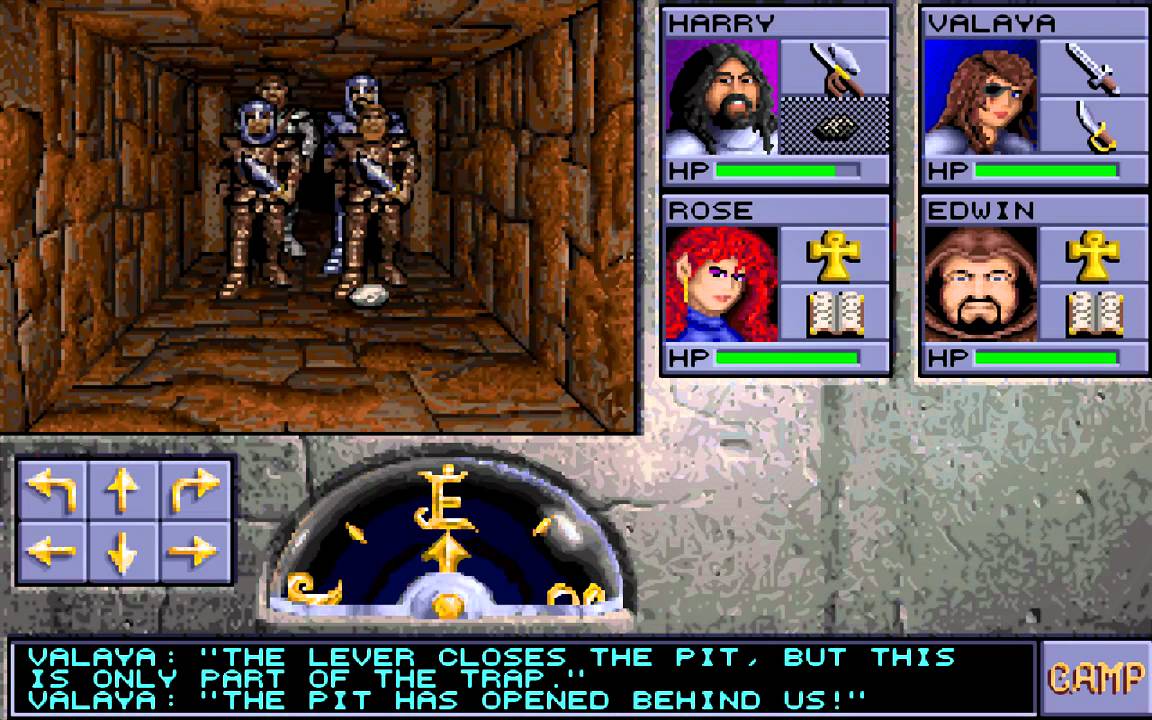
20A-D) It’s a trap! Pull the Lever to close the pit. Stepping on the Pressure Plate at 20C opens the pit behind you and opens the door in front of you. Four Temple Guards will run through the open door and attack. Have a Hold Person spell ready and then hit them with all you’ve got. Falling down the pit leads to Catacomb Level 2 Sublevel 1 Location 50A.
21) A Secret Button in the east wall opens a passage to the east.
22) Stairway down to Catacomb Level 2 Sublevel 1 Location 49.
23) Use a Grey Key to open the door to the south.
24) Use a Grey Key to open the door to the south.
25) Both of these rooms are guarded by fouur Temple Guards.
26) Search the water basin for a Dagger +1.
27) One the floor you’ll find the first Horn called “Northwind”. There’s also a Scroll with a clue on how to use the horns.
28) When you step here the door to the north of #24 opens.
29) Two Temple Guards. One of them drops a Grey Key when killed.
30) Stairs down to Catacomb Level 1 Sublevel 2 Location 31.
31) Stairs up to Catacomb Level 1 Location 30. A Secret Button in the east wall reveals a niche with a Sling and Cleric Scroll of Raise Dead.
32) Stairs down to Catacomb Level 2 Location 1.
33) Stairs down to Catacomb Level 2 Sublevel 2 Locaation 47.
34) Stairs up to Catacomb Level 1 Sublevel 1 Location 35.
35) Stairs down to Catacomb Level 1 Sublevel 3 Location 34.
36) Three cursed weapons are here, a Mace -2 called “Thumper”, a long sword -3 and a Dagger -2 called “Yargon”.
37A-B) Use a Darkmoon Key to unlock the passage to the south. When you go through a Giant Spider appears at 37A.
Back: Temple Level 1 Next: Catacomb Level 2