Venice System
Back to Wing Commander Walkthrough
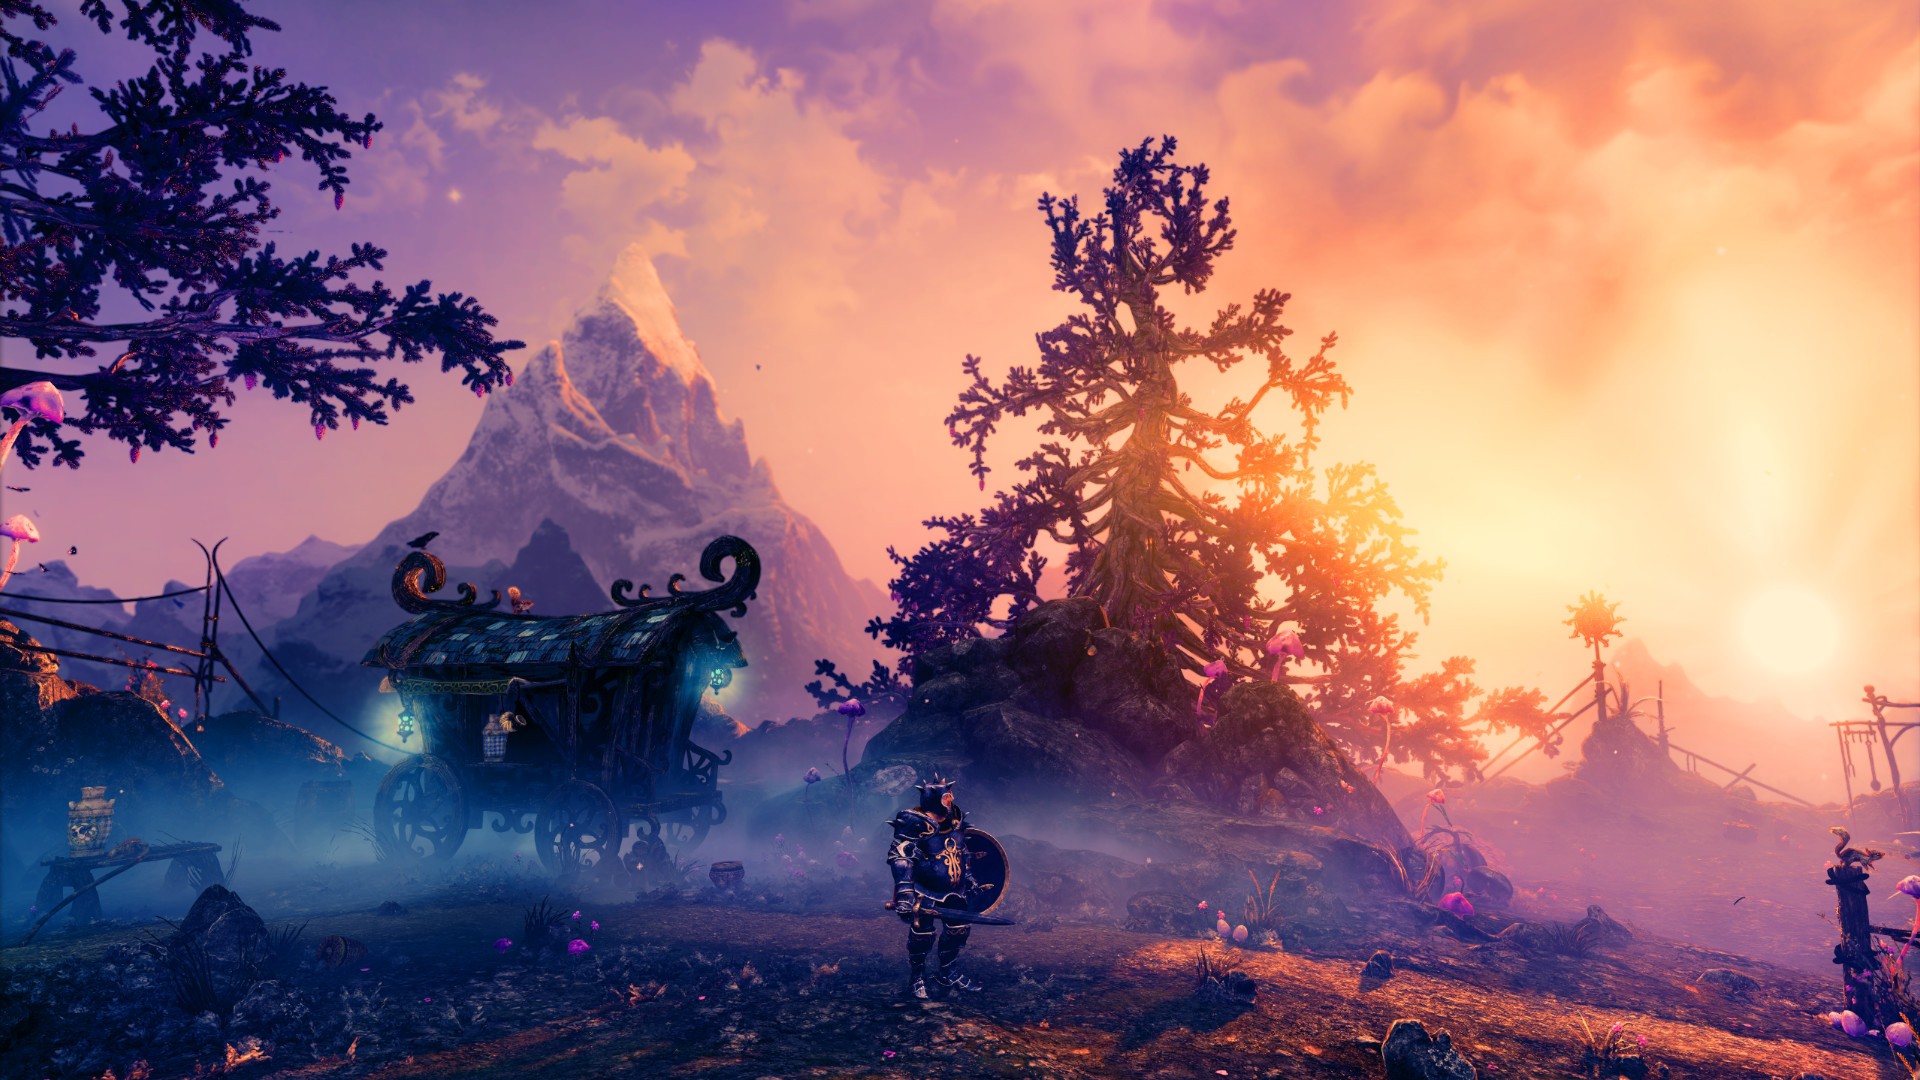
Venice 1
 Venice is the final system of Wing Commander. As long as you can successfully complete these missions you’ll win the game. The first is a 4-point patrol flying a Rapier with Hunter as your wingman.
Briefing: You’ll fly a four-point patrol. At the first Nav Point, you’ll fly by one of our own Exeters. From there on out, though, you’ll be in unknown territory. Now there’s a lot of debris floating around out there and we believe that a lot of it is going to be Kilrathi mines. You’ll be flying near debris at Navs 1, 2, and 3, so be careful. And I want a report on the locations of any mine fields you encounter.
Nav 1 – Just an asteroid field here.
Nav 2 – Consists of an asteroid field and 2 Jalthi. Nothing you haven’t faced before.
Nav 3 – Another asteroid field. Stick to the northern edge to avoid most of it.
Mine Field – Between Nav 3 and nav 4 you’ll fly through an unexpected mine field.
Nav 4 – There’s strong opposition here with a Ralari supported by 4 Krant in the first wave and then another 4 Gratha to contend with.
Venice 2
 You’ll have some extra firepower in this mission with the 2 rapiers that fly along your side. Find the Kilrathi capital ship and take her out.
Briefing: You’ll rendezvous with two Rapiers, Foxtrot Wing, from the Kyoto, here. From this point, you’ll proceed to Nav 1 skirting the edge of an asteroid field. Then you’ll head on to Nav 2, the last reported position of the Fralthi. She can’t be far from this point, and she’s an awfully big bogie. You shouldn’t have any trouble finding her.
Nav 1 – Asteroid field.
Nav 2 – In the first wave you’ll meet the Fralthi escorted by 4 Salthi. A second wave of 4 Krant will try to prevent you blowin up the capital ship.
Venice 3
 You’ll be doing a 3-point patrol off the Tiger Claw’s starboard side. You’re on your own for this misison. Intercept any Kilrathi making a run on the Claw. You’ll meet up with the tiger’s Claw again after passing through nav 3.
Briefing: This is essentially a three-point patrol except that you’ll rendezvous with the Tiger’s Claw at Nav 3 instead of returning to the Claw’s original position. Be on the lookout for any enemy vessels in the area. It’s safe to assume any Kilrathi you see is headed to attack the Claw so your orders are to immediately engage and destroy all enemy ships.
Nav 1 – There’s an unexplored mine field here.
Nav 2 – Another mine field with 2 Jalthi.
Nav 3 – There’s a Kilrathi capship here, a Ralari, and 2 Dralthi.
Tiger’s Claw – Back at the Tiger’s Claw she’s being attacked by 4 Gratha. Fire your missiles to take at least one or two of them out as quickly as possible. Make sure you target the Gratha that are closest to the Tiger’s Claw and boost your way towards them with all guns blazing. Once two of the Gratha have been taken out the Claw should be pretty safe.
Venice 4
Take out the Kilrathi Starbase! It’s time for the final confrontation. The quickest way to complete this mission is to ignore all of the fighters and head straight for the Starbase.
Mine Field – On the way to Nav 1
Nav 1 – A Fralthi escorted by 4 Krants. Ignore them, boost away and then head to Nav 2.
Nav 2 – 4 Gralthas are protecting the Starbase. Boost in and then use your missiles to take down the bases defenses. Finish it off with your guns. You may need to come in for a second or third run. If you kill the 4 Gralthas another 4 Salthis will appear and if you kill them a final 4 Jalthis will appear. It’s best to ignore them and focus on the Starbase.
Tiger’s Claw – Return to the Tiger’s Claw for the victory celebration.
Success: You Win!
Failure: You Lose!