Chapter 2: Rubble Without A Cause
After winning the knight’s competition Graham takes over King Edwards reign as King of Daventry. Things are not all as they seem and Graham has a tough time keeping up with all the requests and addendums.
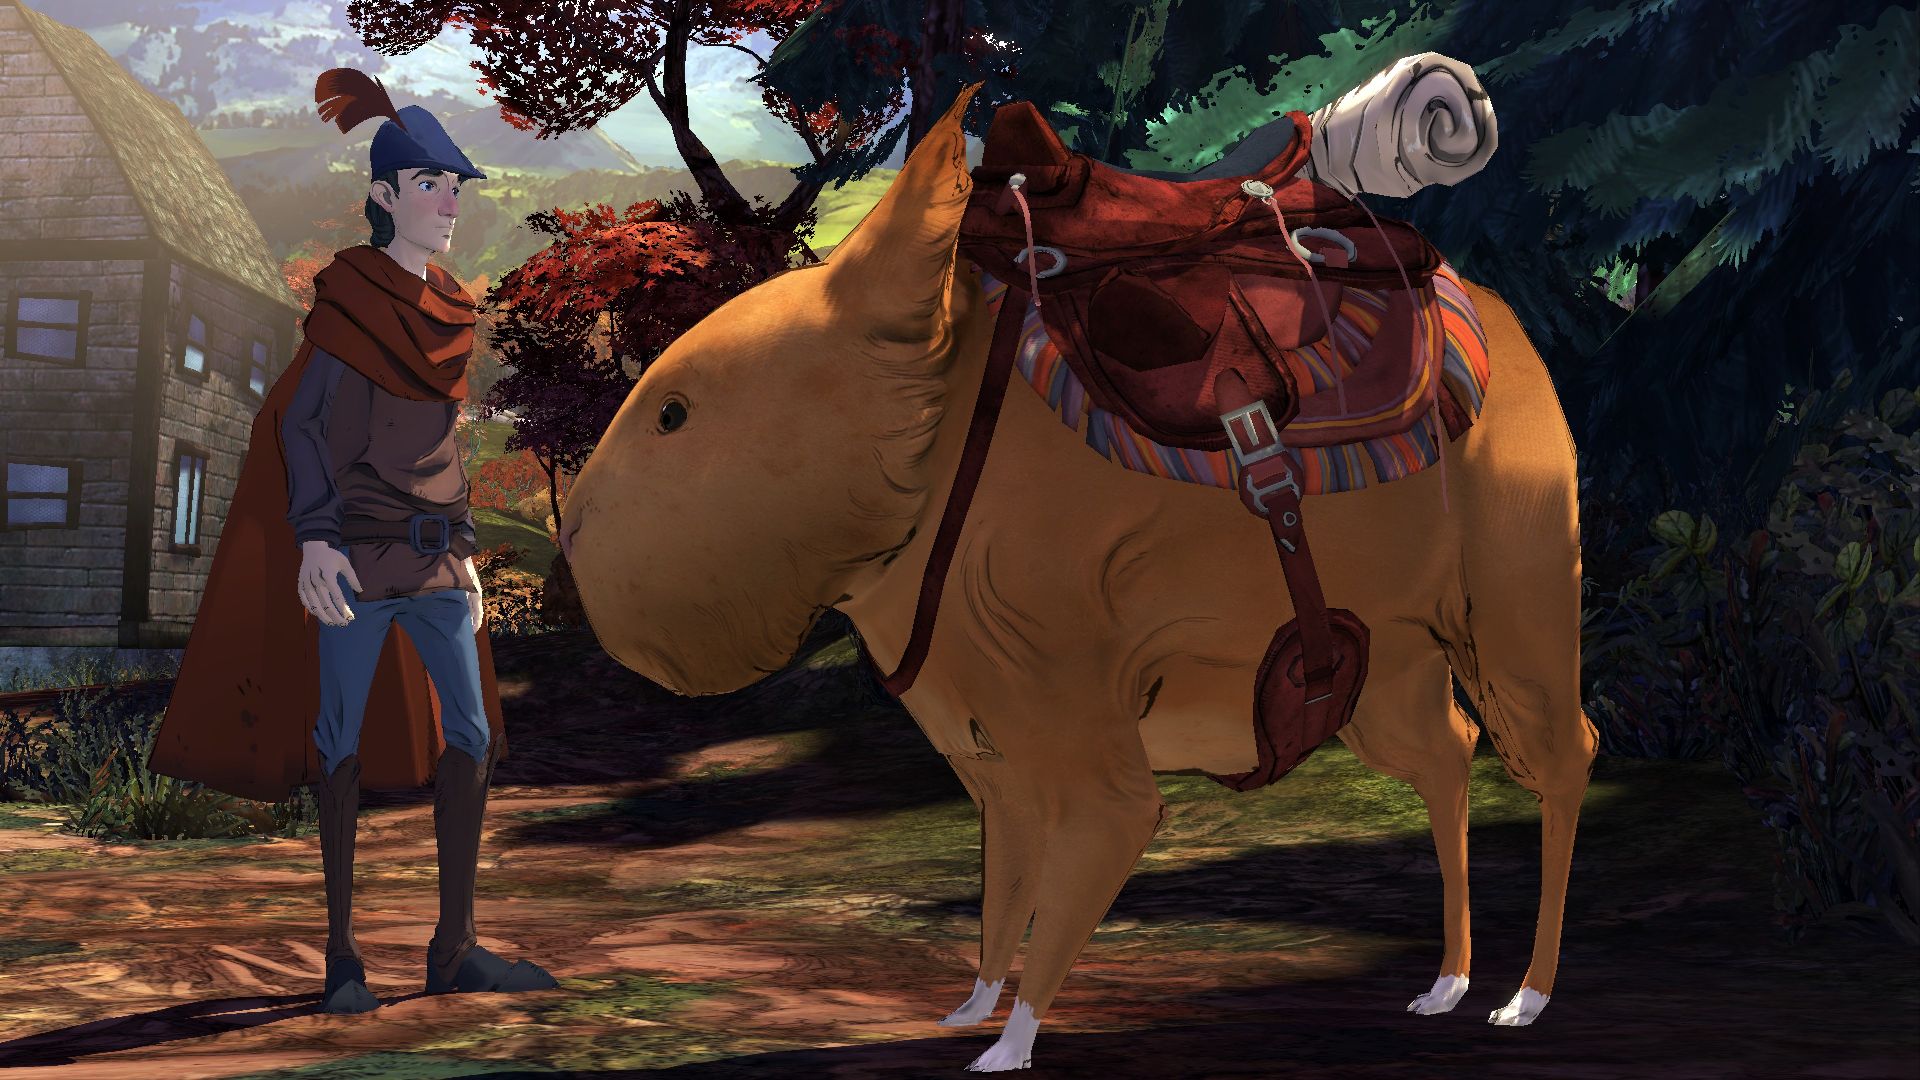
Graham goes for a walk out in the rain to clear his head and meets his old friend Olfie, who takes him back to the town. The town is deserted and rock goblins advance from the roof tops. Welcome to Chapter 2 of King’s Quest!
Chapter 2: Rubble Without A Cause
After knocking on one of the doors Graham will be kidnapped by the rock goblins. There’s nothing you can do to get out of this situation but at least you’ll find out where the other townsfolk have gone.
The goblins will take you to their caves and throw you in one of the rooms. It’s very dark in here but don’t worry. Once you bump into something a little blue lizard will light up.
Head towards the blue lizard and press the action key.
The lizard will scutter away. Keep following it until it knocks over a glass jar. Walk to the south west of the room and pick up the jar. Then head over to the newt and use the jar on the newt. He’ll call out to his friends who will light up the room for you.
Now that your cell is lit up you can actually see what’s going on. There is a stone table in the center, a pipe running along the left wall to a drain, a mirror and some kind of contraption with a lever.
First have a look in the mirror. You’ll see three biceps representing your strength. None of the biceps are colored in meaning you have very little strength left. Every time you eat something you will gain one level of strength until you are at full health.
To get your first meal pull the lever. The bucket will fall down. Pick up the bucket and place it over the drain. Now turn the tap on the left side. Some yucky cold porridge will pour into the bucket. Pick up the bucket and head over to the place mat on the table and use the porridge.
After eating the meal you can look in the mirror again to check your strength.
As a general rule contraptions with one rock require one level of strength, two rocks two levels and three rocks three levels.
Pull the lever, this time you’re strong enough to pull down the bed.
Day 1: Goblin Chores
When you wake up the goblins outside will be arguing about who’s to do the chores. They’ll decide you should clean up for them and will let you out of your cell.
Move close to the spider web and use the rag that is now in your inventory.
Mr. Fancycakes is in a cell to the left. He looks rather forlorn but there’s nothing we can do for him right now.
Ignore the little door to the right for now and follow the goblins through the tunnel.
Head upstairs to the first level and walk over the bridge with the gingerbread sign on it. You’ll see Wente and Bramble stuck in a cell. Bramble looks sick and needs some medicine.
To the right of the cell is another spiderweb. Use your rag to brush it away and then continue down the corridor to the right.
You’ll walk past a rocking horse with a gold coin above it on a ledge. We’ll come back for this later when we have a way to reach up that high. For now continue on to see Chester and his wife also trapped in a cell.
Chester is quite hungry but what they need is something to finish their potion. Take a look inside their cell and have a look at the book. You’ll see the third ingredient they need is a fly, or more specifically an eye of fly.
Brush away the cobweb to the left of the cell and head back to Wente. This time take the path to the left to meet Amaya.
You can ask the prisoners how they’re doing to see their health bar. You’ll need to keep all of them alive while you figure out how to escape. They will lose health each day they go without food.
Finally brush away the cobweb to the right of Amaya’s cell. This time the spiderweb will get stuck you you’ll end up with it in your inventory.
You can now head back down to your cell to go to bed. The goblins will make sure you go back to your cell anyway. They’ll shake you out to make sure you have no contraband.
Pull the lever to go to sleep.
Day 2: Who To Feed?
When you wake up you’ll have a new chore, feed the giant rat! At least now you have some food, a giant drumstick! But who will you share it with?
After being given the meat to eat go over to your dinner table and eat the drumstick. This will improve your strength by one level and you can now open contraptions that use up to two rocks.
Go all the way up the spiral staircase to the top with the goblin guarding the doorway. Use the spider web on the lever. The goblin will try to pull the lever back down and get stuck. You are now free to explore the top level of the goblin caves.
Walk through the doorway and take the path to the right. Keep going to the right until you come to a sword embedded in the stone. You’ll see this has two rocks attached to it so as long as you’ve eaten twice you’ll be able to pull the sword/pan thing out.
Head back to the start of this area and cross the bridge to the left. Immediately walk to the top of the screen and climb up the scaffolding to the wooden door. This is a two rock door so you will be able to open it. turn the winch to open the door.
Walk into the room on the right with the green curtains, just past the small hatch. You’ll take a peak at a play with a goblin and a frog. Walk around to the back of the theater and turn the winch to move the rock to the left and right. When the rock is raised turn the winch to move it over the log to the left. Now wait for the rock to drop and turn the winch again to move it back to the right and onto the pressure plate.
The hatch should now be open and you can drop down the hole to get the frog.
Climb back down the wooden scaffolding and take the entrance opposite the bridge. You’ll see some fireflies darting about. Use the frog on the flies to catch one. To get an extra feed for the day take the frog to Chester before catching the fly. You’ll get the frog back and he’ll still have a meal.
Walk back down to the middle level of the caves. You can now lower both the left and right bridges. Take the bridge to the left and give Amaya the frying pan sword. She’ll ask you which goblin you want her to take out first. Tell her the right one and he’ll drop a gold coin.
After this the 2nd day will end and you’ll be taken back to your cell.
Day 3: Miracle Cure
In the morning you’ll be given more meat to feed the beast with.
Run up to the top level of the caves and go over the right bridge. To the north is the merchant. Have a chat with him and by the “cure all” medicine for one gold coin.
Run back to the second level and talk to Wente and Bramble. Give them the miracle cure-all and Bramble should immediately start feeling better.
Go see Chester and his partner now to the right and give them the drumstick.
Chester asks for an eye of fly to finish the potion which will destroy the roots and let them escape.
Give them the fly. Chester pours the potion on the roots and it sprouts flowers! Chester got the potion wrong and asks for flying eyes instead. He throws away the weed-growing potion so you pick it up.
Muriel wants to build a bomb. Chester will give you a book on how to build it.
Head upstairs now and go to the plant in the middle. Pour the weed-growing potion on the plant. It’s still not tall enough to climb. You’ll have to check back tomorrow.
Walk all the way down to your room and go to sleep.
Day 4: Glowing Forest
In the morning Mr. Fancycakes will be taken out. If you saved him you would have had to sacrifice one of your other friends.
Eat the meat that you’re given, restoring your strength to the maximum. You can now undo all of the nuts on the pipe to the left. Climb up the pipe. You’ll come into another room with hay and a music box.
Pick up the gold coin in the bucket and play the music box. Turn the handle to the top left to change the song. The song you are looking for is the lullaby to send the goblin to sleep. This music box will give you the code to playing this song in the room with the mattresses.
If the notes from left to right represent 1 to 5 the key to playing the lullaby are 4 4 5 1 4 4 5 4.
Climb back up to the very top and go to the mattress room in the small hatch and configure the music box to play the lullaby above. When the goblin is asleep look through the mattresses to find the pea.
Now head back down to the center and you’ll see that the weed has grown. It’s big enough now for you to climb up to the top where you can pick up a gold coin and chunder blossom before climbing back down. The chunder blossom is used later in making some cakes if you take the path of compassion.
Head to the right and visit the merchant once more. Buy the bowl of porridge with branberries for two gold coins.
Walk to the left past the bridge and climb up the wooden scaffolding. You’re now strong enough to open the 3-rock door up ahead.
Through the door you’ll see a cave to the top left and some glowing plants around a hatch to the right. Take the cave entrance up to the top left. Some goblins will be trying to fit a glass shoe by a fireplace. One of them will throw the shoe over the edge. See where it lands, on a plant.
Walk over to the edge and pour the weed-growing potion over the edge. Once again you’ll need to check back tomorrow. That’s all you can do here for now so head back to the glowing plants and go through the hatch.
Inside you’ll find a pretty amazing glowing forest with a bowl of roses in the middle. Take one of the roses and run back quickly. There’s no time to dawdle here as you’ll need to keep the rose moist or it will die.
Run back to the area outside the goblin theater and place the rose in the water. The wilted rose will be fresh again.
Climb down to the fireflies and use the rose in the water dish here as well.
Run down the stairwell to the second level and use the rose on the water before going to the Hobblepots cell. Use the rose on the water here one last time.
Give the Hobblepots the pea and the porridge with branberries. Run back to your cell and go to sleep.
Day 5: Escape
With your meat this time go into the little hatch by your cell and feed the giant rat. Open the chest and find the wooden chair.
climb the stairwell to the second level and go to the Hobblepots cell to the right. Use the chair on the rocking horse so you can climb up it and get the last gold coin.
Give the porridge to the Hobblepots.
Pick up the rose and give it to the Hobblepots. The bomb is a dud but Chester has made enough food for a week.
Take the bomb and climb up to the third level. Walk to the left, up the wooden scaffolding and through the three-rock door. Continue through the cave to the top left and you’ll now see the plant has grown.
Climb down and pick up the glass shoe. Take it to the right and give it to the poor goblin sweeping up. The shoe fits perfectly. He’ll run off, giving you his broom.
The goblins around the fire are gone as well. Put the bomb in the fire to reveal hidden tunnels beyond.
Run through the tunnels until you find the fairytales. A bit of paper will fall off the pipe, the page of bravery. Pick it up and the goblins will come back and open up one of the pipes.
Climb through the pipe into another room. Pick up the bolt cutters and head back out.
Run back to the Hobblepots and use the bolt cutters on the lock. The goblins will all run in wanting some soup. Watch the cut scene and then get ready for an audience with the goblin king.
An Audience With The King
Now that you’ve escaped with one of the villagers you’ll need to make your way across with them to find the king. First you’re confronted with the pillars similar to the ones in the first chapter.
Jump around the pillars to the right for the first section. You’re going to lead the way for Chester and give him instructions on how to get across.
For the second section jump to the top left, top right, forward, top right, top left and then forward.
For the final section jump to the top left, top right, top right, top left, top left, top right and forward. Instruct Chester on how to make it across as well.
As you continue forwards you’ll find a baby dragon. to the right of the goblins is a light. Place the baby dragon in front of the light to scare away the goblins.
Run across the bridge and find your old hat. Inside is a large library and a book written by Manny. Read the book and listen to his fairytale.
After reading the book pull out the book to the right “1001 Goblin Pranks”. Graham will throw it to the ground and it will open at prank 781, The Baby Swap.
Head over to the left side and pull out another book. This time a bookshelf will open up revealing a secret tunnel.
Go through the tunnel to find the king’s room. The knights are in distress and Graham offers to give the king a new story.
When you look in your inventory take out Chester, the wise man.
As you tell your story one of the knights will move over to the lever. You’ll be given some options to contribute to the story which may affect some of the animations.
When you’re in front of the king and given the option to look in your inventory again use your adventurers cap.
Lastly take out the page of bravery.
Graham will punch the king, grab the key and complete the second chapter.
King’s Quest Page Locations
The path above is not the only way to win King’s Quest Chapter 2. There’s still a few places we haven’t explored and a few more items to collect. There are three pages to collect in King’s Quest Chapter 2. You may not be able to collect all of them in the same playthrough. Here’s all the page locations and how to get them.
The First Page
You can find the first page after saving Mr. Fancycakes. Unfortunately you only have one cure-all potion so saving Mr Fancycakes also means sacrificing Bramble.
To get the page buy the Cure-All Medicing Potion from the Merchant and give it to Mr. Fancycakes (he’s in a small cell across from the giant rat). Bring the “unicorn” back to the merchant and he’ll give you an axe. With the axe chop down the mushroom on the way to Amaya’s cell to grab the page.
The Second Page
To get to the second page you’ll need to have at least two strength so you can lift the frying pan sword out of the rock. Give the “sword” to Amaya and tell her to hit the Goblin on the left.
The Goblin will drop a key. Pick it up before you get taken back to your cell. The next day go to the little door next to the Merchants and open it with the key. Grab the book from next to the dishes and a page will fall out. This is the second page.
The Third Page
For the last page you’ll need the Bomb from the Hobblepots. Follow the walkthrough above if you’re not sure how to get to that point. Throw the bomb into the fire behind where the Goblins were with the glass slipper. This will blow a hole in the wall. Inside you’ll see a collection of fairy tales. One of them, the Page of Bravery, will drop to the floor allowing you to pick it up.
Next Part: King’s Quest Chapter 3 – Once Upon a Climb