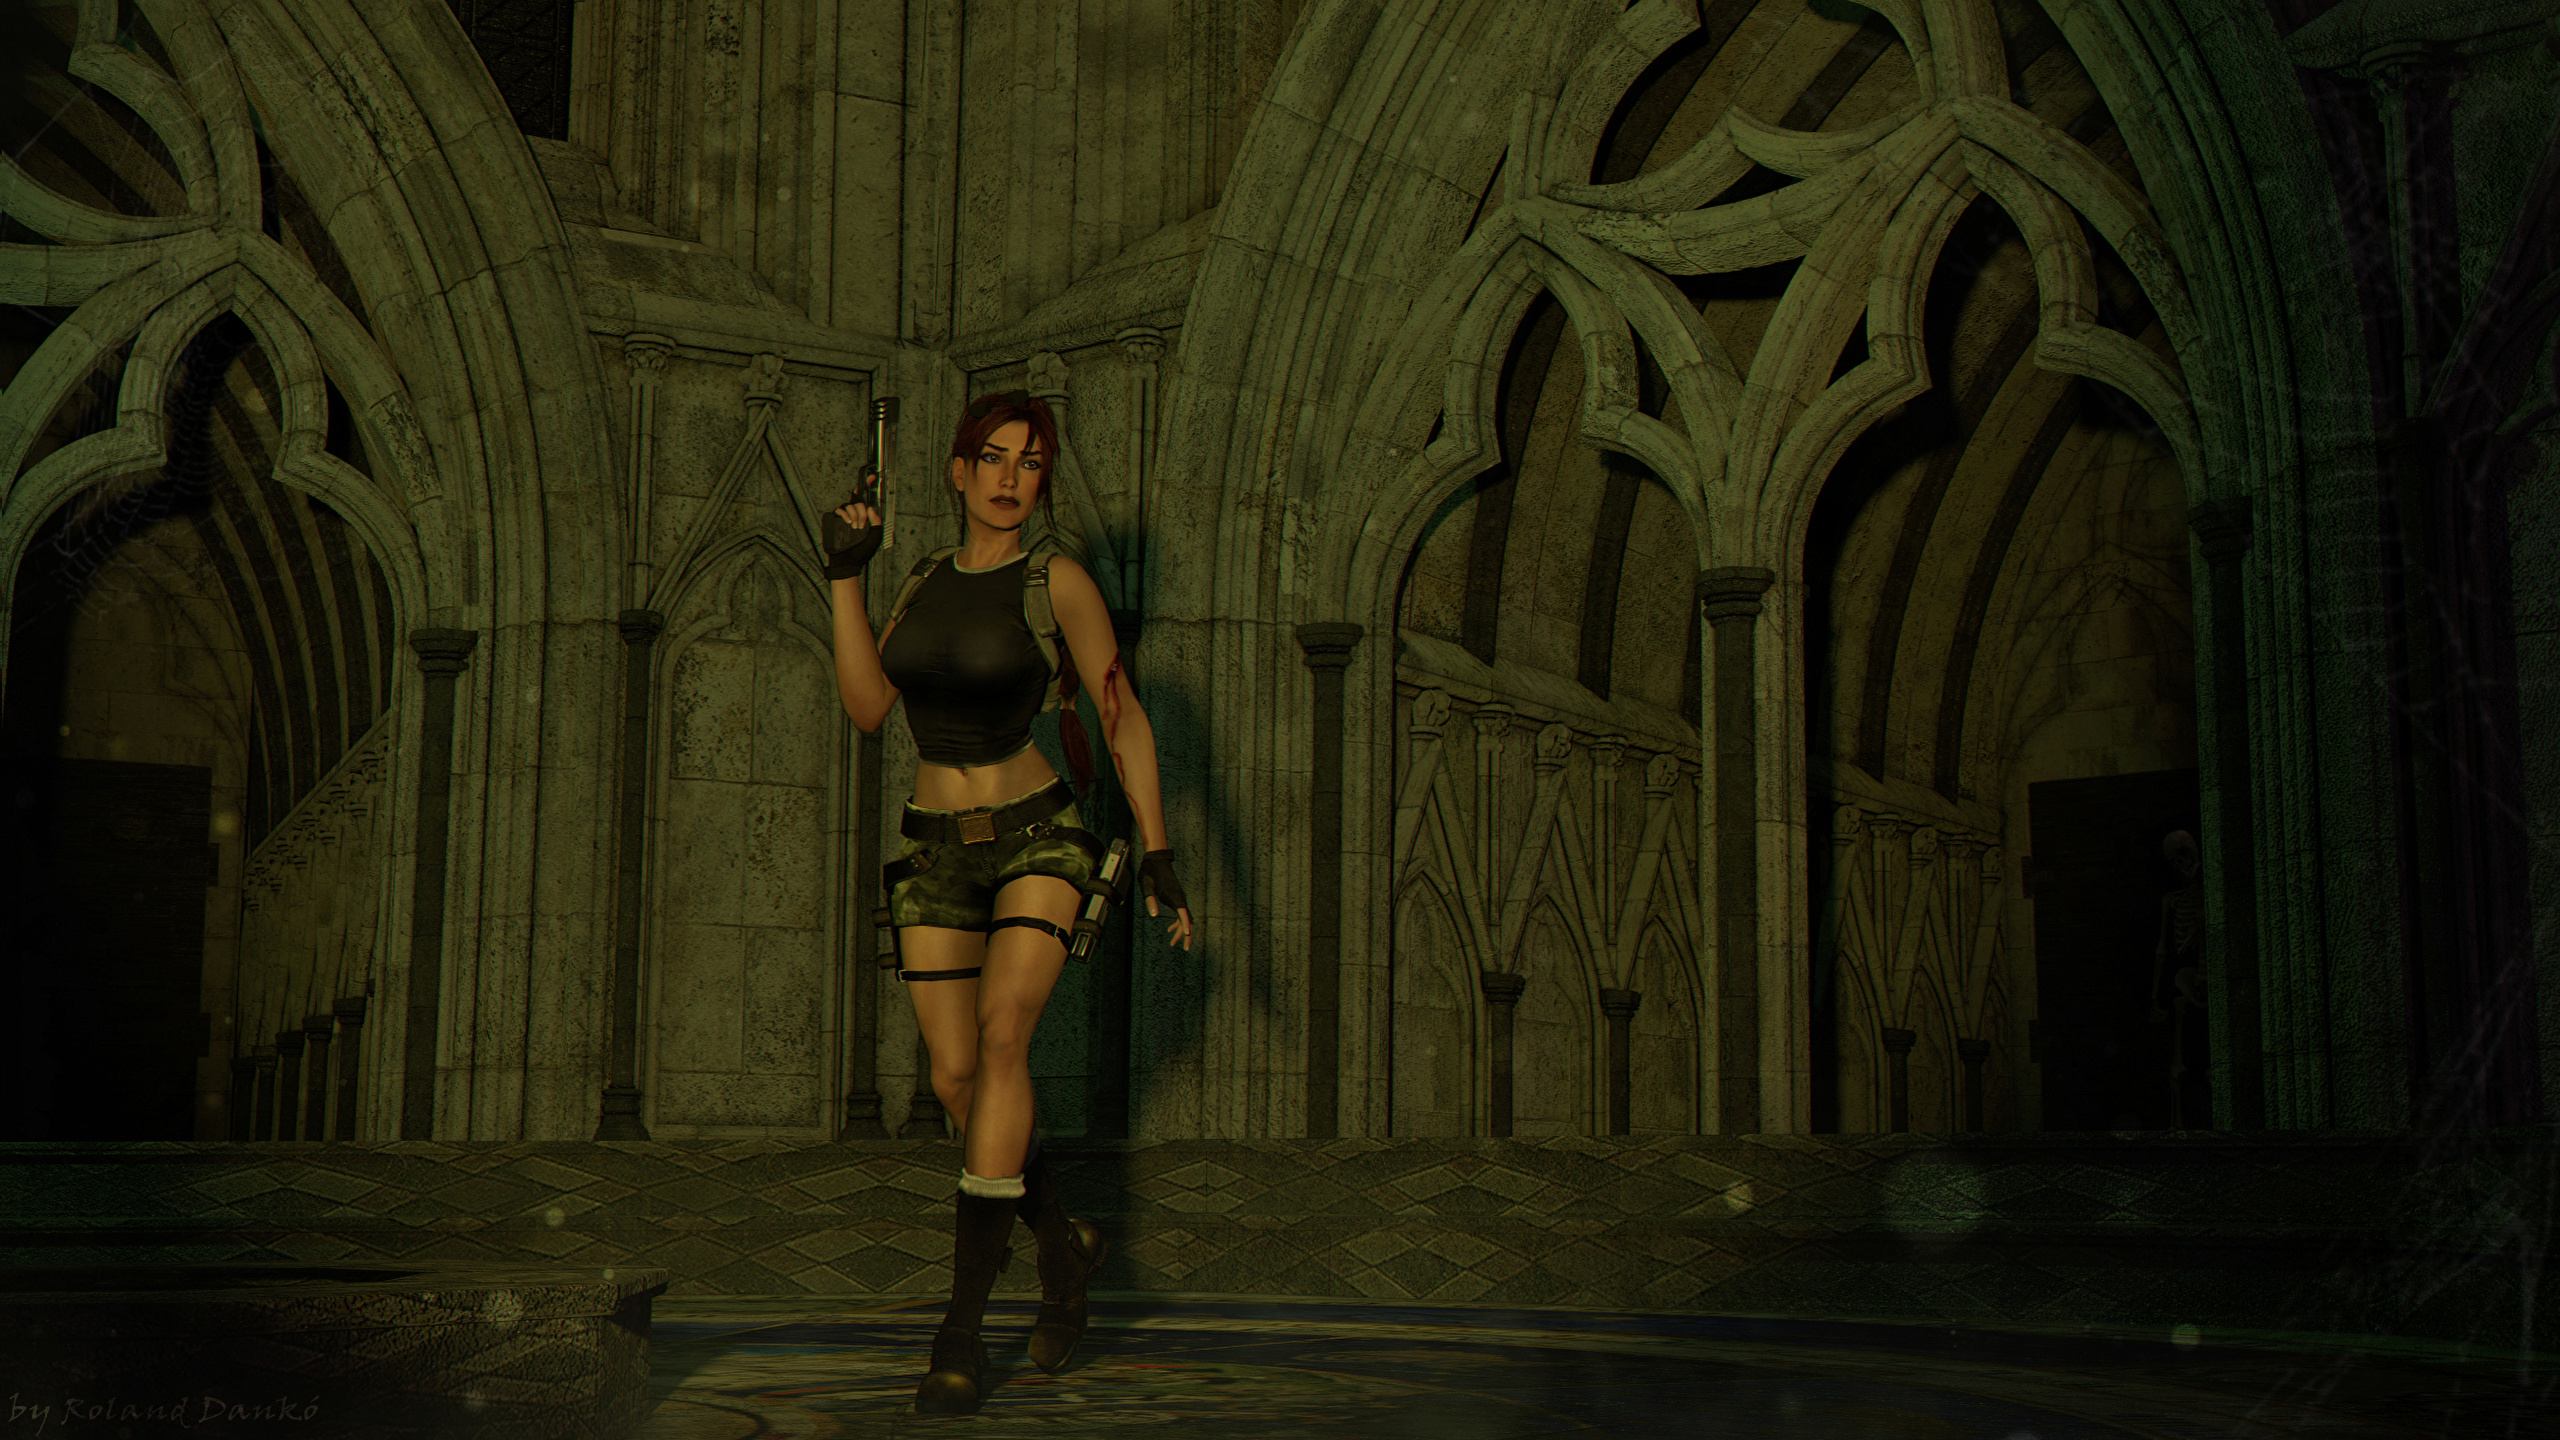
Croft Manor
Back to Tomb Raider: Legend
Croft Manor
Collectibles: Gold: 1, Silver: 10, Bronze: 16
Main Hall
As soon as you enter the manor turn to the left and pick up the Bronze Shield (1/16) by the door.

Head through the partitioned off section with the electronic equipment and say “hi” to Zip. Use the computer on the ground behind him and to the right. This opens up a safe on the wall where you can find the Grapple.
Run up the stairs on the opposite side of the main hall and follow them up to the left. At the top of the stairs use the Grapple to pull out the silver button on the wall. This opens up a secret compartment below it with Bronze Shield (2/16).

Run to the other end of this walkway and open the door to the right. Follow the corridor around to another door that opens out to Lara’s bedroom.
Lara’s Bedroom
The walk-in closet to the right is where you can change into any of the outfits that you’ve unlocked along the way.
Pull the two daggers just to the left of the entrance and the medusa symbol will open up, revealing Lara’s Pistols.

Head across to the bedroom and run behind the bed where you’ll find Bronze Shield (3/16).

Leave the way you came and run along the walkway to the other door on this side. Follow the corridor around and you’ll end up in the library.
Library
Turn to the right and shoot the boards blocking the small room. Inside you’ll find a movable book cart and Silver Shield (1/10).

Pull out the book cart and place it on the pressure plate to the left of the desk where Alistair is working. Pick up the Personal Light Source from the corner of the desk.
Grapple the shelf to the left, just to the right of the white shield on the wall. A second book cart will drop to the floor.

Place this book cart on the pressure plate to the right of the desk and a secret passage will open up just to the left of the white shield.
Secret Passage
Run down the steps and pick up Silver Shield (2/10) in the corner. Continue to a stack of 3 boxes in one corner. Shoot the one in the back for Bronze Shield (4/16).
If you follow this corridor along you’ll end up back at the main bedroom which you don’t need to do. Instead turn around the way you came and activate the gold face on the wall.

This will spin around a plaque which reads “Above the waters, twin sisters turn their backs one upon the other to leave the ambages unguarded.” You need to get this clue to begin the search for the gold shield.
Main Hall
Go back the way you came to the library and take the exit back to the walkway by the main hall. Head down the stairs and go up the stairs on the other side. Shoot the gold symbol on the wall until a secret compartment opens with Silver Shield (3/10).

Run down the stairs back to the main hall. Take the second door on the right, just past the fireplace. This leads to the pool room.
Pool Room
Jump in and pick up Bronze Shield (5/16) at the bottom of the pool. Climb back out again. Pull out the two fish pedestals on either end of the right wall.

Run around to the far left corner. Behind the reclining chairs you’ll find Bronze Shield (6/16). Pull out the Spear the statue is holding just to the left. You’ll use it to swing across later.

Continue heading around to the left and pull out the next fish pedestal. Behind it you’ll find Bronze Shield (7/16). Push the fish pedestal all the out as close to the pool as you can.
Continue around to where you entered the pool. You should have done a full lap. Looking out over the pool run to the fish pedestal in the far right corner and climb onto it.
Turn around and swing from the spear to grab the underside of the balcony. Traverse around to the right and jump backwards to grab another pedestal. Climb up and use the spear to swing over to the ledge.
Run around to the right and pick up Bronze Shield (8/16) from the diving board.
Look at the two statues with spears. Turn them towards each other like the symbol on the floor. The panel in the alcove will rotate revealing a golden face. Activate the face to open one of the grates in the pool below.

Remember the first clue in the secret passage about the twin sisters turning their backs on each other? These are the sisters. Turn the statues so they face away from each other. You can only do this is you’ve read the first clue.
The panel will rotate again revealing a plaque. Read it for the second clue clue to finding the gold shield. “Within the hall of knowledge, tomes of cerulean, topaz, viridian and crimson in turn reveal their arcanum.”
When facing the statue head to the right and swing from the spear along the side of the room. Grapple across to the other spear and swing up to the ledge on the other side of the room. Run behind the fish statue to the right for Silver Shield (4/10).
Run back to the horse statue and pick up the Binoculars. Use the grapple to pull off the white marble pall on the other fish statue and place it on the circular pressure plate. This lowers a platform in the center of the room.
Drop down and head to the right. Climb onto the fish pedestal that you pushed all the way to the edge of the pool and climb up. From here you can jump across to grab the center platform.

Climb up and grapple the balcony to pull yourself closer. When you swing close enough jump across to the balcony and pick up Silver Shield (5/10).
Dive into the pool and pull the Lever under the water to the right. This opens up the second underwater grate.
Take a breath and then swim through the passage that’s just opened up. Along the way you’ll find Silver Shield (6/10).

Continue swimming through the tunnel and the grate on the other side will open up automatically. As you swim into the pool in the gym you’ll notice Bronze Shield (9/16) right in front of you behind one of the pillars.
Gymnasium
Climb out of the pool and turn around. The next Silver Shield (7/10) is easy to spot. Jump across to the rock ledge and grab it.

Jump back across the pool and get ready for some tricky gymnastics. There’s a number of shields around the walls so we’ll start with the one in the left corner and work our way around clockwise, more or less.
Some of the equipment can be repositioned. For the first shield you’ll need to reposition the horizontal bar so that it’s in line with the side wall. See image below. You can also see the shield we’re aiming for in the corner.

Bronze Shield (10/16): Use the mat with the slight ramp to jump up to the horizontal bar, swing over to the pole and then the horizontal bar that you just repositioned. Swing over to the left side of the rock ramp and jump across to the crevice in the pillar. Jump up and then back to the pole hanging down. Jump across to the next pole and drop straight down to the other side of the ramp. Before you slide off jump to grab the little alcove with Bronze Shield (10/16).
Bronze Shield (11/16): Start from the same position as you did for the last shield, jump from the horizontal bar to the pole to the movable horizontal bar and over to the ramp. Jump across to the pillar but this time traverse around to the right.

Jump across to the pole and then jump towards the rock wall to grab the vertical handhold. Jump to the right to the crevice and again to the ladder. Climb up and jump to the left to the pipe and left to the alcove with Bronze Shield (11/16). Drop down to the floor to start again.
Bronze Shield (12/16): For this shield drop off the edge of the ledge and hang on. Jump across to the pipe to the right and then over to the ladder. Climb down the ladder and jump to the crevice on the rock wall to the right. Jump up to the higher crevice and then to the pillar in the corner. Make your way around to the right.

Jump back to grab the pole, turn around to face the pillar in the corner and drop down. Lara will grab a ledge underneath her. Climb up and grab Bronze Shield (12/16). Drop back down to the floor.
Bronze Shield (13/16): Use the grapple to grab the half-circle and pull it down so it looks like a “D”. The pole you jump to should be vertical.

Jump to the rock pillar by the mats and then backwards to the horizontal bar. Jump to the vertical bar and then over to the half-circle.
From here jump to the vertical pole to the left and then over to the rock wall. Jump to the right to pick up Bronze Shield (13/16) from the alcove. Drop down to the floor.
Bronze Shield (14/16): Before starting use the grapple to move the half-circle back to a horizontal bar. Follow the same path as the previous shield, jump from the rock pillar to the horizontal bar, vertical bar and then the half-circle.
From here swing to the pipe on the wall. Climb up and jump to the rock wall to the right. Climb around to the right and then jump up. Continue around to the right and jump to the right to grab the crevice in the white rock. Jump up to grab the green hand holds, climb up and jump across to the right to grab the pole.

Swing across to the next pole and then the rock wall in the corner. Climb to the left and drop down for Bronze Shield (14/16). Once you have it drop down to the pool below. That’s all for the bronze shields in this room. There’s just a couple of silvers to go for.
Silver Shield (8/10): Before you go for this shield use the grapple to pull the ladder out from the wall and also the rock panel on the other side of the room above the pool.

Your first objective is to make it to the hanging platform in the center of the room. Jump from the raised mat to the horizontal bar, then to the vertical bar and across to the movable horizontal bar. From here to the ramp to the pillar and climb around o the right.
Jump to the pole, to the wall and across to the ladder. Climb up and then jump across to the platform in the center. Take a running jump to the next platform along and grab Silver Shield (8/10).

Silver Shield (9/10): From the platform where you picked up the last shield jump to grab the crevice in the darker rock pillar on the side wall.
Climb around to the right and jump to the lighter pillar. Climb up the green hand holds and across to the right. Swing across the metal poles to the floating platform.

Turn to the left and grapple onto the base of the alcove with the shield. Use it to pull yourself closer and then jump to the alcove so you can pick up Silver Shield (9/10).
Drop down to the floor and head out the door to the room with the fountain. Continue out the exit on the other side and run through the passage back to the main hall.
Library
Make your way back to the library by going up the stairs to the left and then through the first door. When you enter the library you’ll need to press the books in a certain order but it will only work if you’ve unlocked the first two clues.
Go upstairs and pick up the Bronze Shield (15/16) in one of the corners. Pull the dagger switch down to open a secret behind one of the bookshelves where you’ll find Bronze Shield (16/16).

The order that you need to press the books in is cerulean, topaz, viridian and crimson, or Blue, Yellow, Green and Red.
Blue is just to the right of the library entrance, yellow is in the upstairs area, green is on the upstairs landing and red is in one of the downstairs shelves. If you get the order wrong you’ll need to start over from the beginning. Once you press the red book the shelves next to you will slide open, revealing Silver Shield (10/10).

Look at the plaque for the last clue “Above the hearth, revealed visage and countenance touched in haste raise up the Steward”.
Gold Shield
Leave the library and take the passage back to the walkway. Run along towards the gold face that has appeared at the end of the walkway. Use the grapple to pull down the spears on the glass dividing wall.

You’ll need to press both gold faces on either end of the walkway before they reset. Press the gold face next to you and quickly swing across the spears to the other side and press the other gold face. A statue will rise up and you’ll be given a final clue when you interact with the plaque. “The risen Athena turns to face the sun, whose burden then reveals the golden laurel”.
Drop down to the floor below and turn the statue so it faces the window above the stairs. Step on the pressure plate and the statue will lower while a pedestal with the shield will rise up.
Head up to the walkway and swing across to the middle spear. Climb out to the end and drop down to the Gold Shield (1/1).

Back: Level 8: Bolivia Redux Return to Tomb Raider: Legend