Level 4: Ghana
Back to Tomb Raider: Legend
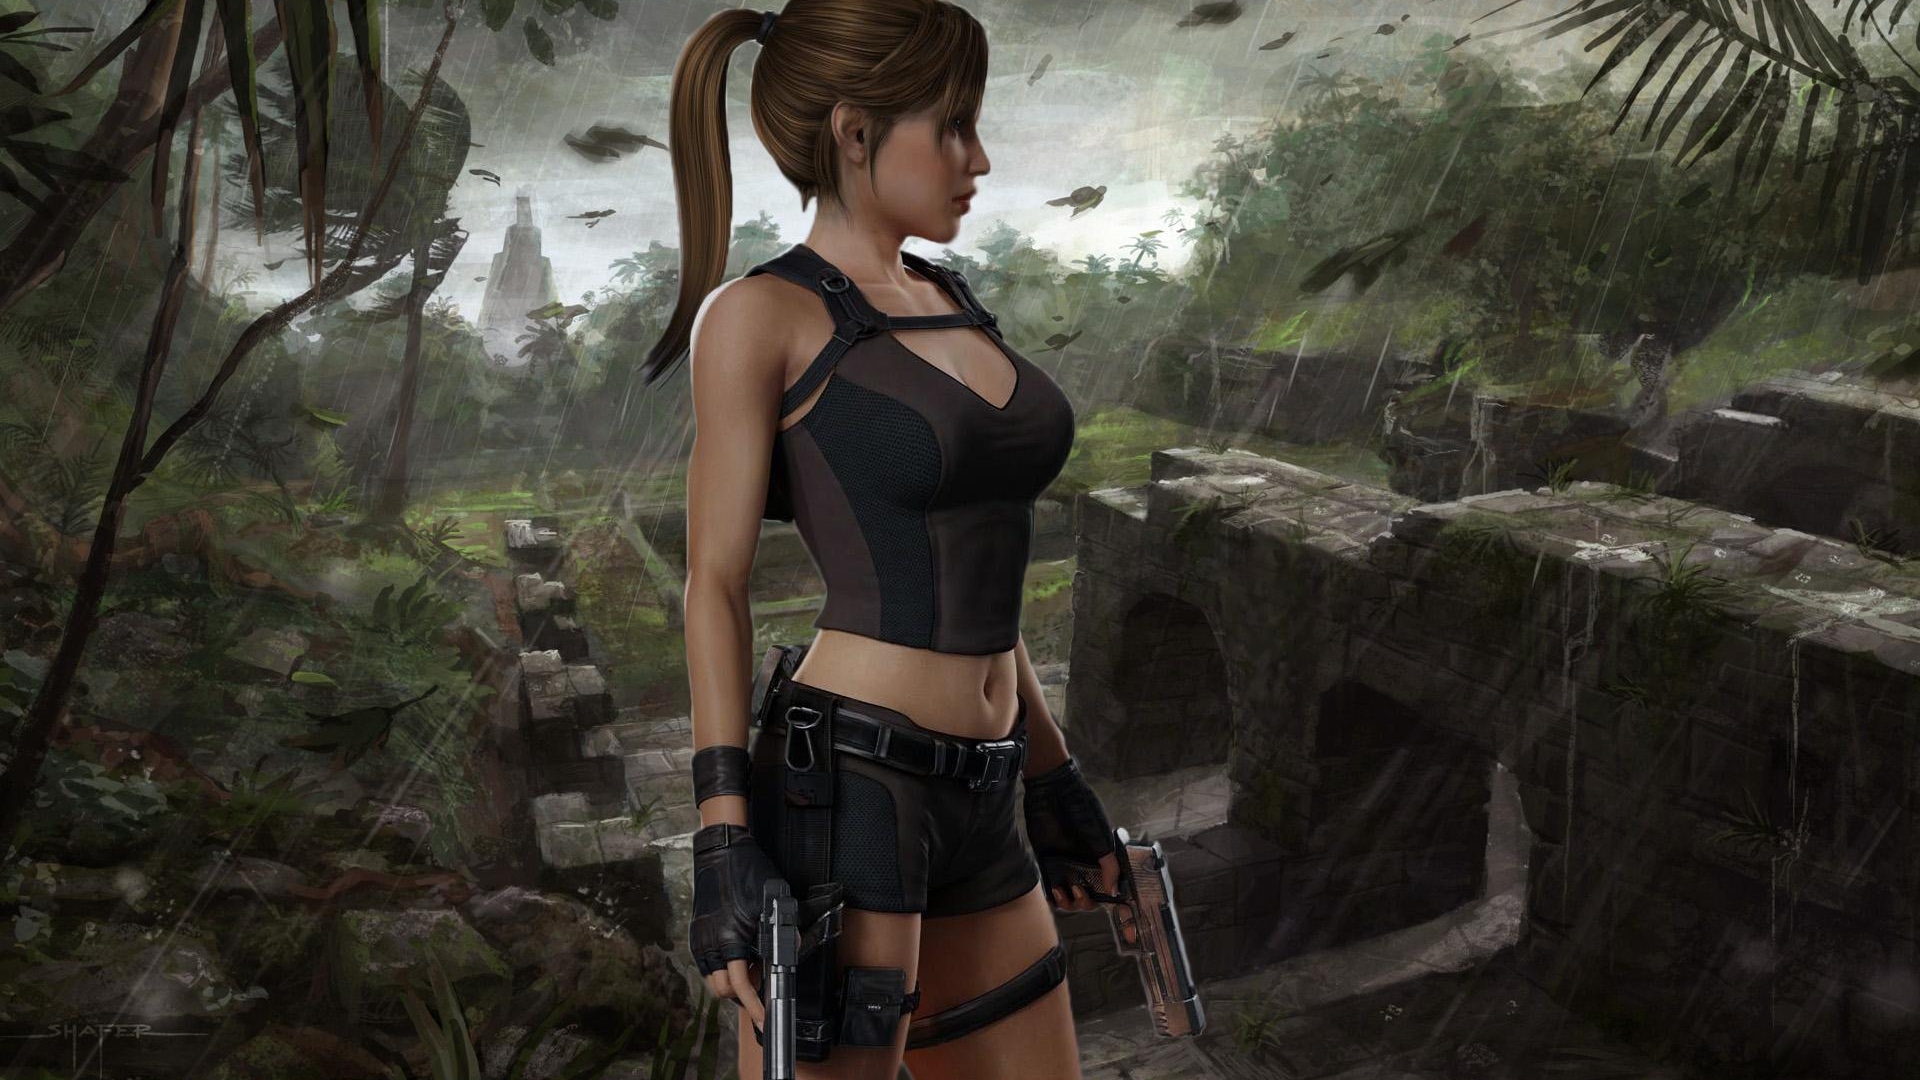
Ghana
Collectibles: Gold: 1, Silver: 4, Bronze: 5
The Waterfall
When you begin this level head down the path to the lookout. Take a big swan dive into the water below. Before opening the temple there’s a couple of collectibles to grab. One Bronze Statue (1/5) is located underwater on the right side of the central island and Bronze Statue (2/5) can be found underwater on the left side.
Grab them both and then climb onto the central island. When facing the drawbridge climb up the blocks to the right. Jump across to grab the rope and Lara will pull it down. This will release the lock. Drop down and quickly grapple the drawbridge and pull it towards you.

Inside the Temple
After the cut scene dive into the water and go through the tunnel underneath the island for Silver Statue (1/4). Climb back onto the island and head into the temple.
Run down the steps and around the corner. Use the Grapple to pull the raft closer. Jump onto it and use the rope to swing across the rest of the pool.
Make your way around the tunnel but watch out for the Mercenary along the way. Continue along the passage until you come out to an open room.
Waterwheel Room
Take out the Mercenaries in front of you but ignore the rest for now. Quickly run up the stairs and take out the Mercenaries around the machine gun. Use the machine gun to take out any remaining enemies.

Before you get up shoot the pillar to the right to free the first waterwheel. Go back to the steps in the corner and pick up Bronze Statue (3/5).
Hop onto one of the poles around the moving waterwheel and jump across to the rope. From here jump to the platform and use the grapple to pull yourself to the other side.
The Climb Up
Jump to the other waterwheel and from there to the stone ladder. Climb up to the top and then up another stone ladder. Use the crevices to climb your way up to a third ladder. Climb up to the top and drop down into the open room.
Repairing the Second Waterwheel
Take out the Leopard and then head up the broken staircase. Continue around and you’ll spot Bronze Statue (4/5).

Climb up the block in the corner and then onto the hanging stone. As it lowers jump to the next one and then to the stone ladder. Climb up for a short cut scene.
Dive into the water on the other side of the wall and climb out in the left corner. Jump up the broken steps for Silver Statue (2/4).
Jump back into the water and swim to the other room to climb onto the raft. Use the grapple on the pillars to pull yourself close to the ledge with the ladder.

Jump onto the dangling stone and wait for it to lower. Jump across to the next stone and then up to the ledge. The final Bronze Statue (5/5) is hidden just around the corner.

Use the grapple to swing across the gap and then use the cracks in the pillars to climb around to the ledge in the corner with the pressure plate.
Stand on the pressure plate to revolve the platform and tip off the box. Wait for it to revolve back and then jump across to the other side. Pull the stone block onto the second pressure plate.
Jump back to the first pressure plate and stand on it. Wait for the arms to be release and jump to the center. Use the grapple to pull out the center button and the arms will lower.

Water will start flowing down to the other waterwheel. Dive down into the water and follow the flow of water through the tunnel. Climb all the way down back to the waterwheel room.
Trapped Hallway
Jump across to one of the poles on the second waterwheel, then across to the rope and the ledge in the corner with the trapped passageway.
Make your way past the spear traps rolling just as they’re pulling backwards. Grab the stone block and push it in front of you to stop the spinning blades.

Be careful when you get to the end or you might get hit from behind. Continue up the steps to the next blade trap and jump/roll past the spinning blades.
Run around the passage to the boulder trap. Quickly jump and roll past the static spears and then leap over the gap. Lara will do the rest.
Outside the Temple
Climb down the ladder to the left for Silver Statue (3/4). Climb back up and jump to the pole on the other side. Make the jumps around the pillar and across the poles back up to above where you started.
Use the platforms to make it back across to the other side. Then use the poles and wall to climb back the other way. See the video for the exact jumps. Eventually you’ll make it up to a ledge where you can enter the temple at a higher level.
As you make your way through the passage Lara will find an Amulet belonging to her mother.
Continue through the dark tunnel and swing across the spiked pits to the other side. As you approach the exit you’ll be attacked by a Mercenary. Head out to the waterfalls.
Bridge and Waterfalls
First take a detour for the final silver statue. Turn to the right and jump across the poles.

Jump to the wall and then across to the left. Drop down and throw a grenade in front of the door. It will break open so you can pick up Silver Statue (4/4).
Make the jump back to the wall and jump to a higher ledge. Once you get to the top you’ll spot Mercenaries dotted around the room. Take them out from this side if you can. You may need to pick up an Assault Rifle to reach them.
There’s supposed to be a wooden bridge going across the width of the room but it was never there for me. If it’s still standing you can run across it otherwise you’ll need to swing across the ropes to the other side.

Head through the exit and take out the Leopard. Climb up the stairs on the left side. When the boulders starts rolling down jump across to the rope and swing over to the stairs on the right side. Quickly roll into the small alcove to avoid the second boulder rolling down the stairs on this side.
Up the top stand on the pressure plate. This not only opens the door in front of you but a secret between the stairs. Drop down and go through the now open door to find the Gold Statue (1/1).
Make your way back up the stairs and stand on the pressure plate once more. Quickly roll under the door and get ready for a boss fight.
Rutland Boss Fight
Rutland will continue to regenerate as long as the snake pillars around the edge of the arena are still intact. Once you’ve caused him enough damage to retreat up to one of the ledges quickly shoot the underside of the pillars.
A grappling point will be revealed. Use the grapple to attach to each pillar and pull them down.

Once all the pillars have been destroyed Rutland won’t be able to heal. Now’s you’re chance to finish him off. I like to save the Shotgun for this final sequence and use the regular pistols for shooting the pillars.
Back: Level 3: Japan Next: Level 5: Khazakhstan