Level 7: Nepal
Back to Tomb Raider: Legend
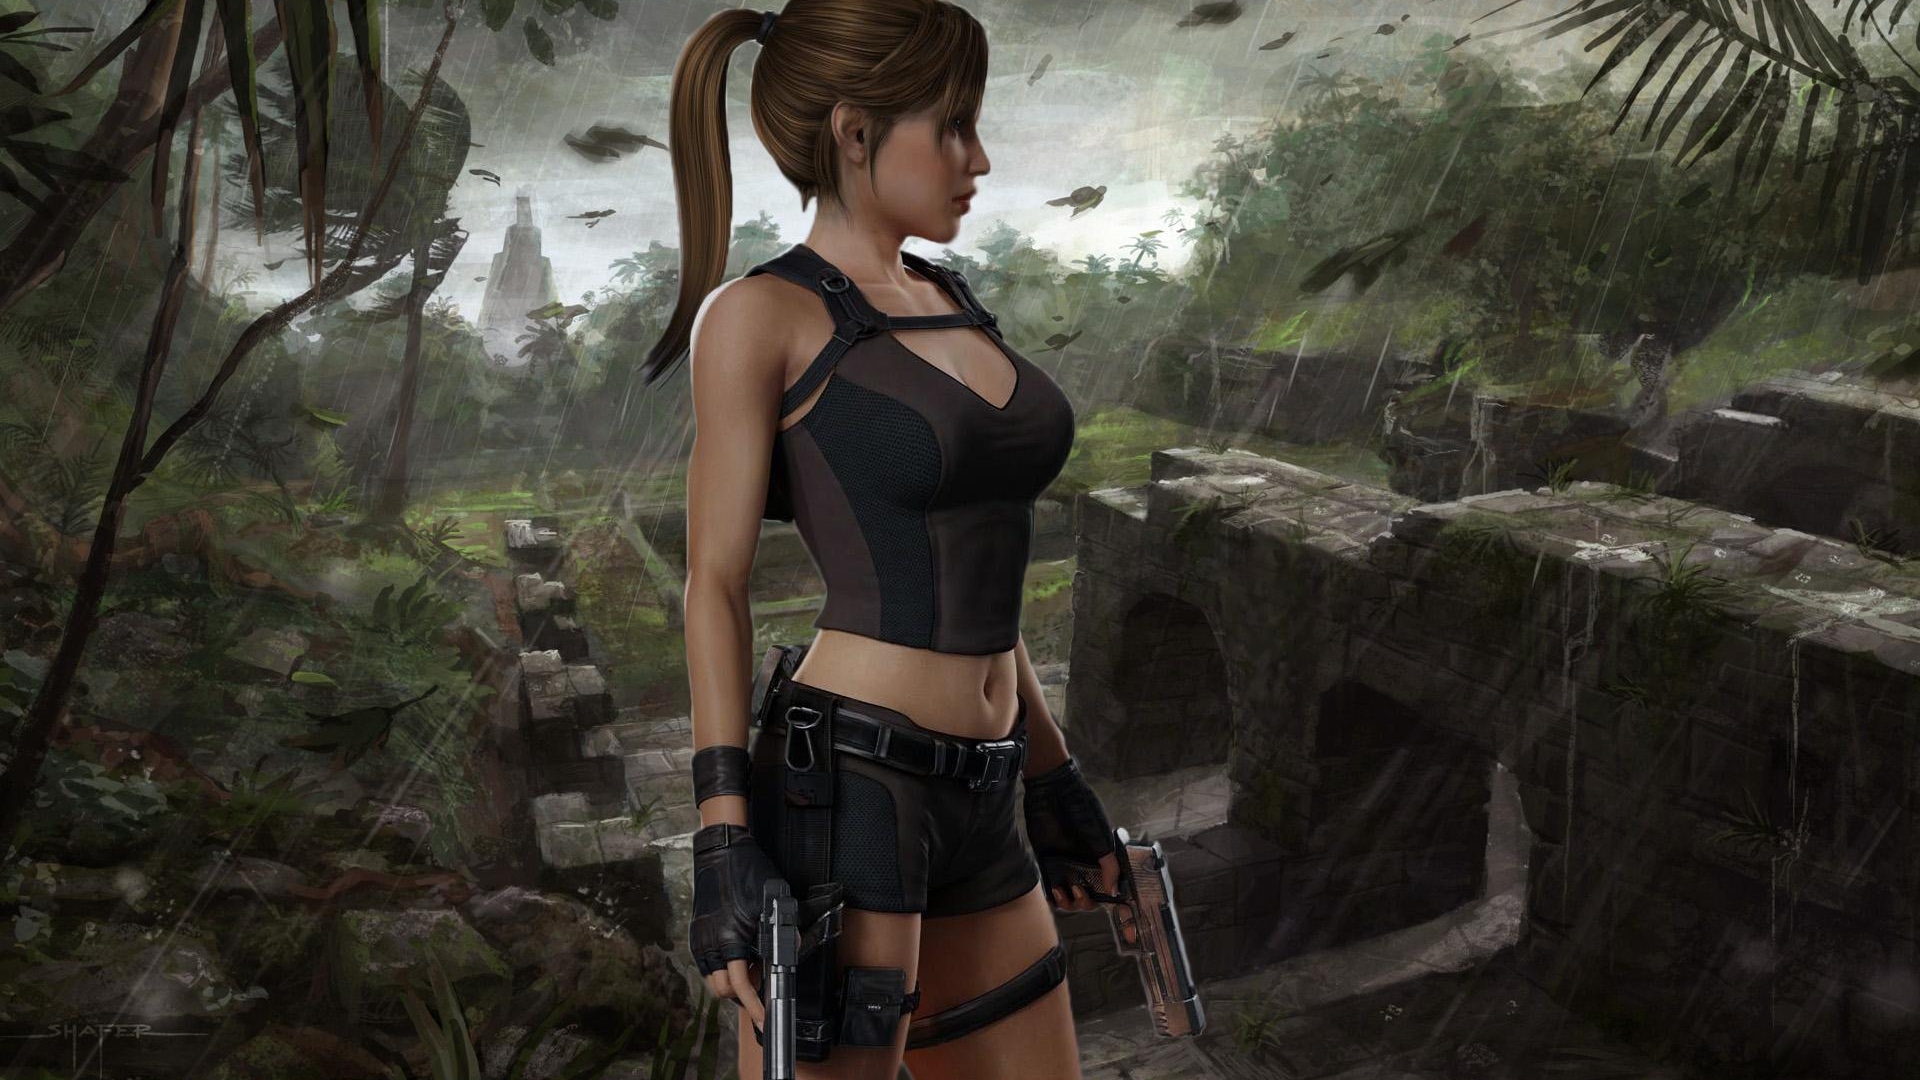
Nepal
Collectibles: Gold: 1, Silver: 6, Bronze: 9
After the cut-scene grab the ledge in front of you and traverse along to the left. Part of it will crumble behind you so make sure you’re using the Action key to move quicker.
Pull up when you can and slide down the ramp. Jump to the next pillar and again to another pillar. Traverse around the corner to the left and jump backwards to grab the crumbling wall. Quickly traverse to the right and pull up.
Jump up the ramp and then swing across the pole to another pillar. Climb around the other side of it and drop down to find Bronze Statue (1/9).

Climb back up again and swing across to the ice stalactites. Jump across three of them and then to the crevice in the ice wall.
Climb around to the right and up. When you see the path forwards continue to the right. Pull up for Silver Statue (1/6).

Climb back to the left and pull up. Shoot the ice wall to the right to clear a path and go through. make your way down the ruined stone pillars and ramps and swing across to the other side of the gap. Run around and shoot the ice wall to reveal Silver Statue (2/6).

Jump across to it to pick it up and then jump back again. Make your way along the ice path and you’ll see Rutland’s helicopter.
Use the wing of the plane to drop down and then roll around the propeller to find Bronze Statue (2/9).

Drop down the ledges to the wreck of the plane but watch out for the Leopard below. Climb up the ice wall on the other side of the plane and use the grapple to pull away part of the wreckage. Jump across the gap and head around the corner to find Silver Statue (3/6).
Jump back across the gap and use the grapple to pull the metal cylinder closer to the back of the plane. Step into the plane but don’t go too far. Use the grapple to pull the metal cylinder onto the rear end of the plane.

Walk to the other side of the plane and get ready for a Quick Time Event. You’ll need to press Right, Up, Down and Up to make it out of the plane alive with the Amulet.
Jump along the ice ramps and use the Action button to clear the way when you need to. At the end of the final ramp you’ll need to use the pole to swing down to a ledge. Turn to the right to find Bronze Statue (3/9). You’ll need to grab it with the grapple.

Continue through the tunnel and jump to the ice ledge in front of you. Make your way around to the right. Jump across to the other wall and then over to the left. Jump backwards to grab the pole and then across to an ice stalactite.
From here jump across to an unsteady ice platform and then ahead to a crevice in the wall. Traverse across to the right and pull up onto an ice bridge. Pull up and turn around. You’ll just be able to spot Bronze Statue (4/9) if you’re standing in the very corner of the bridge.

Drop over the other side of the bridge and traverse to the left and down. You’ll soon be able to see Gold Statue (1/1). Pull up to grab it.

Make your way back to the ice bridge and jump up to grab the crevice in the ice wall. Climb along to the right and jump across to another hand hold. Drop down and then jump backwards to the pole.
Climb up and then jump across to the right. Jump across to the right to the next ice wall and then quickly traverse to the right before the ledge crumbles. Climb up and get ready for a fight with half a dozen of Rutland’s Guards.
Once you’ve taken them out run around to the left for Bronze Statue (5/9).

Climb onto the central platform and turn to face the wall opposite the building. Shoot the ice wall and will break, revealing Silver Statue (4/6).

Climb onto the small ice block in front of it and then jump up to the alcove to pick it up.
Drop back down and then climb onto the central platform again. Jump across to the next one and then the ledge in the corner where you’ll find Bronze Statue (6/9).

From here swing across to the roof of the building and take the zip line down into the cave. Slide down the ramp and run forwards a few steps. Turn to the left and you’ll spot Bronze Statue (7/9).
Continue forwards and jump across the two ice floats. Shoot the ice dangling from the roof to make another ice float and then jump across the rest of them to the exit to the left.
Wait by the river until the ice floats drift down the river. First make it to the ledge on the other side of the river and then wait for the ice to be in position so you can jump across to Silver Statue (5/6).

Jump back across the ice to the tunnel on the other side. Head through and go up the steps to the left. Watch out for the Leopard in the temple entrance up the top.
Head down the stairs to the right and turn to the wall at the back of the room. Shoot it with your pistols to reveal Silver Statue (6/6).

Run back up the stairs and swing across the bells dangling from the roof to the other side of the room. Once again, watch out for the Leopard waiting for you on the other side.
Top open the doors to the inner sanctuary you’ll need to bring the gold cube to the sanctuary roof. Grapple onto the small box and pull it onto the right scale (when looking at the gold doors).
Climb onto the left scale and use the grapple to pull the gold box onto the left scale. Now climb onto the right scale and pull the mid-sized box onto the scale. The gold box should remain lifted.
Climb onto the roof and pull/push the gold box onto the button. You’ll need to fit it perfectly to open the gold doors below.
Before you enter the sanctuary head up the stairs to the left and right. On the left you’ll find Bronze Statue (8/9) and on the right you’ll find Bronze Statue (9/9).
When you’re done head back to the sanctuary and walk down the stairs to find Excalibur. From here head around to the lower exit and use Excalibur to break through.
Quickly jump across the ledges before they fall away. When you make a jump to grab the ledge on the other side of the room a cut-scene will begin and the level will be complete.
Back: Level 6: England Next: Level 8: Bolivia Redux