Little Misfortune
Little Misfortune is an interactive story set in Openfields. The heroine, Misfortune Ramirez Hernandez, goes off on a journey to find “Eternal Happiness” for her mother.
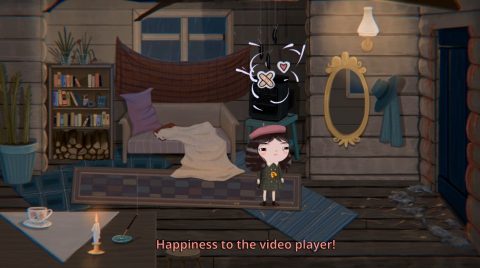
Little Misfortune is led on the journey by the narrator, Mr. Voice, in the same universe as the cult video game Fran Bow. The game features charming original artwork, brilliant voice acting and choices that do affect the main story.
There are two endings to Little Misfortune. If you play through the game any way you want you’ll find the normal ending. If you find all the Glitter locations and throw sparkles on them you’ll find the True Ending. This walkthrough will show you all 16 glitter locations.
Little Misfortune Walkthrough
Misfortune’s House
Once you get control of Misfortune after the cutscene explore the bedroom, including looking under the bed. Red the Diary and then take the Coloring Book if you want. Before you leave the bedroom you’ll have the choice of taking a toy with you, the Unicorn or the Stone.
Leave the bedroom and walk down the hall. You’ll bump into the vase and knock it over. You can choose to put the pieces back together if you want. The pieces snap back into place so it’s fairly easy to complete.
Once you get to the kitchen open the fridge and use the glitter. This is Glitter Location #1.
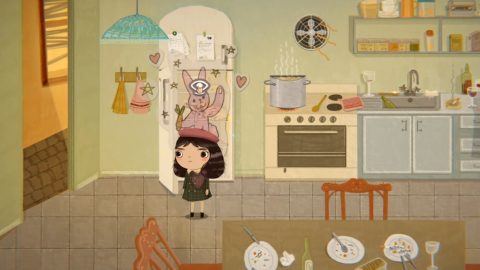
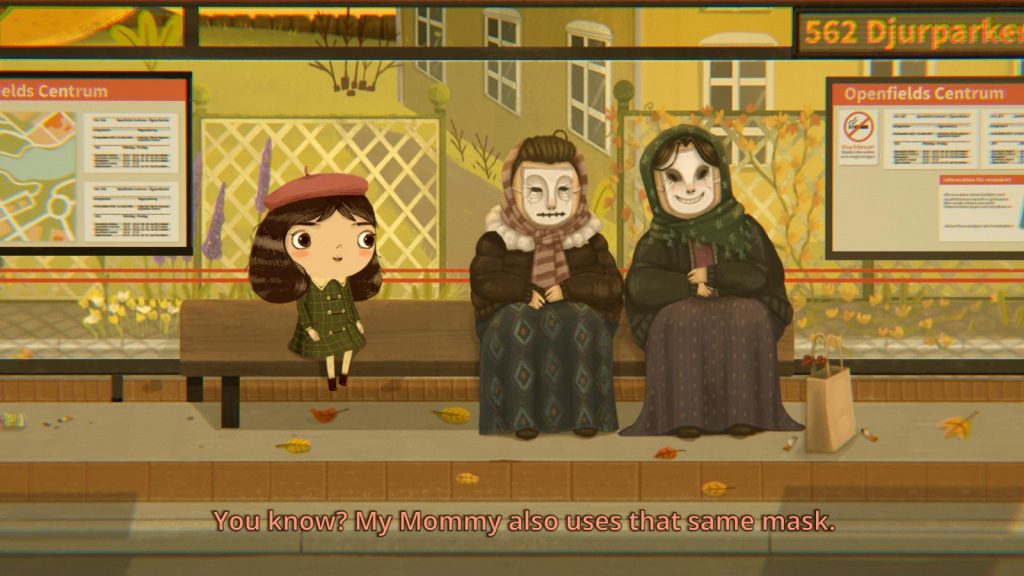
Look at the soup and use the glitter for Glitter Location #2. Look at Misfortune’s mum and use the glitter around her for Glitter Location #3. Before heading outside you can tell your mum that you’re leaving or just walk out the door.
Outside
Walk to the right and look at the car. Use the glitter on the car for Glitter Location #4. You can try to talk to the cat but it will run off.
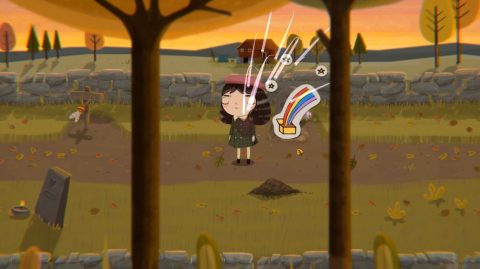
Cross the road and you’ll notice a dramatic effect while you’re half-way across. On the other side use glitter on the dead crow for Glitter Location #5.
Continue to the right and after the small introduction you’ll come across a dog tied to a tree. You can choose to play with it or set it free. These choices will effect future events. When the dog either dies or is carried away use the glitter for Glitter Location #6.
Head across the walkway over the lake and choose to either pick up or throw back the Fish. On the other side you’ll come to George’s house.
George’s House
Go inside and take a look around. Make your way to the right. Unfortunately it appears George has killed himself. Use the sparkles on him for Glitter Location #7. Continue outside through the door to the right.
The Woods
Run through the woods and you’ll find Doll #1 hung up on a tree. Just to the right you’ll find Benjamin drawing a protective circle on the ground. When you try to talk to him he runs off. Finish painting the circle and continue to the right.
Magical Cave
Head down into the cave and you’ll come across a hamster party. Just outside the party a hamster will try to rob another one. You can choose to stop them if you wish. Depending on previous choices the hamster robber may run off or get dragged into the party and killed. If he gets dragged into the party you’ll be able to pick up the Little Blue Bag.
Take a look at the “Mints” the hamster dropped for a wild ride. After the cutscene continue to the right to meet the owner of the hamster club. If you have her bag give it to her and she’ll let you into the club. Otherwise press the Button and climb the ladder to the hideout.
As you walk to the right you’ll be given a Slingshot. Use the Acorns to shoot the alarm bell. When you hit it the hamsters will run off. Head to the right and climb up the ladder.
Train Station
You’ll come up through a manhole. Walk along the street to the right. You’ll notice some posters in the background that you can have a look at. A child has gone missing and the Phatasmogoria show is in town. Benjamin is also here putting up messages and drawings for you to see. Continue walking along the street to the right until you come to the park.
Park
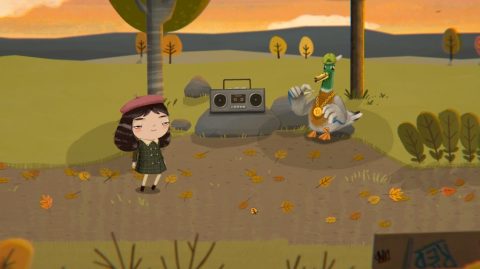
As you walk through the park you’ll find a Seagull and then a Royal Horse ride. You can ride on it if you wish. Just to the right you’ll come across a Duck with a boombox. You can try out your dance moves or let the duck dance.
Head to the right and play on the Twister. Just to the right you’ll find Doll #2. Continue through the park until you come to the pet cemetery
Pet Cemetery
The Eternal Happiness is supposed to be hidden in one of the graves. The clue is that it is a grave of a goldfish. Mr. Voice will give you a Shovel.
The goldfish grave is the last one you come across. When you dig it up you’ll find a Golden Box. Inside is a letter supposedly from Benjamin saying that he stole the Eternal Happiness. Use sparkles on the grave for Glitter Location #8.
To the right you’ll find Benjamin. When he runs off pick up Doll #3 from the stone fence. Continue to the right and you’ll find a Stone with a Runestone. When the Runestone is placed in the stone a message appears. Take the Runestone with you and continue to the right. Drop down the hole to reach the next area.
Fox Hole
Head to the right and pick up the Fox Repellent. A switch will lower down. Pull it to remove the roots blocking the path to the right. Continue to the right and you’ll meet Benjamin. You can choose to use the repellant on him or not. Either way you’ll end up back in town.
Town Center
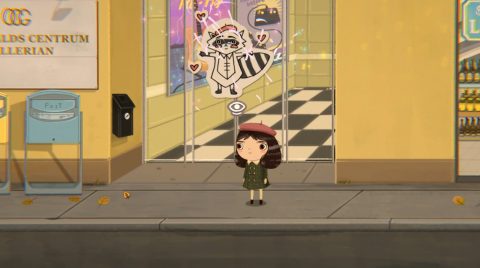
Walk to the left and you’ll see a poster for the Zoo. Continue to the left until you see a man walk out of a store and drop his wallet. You can give it back to him or steal it. Look at the door he came out from and use your glitter on it for Glitter Location #9.
Pick up the Lottery Ticket the man dropped and scratch to see if you’re a winner. Continue to the left and you’ll come to the bus stop. Have a look around and then wait for the bus to take you to the zoo.
Zoo
You don’t have a ticket for the zoo so you’ll need to distract the ticket vendor. You can do it two ways, break the window to the left or look at the photos of the missing children and then tell him that you saw one of them at the bus stop. Either way he’ll run out and you’ll be able to enter the zoo.
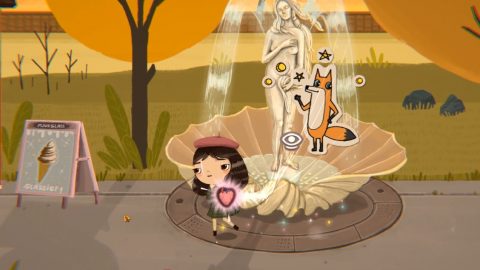
Walk past the birds and feed them bird seeds if you want. Then take a look at the map and find the Wolf Enclosure. Walk to the left and look at the fountain. Use the glitter on the fountain for Glitter Location #10.
Continue to the left and then sneak past the bird lady sweeping up the leaves. If you get caught it’s fine. You’ll be taken to a screen a little further on.
Just to the left you’ll find the second standing stone. Use the Runestone on the stone for another message. Take the Runestone because you can use it again later.
Walk to the left to find the wolf cage. You’ll need the key to enter so enter the cabin to the left. Have a look around the room and pick up Doll #4 from the box.
Search the jacket pockets to find a slip of paper with upside down numbers. The code is 5468. Use the computer and type in the code 5468. Read the message to find the code to the safe which is 27581. Use the code to unlock the safe and take out the Key.
Leave the cabin and open the wolf cage. When you go inside the wolf will run away. Take a look at the letter dangling in the middle of the cage. It has the address the Benjamin’s house. You’ll automatically be taken back to the town.
Walk to the left and after answering a few questions you’ll arrive at Phantasmagoria.
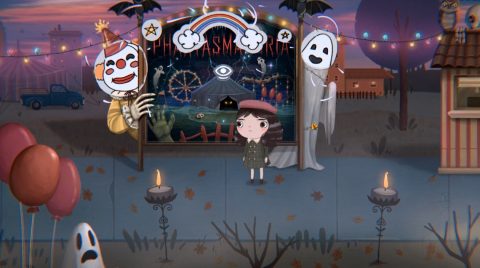
Phantasmagoria
Mr. Voice will give you a ticket for a ride when you get here. Walk a little to the left and look at the entrance sign. Use the glitter on the entrance sign for Glitter Location #11.
Walk to the left to the hotdog stand. Use the glitter on the scary Benjamin balloon for Glitter Location #12 and then continue to the left. You have one ticket for a ride so choose either the Carousel or the Horror House.
Once you’ve had your ride continue to the left to the games section. You can play the “Whack a Benjamin” as many times as you like. Each time you get 7 or more hits you’ll get a Ticket. If you want all the rewards you’ll need 7 Tickets.
Use a Ticket to get your fortune read and then use the remaining tickets to buy Doll #5, the Gold Coin and the Unicorn Dress. Use glitter on the ghost hanging to the left of the vending machine for Glitter Location #13. Continue to the left and ride the boat across the lake.
The Woods
On the other side make your way through the woods to the left. You’ll be chased by a monster and come across Benjamin again. As you continue you’ll find the third standing stone. First use the glitter on the bear trap for Glitter Location #14, then place the Runestone in the standing stone for the third and final message.
Just to the left of the standing stone you’ll find Doll #6. Continue to the left until you find Benjamin’s cabin.
Benjamin’s Cabin
Enter the cabin and look at the TV. When the tape player breaks use glitter on it for Glitter Location #15.
Read Benjamin’s Diary on the couch for more of a clue as to what’s going on. Continue through the cabin to the left and you’ll meet Benjamin. When he runs down through the trapdoor follow him down.
Open the painting on the wall to the left and then push the stool over so you can climb through the hole. Walk to the left and climb onto the chair and then the table. Open the key painting and press the Button inside. This opens the round door. Head out through the door back to the outside.
Journey Home
Walk to the left and you’ll find Benjamin’s Bag. Look in the bag to find a photo of Benjamin, Doll #7 and a Letter for Benjamin. Close the bag and then use glitter on the bag for Glitter Location #16. This is the last glitter location so if you have them all the true ending will be unlocked.
Walk to the left and take the train home. If you brought the colouring book you’ll be able to do some colouring in along the way. After Hiro gets kidnapped you’ll arrive at the train station.
Walk to the left and head across the road back to your house. Enter the house and you’ll know something strange is going on.
When you get back to your bedroom the story will begin again but Misfortune realizes something strange is going on. When you’re chased by Mr. Voice hide under the bed. Benjamin will jump through the window and save you.
After the cutscene pick up Doll #8 and leave the house. You’ll find out what’s really been happening. Follow Benjamin through the portal. Walk with him through the mist to the sparkle tree. If you found all the locations the tree will light up. Grab Doll #9 and follow the dog and Benjamin into the cave to complete the game.