Pyre
 Pyre is an action RPG where you control a small band of exiles who must get through a series of games called the Rites in order to win their freedom. It’s a unique mix of sports and combat that is highly entertaining. You’ll get to choose your players at the start of the battle. As they get more experience they’ll gain new skills. You can also find talismans for them for that extra advantage.
In between the Rites various story events will unfold. At times you’ll need to decide which path to take, whether to go foraging for supplies or spend time skilling up one of your players. You’ll encounter numerous beings along the way, some of them join your party and be available for the Rites. Each of the races and players have unique skills and abilities that can make them incredibly useful on the playing field.
Pyre was developed by Supergiant Games and released in 2017 for Playstation 4, Windows, Linux and Mac. It follows on from Transistor and Bastion which were both a great success.
Pyre Gameplay Tips
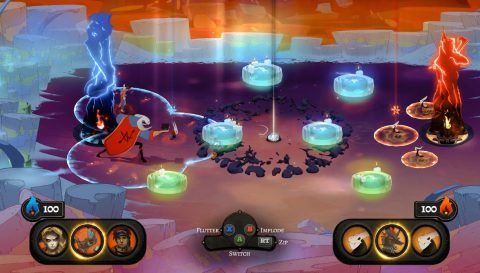
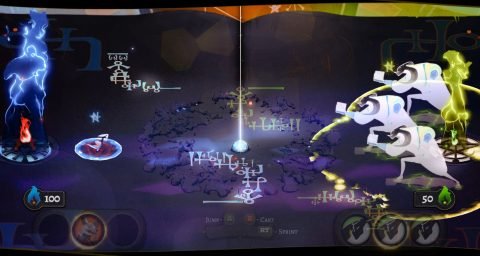
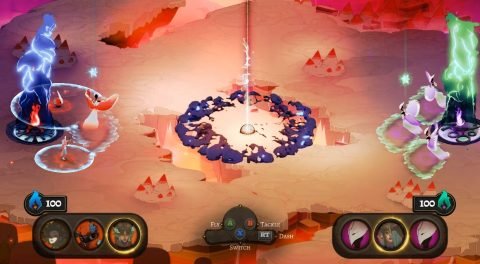
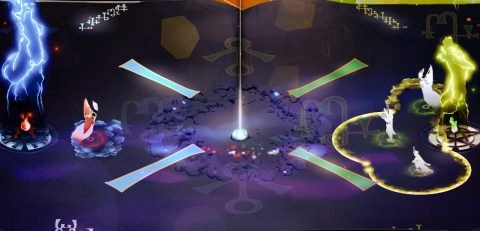
The central gameplay mechanic of Pyre is participating in the Rites. It can seem overwhelming at first but with a little bit of practice you’ll be playing like the best of them. Here’s a few things to remember to help you get better at the Rites.
Remember to Swap: For the first few Rites it can be easy to send one player over to the enemy pyre to score. You’ll want to practice passing and swapping so you can move all players on the field. This will make it easier to draw out the enemy players so you can score.
Share the Experience: For some rites some of your players will refuse or be unable to participate. Try to level up all of your players to give you a wider range of options.
Pass the Ball: Passing the ball not only distracts the enemy but it swaps control to the ball carrier so you can move them out of harms way if they’re about to get knocked out. Some enemy players will cast aura at stationary players. Keep them moving so you an stay out of trouble.
Skill Tree: The most powerful skills are at the bottom of the skill tree. You only have 4 skill upgrades so to reach the bottom of one side of the tree you’ll need to stick to one side of the skill tree. Picking both sides will limit your abilities.
Restarting the Rites: If you lose a Rite the game will continue and the story will reflect your loss. If you want to try again pause and restart mid-match. This will give you a chance to try again and turn that loss into a win.
Use a Controller: If you’re playing on the PC you may want to consider using a controller. Moving the players around with an analog stick is much easier then using a mouse and keyboard.
Pyre Walkthrough
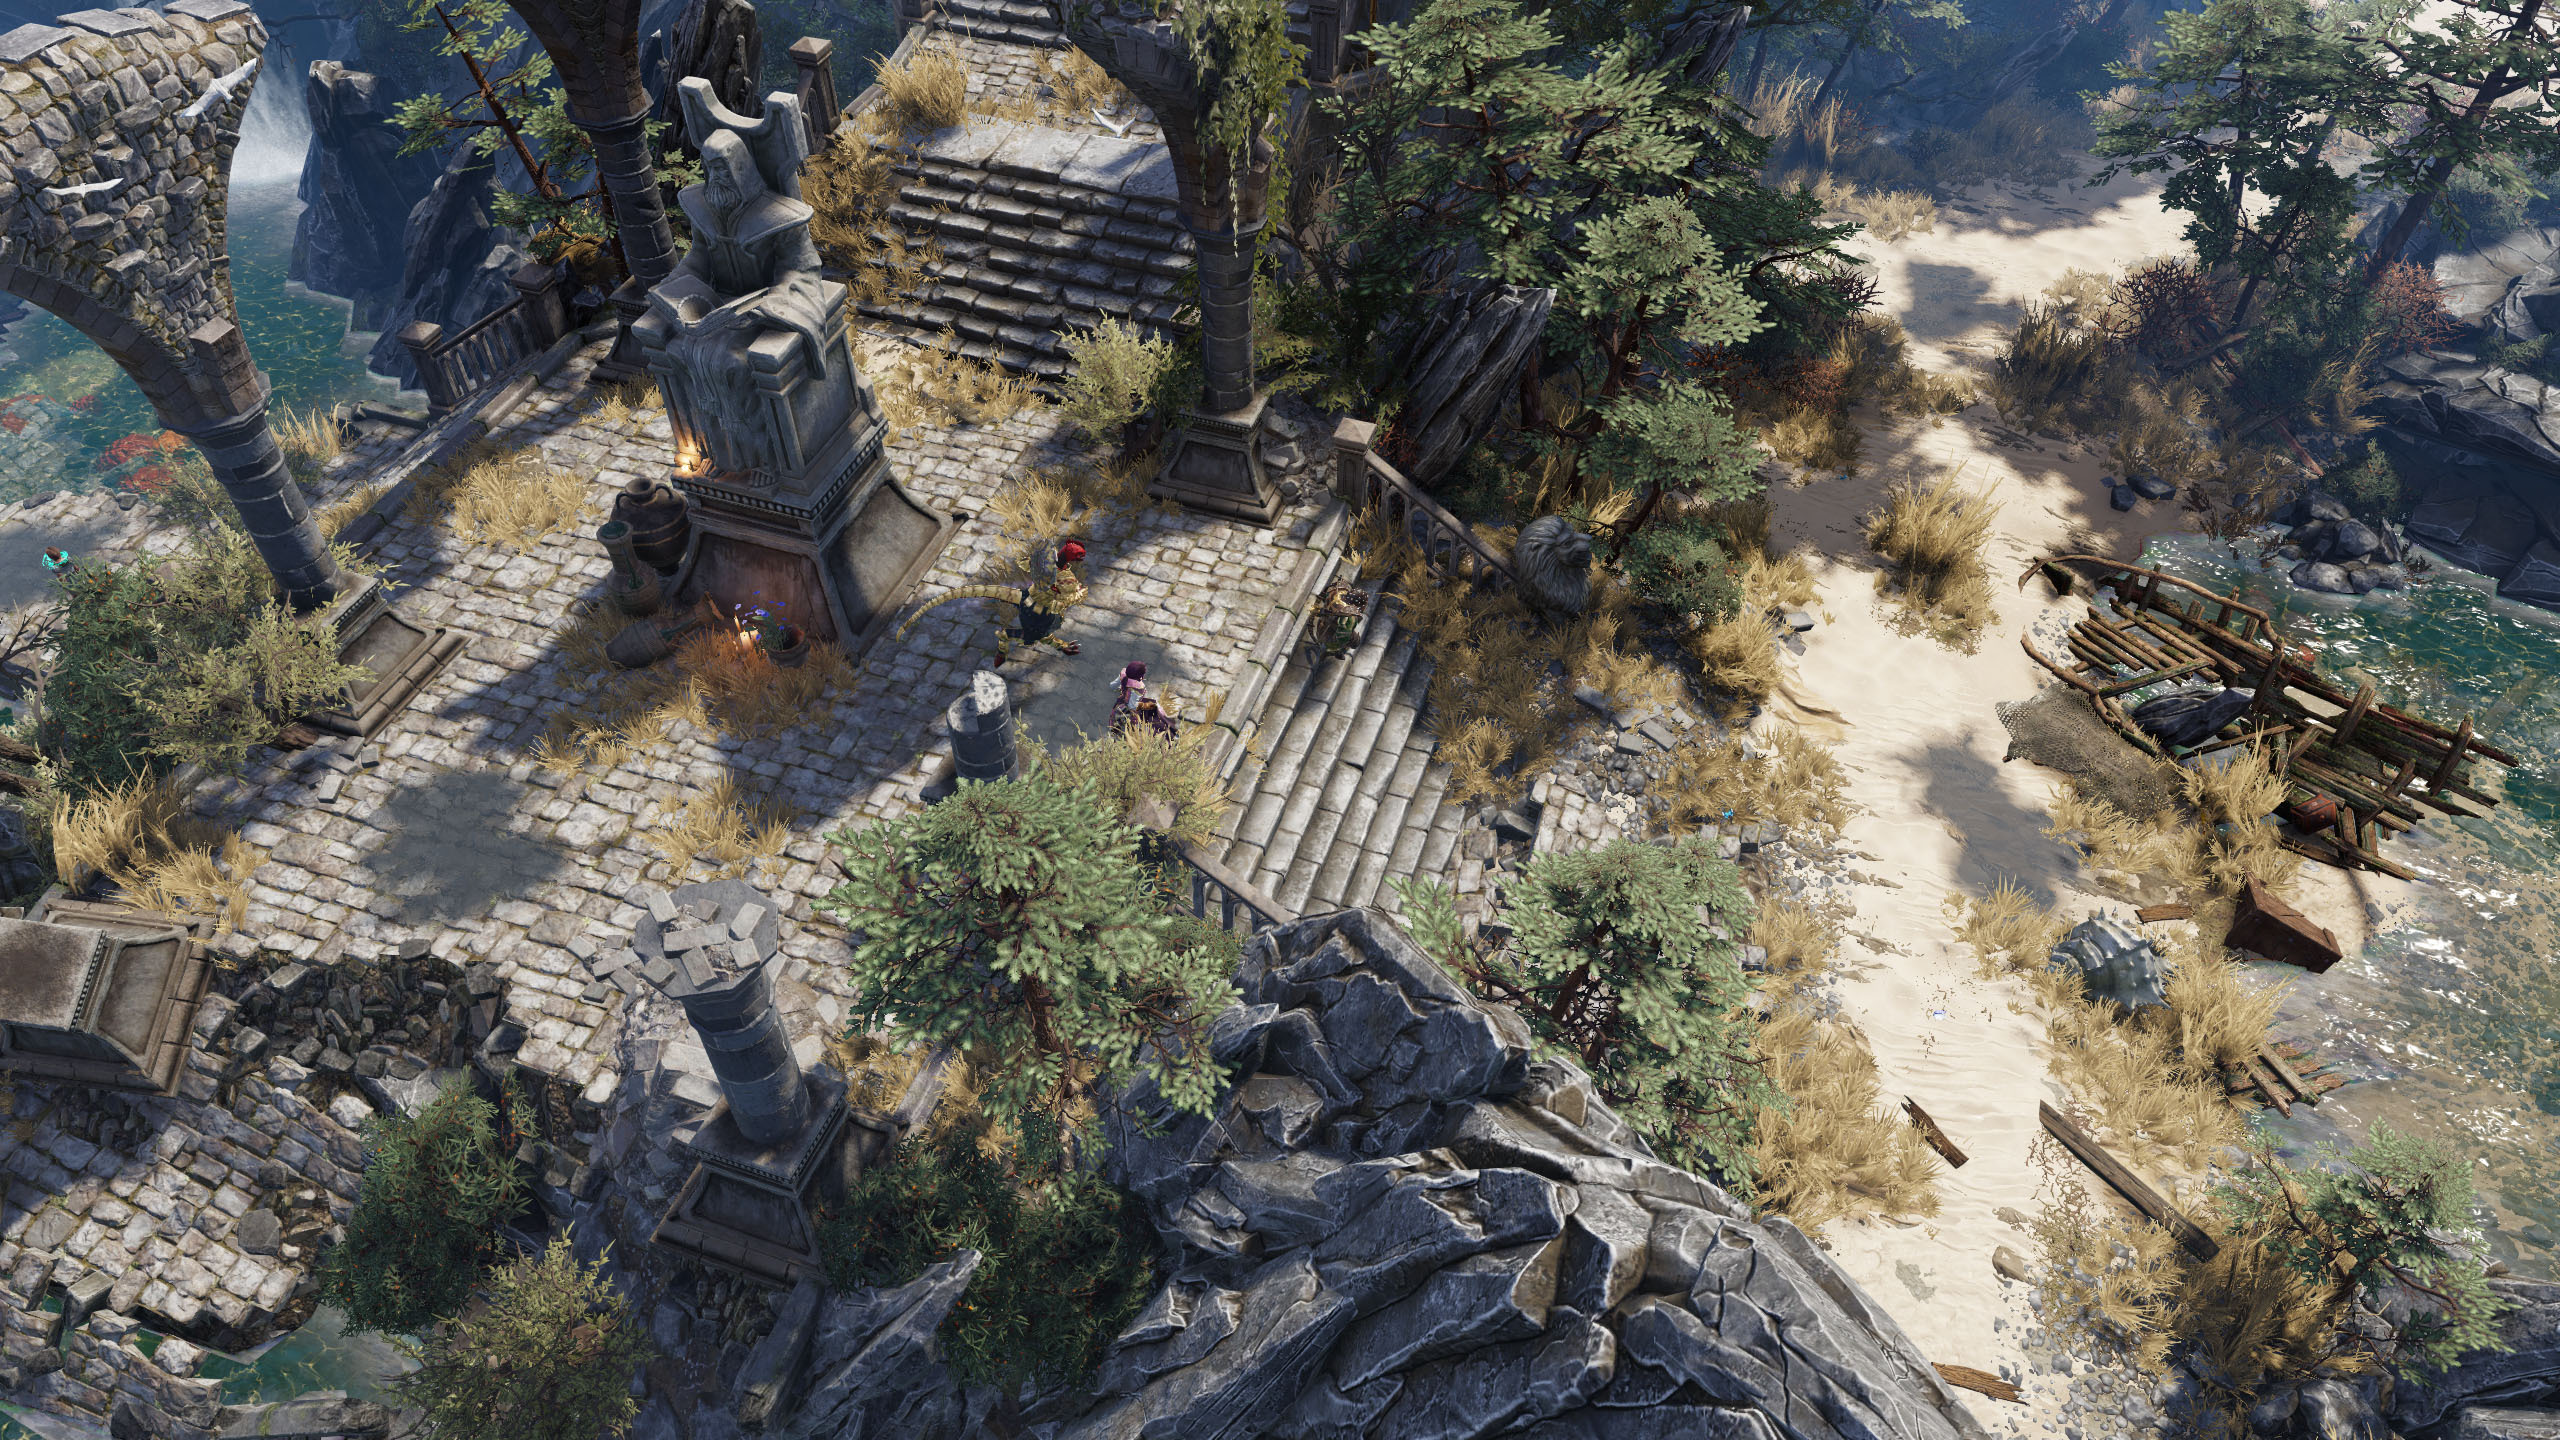
You begin the game passed out and dying in the Downside when you’re met by 3 strange characters in a Blackwagon. It turns out they are the Nightwings and need you to be their “Reader”. You’ll help them with the Rites and make important decisions as you journey to find your freedom.
After you read the book in the wagon you’ll be taken to a practice Rite where you can work out the controls. Once one player picks up the ball their aura disappears completely until they pass or drop the ball. If a player scores a goal they are banished for the next round. Play around with it until you feel comfortable.
Your path through this game will differ depending on what choices you make. In the second half of the game you’ll be able to choose your destination which determines which team you’ll be facing. You’ll also choose who gets liberated which will affect your team choices for all future rites.
As you make your way to the first Rite you’ll have the choice of visiting either Hollowroot or Bloomingpool. At Hollowroot you’ll be given a Package that you can sell later. At Bloomingpool you’ll find a Herb that you can sell.
Rite 1 – Ridge of Gol (The Accusers)

The first Rite is against the Accusers. There’s not really too much to worry about here. The opposing team will rarely cast auras at you and are fairly slow.
After you score two goals the enemy will go into formation to protect their Pyre. Simply jump over the aura to score the next goal. After the Rite Jodariel will level up to the second rank.
Along the way to the second Rite you’ll come across a girl. You can give her one of a dozen or so names. I called her Tae. During the next break you’ll have the option of Foraging for Resources, Studying in Private or Mentoring a Companion. I found mentoring a companion to be the most effective but the choice is yours.
For the next choice you can either take the path through Fallflat or Gluehive. Travelling through Fallflat will give you a Speed boost for the next Rite while Gluehive will give you a Strength boost.
Rite 2 – Spring of Jomuer (The Fate)

There’s nothing too challenging about this Rite. The enemy will often banish themselves if you run Jodariel out into the center of the field. Take this more as a practice run to get used to the controls.
Halfway through the match Moon Drops will start falling. Try to collect all three of them before the match ends. After the Rite take a look at the Stars and continue on to the next location. Head back east through either Fallflat or Gluehive and get ready for the next challenge.
The Attack of the Howlers

For this challenge you’ll need to use your aura to kill the approaching Howlers. You’ll be paid for each Howler you kill. Cast your aura to hit them from a distance. If you cast your aura as it flashes you’ll cast a Power Aura which travels faster. This skill isn’t necessary to win the game.
At the halfway mark more Howlers will run towards the Pyre. Don’t worry if some get through it won’t affect the story in any way.
Rite 3 – Cairn of Ha’Ub (The Dissidents)
Rukey will not join you in this battle as he has a history with one of the competitors. Instead you’ll be able to take a little creature called Ti’zo. He can fly for short periods which makes him quite a powerful player. Fly him over enemy auras and into the Pyre.
At about the halfway point the enemy will start casting auras much more frequently. Try not to leave your players alone for too long or they’ll be banished.
Rukey’s Scribe Trial
As you journey through the Downside you’ll meet Sandra from the Beyonder Crystal. Ask her for a Scribe Trial and she’ll invite Rukey to test his skill.
Rukey will be playing against 3 large Demons. Try to cast Aura at them before you pick up the ball. Once a couple of them have been banished quickly pick up the ball and sprint around to the enemy Pyre. With a bit of practice you’ll be able to avoid their large Auras.
When you win Rukey will be given Jomuer’s Fang as a reward. This extends the duration of his cast Aura.
Rite 4 – Pit of Milithe (The Withdrawn)

For this Rite you’ll face the witch Udmildhe and the Withdrawn. Udmidlhe has a strange Aura that fans out when cast. Be sure to avoid it. Your players, except for Ti’Zo will have lost some Hope due to the difficult journey.
Try to cast Aura to banish some of the enemy players before picking up the ball. This Rite shouldn’t be too difficult. Once the Withdrawn are down to about 1/3 health small pools of acid will appear on the battlefield. You’ll need to jump or run around them. Ti’Zo is helpful here as he can fly for short periods of time.
After the Rite you’ll continue on your voyage across the sea. Hedwyn will get sick and won’t be available for the next Rite. When you get to the next location you can take the Underking Pass or the Fathomless Trench. Tae believes there will be a blessing at Underking Pass and Ti’zo wants to look for fish at the Fathomless Trench. Eventually you’ll arrive at the Hulk of Ores.
Rite 5 – Hulk of Ores (Pyrehearts)

The Pyrehearts are small but very quick Wyrms. Bring three fast players along to match their speed. Sir Delnge can bring his own players back from banishment if he banishes one of your players. At some point the Pyrehearts will fight amongst each other, giving you the opportunity to score for free.
After the Rite one of the Pyrehearts, Sir Gilman, will calm the storm. You’ll need to use his Aura to clear the area and defeat some of his fellow Wyrms. Sir Gilman will then be available to participate in future Rites.
Next you’ll need to choose your path through either the Black Shore or Highwing Cove to the Nest of Triesta. If you go through Black Shore Jodariel will lose 3 Hope for the next Rite.
Sir Gilman – Deathless Tempest

After the battle with the Pyrehearts Sir Gilman will ask to join your caravan. He’s a Wyrm which means he slithers very fast and can jump but has no aura cast. Instead he travels back on his own aura and banishes anyone in the way. You’ll need to use this ability to clear the reef so you can continue on your way.
Rite 6 – Nest of Triesta (The Essence)
This Rite takes place against a team of Harpies called The Essence. They can all fly for a short while but can be intercepted if you jump. Pamitha will join you for this Rite so you may want to bring her along as she is also a Harpy.
This Rite is not too difficult as long as you remember to jump to intercept them. You can also bring fast players along to prevent the Harpies from getting the ball at all. Towards the end of the match Tamitha will challenge Pamitha to a one-on-one duel. Try to banish Tamitha first so you can safely run or fly to the Pyre to win the match.
You’ll have a few choices to make as you carry on your way to the Glade of Lu. Jodariel will be called to a Scribe Trial against 3 Harpies. If you win she’ll be given a unique talisman, Soliam’s Horn, which casts her aura further and faster than normal.
Jodariel Scribe Trial

For this Scribe Trial Jodi will be facing off against 3 Harps. They’re faster than her and can fly so try to banish them with Aura Cast before grapping the ball. When you win she’ll be given Soliam’s Horn. This allows you to Aura Cast further and faster.
Rite 7 – Glade of Lu (The Chastity)

The Chastity are led by Manley, a tree creature that can plant a sapling on the field that has it’s own aura. If you try to banish the sapling it your aura will bounce off its shield and shoot back towards you. Their other team members are a flying Harp and a Wyrm.
With each point you score creeping vines will invade the field, giving you less and less space to run around. Watch out for Manleys special dash which lets him teleport a short distance away.
After the trial you’ll make your way to the Sclorian Shore where Hedwyn will be called to the Scribe Trial. He’ll have a tough match with a group that looks like the original players for the Nightwings. Win the match and you’ll be given Gol’s Bracer for improved power casting.
Discuss the plans with Volfred and then chose a Vocation for the night. In the morning you’ll begin the ascent of Mount Alodiel.
Hedwyn’s Scribe Trial

Around this time Hedwyn will be called in for a Scribe Trial. He’ll be facing off against a balanced team of a Cur, Demon and Nomad. Just do your best to banish them or dodge around them until you can score. When you win you’ll be given Gol’s Bracer which lets you power Aura Cast with greater ease and gives you a bonus to Stamina.
Rite 8 – Fall of Soliam (The Tempers)

Before this Rite begins you’ll have to choose one of your three main players to be put up for liberation. If you win they’ll be free and will no longer be a part of the Nightwings.
Their team is composed of a Demon Ignarius, a Bog-Crone called Pfrumta and a Wyrm called Lady River. They pass the ball quite quickly and their Pyre begins with 130 points. This Rite is quite a challenge.
You’ll want to bring at least two of the quicker players or fliers to this Rite, such as Rukey or Sir Gilman. They’ll easily be able to run around the opposing players. Once you win the Rite one of your players will be Liberated.
After a little while you’ll get to choose the destination of the next Rite. Three of the stars should be available to you. First I choose to go to Ores but your path might be different.
Rite 9 – Hulk of Ores (The Dissidents)

You’ll be facing the Dissidents again for this Rite. The Curs on the enemy team have levelled up and have the double jump ability as well as a Talisman that gives them a larger presence. They’re quick so make sure you also bring some quick players. Jumping over the crack at the bottom of the playing field and then quickly dashing towards the enemy Pyre is the easiest way to score.
After the Rite you’ll be able to choose your next destination. Once again you’ll have a few options from which to choose.
Rite 10 – Pit of Milithe (The Accusers)

For this Rite you’ll be facing Lendel and the other Nomads. They are fairly average at everything and do extra damage to your Pyre if you’re in the lead. They’ll also start with 135 Pyre health instead of 100. With fairly quick players you should be able do dash around the Nomads.
Sir Gilman’s Scribe Trial

Now it’s time for Sir Gilman to be put to the test. He’ll be facing slowing moving players, a Demon, Crone and Sap. Sir Gilman may struggle without a proper Aura Cast. Instead you’ll need to dodge around as much as possible and try to draw out the enemies. Eventually you’ll be able to slither around them to score.
Once you win you’ll be rewarded with Ores’ Scale which lets Sir Gilman jump further than normal.
Pamitha’s Scribe Trial
Pamitha will be up against what appears to be a Harp, Nomad and Savage. You’ll need to be aggressive with Pamitha’s Aura Charge to banish one or two of the enemies. Then grab the ball and dash or fly to the enemy pyre to score. When you win this trial Pamitha will be given Triesta’s Plume which gives her +3 damage to the enemy Pyre and lets her immediately return.
Rite 11 – Ridge of Gol (The Fate)

This Rite is not too difficult. The Fate will attempt to aura cast and banish your players before scoring. Either banish them first with your own aura cast or dodge around them to score. The Fate will also attempt to throw the ball in the Pyre so as to not lose any team members. Don’t let them get close enough to try.
Once you’ve completed three of the Rites you’ll be off again to the Fall of Soliam for the second Liberation Rite.
Rite 12 – Fall of Soliam (The Essence)

For the second Liberation Rite you’ll be put up against the Harps of the Essence. They can fly and also dash forwards instead of casting their aura. When they dash they are invulnerable so stay out of the way. Luckily Harps are pretty slow when running normally.
About half way through the Rite the Harps will all move forwards towards the center line. This gives them a chance to pick up the ball first and fly towards your Pyre. Make sure you jump to intercept them and then use fast players to run around them to the enemy Pyre.
Once the Rite is complete one of your players will be Liberated if you won. After a little while you’ll then get to choose your next destination. Bertrude, the Crone, will join your party. She’s a powerful creature with a cone Aura Cast and large leaping stomp.
Rite 13 – Hulk of Ores (The Withdrawn)

Before the Rite begins you’ll get to try out Bertrude’s traits. She has a Slither, Aura Cast and Leap. The Withdrawn have a Crone and two Imps. The Imps will dash about causing a bit of mayhem but have small Auras. Banish them and then score on the enemies Pyre.
You’ll get the chance to invoke the God Yslach before the match. This makes your enemies much quicker to react but gives you bonus experience. If you do Bertrude will gain a permanent buff to her Hope while the opposing Crone will gain a permanent reduction to Hope.
Rite 14 – Isle of Khaylmer (The Tempers)

Ignarius is a powerful Demon and has a Crone and a Wyrm with him. The only way to deal with him is to Banish him with Aura Cast as his aura is too large to deal with any other way. Watch out for the Imps roving around the field. They’ll get in the way and be a nuisance. From this point on you’ll also be given a bonus objective that will score you Coins if you can complete it.
Rite 15 – Cairn of Ha-Ub (Oralech)

Oralech and his teammates are virtually impossible to beat. I think the game expects you to lose this match. Oralech has a massive Aura and is as quick as a runner. Just do your best but don’t worry about it if you’re defeated.
Bertrude’s Scribe Trial

Bertrude is up against some quick moving opponents. At first it may seem they are too quick for her but just focus on casting your wide Aura blast to banish them. Then slither to the enemy Pyre to score. Use the giant Leap while you have the ball lets you dunk it from quite a large distance away.
Once you win the Rite Bertrude will be given Milithe’s Tail which lets her blast go through solid objects.
Rite 16 – Fall of Soliam (The Chastity)
Once again we have another Liberation Rite so choose carefully who you want to set free. You’ll only be able to choose out of one of the most three experienced players.
For this Rite I played agains the Chastity. They have a Sap (Manly Tinderstauf), a Wyrm, a Savage and a Harp. A good all around team but not too difficult to deal with. Once you’ve defeated them the player you’ve chosen will be set free.
After the match talk to Volfred and then continue on your way, selecting from one of three locations.
Rite 17 – Ridge of Gol (Pyrehearts)

Volfred will join you for this Rite. He has some very good defensive abilities, such as being able to place down a sapling. You’ll get to practice with him before the game begins. I find the Pyrehearts the easiest to deal with as they can’t use Aura Cast. At least one of the Wyrms has “vengeful”. This mean when you banish it your player will have a chance of being banished as well.
After the match you’ll get to choose the location of the next Rite.
Rite 18 – Nest of Triesta (The Accusers)

As you get further into this game the enemy players will have better stats and better talismans. For this Rite the Accusers where playing with 2 Demons with very large auras. They also have talismans that banish your players for 30% longer.
The extra long banishment means you really can’t let your players get hit with aura cast. Stay out of reach and use fast players to get around their Demons.
After the match you’ll return to the Fall of Soliam for the fourth Liberation Rite.
Rite 19 – Fall of Soliam (The Fate)
Once again choose carefully who you want to liberate as you won’t see them again. For this match I was playing against the Fate. They are led by Dalbert Oldheart.
The Fate are not the most difficult team to defeat although they have fairly fast players so bring some fast players of your own.
After the Rite you’ll all the stars will be available for you to travel to for the next Rite.
Rite 20 – Glade of Lu (Pyrehearts)
Along the way you’ll see Oralech blocking the path. After a tense moment you’ll have a chat with him in the wagon. Ask him about everything and then continue on to the Rite.
The Pyrehearts are probably the easiest team to win against. Just keep calm, use Aura Cast to get rid of the Wyrms and then take the ball to the Pyre to score.
Rite 21 – Isle of Khaylmer (The Withdrawn)

The Imps in the center of the field will move about and be a nuisance but won’t banish any of your players. The Crones of the Withdrawn can move surprisingly fast when they slither and jump so be carefull. Stay our of range of their wide aura cast and you should do fine.
After the Rite you’ll head back up to the Fall of Soliam for the fifth Liberation Rite.
Rite 22 – Fall of Soliam (The Dissidents)

The Dissidents are Curs led by Barker Ashpaws. They have fast movement, a double-jump and can aura cast. If you’re using Volfred place down a Sapling to prevent one path of access to your Pyre. I find this the best strategy against most teams.
Choose carefully who you want to set free as you won’t be able to use them after this match. You’ll want to keep your best players around for the final match which is not too far away.
Volfred’s Scribe Trial

This Scribe Trial seems unfair at first because Volfred is so slow. Use the Sapling to provide an aura of protection and move Volfred up. Continue with a careful approach until you can score. Volfred’s blink move is also not too slow.
Rite 23 – Hulk of Ores (The Essence)

The Essence may be the one team where Volfred’s Sapling defence is not useful as the Harps will simply fly over the top and score. Make sure to jump to block their path and they’ll drop the ball. Even using Volfred’s shield will cause them to drop the ball if they’re flying.
After the match you’ll travel back up to Mount Alodiel for the next liberation rite.
Rite 24 – Fall of Soliam (The Withdrawn)

By now you should only have four players left. Instead of choosing who to liberate decide which three players you want for the final match against the True Nightwings.
I was playing against the Withdrawn for this Rite. They are slow but have a large Aura Cast. Nimble players are the best but Volfred also does a great job at defending the pyre with his Sapling.
Rite 25 – Spring of Jomuer
The other team don’t show up so you’ll win by default. Head back to Soliam for the final match of the game.
Rite 26 – Fall of Soliam (True Nightwings)

The True Nightwings are no joke so make sure you’re ready for this match. Go to the store and purchase all of the one-time-use serums. Using them all for this match will give your players a massive boost.
Oralech is a beast with a massive aura and quick speed. Have Volfred place down a Sapling and use aura cast to take out Oralech from the safety of the Sapling’s aura. The other players are also quick but are much smaller than the Demon. Banish them all or dodge around them to score.
After the final liberation the game will be over and you’ll have a chance to find out what happened to all of the characters you met along the way. The choices you made will give some of them very different endings.
I hope you enjoyed this walkthrough! If you liked playing Pyre you may enjoy other Supergiant games such as Bastion and Transistor.