Subnautica
 Subnautica is an underwater survival game on an ancient alien planet. After your ship, the Aurora, crash lands on the planet you’ll find yourself stranded on an ocean world with only a small lifepod. You’ll explore vast underwater landscapes as you search for supplies and a way to get off the planet.
The lifepod is equipped with a fabricator that will let you craft most of the basic items, as long as you have the raw materials. Eventually you’ll build more advanced stations so you can craft more complex items and even underwater vehicles.
Once you’ve crafted a habitat builder you’ll be able to start constructing your own base. You have all the building blocks, you just need to choose the layout and components.
As you explore more you’ll discover something is not quite right on the planet. Mysterious structures can be seen dotted around the crater. They may hold the key to getting off this planet. If you’re looking for the sequel check out the Subnautica: Below Zero walkthrough here.
Subnautica Walkthrough

Your lifepod will spawn somewhere in the Safe Shallows but the exact location will be different every time. To the east you’ll see the Aurora. If you get too close to it you’ll start taking radiation damage. For now you’ll need to keep your distance until you’re able to craft a Radiation Suit.
Gathering Resources
The biomes around the Safe Shallows are the Kelp Forest and Grassy Plateaus. These are all fairly safe to explore but you will eventually want to find a way to travel faster and deeper underwater.
The Safe Shallows is more or less in the center of the map and the crater where the game takes place extends out to almost 2km in all directions. In the Safe Shallows you can find Acid Mushrooms, Quartz, Limestone Outcrops that can be broken for Copper Ore or Titanium and Sandstone Outcrops that can be broken for Gold, Lead or Silver Ore.
The Kelp Forest has the basic resources as well as Salt Deposits, Creepvines (for Creepvine Samples or Creepvine Seed Clusters) and Stalker Teeth. Stalkers will often drop their teeth when they try to pick up Metal Salvage. Metal Salvage can be taken back to the Fabricator and turned into 4 x Titanium.
The Grassy Plateaus are covered in a blood red grass and dotted with small pillars. You can find most of the basic raw materials here as well as Lithium.
Most of the small fish can be caught. You can then take them back to the Fabricator to turn them into cooked fish. The Bladderfish can also be used to make Water Bottles. If you have Salt you can make Cured Fish that will last indefinitely in your inventory. The small fish around the lifepod will be your main source of food and water for the beginning portion of the game.
Crafting
Before you adventure out too far you’ll want to make sure you have the basic survival tools. These include:
Survival Knife
Standard Oxygen Tank
Scanner
Repair Tool
Fins
A few bottles of Filtered Water
To make all of this you’ll need 6 Titanium, 4 Silicone Rubber (from Creepvine Seed Clusters), 1 Battery (from Acid Spores and Copper) and Cave Sulfur for the Repair Tool. Filtered Water is made from Bladderfish.
Cave Sulfur can be found in caves, as the name suggests, but more specifically in the Sulfur Plants that the Crashfish swim out of just before they attack. Watch out! The Crashfish will explode when they turn hostile.
Once you have the Scanner you’ll be able to use it to scan fragments of items at the crash sites. You’ll usually need to scan a few fragments of each item before the Blueprint is added to your PDA.
Keep a lookout for fragments from the Seaglide, Laser Cutter, Seamoth, Battery Charger, Mobile Vehicle Bay, Modification Station and any fragments related to the Base Rooms. To begin with you’ll only need the Seaglide, Laser Cutter and Seamoth but keep an eye out for anything else you can find.
The Radiation Suit will allow you to get close to the Aurora but you’ll only be given the Blueprint after the Aurora explodes. This includes the Radiation Suit, Radiation Gloves and Radiation Helmet. You’ll need to wear all three to negate the effects of the radiation.
After you craft a Standard Oxygen Tank the High Capacity Oxygen Tank will become available. This increases the oxygen capacity by 50%.
Once you have the High Capacity Oxygen Tank the Rebreather will be unlocked. This lets you dive below 100m without using an excessive amount of oxygen. You must equip the Rebreather in the head slot for it to work.
Degasi Bases
Floating Islands
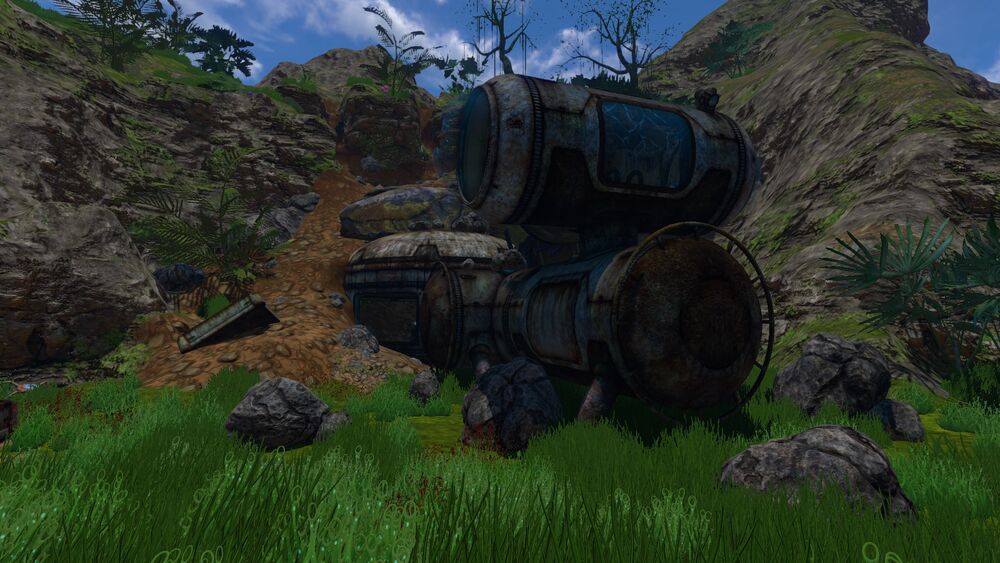
The first Degasi Bases you’re likely to find are the ones on the floating islands. There are 3 small habitats here that include a main base and two observatories. The location for the main base is -760, 15, -1115. If you’re playing on the PC you can press F1 to see your coordinates.
Inside the main base you’ll find a Purple Tablet, 3 PDAs, Spotlight, Wall Planters and Exterior Growbeds with Marblemelons and Chinese Potatos. You’ll want to scan the growbed and take the Melons and Potatos so you can grow your own once you have a base set up.
Explore both the observatories for more PDAs and a few odd bits and pieces such as Composite Plant Pots with more edible plants.
Jellyshrooom Cave
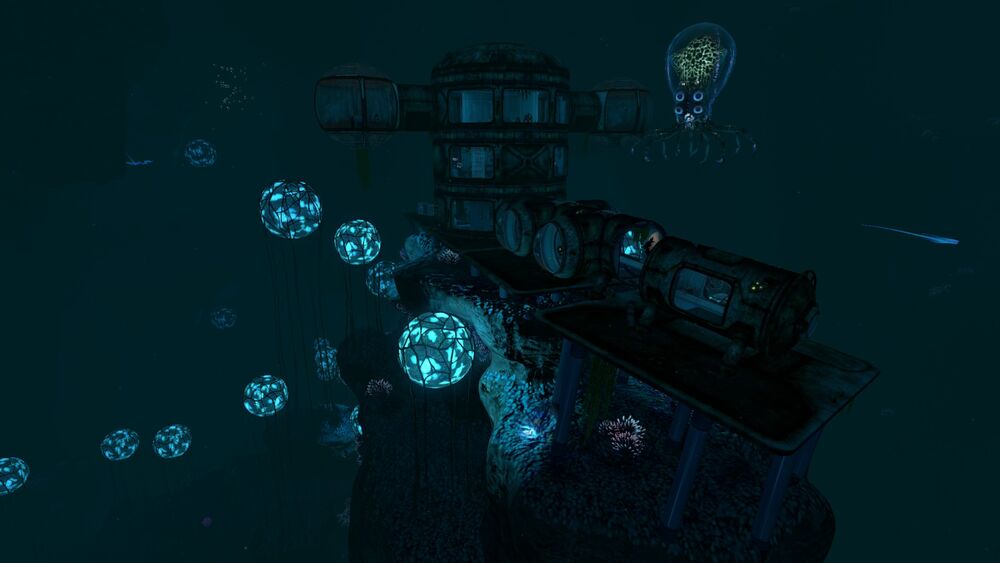
The second Degasi Seabase can be found in the Jellyshroom Cave at location 112, -264, 359. It includes a main base with 4 smaller outposts which consist mainly of just the bare foundations.
Around the exterior of the main base you might be able to find fragments for the Stasis Rifle, Thermal Plant and Nuclear Reactor.
Inside the main base you can find a number of PDAs and a Water Filtration Machine that you can scan. Have a listen to the voice logs in the PDAs to find out what the crew’s been up to.
Deep Grand Reef
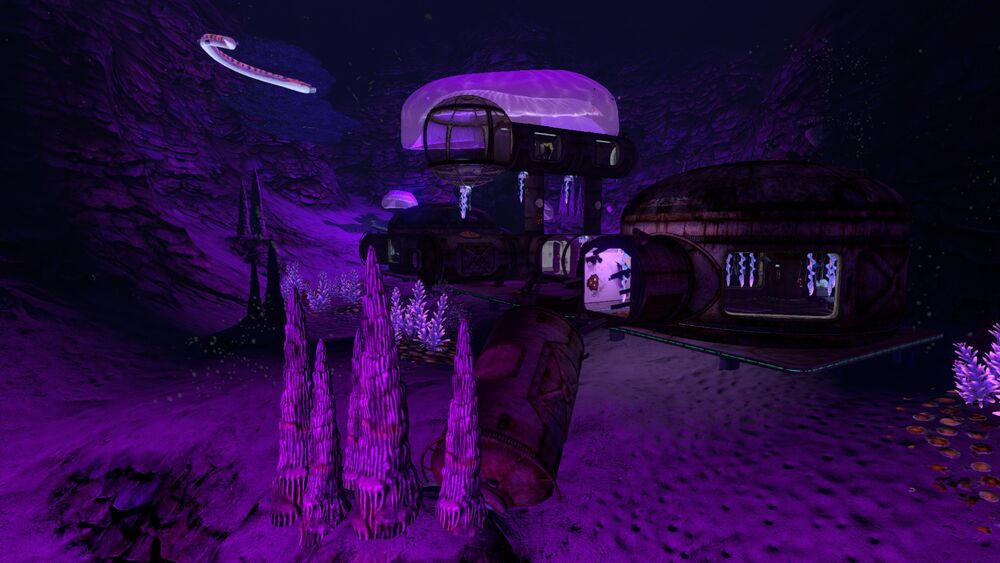
The final base can be found in the Deep Grand Reef. You can only access it by going through a cave system in the Grand Reef. The location is -680, -515, -941. Floating around the base is a Crabsquid. It can shoot out an EMP blast to disable electronics temporarily. You’ll want to avoid it at all costs.
There are two entrances to the base and you’ll want to explore both of them to find all of the fragments and blueprints. Once entrance is through an open hatch on the side of the upper multipurpose room. The other is a lower entrance through a broken basic compartment.
In the lower section you’ll find a PDA and Data Box with the Blueprint for the Swim Charge Fins. In the upper section you’ll find another PDA, an Orange Tablet, Alien Containment, a Data Box with the Cyclops Shield Generator Blueprint and a Cuddlefish Egg.
Sunbeam Rescue Attempt
After 9 days you’ll receive a message from the trading ship Sunbeam. They received the SOS from the Aurora but it will take them over a week to reach the planet. You’ll receive more messages from them on day 13 and day 19, telling you they’re getting closer and scanning for a pickup location.
On day 21 they’ll send out a message telling you they have found a pickup location and are sending you the coordinates. You’ll be given a 40 minute countdown so you’ll know exactly when you need to be at the specified location.
The coordinates direct you to the large mountain biome in the north, just past the Kelp and Mushroom Forest. Once you get there you’ll want to explore the alien base which is the Quarantine Enforcement Platform and the mountain caves.
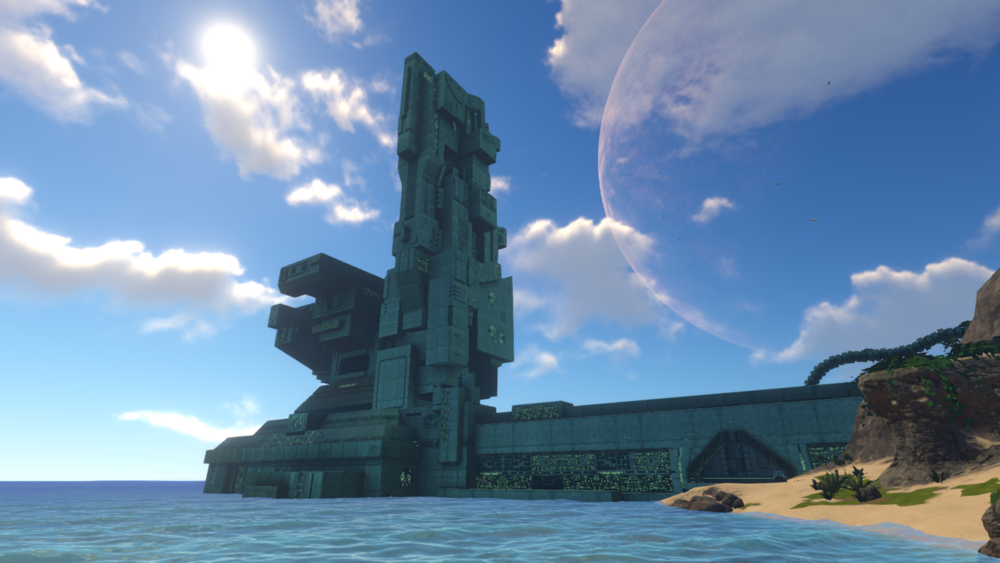
The alien base is the reason the Aurora was shut down and also the reason why the Sunbeam rescue will fail. If you want to escape this planet you’ll need to shut down the laser beam.
To get access to the facility you’ll need to find a Purple Tablet. You can find one in the Degasi Seabase on the Floating Island. Other Purple Tables can be found in the mountain caves. When you find a Purple Table make sure you scan it so you get the Blueprint. More Purple Tablets can be made in the fabricator.
Inside the facility you can find another Purple Tablet, 3 Ion Cubes and a couple of Alien Relics that you can scan for more information. Once you’ve explored all you can head back to your own base or lifepod.
The Aurora
The Aurora is a 1,280 meter long space ship that crash landed on Planet 4546B while attempting a slingshot maneuver. You won’t be able to get close to the Aurora without a Radiation Suit until the damaged generators have been fixed. Around the Aurora you can find large quantities of Metal Salvage.
Before attempting to enter the Aurora you’ll want to make sure you have a Seaglide, Knife, Radiation Suit, Propulsion Cannon, Laser Cutter. A Fire Extinguisher comes in handy although you can find them in the Aurora when you get there.
There are two entrances to the aurora on the front section of the ship. Take the Seamoth or Seaglide around to the broken front section but watch out for the Reaper Leviathan which might be patrolling nearby.
From the front you can swim up to a broken platform. The first entrance is just in front of you but you’ll need to use the Propulsion Cannon to remove the boxes from in front of the door.
If you don’t have the Propulsion Cannon you can take the ramp up to the higher level. Follow the path around to a second entrance. This one is blocked off by fire but you can use the nearby Fire Extinguisher to put it out.
Make sure you’re careful to explore all of the Aurora and scan any items that you’re not familiar with. You should find fragments for the Cyclops Engine, Prawn Suit and Propulsion Cannon. You can also find the Cyclops Engine Efficiency Module, Repulsion Cannon Blueprint, Seamoth Depth Module MK1 and the Storage Module.
The most important item can be found in the Captain’s Quarters. The code for the Captain’s Quarters is 2679. You should receive this code through one of the radio transmissions. Inside the Captain’s quarters you can find blueprints for the Neptune Escape Rocket. You’ll need this if you want to get off the planet and complete the game.
When you’re done head back to your home base so you can start preparing to explore some of the deeper underground caverns.
Base and Vehicle Upgrades
Next you’ll be heading to the Lost River and Lava Zone to explore some of the deepest areas of the crater. Unfortunately the Seamoth has a limit of 900 m even with the Depth Module MK3. To explore safely you’ll need a Cyclops and a Prawn Suit both equipped with Depth Modules MK1. You’ll need to bring raw materials with you so you can upgrade to MK2 and MK3 once you find the rare materials in the Lava Zone.
Basic modules can be made in the Vehicle Upgrade Console which can only be built in the Moonpool room. From here you can make the Prawn Suit Depth Module MK1 as well as the arm attachments. You’ll need the Modification Station to upgrade the module to MK2.
You’ll also need the Modification Station to upgrade the Cyclops Depth Module MK1 to Mk2 and MK3. For this reason you should build a Modification Station on the Cyclops itself. That way you won’t have to come back to your home base to make the upgrades.
For the trip to the Lost River you’ll also want an Interior Growbed with a few plants, a Prawn Suit with Drill Arm attachment, a few extra storage cabinets and raw materials so you can craft whatever you need along the way.
The Lost River
There are 3 entrances to the Lost River, one in the Deep Grand Reef, one in the Blood Kelp Zone to the north and the other between the Mountains and the Bulb/Koosh Zone. The Lost River has a depth range of between 550 m and 1000 m so it’s the deepest biome you can explore with a Seamoth.
It’s best to bring the Cyclops with you so you can continue on to the Inactive Lava Zone below. You’ll also want to bring the Prawn Suit so you can mine for minerals and explore the many brine pools which will harm you if you’re not in a Prawn Suit.
The Disease Research Facility can be found between the center junction and the Mountain corridor. You should explore this first before going to the Inactive Lava Zone.
Disease Research Facility
This facility was built around a thousand years ago but is now destroyed. The researchers were investigating the reaction to the Kharaa Bacterium. Only one specimen survived and it was sent to the Primary Containment Facility.
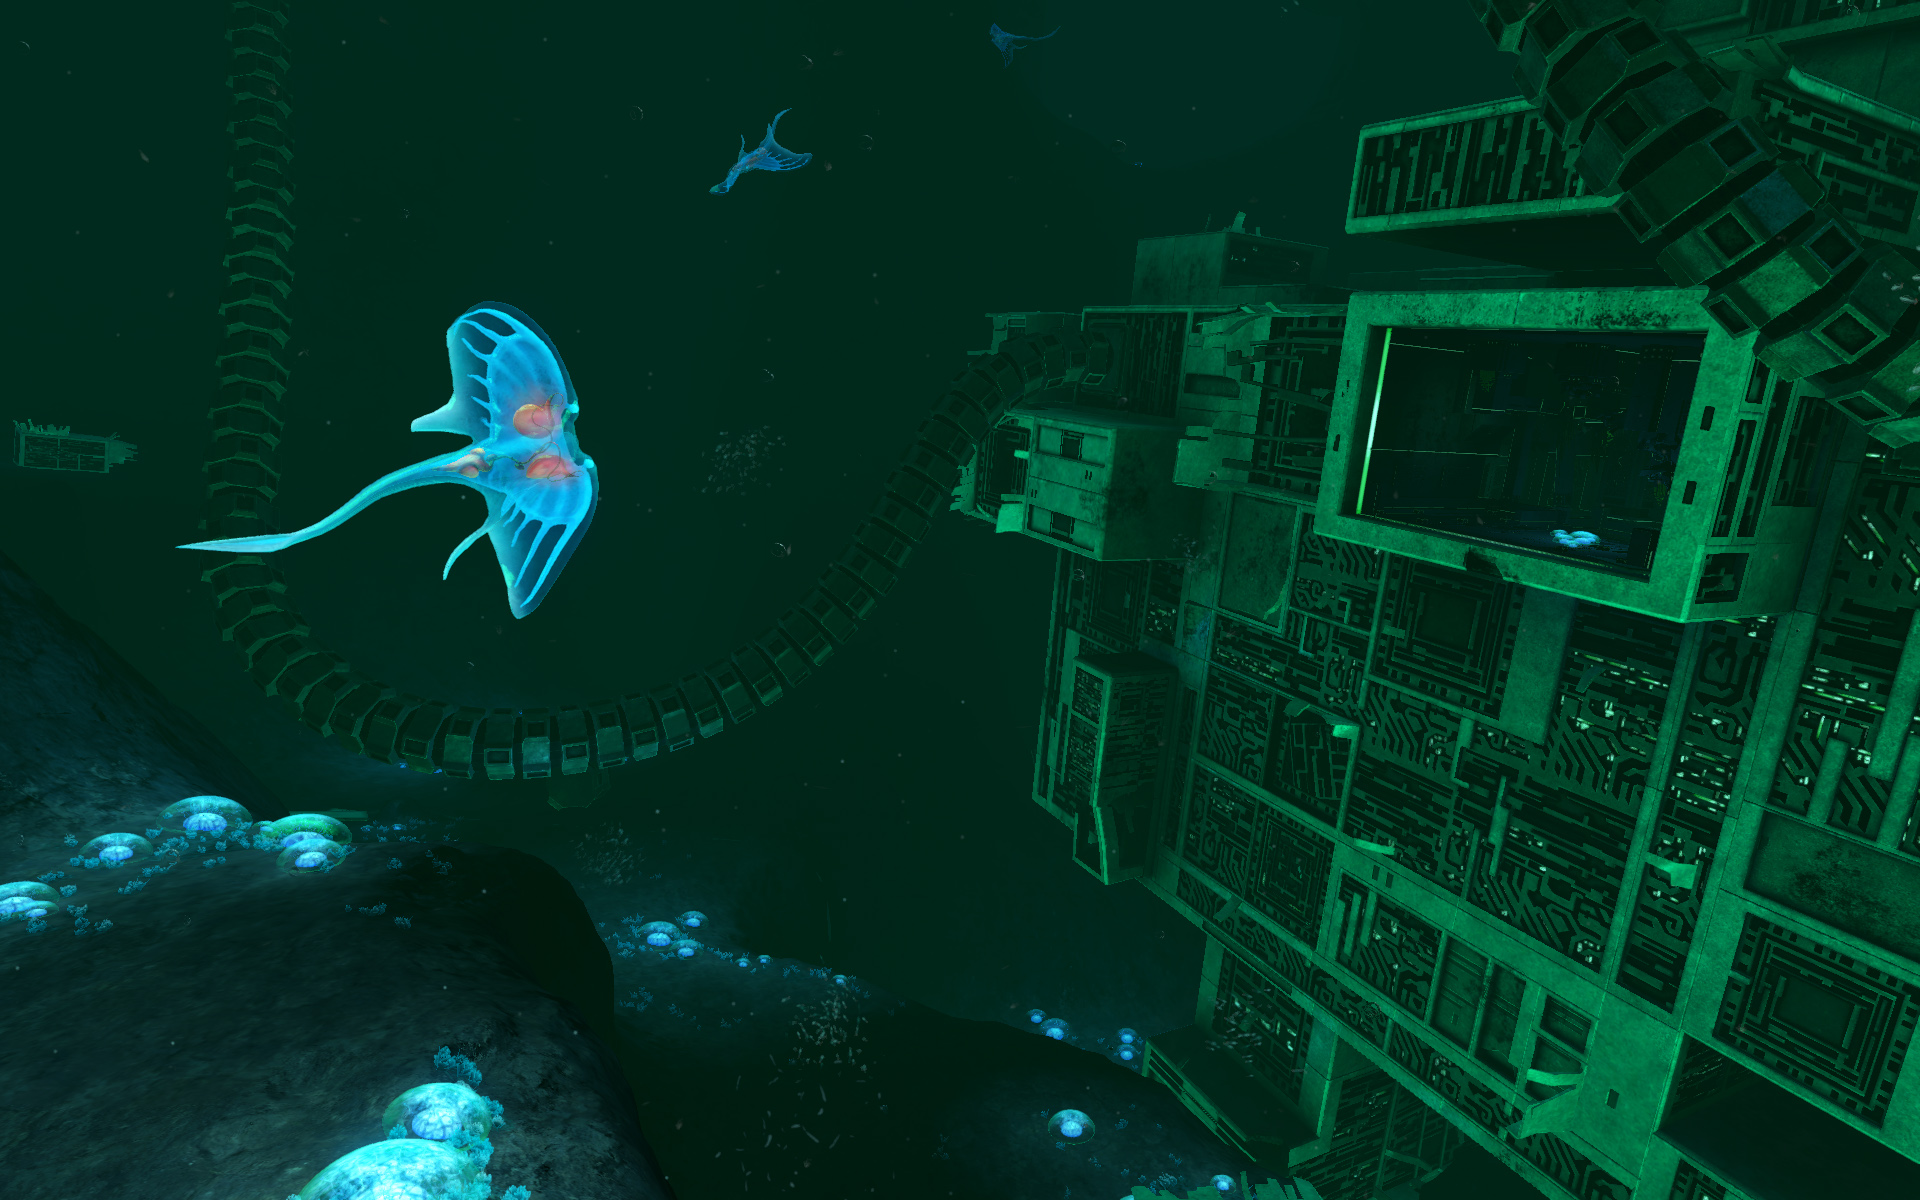
The base is completely filled with water so you’ll need to swim through it. The entrance is located near the top of the base on the northeast side. Inside you’ll find an Ion Cube and a room that’s blocked off by a forcefield. Using a Purple Tablet you’ll be able to turn off the forcefield and grab the Data Download.
Continue through the base and you’ll find another Ion Cube. There’s a passage that leads to some specimens that you can scan. Eventually you’ll reach a room with a Data Terminal. When you use it the PDA will ask you to perform a self-scan. It appears the Kharaa Bacterium has spread to your hands!
Before going further you’ll need to upgrade your Cyclops and Prawn Suit. Hunt around for Nickel and use it to make the depth upgrades.
Inactive Lava Zone
The Inactive Lava Zone can be found by going through the tunnels in the Lost River. You’ll find one entrance in the Mountains Corridor and the other in the Tree Cove. You’ll take heat damage in this area unless you have the Reinforced Dive Suit.
At the center of the zone you’ll see a mountain known as the Lava Castle. This is where you’re headed next. The Cyclops is too large to enter the mountain but you can go inside with the Prawn Suit. Look around for the entrance and inside you’ll find the Alien Thermal Plant. This is the smallest of the four alien bases.
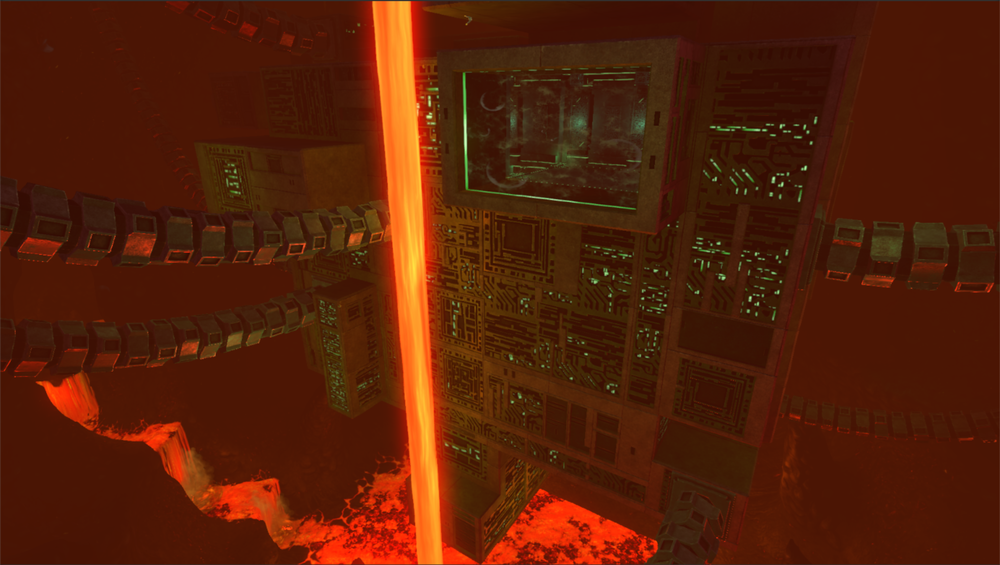
There are two locked doors inside the facility and both can be unlocked by using a Purple Tablet. Inside one of the rooms you’ll find a Blue Table and the other has blueprints for the Ion Battery and Ion Power Cells. Inside another room you’ll find the Principal Alien Arch which links to the Quarantine Enforcement Platform.
Alien Worker Robots roam around inside the facility. They will attack you with their welding devices and cause a little bit of damage. Use the Propulsion Cannon or Stasis Rifle to deal with them or just avoid them.
Make your way back out of the mountain and return to the Cyclops. Follow the lava falls around the mountain deeper into the biome known as the Lava Lakes.
Lava Lakes
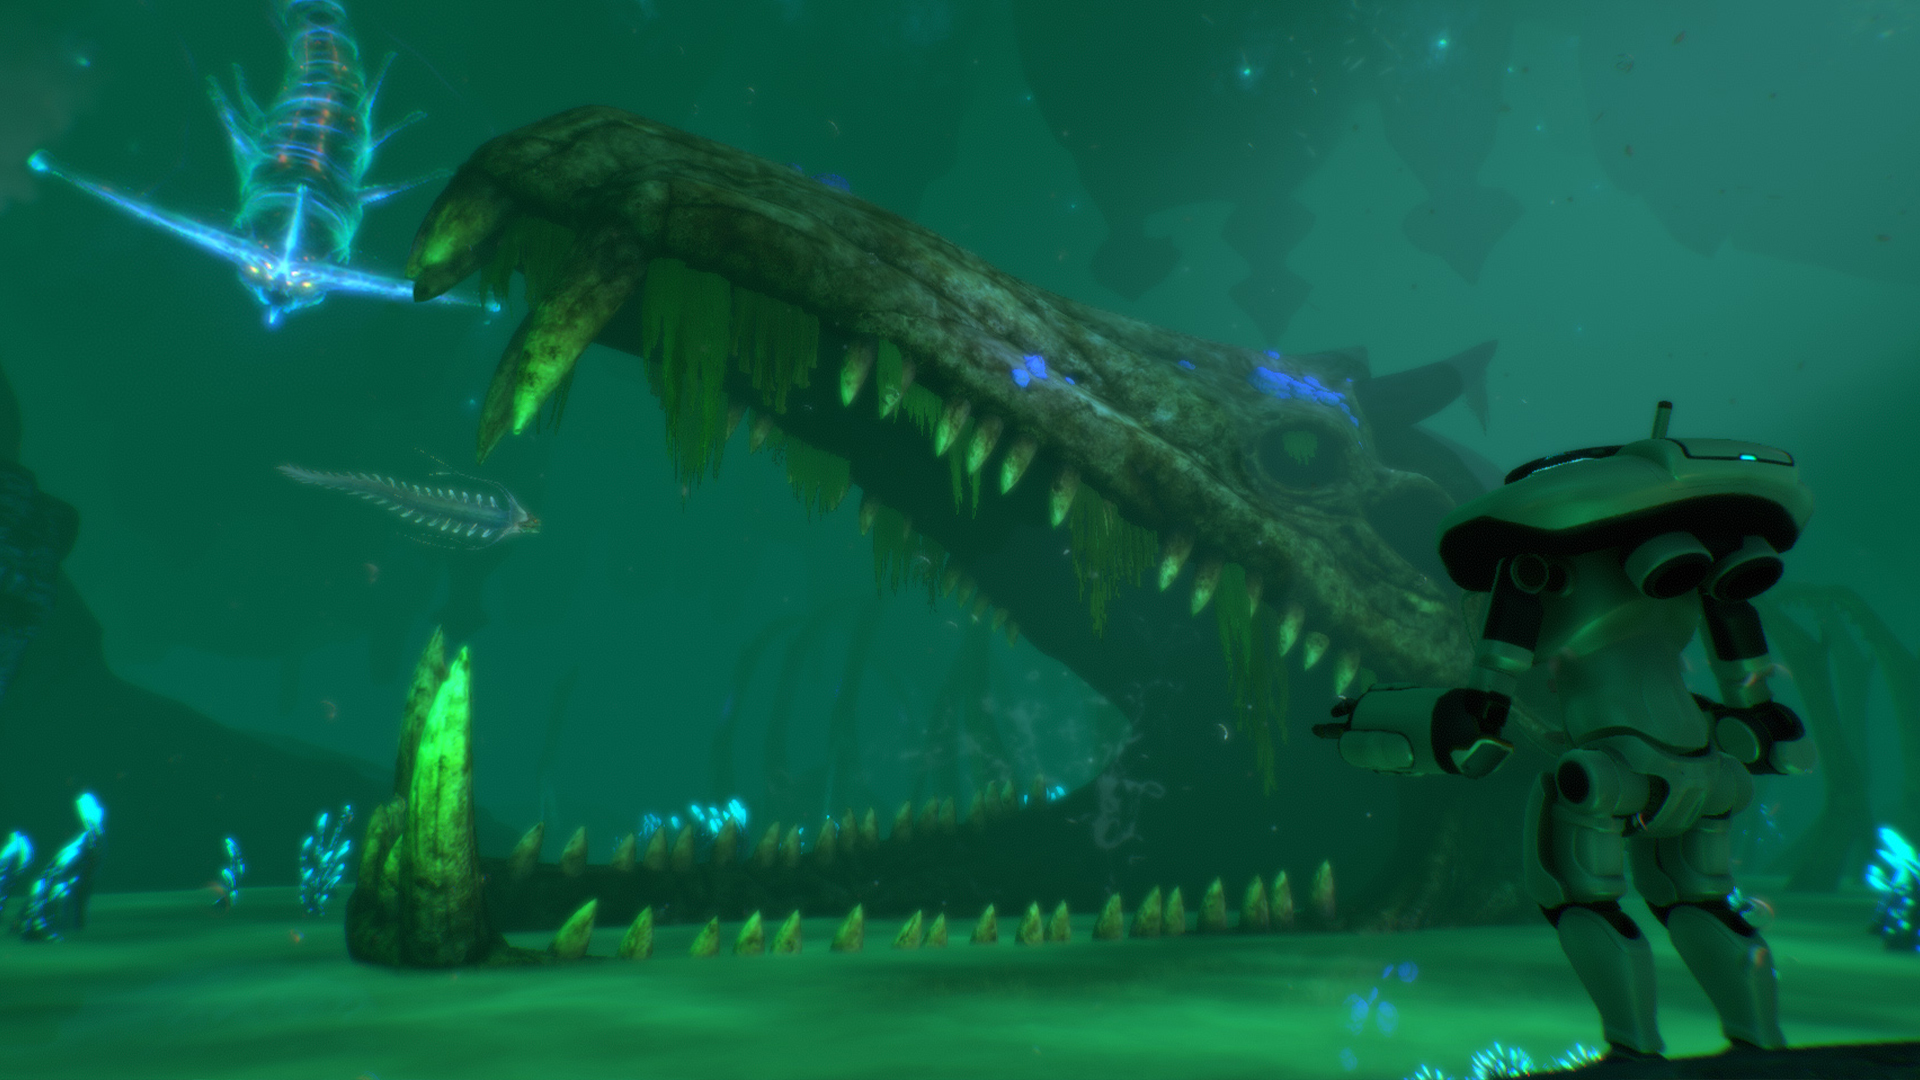
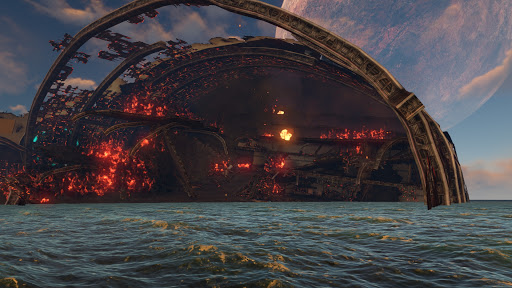
The Lava Lakes extend from 1300 m to 1500 m below the surface. It’s a smaller biome than the Inactive Lava Zone and is guarded by a Sea Dragon Leviathan. Search around for the Primary Containment Facility and go inside.
To unlock the facility you’ll need the Blue Tablet which can be found in the Alien Thermal Plant. You’ll first enter the Antechamber, a large room with an Ion Cube Fabricator in the center and doors all around the sides.
The door directly ahead is the Moonpool. The doors to the left and right lead to rooms with alien artifacts that you can scan. The doors in the diagonals lead to arches that will take you to different biomes.
Go through the door ahead to the Moonpool. Make sure you bring 2 Ion Cubes with you. After the conversation with the Sea Emperor you’ll be told what to do. Use the Ion Cubes to activate the Aquarium Arch. You’ll be given a blueprint for the Hatching Enzymes. You must craft it at a Fabricator and then insert it into the Incubator Device.
You can find all of the ingredients for the Hatching Enzymes by using the four Alien Arches in this facility. You’ll need Ghost Week from the Lost River Ghost Forest, an Eye Stalk from the Crag Field, a Fungal Sample from the Mushroom Forst and a Bulb Bush from the Bulb Zone. You’ll also need a Sea Crown but that can be found in the aquarium with the Sea Emperor.
Once you have the enzyme place it in the incubator and wait for the babies to hatch. Touch the gold essence in the water and you’ll be healed from the bacteria.
Go through the Arch that leads to the ground floor of the Quarantine Enforcement Facility. Make your way up the ramps to the Deactivation Terminal and interact with it to deactivate the laser turret. Take the Arch back to the Primary Containment Facility.
Bring the Ion Cubes, Kyanite crystals, Nickel and any other resources you’ve gathered along the way back to the Cyclops. Make the long trip back to the base and get ready to leave the planet.
The Neptune Escape Rocket
If you’ve been to the Aurora and found the Captain’s Quarters you should have the blueprint for the Neptune Escape Rocket. It’s built in parts but first you’ll need to use a Mobile Vehicle Bay over deep water to construct the Neptune Launch Platform.
The other four parts of the rocket are the Neptune Gantry, Neptune Ion Boosters, Neptune Fuel Reserve and Neptune Cockpit. They are all made from the Neptune Launch Platform.
You’ll need a lot of resources to complete the rocket but you should have access to all of them if you’ve completed the main story line.
When you are ready to leave say goodbye to any new friends you’ve made on the planet and enter the rocket. You’ll need to activate a number of subsystems on the lower and upper deck before entering the cockpit. Once you reach the top launch the rocket and enjoy the final cutscene.
If you enjoyed this game make sure to check out the sequel Subnautica: Below Zero.