The Return
Back to Portal 2
3-1
After entering the next room use the bouncer a few times to fly up to Wheatley. GLaDOS will close the ceiling preventing him from talking to you. Place a portal on the roof and one in roof above the ledge. Bounce up through the portal to land on the ledge. Up here you’ll notice a laser, a laser receptor and a few sloped panels.
Place a portal on the sloped panel opposite the red button. Drop back down and bounce up through the portal. Press the red button to drop a cube on the ledge on the other side. Repeat the process with a portal on the other sloped panel.
Pick up the cube and use it to deflect the laser onto the white wall. Place a portal on the sloped panel near to the exit, drop down once more and bounce through the portals to the exit. Place a portal on either side of the white wall so the laser hits the receptor and opens the door. Go through to the next area.
3-2
First you need the cube. Place a portal high on the wall where you entered. Drop down the pit and place a portal underneath you. You’ll fly over to the ledge with the cube. Grab it and drop down.
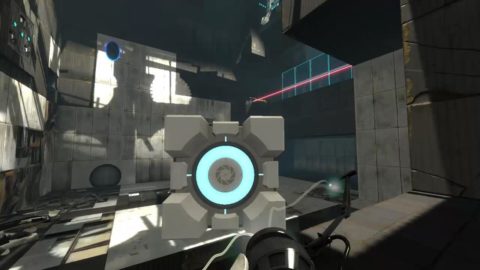
Bounce up to the laser. Place the cube in front of the laser beam. This lowers the panel. Drop down and use the bouncer again. This time you’ll bounce to a higher ledge. Press the red button to drop a laser cube. It will bounce up to you. Take it with you to the lower ledge and use it to deflect the laser onto the white panel on the wall. Place a portal where the laser hits the panel.
Grab the regular cube and bounce back up again. Place the second portal opposite the receptor. When the laser hits the receptor the glass panels will fold down. Drop back down to the start and bounce up again. Keep holding the cube. Place the cube on the button and head through to the lift.
3-3
This is the first puzzle with light bridges. Place a portal at the end of the light bridge and the second on the wall on the other side of the gap. Walk through the portal, or over the bridge and press the red button. Cubes will start falling in the glassed off area.
Go back through the portal to the start of the room and place a portal on the left wall so the light bridge goes through the gap in the wall on the right.
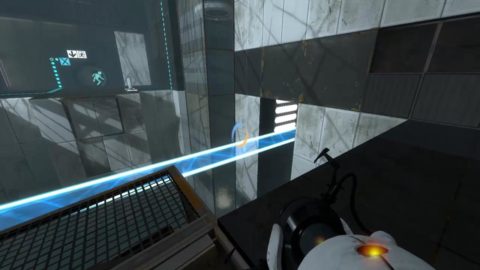
Walk through the portal to the end. Replace the light bridge by putting the portal in the next wall. Repeat once more to reach the falling cube. Grab it and return through the portal.
Make a light bridge so it goes into the button room on the left. Take the cube over the bridge and place it on the button. Make light bridges to get across to the other side and head through the exit.
3-4
When you approach the door to the next room it will slam shut. While GLaDOS is trying to fix it Wheatley will appear for a few seconds. Once he runs off head through the door. Place a portal in the wall opposite the entrance and one over the light bridge. Go through the portal to stand on the bridge and place the second portal at the end of the light bridge. Go through back to the start. Place the second portal on the wall at the back so the light bridge extends under the dispenser. Press the red button and pick up the cube.
Walk back out on the light bridge and place a portal on the wall under the button so you can get across the gap.
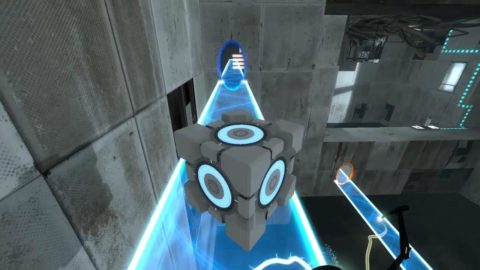
Take the cube over to the other side and place it on the button to open the exit. Head through to the lift.
3-5
Pick up the first turret and throw it away. Portal behind the second turret and throw it away as well. Put a portal under the third turret and it will drop away. Continue around the corner and up the stairs.
The next room has a glass divider with 2 turrets on the other side. Use portals and cubes to drop the cubes on the turrets, knocking them over. Around the next corner you’ll see 3 turrets. You can place a portal on one of them to get rid of it. Drop a cube on the second one and place a portal behind the third to sneak up on it and knock it over. Place a cube on the button to open the door and go through.
3-6
Make your way through the facility to another testing chamber. This one’s fairly simple. Place the laser cube so that the laser hits the glass receptors on the right. Place portals so the laser hits the third glass receptor.
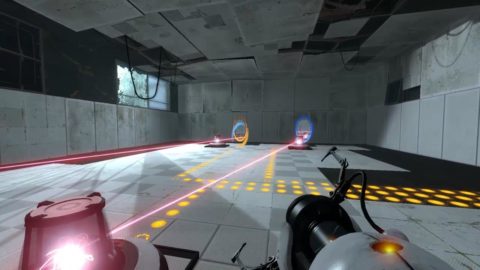
3-7
Four turrets stand behind a light bridge. Place a portal at the end of the light bridge and then on the wall to the left to block of the other turret. Stand next to the light bridge, move the second portal and then quickly walk behind the turret.
Place a light bridge on the pillar ahead to block the turrets to the right. Walk around to the back of the room and place a portal on the back wall. Use the bouncer and the light bridge will stop you so that you’ll land on the ledge.
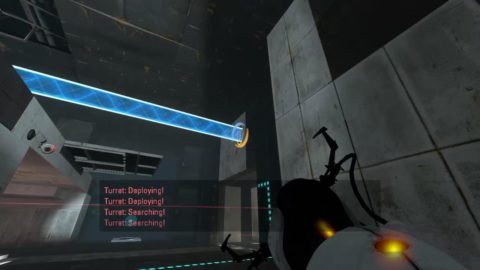
Walk along the glass walkway and drop down the hole to the cube in the middle of the turrets. Pick up the cube and knock all the turrets over. Place the cube on the red button to open the glass wall to the exit. Place a portal behind the turrets guarding the exit and portal over to the exit.
3-8
Standing on the red button activates the laser. Place a portal underneath it and one on the wall opposite the turrets to burn the turrets.
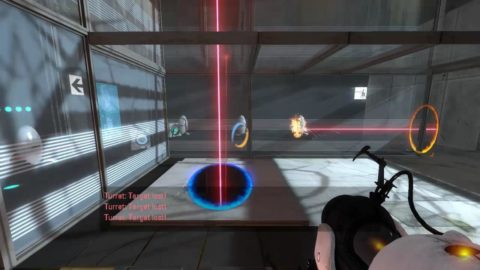
Pick up the regular cube and place it on the button. Pick up the laser cube and use it to destroy the turrets on the other side of the glass. For a secret use the laser to destroy the turret behind the small grate near the entrance. Crawl through to watch the turrets performing a song. Position the laser so that it hits the receptor and walk around to the exit.
3-9
The next puzzle consists of a button, a light bridge, a cube and a laser. Place a portal at the end of the light bridge and one on the wall next to you. Walk through and pick up the cube. When the laser hits the receptor the lift rises up. You’ll need to block the laser to lower the lift, once you’re on the lift release the laser and press the button to raise the lift and open the exit.
To do this put a light bridge over the button. Place the cube on the light bridge above the button. Step onto the lift and remove the portal. The button should fall onto the button, opening the exit.
Back: Ch.2 The Cold Boot Next: Ch.4 The Surprise


