Forgotten Forest
Back to Kena: Bridge of Spirits
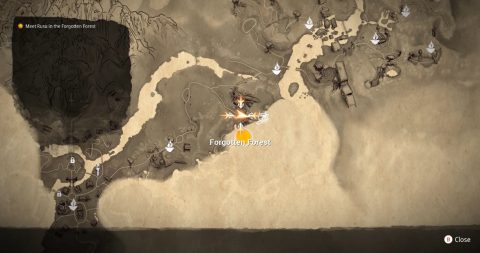
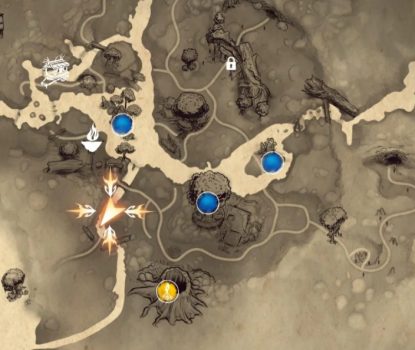
The Forgotten Forest can be found in between the Village and Rusu’s House. See the map below for the location.
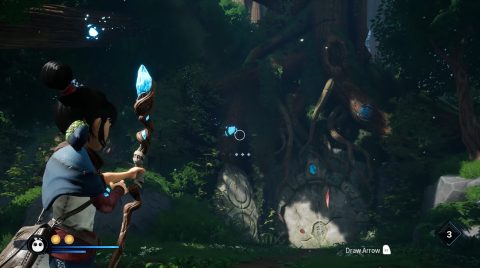
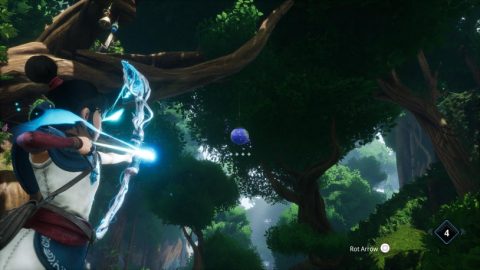
Once there look for the stone door. Around it you’ll see four crystals. The ones in the trees are the crystals you need to shoot. Start with the one to the left, then shoot the other two to open the door.
Go inside and talk to Rusu and he’ll reveal the locations of the four shrines on your map. You’ll need to restore all of them.
Fishing Shrine
This shrine is located on a small patch of land surrounded by water. Look at the shrine from the front and you’ll notice four sets of candles.
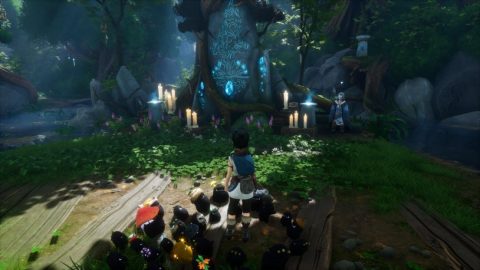
They represent the order in which you must shoot the stones around the outer edge of the shrine. If you get the order wrong Insect creatures will spawn.
Looking at the shrine shoot the stones in this order, front right, back left, back right and front left. Once you’ve done this a Corrupted Bulb will open. Use the Wisps and a Pulse to cleanse it.
God Tree Shrine
Not far from the Fishing Shrine you’ll find a very large tree with platforms around it.
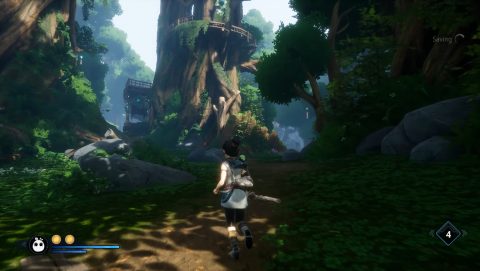
Use an arrow to shoot up to the flower and you’ll be on the lowest platform. Make your way up the ledges as high as you can go and you’ll find some fruit for the Wisps.
Just before this is a branch that you can walk out to. Across the gap is another flower. Grapple across to the next tree.
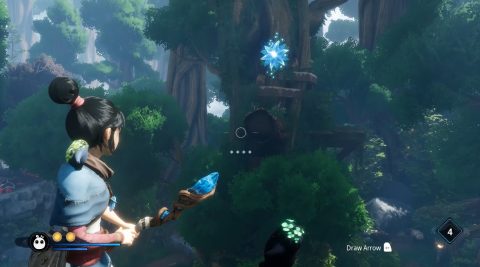
From here climb up using the white paint as your guide. Drop down to the ledge around to the right for Spirit Mail #1.
Jump up to the white paint and climb back to the left. Walk out over the branch and use the flower to grapple back to the previous tree. Go back to where you found the fruit and grapple over to the flower on the other tree.
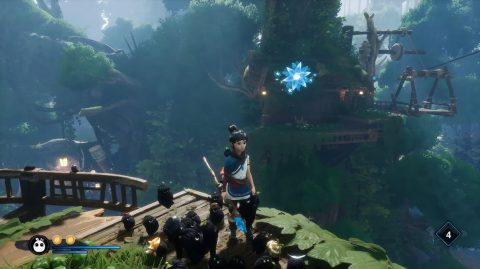
Stand on the platform and ride the conveyor across to the next tree. Make your way up this tree and you’ll find the source of corruption. This is a difficult battle and it’s easy to fall off the edge if you get hit.
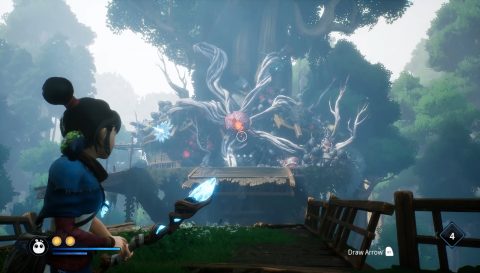
Take out the Purple Monkeys that shoot the purple exploding spears first. Then finish off the Flying Insects and other creatures. The flying insects can be taken out in a single arrow shot if you charge up your bow. More waves will spawn in after you’ve killed off the first few. There is a Flower on the ledge to the left if you need it.
Once the enemies have been defeated use a Wisp on the corrupted bulb and then hit it with an arrow or a pulse to cleanse the area. Speak to Rusu and then grapple up to the Flower above the rooftop. Continue up the platforms to the top where you’ll find Rot Wisp #1.
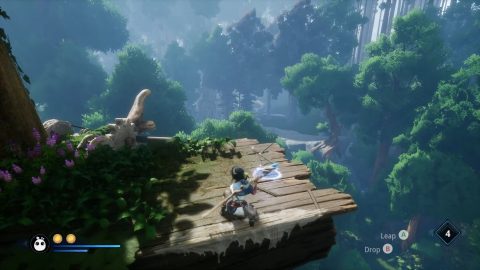
Jump back down to the lower ledge and then take the lift down to the ground. On the way to the water shrine you should see some broken stairs. Make your way up them and follow the path until you’re by the river.
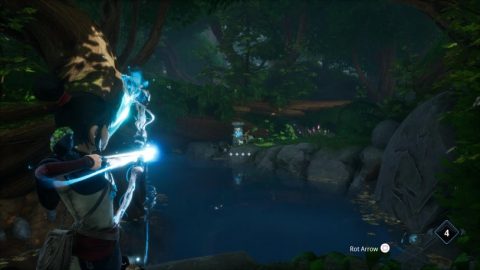
Climb up some rocks and shoot the stone with the crystal on the other side of the river.
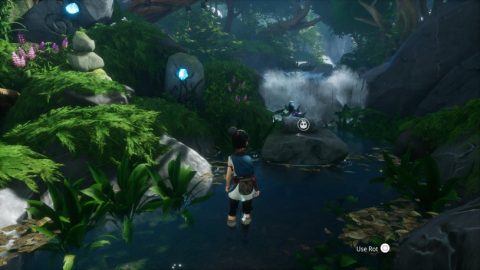
This will lift up some stone platforms so you can jump across to the other side where you’ll find a Mediation Spot. Just to the right use a Pulse to find Rot Wisp #2.
Water Shrine
There’s no battle for this shrine, just a puzzle. You’ll need to light up all of the crystals so the corrupted bulb will open. To do this you’ll need to place the Gemstones on the spots with the three markings.
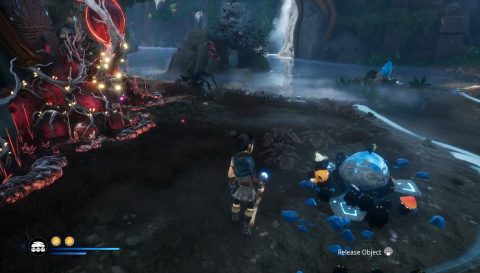
There are two Gemstones to place, then stand on the circle and let out a Pulse and the bulb will open.
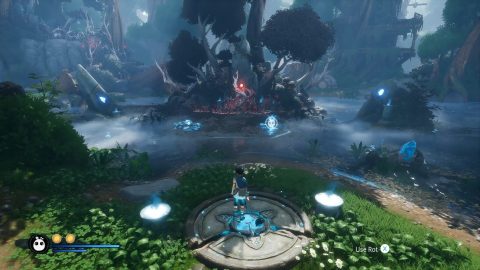
Use the Rot Wisp on the bulb and then let out a Pulse to cleanse the shrine. Talk to Rusu and then use the Forest Tear that appears by the shrine. Take it over the water and use it to clear up the corruption behind the stone stairs. This reveals a stone block. Take the stone block to the stone wall with the painting on it.
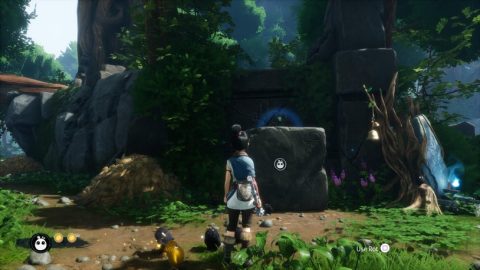
Climb up and use the Rot Wisps to move the wooden barricade. Look around for the purple butterflies over a pile of straw indicating a hidden Wisp.
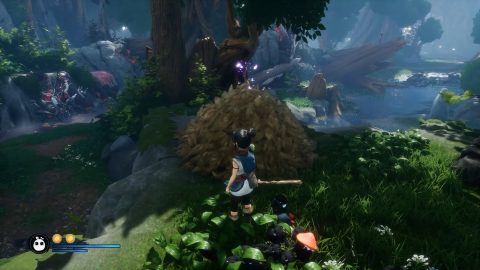
Run back to the shrine, grab the Forest Tear and quickly bring it up to clear out the straw. Use a Pulse and pick up Rot Wisp #3.
Turn around and grapple up to the flower. Use the slow down time skill and turn around to shoot a second flower. Turn around and grapple up to a third flower.
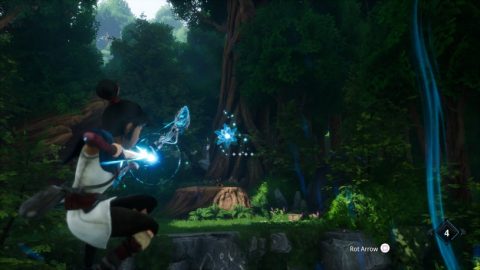
When you land on the tree stump you’ll find Spirit Mail #2.
Woods Shrine
When you get near the shrine combat will begin. Take out the enemies and use the Flower on the ground to replenish your health if you need it. Make your way up the path and cross over the large log. More enemies will spawn in as you approach the clearing on the other side.
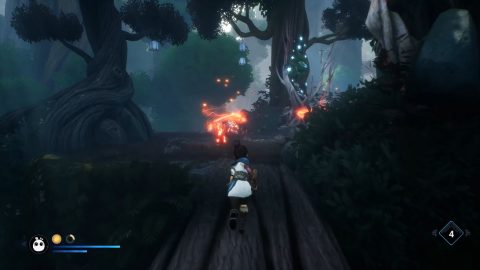
Take them out and the corrupted bulb will open up. Use the Wisps on it and then send out a Pulse to clear the final shrine.
Just to the left of Rusu you’ll see a log with a symbol on the end of it. Stand on it and send out a Pulse.
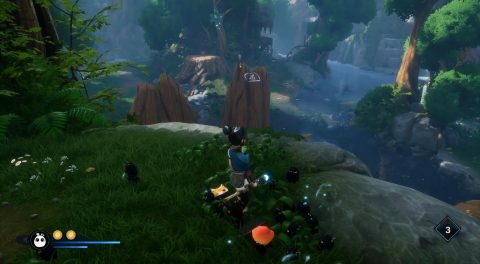
Shoot the four targets as they come up and you’ll be rewarded with Rot Wisp #4. Grapple over to the flower and open the chest for the Sibling’s Mask.
Exploring the Area
Near to the Wood Shrine you’ll spot a Hat Cart up on a cliff. When you find it you’ll be rewarded with the Acorn Rot Hat.
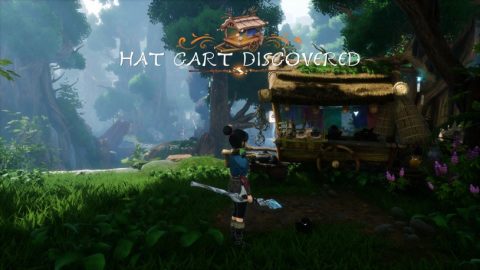
Drop down the cliff and head to the right. Follow the running water upstream until you find a small cavern. Enter and use Pulse in front of the shrine to find Rot Wisp #5.
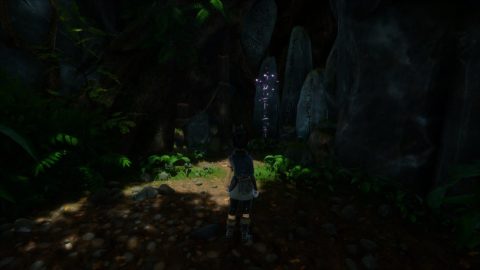
Go back to the base of the God Tree Shrine and look at the flower shrine. Slide down the path to the right of it and follow the path along while keeping a look out in the trees above. You’ll notice a purple lantern. Shoot it to reveal Rot Wisp #6.
Sprout Captain Boss Fight
Once the four Forgotten Forest Shrines have been cleansed make your way to the Guardian Tree which is marked on your map with the yellow circle. Stand on the circle in front of the stone door and send out a pulse.
The Sprout Captain is very aggressive with his melee attacks. The best way to defeat him is to stand still, parry his attacks and counter strike. You can then use the Rot Hammer for maximum damage once you’ve built up enough energy.
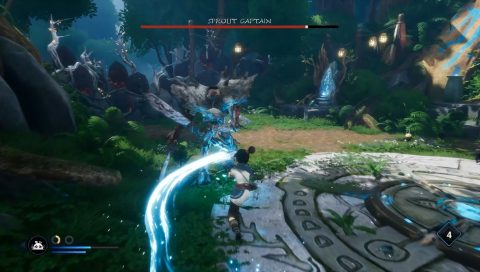
There are now health flowers in this area so you will need to defeat him without regenerating your health. You can dodge out of the way but just be ready for his triple strikes.
Once the Sprout Captain has been defeated use the Rot Wisps on the corrupted bulb in the cave and send out a pulse to cleanse the area. You’ll be given Rot Wisp #7, #8 and #9 and the Food Offering Relic.
Take a look at the map to see your next objective. You’ll need to open the path to the Lantern Cave which is across the river to the north. Once you get there you’ll have a boss fight with the Mage.
The Mage Boss Fight
The Mage is a tricky character and has a number of unique attacks. He likes to launch large red spheres of fire at you that will continue to chase you until they hit something. They can be parried if you time it correctly. Otherwise try to guide the fireballs into smaller enemies or back to the mage.
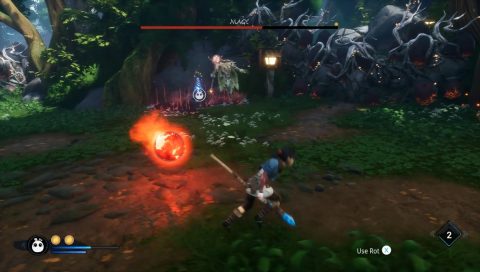
The Mage will also spawn 3 or 4 smaller enemies around him. You can mostly ignore them and use the fireballs to kill them. Lastly the Mage will glow green and heal himself. Try to interrupt the heal with a rot infused hammer or arrow otherwise you’ll be back to square one.
Once the Mage has been defeated speak with Rusu. He’ll shoot and arrow through the portal and it will open.
Lantern Cave
Run forwards and to the right. Use the Rot Wisps on the stone furthest to the right to reveal Rot Wisp #10. The other stones will spawn in a few small enemies.
Continue to the end of the clearing and climb up the cliff face. Follow the path and take a left at the intersection to release some of the remnants of Taro. Then use the Rot Wisps to cleanse the corrupted bulb and clear the path.
Continue forwards to the edge of the cliff and use your mask for a cutscene. Just a bit further along you’ll notice glowing crystal in the tree. Shoot it and then the next two crystals to release a blue tear. Have the Rot carry it to the circle to grow the plant so you can make Rot Clouds.
Use the Rot Cloud to clear up all the corruption in the area. Clear the corruption to the left and you’ll open up a path to a Meditation Spot. Meditate to gain a permanent increase to your health.
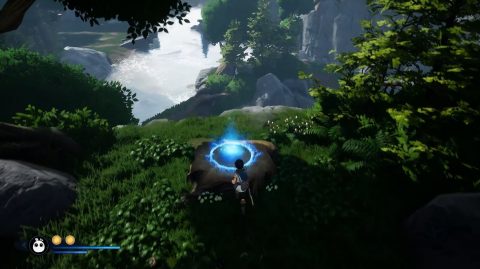
Clear the other path and continue down to some more enemies. Take them out, shoot another crystal to release another forest tear and make a Rot Cloud plant.
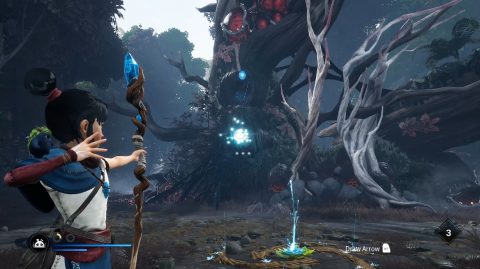
Use the Rot Cloud to clear up the corruption in the area. Destroy the piles of hay next to you to reveal Rot Wisp #11.
Have a look around until you find a deep hole in the ground. Slide down and you’ll end up in a deep underground cavern. Continue through the tunnel to a circle on the ground. Use Pulse while standing on it to open the doors to the next boss fight.
Shrine Guardian Boss Fight
The Shrine Guardian is a large beast with a corrupted bulb on his back. He’ll spawn small enemies as the fight begins and has quite few different attacks.
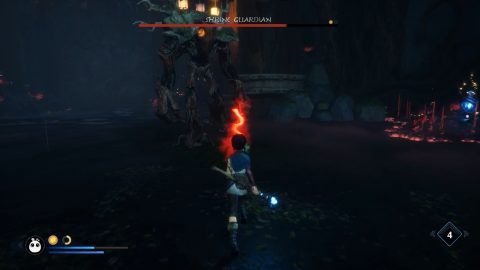
By now you’ll want to have the Focus ability on your bow which slows down time while you’re aiming. You’ll need it to target the yellow crystals on the Shrine Guardian’s body.
When the Guardian goes down on all fours and attacks with tendrils through the ground you’ll be able to target the corrupted bulb on his back. Use a Rot Wisp to target the bulb and then send out a Pulse. This does massive damage to the Guardian.
When the Shrine Guardian is defeated you’ll be rewarded with the Lantern Relic and Rot Wisp #12, #13 and #14.
Follow the path up the rock path and climb up the large stone steps with the white paint back up to the forest.
The Rots will find a lantern that’s fallen over. Have them pick it up and carry it to the stone by the shrine. The crystal in the tree above will begin to glow. Shoot it and then follow the light path to the next crystal. After you’ve done this 8 times the corrupted bulb in the center will open up. Send out the Wisps and use a Pulse to cleanse the area.
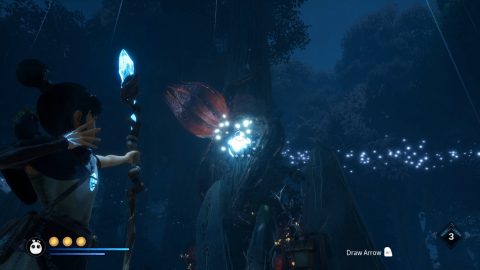
Rusu will tell you to take the Relics to the fallen tree. Once you are done exploring the Forgotten Forest make your way to the yellow marker on the map to the north. Interact with the symbol on the ground to start the boss fight.
Corrupt Taro Boss Fight
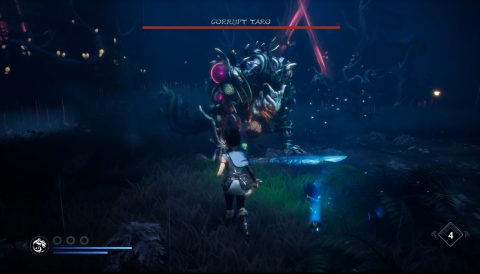
This boss fight has a couple of stages. For the first stage you’ll want to learn how to parry his melee attacks. Then strike back and use Rot Hammer to cause maximum damage. There are a few flowers around the edge of the battle field if you need extra health.
Shooting the glowing lantern around Taro’s neck will cause him to reel back. Use the focused arrow shot to give you time to hit it.
Once Taro gets down to about half health the second phase will begin. He’ll begin by swiping at you about 5 times in a row. Then he’ll move to the edge of the area, run around a bit and charge towards you.
Use a Rot Infused Arrow shot while he’s charging to send him crashing to the ground. You can then get in a few hits before he gets back up. If you miss he’ll charge in a grab you, doing a lot of damage.
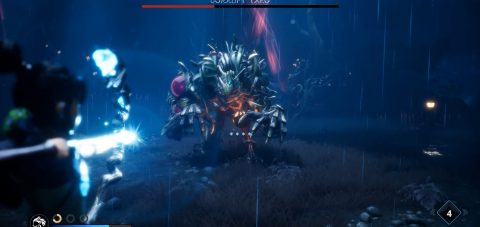
Once Corrupt Taro has been defeated you’ll be at a Shrine with Taro. Talk to him to find out what happened to him and his village. All that remains is to return to the Mask Shrine to honor Taro. Before you leave make sure you meditate at the Meditation Spot where you defeated Corrupt Taro for the extra health.
When you’re done make your way back to the village and go to the Mask Shrine. You’ll be given the mask of a Woodsmith called Adira. The entrance to the fields lies to the west of the village. You’ll be going there next.
Back: Rusu Mountain Next: Storehouse


