Adira’s Love
Back to Kena: Bridge of Spirits
When you first enter the Fields you’ll notice they’re all on fire. You can’t stray too far from the main path so continue heading towards the large spire. Use the Adira Mask to start a cutscene.
Speak with the girl and she’ll tell you that you need to clear the corruption at three locations, the Ancient Well, Watchtower and Rufus’ Barn.

Ancient Well
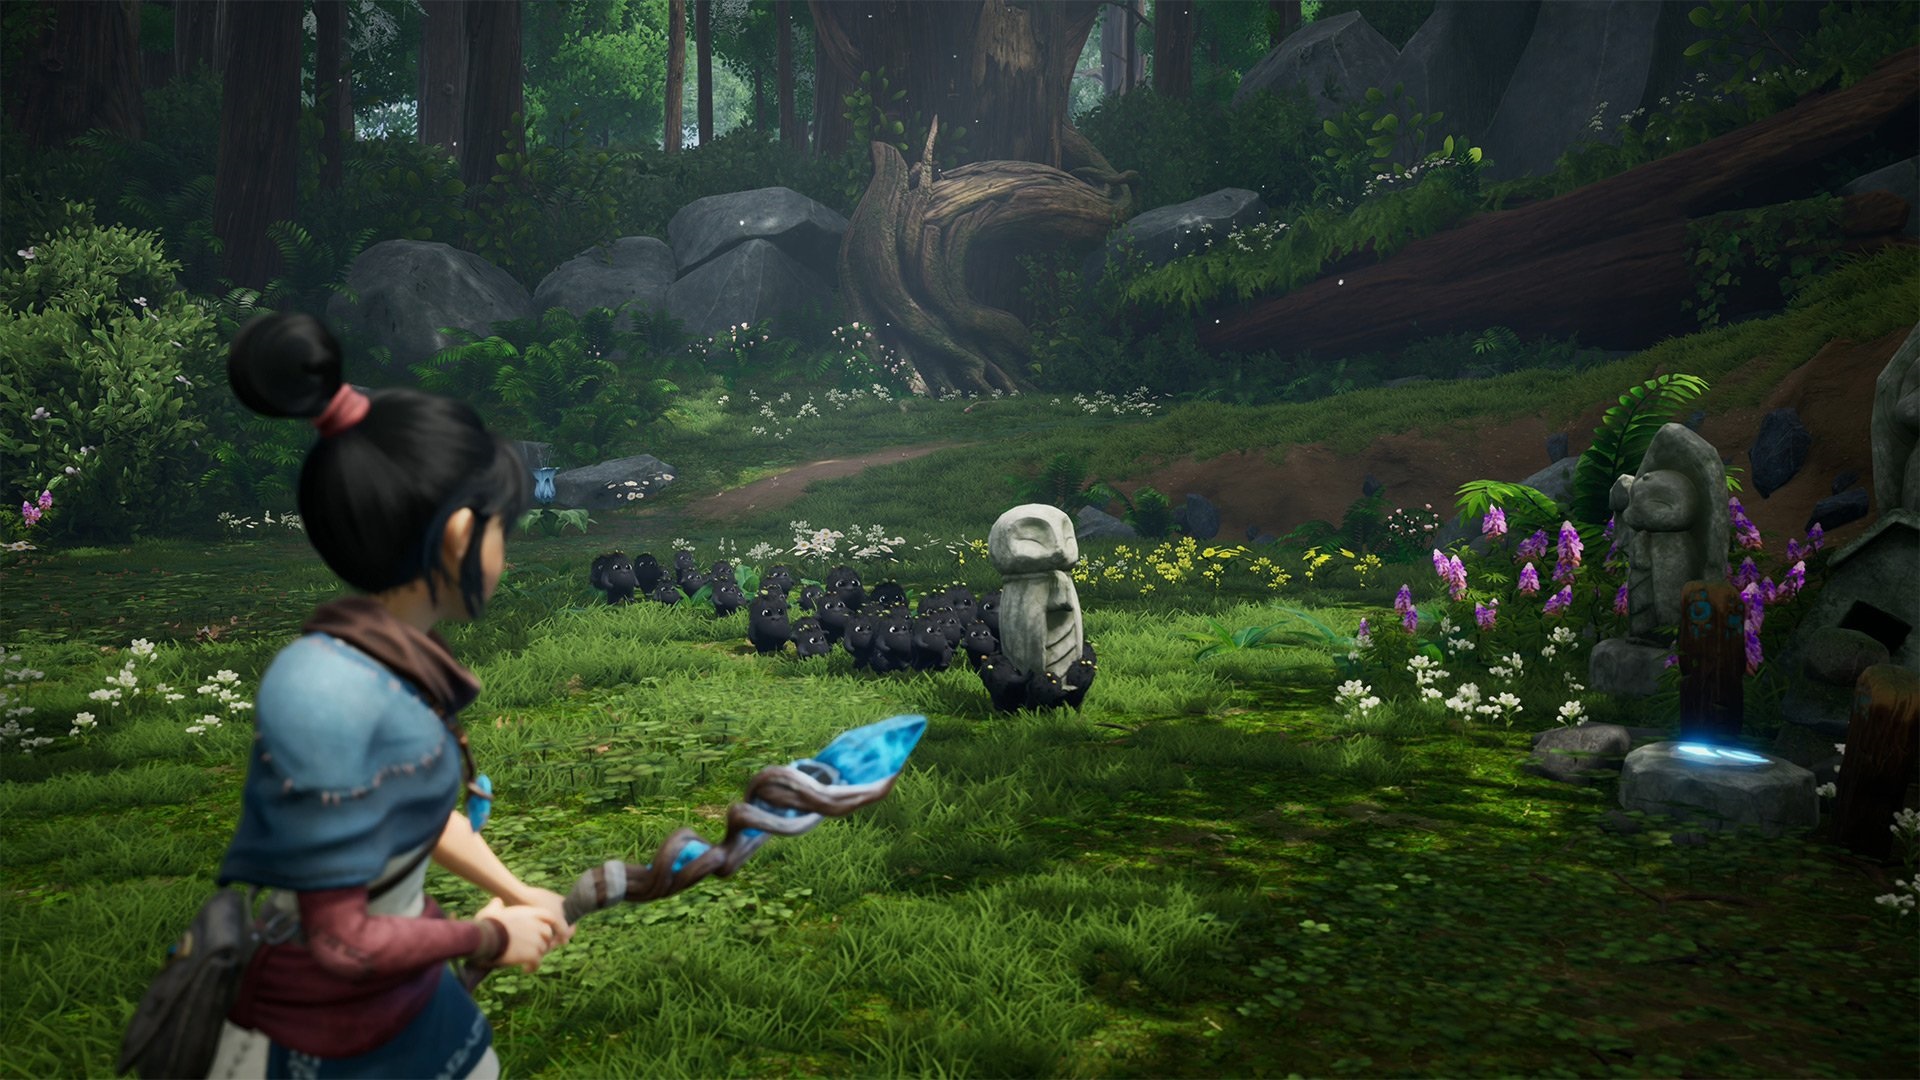
Throw a bomb at the large glowing stones. Shoot the crystal on the end of the longest one to turn it around, then grapple up to the flower.

Jump to the pillar and then the base of the tower. Turn around and wait for the stones to fall. Throw a bomb on them again and jump to the platform to the right. Turn around and you’ll notice glowing stones blocking an alcove.

Use a bomb to move them and go inside for Rot Wisp #1. Jump back up to the base of the tower.
Make your way along the wooden walkway around to the back of the tower. Follow the path around to the right, under the large root and you’ll find the girl again.
Climb up the ledge with the paint on it and head out to the cliff overlooking the ocean for a Meditation Spot.

Head back to the large circle and throw a bomb at the glowing rocks. Jump up the platforms and shoot an arrow at the Lotus Flower to grapple up to the ledge above.
Throw a bomb at the stone pillar and it will crack open. Shoot the crystal inside to activate it.

Drop down and do the same thing with the other two rock pillars. Once all three are activated the central circle will open and you’ll be able to take the stairs down.
Drop down into the cavern below for a fight with some small creatures. Take them out and then use the Rot Wisps to clear the corrupted bulb. That will clear the path so you can continue forwards. Before you leave this room use the Pulse in the corner by the tree and carved pillar to reveal Rot Wisp #2.

Head through the tunnel that opened up and make your way around to a ledge overlooking a corrupted bulb. Shoot the water crystal on the roof and it will drop down.
Use the Rot Wisps to make a Rot Cloud and use it to kill off the enemies.

Use a bomb to form the bridge and bring the Rot Cloud across if you want to clear the Flower Shrine.
Otherwise continue through to the next area. Drop down to the lower ledge and jump across to the side of the wall with the paint. Climb up and take out the Moth Creatures.
Turn to the right, use a bomb on the stones and jump across and clear the three corrupted bulbs to clear the Ancient Well and also clear a path to the outside.

Follow the path around to the left, using the Lotus Flowers to grapple across large gaps. This takes you to a lift. Just behind it use the Rot Wisps to move a log. Underneath you’ll find Rot Wisp #3.

Take the lift up back to the Fields. Jump up to the ledge and head up the stairs.
Take out the enemies in the wooden structure, then use a bomb on the floating stones. Jump to them, shoot the crystal on the second stone and jump up again. Use a bomb on a second set of stones and then shoot the crystals on both stones. Grapple up to the flower.

Jump to the wooden structure to find a chest with Rot Wisp #4. Drop down and make your way towards the Watchtower.
The Watchtower
Head out to the open field around the Watchtower and face the Kappa boss. This time he’s just a regular enemy. Use the smaller enemies to build up energy and then shoot a Rot Infused Arrows for maximum damage.

After the battle have the Wisps tip out the Forest Tear from the bucket and move it to the center of the field to grow a plant.
Then use the Rot Cloud to clear the corruption up by the Watchtower. The game gives you a quick cutscene of where you need to go.

Once you clear the corruption by the glowing stones you’ll reveal another Rot Cloud. Throw a bomb on the stones and then use the Rot Cloud to clear the corruption around the base of the Watchtower.
Use a bomb on the stones closest to the Watchtower. Jump up and grapple to the first flower. Use focus to grapple to the second flower. You’ll land on a stone platform.

Jump across to the top of the Watchtower and use the Rots to clear the corrupted bulb. The Watchtower is now clear.
Stand on the purple symbol and use pulse to start the target practice. When you hit all the targets you’ll be rewarded with Rot Wisp #5.
Drop down and drop a bomb on the other set of stones. Jump up, shoot the crystal and jump up further. Look down and grapple to the flower inside the house.

Inside you’ll find a chest with Rot Wisp #6.
Rufus’ Barn
Make your way to Rufus’ Barn and stop at the first bridge between the Watchtower and the Barn. Underneath you’ll find a chest with Rot Wisp #7.

Across the bridge you’ll find a dilapidated structure with floating red orbs indicating a fight. Move towards it and take out the Mage and other enemies. Use Rot Wisps on the bucket to pour out the Forest Tear and take it to the circle.
Spawn a Rot Cloud and use it on the farm. Look closely at the farm and you’ll notice a large pumpkin. Have the Wisps look under it to find Rot Wisp #8.

Look towards the stream and you’ll find some glowing stones. Use a bomb on them, avoid the exploding enemy, and then look under the floating stones to find Rot Wisp #9.
To the north of the house you’ll find a wooden structure. Climb onto it and jump across the gap to find Rot Wisp #10.

From here go directly west to a cliff overlooking the village. There’s a large boulder by the fence. Use a bomb on it to reveal Rot Wisp #11 underneath.

Make your way to Rufus’ Barn and shoot the target in the corrupted river. The platform will swing around and you’ll be able to jump onto it.

Get off on the other side, not on the platforms in the river. Inside the house you’ll find a chest with Rot Wisp #12.
Shoot the target again and ride the platform. Get off onto the platforms in the river and jump across them to the other side.
On the other side head up the stairs to the right and get ready for a fight. Send out a pulse to destroy the exploding creatures and then deal with the Moths and Rock Spiders.
Head towards the barn and use the Rot to move the stack of two barrels close to the edge. Move the third barrel on the ground closer to the first two. Jump onto the single barrel and then the double stack. Have the Rot move the double stack closer to the ledge so you can jump across.

Drop down on the other side and get ready for a boss fight.
Vine Knight Boss Fight
The first thing to do is to get rid of the Exploding Creatures. Use a pulse to explore them and then send out a Wisp to destroy the corrupted bulb that spawns them. Deal with the other creatures throwing fireballs and the Vine Knight will appear.

The Vine Knight is much easier to deal with from a distance. Take advantage of your Rot Infused Arrows. When you don’t have energy shoot the orange crystals. They’ll fall off and you can use a pulse to collect them.
Watch out for his lunging whip attack which has a massive range. You can’t block it. You can only parry or dodge out of the way at the right time.

Once he’s been defeated send out the Wisps to clear the corrupted bulb.
Use a bomb on the glowing stones near the barn and jump up the platforms. Jump across the beams in the roof until you find Rot Wisp #13.

Drop down and head to the far end of the yard. Use a bomb on the glowing rocks to lift them up. Shoot the crystal on one of them to drop down a forest tear. Bring it over to the Rot Cloud spawn point. Spawn in a Rot Cloud and use it to grow the plants.
You can also use the Rot Cloud to clear the Flower Shrine out the front of Rufus’ Barn.
Make your way back to the objective marker on your map showing Adira’s Love. Use the Rot on the corrupted bulb to clear the area. Then use a bomb on the stones and they will lift up to form a stone bull named Rufus.

After the cutscene you’ll be given the Ox relic and Rot Wisp #14, #15 and #16. Next we’ll be heading off to the Forge to find Adira’s Fear.
Back: Storehouse Next: Adira’s Fear