Level 13: The Great Pyramid
Back to Tomb Raider: Anniversary
The Great Pyramid
Artifacts: 1
Relics: 1
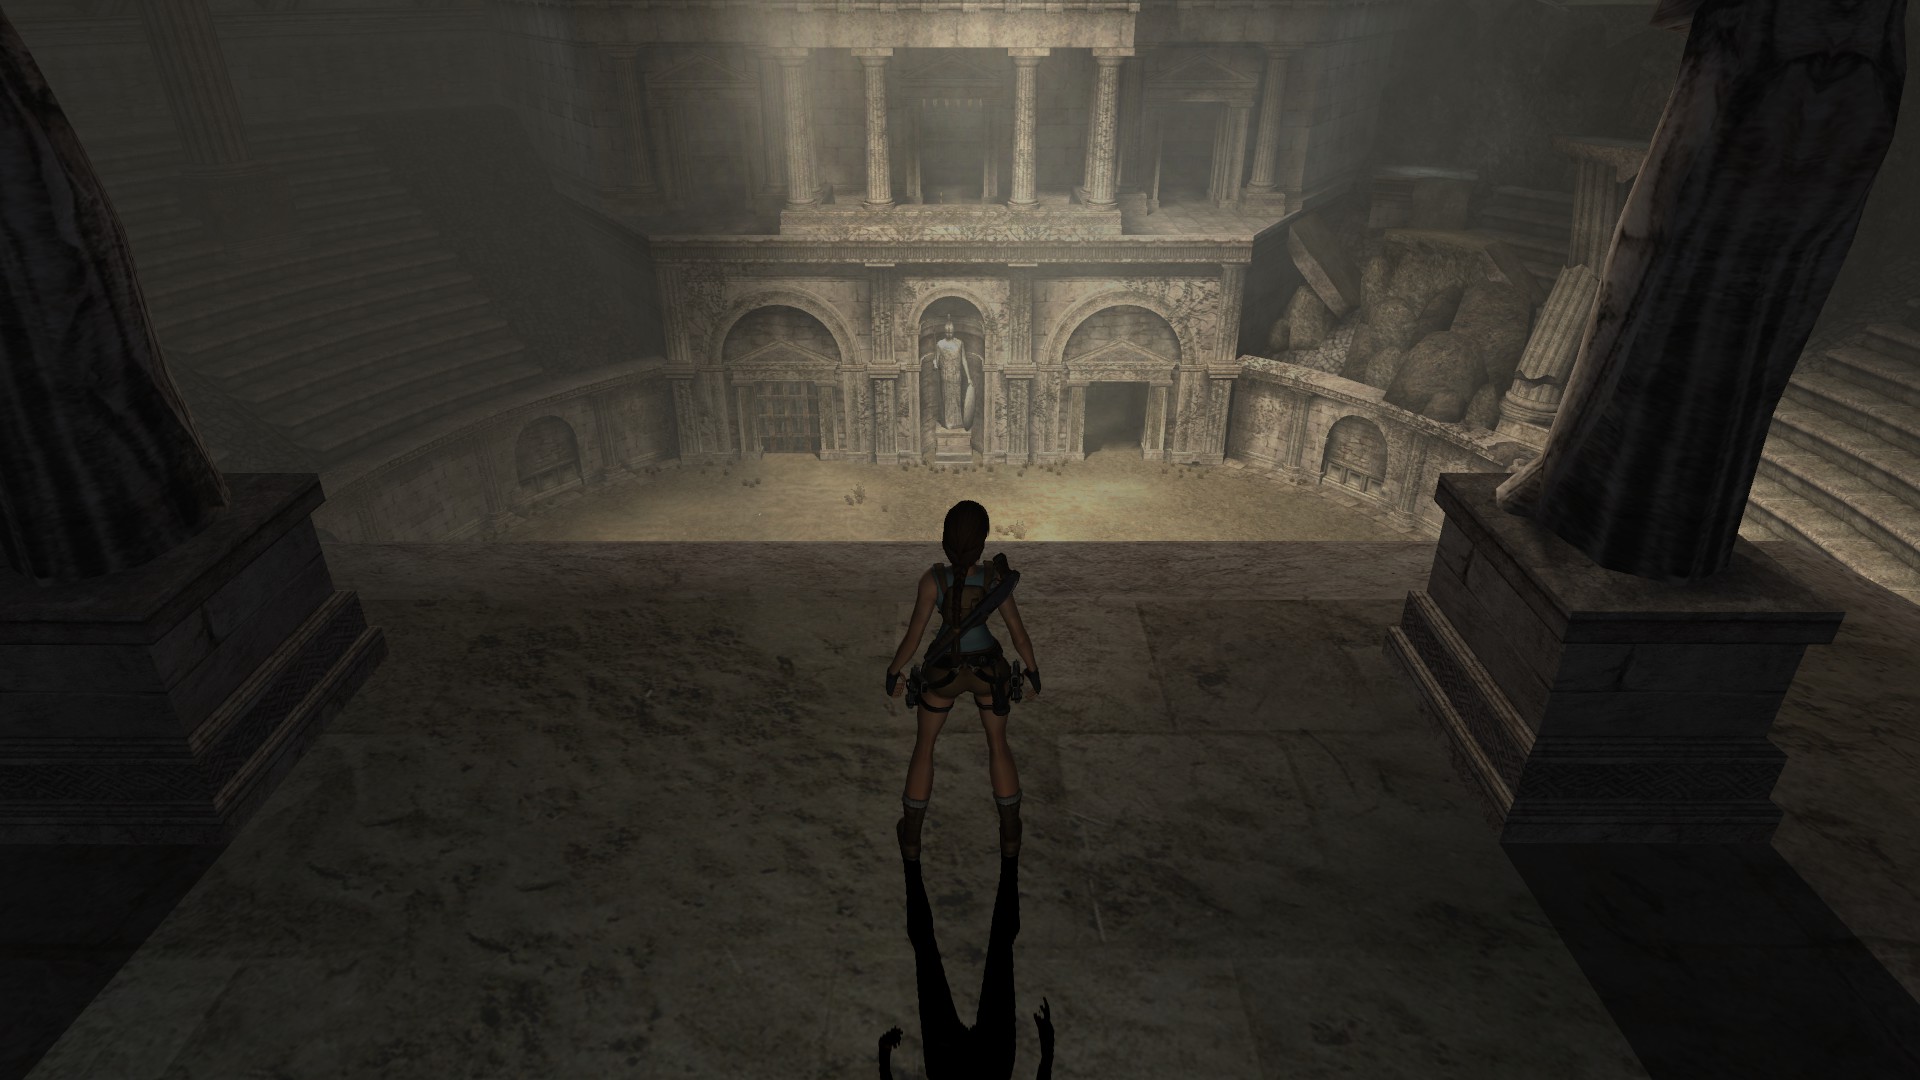
Run through the entrance of the Great Pyramid and follow the tunnel all the way to the Mutant Hatchery. The room is empty for now so run across to the other side and out the exit for another cutscene.
After the cutscene Lara will walk back into the Mutant Hatchery. At this point the mutants, a Flying Mutant and 2 Mutants, will hatch.
Kill them and then take the open exit near to where you initially came in and climb up the ladder. You’ll be at the top level of the hatchery and another 2 Flying Mutants will hatch. Once you’ve dealt with them pick up the loot and make your way to the other side.
Head out the exit on the right and follow the passage around to the lava room.
Lava Room
You’ll need to make your way all the way to the top but getting there is quite difficult. Shoot the Button on the wall to the right with a regular pistol. Each time you shoot it a glyph lights up. Once all glyphs are lit a ring will extend from the wall and a countdown timer will start.

The first time you do this a Flying Mutant hatches so kill it first and start the timer again. Jump to the pillar in the corner and then use the ring to wall run to a handhold on the next pillar. Climb up, traverse around to the left and jump back wards onto the platform.
Shoot the next Button and this time a Flying Mutant will hatch. Kill it and shoot the Button again to start the timer. Jump to the corner pillar and then use the grapple to swing to the next pillar. Jump up and back to the next highest ledge.
Shoot the next Button to release 2 Flying Mutants. Kill them both and shoot the Button again to start the timer. This time a ring will extend as well as 3 horizontal bars.
Jump to the slope on the pillar and quickly to the lower bar. Swing to the next one and turn around as fast as you can.

Swing back to the handhold on the pillar, climb around to the left and jump back to the third bar. Swing out to use the grapple and jump out to grapple the next ring. Wall climb up to the pillar. Jump up, climb around and jump back to the platform.
Again shoot the Button and kill the 2 Flying Mutants. Shoot the Button to start the timer, jump to the sloped pillar in the corner, swing from the bar and jump to another sloped pillar, jump to the bar and swing over to the pillar. Make your way up to the next platform.
Shoot the final Button to release 2 Flying Mutants. Kill them and shoot the Button to start the timer. This time jump to the sloped pillar and then forwards to use the grapple and wall run. You may need to wall run twice to gather up speed. Jump to the sloped pillar and forwards to use the grapple. Wall run up to the pillar and climb up to the final platform.
Grab the loot and jump to the pillar in the corner. Climb around and climb up into the small cave for Artifact #1.

Jump back to grab the pillar and then back to the platform. You’ll be attacked by another Flying Mutant. Head along the passage past the traps. Crouch down to pick up the Large Medipak and avoid the shots from the energy guns. There’s a Button in the roof that you can shoot to turn off the final crushers but they’re not too difficult to run past anyway.
Lara’s Doppelganger
At the end of the passage you’ll drop down into a room with Lara’s Doppelganger as well as 3 Mutants. Kill the Mutants first and avoid the Doppelganger.
The Doppelganger will mirror Lara’s movements exactly. You’ll need to set up a trap so that it falls into the lava before you can continue.
Run around and pick up the loot if you want and then turn the wheel in the center of the room. This extends two ledges. Jump to the one on the side with the tentacles on the pillar next to it.

Climb up the ladder, jump to the right and jump back onto the pressure plate. This closes the doors. You need to get rid of the doppelganger or you can’t escape.
Run forwards and kill the Flying Mutant. Then pull the Switch to remove the pressure plate on one of the platforms with a bucket of lava under it. You have about 30 seconds before it moves back into place.
Drop down and rotate the wheel once more. Jump up to the other ledge, the one without the red tentacle. Climb up the ladder, jump to the left and back to the pressure plate. The Doppelganger will land in the lava.
Walk forwards, kill the Flying Mutant and pull the Switch to open up the exit. Drop down and turn the wheel once more. This time go back up the side with the red tentacle. Jump back to the platform and run out the exit. Run along the passage to the final room of this level.
Exit Room
On either side you’ll notice pistons moving back and forth. Behind each of them is a Switch. One of the switches extends a bridge and the other opens the exit door.
You’ll need to time your jumps over the pistons. It helps to use either a double jump or pull your weapons out and jump. Lara jumps a little higher this way. When you pull the Switch a Flying Mutant will spawn. Kill it and go and pull the other Switch.
Run across the bridge and shoot the rock in the roof. It will fall down and break through the path. Don’t jump across yet or the level will end. Instead drop down the gap and jump forwards before you slide into the lava. Grapple onto the ring above.

Swing into the cave ahead, pick up the Large Medipak and climb up the ladder. Up the top you’ll find Relic #1 (Torc of Embitterment). Climb out the window, head across the bridge and jump the gap for the exit.
Back: Level 12: Natla’s Mines Next: Level 14: Final Conflict