Level 8: Tomb of Tihocan
Back to Tomb Raider: Anniversary
Tomb of Tihocan
Artifacts: 2
Relics: 0
Underwater Tunnels
Dive into the pool and swim down. There are three tunnels here. Swim through the tunnel that leads directly under the large statue. Follow it around, take a right and then swim up to take a breath. Dive down again and continue swimming in the other direction until you can pull out.
Push the wooden crate forwards blocking the exit and kill the Rats. Move the crate under the switch, climb onto it and pull the Switch. This opens a trapdoor leading down.
Drop down the trapdoor and kill a few more Rats. Head out to the cistern, a large room with a large central pool.
The Cistern
Turn to the right and swing off the horizontal bar. Jump and grapple onto the hook. Swing up as far as you can go and jump out to the broken walkway.

Pick up the ammo, turn around and jump to grab the handhold on the wall. Traverse around to the left and jump backwards to grab another handhold. Jump to the left use the grapple to swing over to a corner ledge.
Take a running jump across the next gap and follow the walkway around to the other side of the open passage in the wall. You’ll need to jump over a small gap along the way.
On the other side jump over another gap and then swing across the 2 horizontal bars to another ledge. Push the wooden crate off the edge and grab the handhold on the wall next to it.
Jump to the bar and swing over to another ledge. Grab the next handhold, swing across the 2 bars and grab the next handhold. Traverse to the left, jump the gap and then pull up into the next alcove.

Push the second wooden crate off the edge and jump towards the central walkway. Dive into the water below and climb out before the Crocodiles reach you. From the safety of the edge of the pool you should be able to kill both the Crocodiles.
Grab the boxes and push them into the water. There should be one on either side of the room. As you’re doing a lap around you’ll need to kill another Crocodile. You’ll also find a Large Medipak in one of the sections.
Go to the side with the wheel mechanism and turn it. This will remove the water from the central pool.

Drop down into the empty pool and place the two boxes on the two pressure plates. One of them opens the gate in the floor with the wooden platform and the other lowers the gate at the top of the pool
Find the corner with the rubble and climb up. Jump to the rock slide and then across to grapple over to the block in the corner. Jump to the handhold and climb to the left. Jump up and then swing from the bar to the handhold on the other side.
Climb to the left, swing on the next bar and then over to the next handhold. Climb up onto the rock ledge and then across to the next ledge. From here make your way up the rock steps until you can climb out of the pull. Turn the wheel mechanism back to fill the pool with water.
Climb to the Top
The wooden platform will be in the center of the pool. Use the grapple to pull it past the gate you opened earlier to the area shown in the image below.

Head around to the right and climb up the ladder on one of the supports. Jump over to the wall and across to the left. Jump up the handholds and up to the ledge above. Now you want to make your way around the same way you did when you first entered the cistern.
This time once you reach the back of the cistern run up the small walkway to the alcove with the second wheel mechanism.

Turn the wheel to fill the cistern up with water. Dive into the water and search around the side pipes for some extra loot.
Swim towards the other side of the cistern and look behind one of the support beams for a Lever. Pull it to open a gate down below. Swim up to take a breath and then down to the gate you just opened for Artifact #1.

Swim up to take a breath and then towards the wooden platform. You may need to pull it closer to the wall with your grapple. You should be able to jump onto it and then through the hole in the wall.
Dive into the small pool and swim through the tunnel. You’ll be carried along by the current and drop out into another pool.
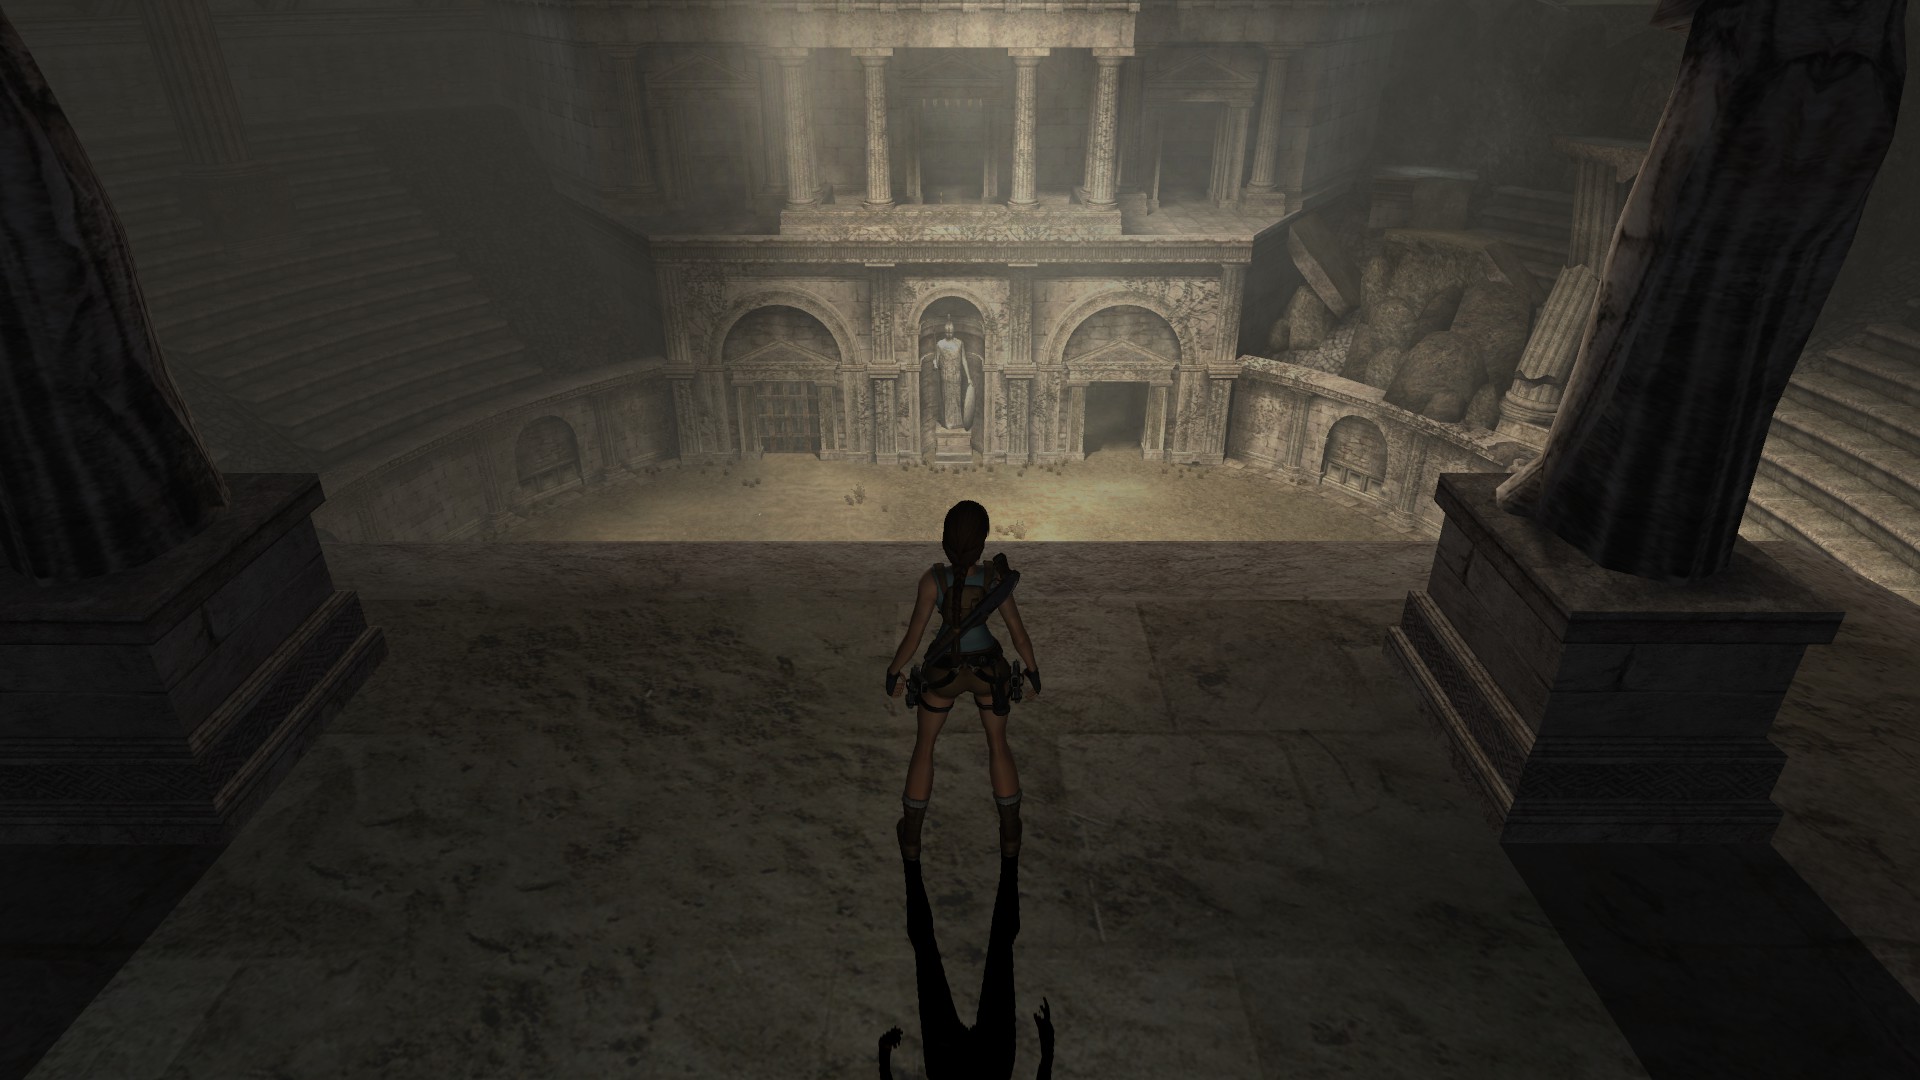
Climb out for the Shotgun Shells if you want and then dive back in so you can continue through the next underwater passage. You’ll arrive in a large open chamber outside the Tomb of Tihocan.
Swim to the landing on the left side for some ammo and then dive into the water on the left of the Tomb. In the far left corner you’ll find an underwater tunnel. Swim through it for Artifact #2.
Swim around until your in front of the Tomb. Dive down and go through another tunnel. This one takes you to a small cave where you’ll find a Switch.
Pull the Switch to open the gate to the Tomb. Swim back and enter through the gate. A cutscene will start automatically.
Centaurs Boss Battle
After the cutscene you’ll be outside the tomb with 2 Centaurs. Their gaze can turn you to stone and if they kick you while your stone you’ll die instantly.
Try to get the Centaurs to charge and shoot them with a headshot. You’ll have a few seconds to grapple onto the shield and pull it away from them. Do this with both Centaurs.
When the Centaurs try their gaze attack pick up the shield and deflect the gaze back towards them. If you get it right they should turn to stone.

You’ll have a few seconds to shoot them and cause a lot of damage. Getting up close with the Shotgun works well.
Continue turning them to stone and shooting at them until both Centaurs have been defeated.
Back: Level 7: Midas’ Palace Next: Level 9: Temple of Khamoon