Level 4: Tomb of Qualopec
Back to Tomb Raider: Anniversary
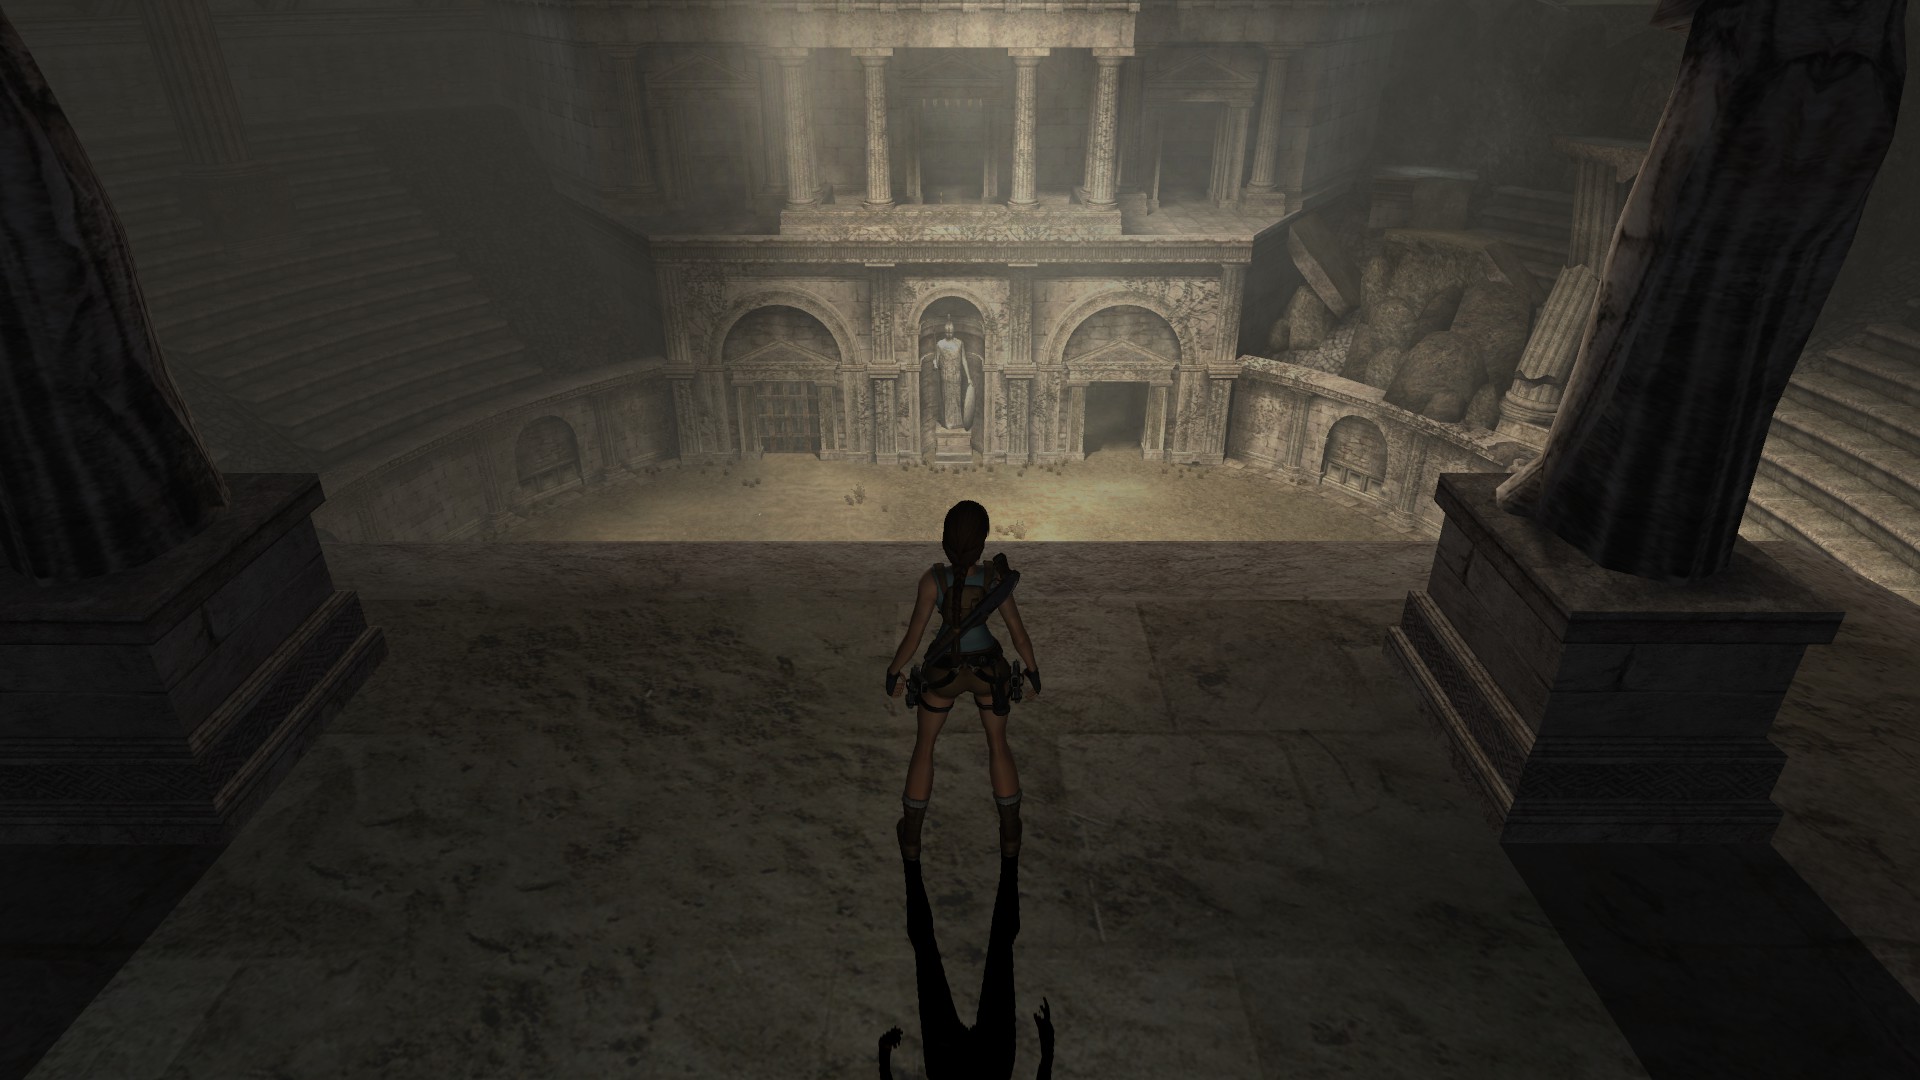
Tomb of Qualopec
Artifacts: 2
Relics: 0
Run through the passage towards the Tomb of Qualopec. At the first gap jump across the tops of the poles and use the horizontal bar to swing across to the other side. You’ll come out to a large chamber with three exits, first we’ll be going to the left, then the right, and then straight ahead.
Before you do anything else run across the central bridge and a few steps up the ramp to trigger the boulder. When it rolls over the bridge it will free one of the support beams underneath.
Left Exit (First Switch)
Drop down and push the support beam half way between the central bridge and the exit on the left side. To get back up you’ll need to move the smaller wooden block closer to the handholds on the wall. Jump back up to the central bridge and take two jumps across to the exit on the left side.

Head along the corridor and avoid the arrow trap. Then use the handholds to make your way across the gap. When you reach the other side jump to the top of the wooden pole and then over to the other side.
Continue forwards, past two more arrow trapped out to a room that looks half destroyed. Use the grapple to swing up to the steps in the center. Jump to the pole to the left, to the horizontal bar, then to the handhold on the wall. Jump up twice and pull up to the wooden walkway above.
Grab the ammo and then jump across to the handhold above the Switch. Drop down and grab the Switch to pull it down. That will open one of three gates leading to the exit.
Main Chamber (Second Switch)
Drop down and make your way back to the central chamber. On the way back more traps will be activated and a Raptor will be released. Looking out over the main chamber turn diagonally to the left and jump to grab the handhold.

Jump up twice and then over to the rock pillar. Use the wooden pole to jump over to the central platform. Turn towards the center and shoot the rope holding the monument. It will crash down and reveal the second support beam.
Use the two grappling point on the roof to swing over to the Switch above the gates. Pull it to open the second gate.
Right Exit (Third Switch)
Drop down to the ground and pull over the second support beam to the right side. Place the first support beam between the center bridge and the second support beam. Climb up and use the two supports to jump across to the exit on the right side.
Run through the passage and when you reach the gap drop down to the ground. Run forwards and on the right side in a little nook you’ll find Artifact #1.

Climb back up and use the top of the wooden pole, handholds and horizontal bar to make it across to the other side.
Run through another corridor to the room with the Switch. When you get close to it the floor will give way and you’ll drop down to the room below. Kill the Wolves and run up the ramp. Pull out he cage and push it off the edge to the ground. Drag it over to the pillar with the handhold and climb up.
Jump backwards to the wooden beam hanging down then over to the next one. Jump over to the next handhold, traverse around to the right and then back to the horizontal bar. Jump over to the ledge and then up the two handholds. Jump back to the wooden beam and climb up. Before jumping over to the Switch jump into the alcove to the left for Artifact #2.

Grab it and jump back to the wooden beam and then to the Switch. When you hold onto it the third and final gate will lift up.
To get back out jump to the horizontal bar to the right of the Switch and over to the handholds. Climb up to the alcove above, run around to the other side and jump down to the exit from this room. Make your way back to the central chamber. You’ll be attacked by a Raptor along the way.
Jump back to the central bridge and run up the ramp. Head around either side and run up the next ramp. When you reach the room with the Scion a cutscene will begin.
Escape
Run down the ramp back to the central chamber and jump across the two gaps to the other side. Jump across to the ledge and then to the two poles, horizontal bar, final pole and across to the other side.
Keep running through the passage until you get the final cutscene for this area. During the fight there will be a small quick time event. Follow the directions and Lara will end up with the piece of the Scion.
Back: Level 3: The Lost Valley Next: Level 5: St. Francis Folly