Level 7: Midas’ Palace
Back to Tomb Raider: Anniversary
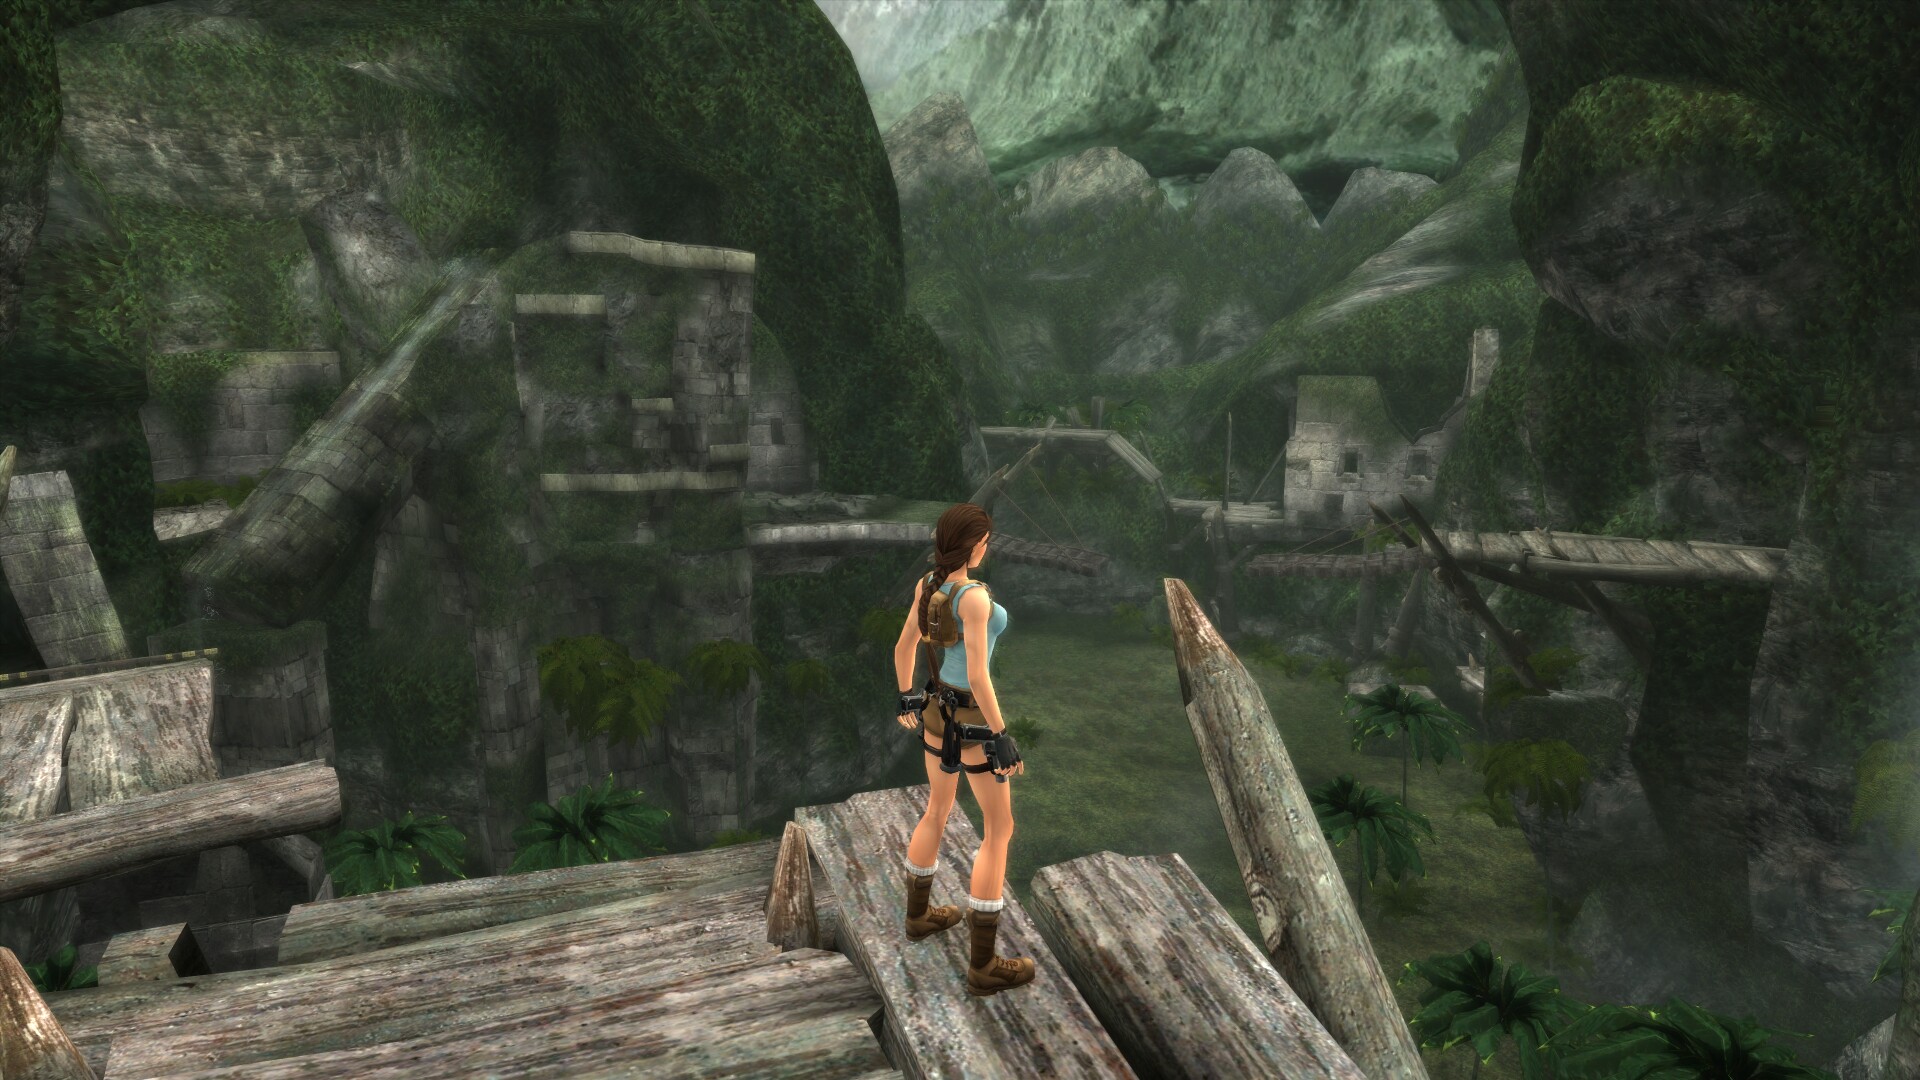
Midas’ Palace
Artifacts: 1
Relics: 2
Walk forwards until you attract the attention of the 3 Gorillas and try to take them out with headshots before they get too close. If you walk slowly you may be able to deal with them one at a time.
The open hand of the statue at the back turns whatever it touches into gold. If you want you can jump on it to see what happens. To get to the exit you’ll need to find 3 Lead Bars and turn them into gold before placing them in the slots on the statue.
When you enter the statue room climb up onto the fountain on the right. Use the handholds to climb up to the ledge above and pull the Switch. This opens a door down below. Drop down and go through the door (left exit as you enter).
Left Exit (First Lead Bar)
Make your way up the three sets of stairs to the pillar and spikes room. Turn to the left as you enter and use the grapple to pull down the rubble from the alcove.
Head out the other side of the room and pull out the wooden crate. Drag it all the way into the main room. Pull the Switch behind it to open the gate up the stairs and then run up to the top.
When you pull the Lever the pillars will lift up. As soon as you start jumping on them some of them will start lowering down again. Drop down and grab the wooden crate. Push it into the notch on the pillar by the exit. This will stop it from lowering all the way down.

Run back up to the top. Jump to the first pillar and then jump to grab the spiked pillar to the left. Traverse around to the other side and jump back to the ramp.
Jump forwards to grab the ledge ahead and pull up. Jump to the spiked pillar to the right and traverse to the right as far as you can. Jump backwards onto another pillar and forwards onto the ramp. Jump forwards to a ledge.
From here you can go left or right. Turn right and jump to the pillar. Jump diagonally to the left to grab the edge of the alcove and pull up for Artifact #1.

Drop down to the ground and run back up to the Lever. Pull it to reset the pillars.
Jump to the first pillar and then jump to grab the spiked pillar to the left. Traverse around to the other side and jump back to the ramp.
Jump forwards to grab the ledge ahead and pull up. Jump to the spiked pillar to the right and traverse to the right as far as you can. Jump backwards onto another pillar and forwards onto the ramp. Jump forwards to a ledge.
Turn to the left and jump onto the ledge. Turn left and jump to grab the spiked pillar. Traverse around to the left and jump backwards. Pull up onto the pillar. Jump forwards to the ramp and forwards into the alcove ahead for Relic #1 (Athenian Owl Figurine).

Drop down to the ground and run back up to the top. Pull the Lever to reset the pillar puzzle once more.
Jump to the first pillar and then jump to grab the spiked pillar to the left. Traverse around to the other side and jump back to the ramp.
Jump forwards to grab the ledge ahead and pull up. Jump to the spiked pillar to the right and traverse to the right as far as you can. Jump backwards onto another pillar and forwards onto the ramp. Jump forwards to a ledge.
Turn to the left and jump onto the ledge. Turn left and jump to grab the spiked pillar. Traverse around to the left and jump backwards. Pull up onto the pillar. Turn right and jump into the alcove for Lead Bar #1.
Drop down to the floor and run back to the central courtyard. Along the way you’ll be attacked by 2 Gorillas.
Right Exit (Second Lead Bar)
Climb up the left side of the statue to the area behind it. Pull the Switch to open the right exit. Drop down and go through the door. Head up the stairs to the top and you’ll see the second Lead Bar in a pillar. Go to the back of the room and take the exit on the right side.
Follow the passage around and head down the stairs. At the bottom you’ll be attacked by a Gorilla and a Lion. Kill them both and enter the room. Use the grapple to pull out the 3 beams surrounding the pillar. After it crashes down you’ll be able to pick up Lead Bar #2.
Go back up to the room above. It’s now filled with sand. Turn right and go out the exit, then take the stairs up on the left.
Kill the 4 Bats as they emerge from the ruins and turn diagonally to the right. Jump to the stone block jutting out and then up to the next one. Grab the handhold on the wall and jump to the left. Pull up for a Large Medipak. Drop off the edge and jump to the right to grab the handhold on the wall.
Traverse to the right and jump to swing from the hook. Jump up to the rock ledge and then over to the top of the pillar in the center of the room. as you slide jump to the next pillar.

Turn around and grab the crack in the pillar. Climb to the right and jump back to the rock ledge. Grab the handhold on the wall, jump up and then to the right. Jump up and pull up.
Grapple onto the hook and swing to the right. Jump out to the rock and then up to the ledge for a Small Medipak. Jump back to the rock and then to the sand in the corner so you slide down to the entrance.
Make your way along the corridor. When you come out you’ll be attacked by 2 Gorillas. You’ll be on an upper level of the central courtyard. Pull the Switch to open a door behind the statue.
Rear Exit (Third Lead Bar)
Drop down and then climb up on the left side of the statue. Go through the door at the back. This passage takes you to the fire chamber.
Dive into the water to get the Crocodiles attention and then climb out to the left. If the Crocodile is close enough you should be able to shoot it from the steps.
Go back up to the entrance and stand on the pressure plate. This will start the flamers.

Dive into the water and swim around to the back of the pillar on the right side. Pull the underwater Lever and the pillars will lift up.
Swim to the steps and climb back out. Head to the entrance and jump to the first pillar. Climb up and jump diagonally to the right to grab the second pillar. Climb up, run around anti-clockwise to avoid the fire and climb up the cracks in the pillar.
Climb as high as you can and to the left. Jump backwards to grab the edge of the ledge. Pull up and pull the Switch. This raises up another small platform.
Before continuing we’ll take a detour for the second relic. Turn to the right and use the grapple to swing to the handhold in the corner. Drop down to the ramp and jump to the next handhold. Jump to the right, up and then back to the next ramp.
Jump to the horizontal bar and swing across to the next one. Swing across to the top of the pillar and jump to the handhold to the right.
Jump left to the rock slide and then forwards into the alcove with the Switch. Save the game here.

Once you pull the switch the pillar above will lift up higher revealing the relic. You’ll have about 45 seconds to make your way around to it.
Dive into the water and get out at the usual spot. If you pull out a weapon and jump you can avoid having to climb up the steps.
From the entrance take a long jump out to the first pillar and then over to the pillar diagonally to the right. Ignore the flames and jump to the next low pillar to the left and then over to the larger pillar with the lion symbols on it.
Climb around to the back and quickly jump all the way to the top. Use medipaks if you get hit by the flames. Jump across to the large pillar in the corner and run around the left side. You should arrive just in time to find Relic #2 (Griffin-Head Protome) in a hole in the pillar.

Climb up this pillar as far as you can and climb around to the right. Jump backwards to land on the platform behind you and grab Lead Bar #3 from the pedestal.
Dive into the water, get out the other side and make your way back to the central courtyard. Place each of the lead bars on Midas’ hand to turn them into gold. Place the three Gold Bars into the three empty slots and the gate in the central pool will open.
Back: Level 6: The Coliseum Next: Level 8: Tomb of Tihocan