The Gossamer Grove
Back to Trine 4
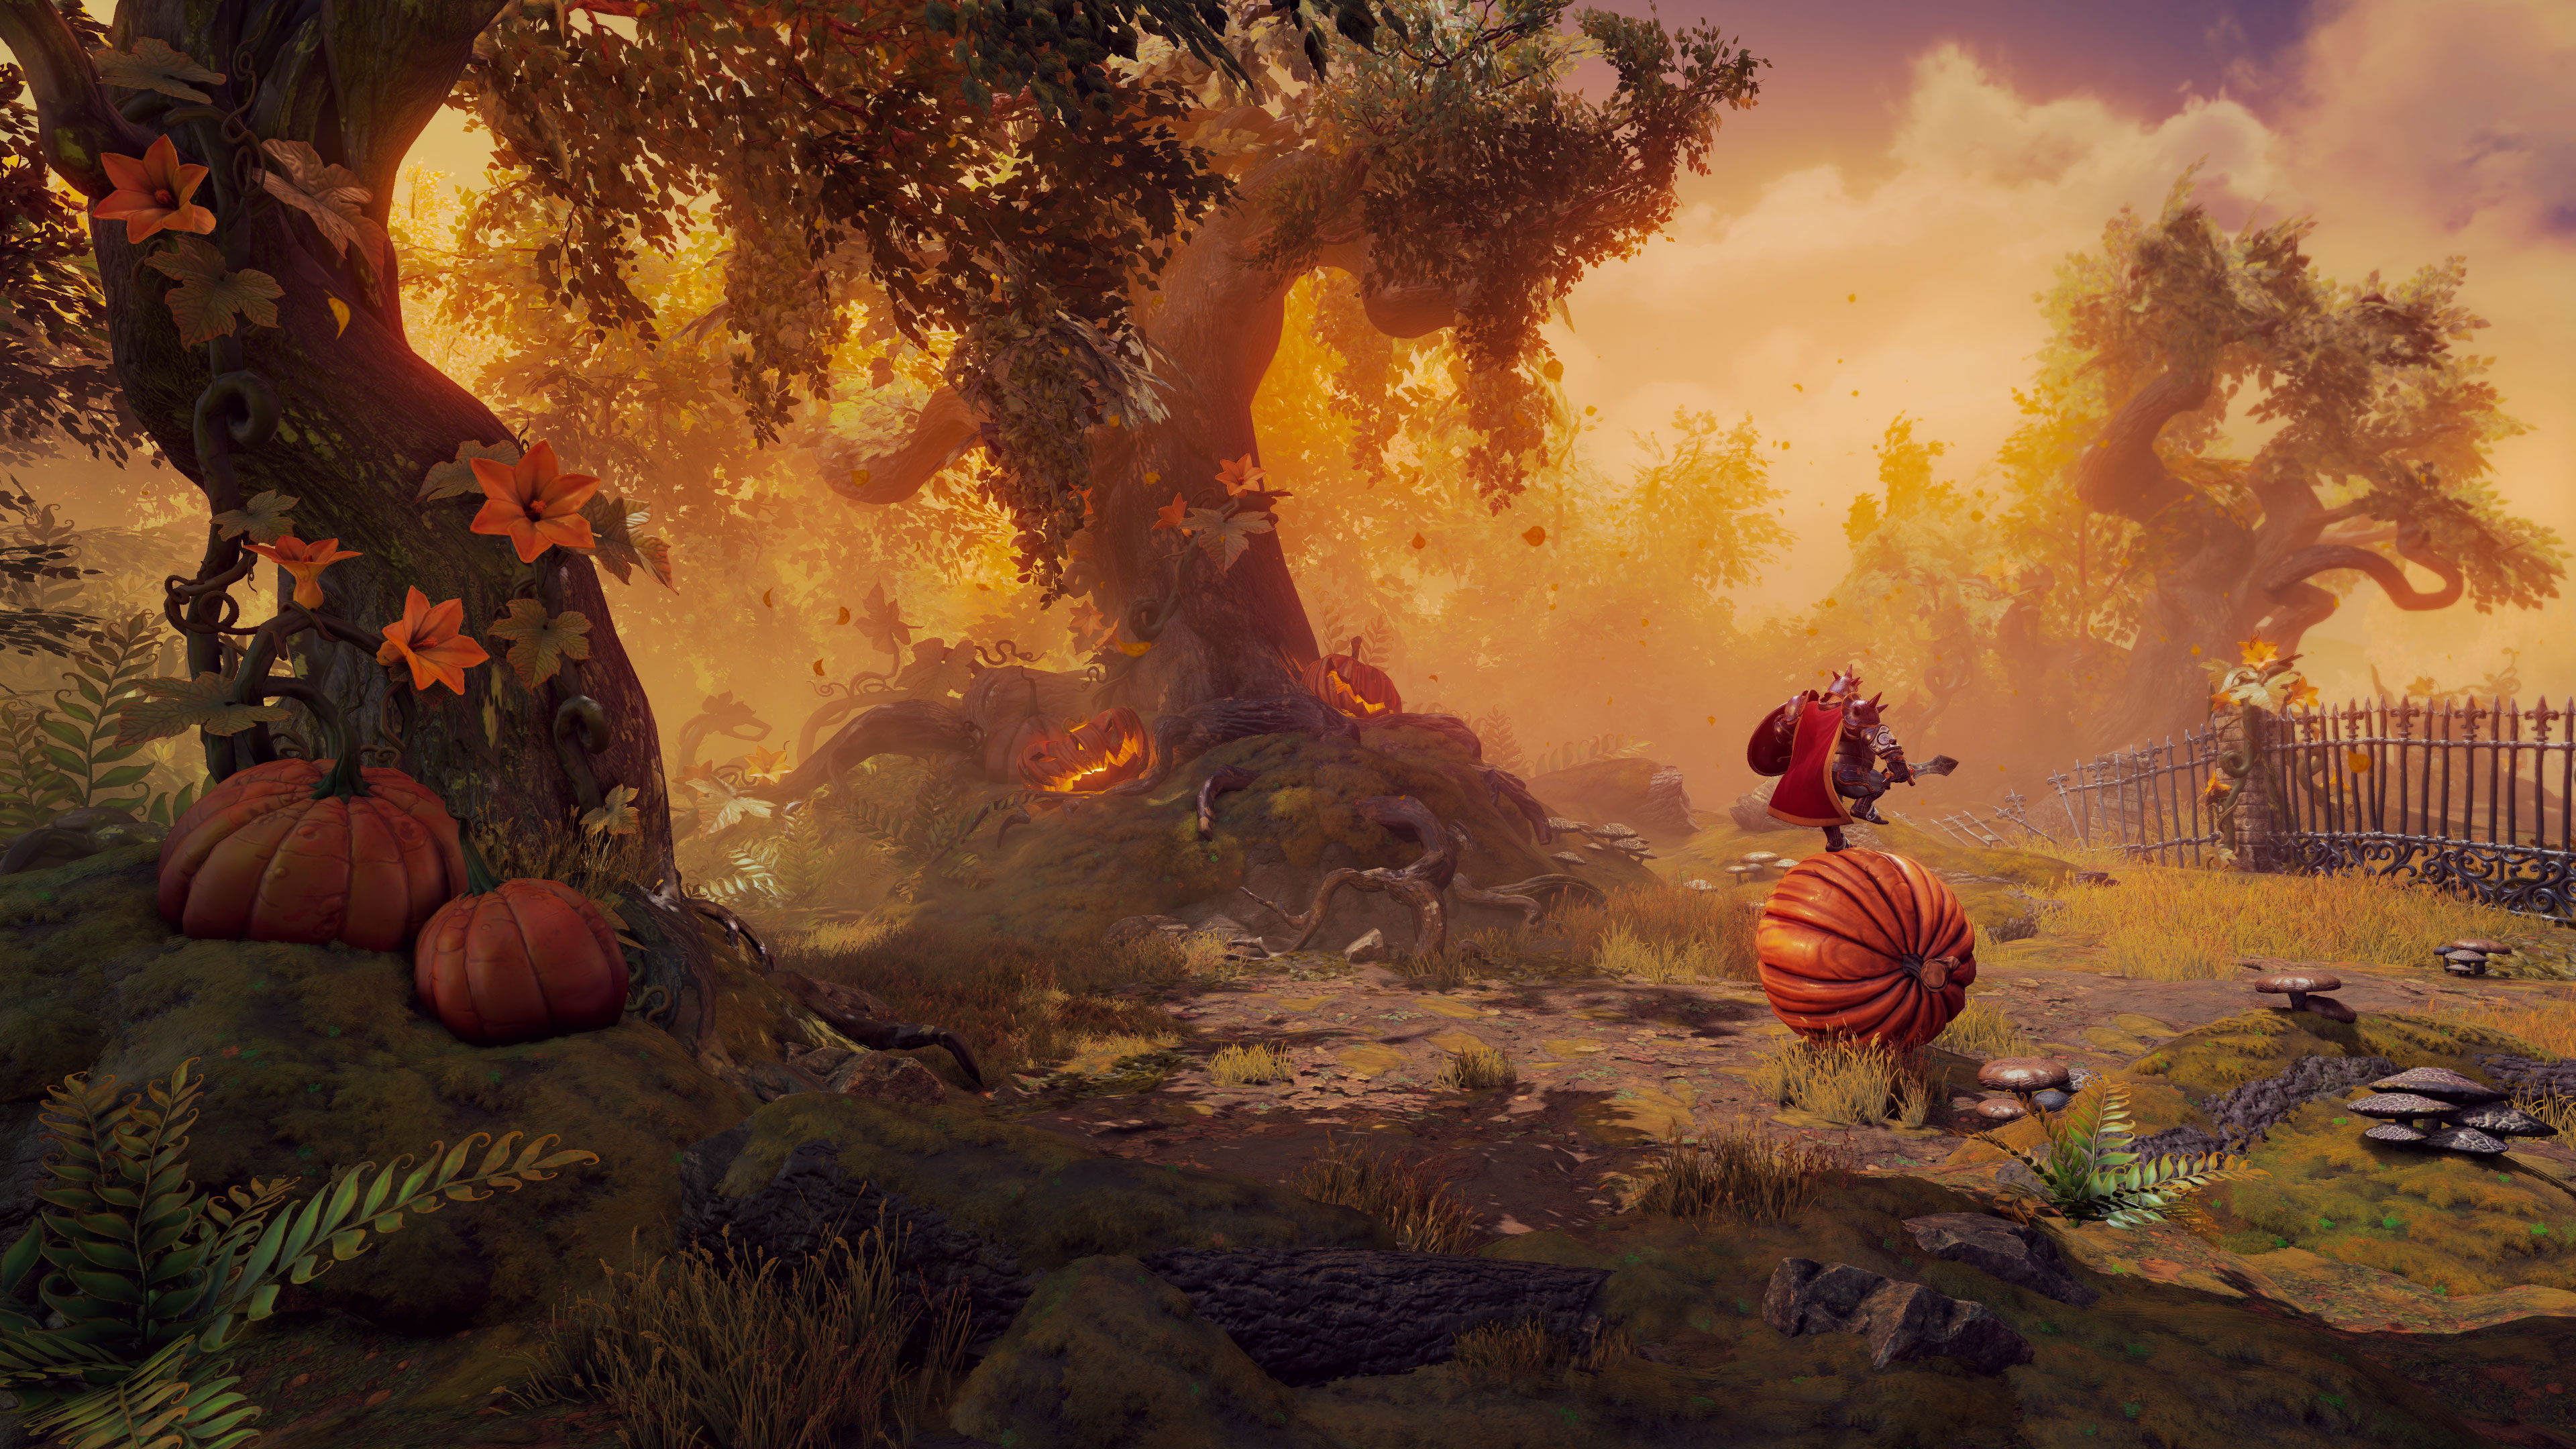
The Gossamer Grove is the final Chapter for Act 4 and is where you’ll face Princess Zoya. Begin by bouncing across to the right and jumping across the poles up to the ledge to the right.
Use the air lilies to float up the ledges. Place boxes down under you so you can jump across while you’re floating. Use a plank and Pontius’ Dream Shield to bring water from the waterfall to the plant.

The air lily will open up and you can float up the inside of the tree. On the other side use a rope on the edge of the branch to swing underneath and grab the three Orbs.
Swing across to the other side and water the flower for a large orb.
Jump across and float up to the next ledge. Place a plank on the air stream so you can jump up to the leaf on the left. Here you’ll find a Letter and a flower that needs to be watered. Use two planks, the Dream Shield and Pontius’ Shield to get water up to the flower bud. Inside you’ll find a large Orb.

Stomp on the tree stump to get past and then stomp on the wheel so you can dash across to the right. Hold the wheel in place by attaching a rope to one of the platforms and the ring to the right. Place a box on the other platform so you can reach up to the Orb.
Jump across to the right for a fight with more Shadow creatures. Once they’ve been defeated place boxes or planks on the air streams to the right and jump across.
Pull up the panel to the right so you can grab the Jar and then make a bridge so you can jump up to the ledge to the right.
Once again place a box in the air stream so you can make your way across the gap. To break through the vines you’ll need to water the plant. Use two sloped planks to bring the water across.

Dive into the air streams to the right and make a steel ball. Have Pontius smash it across to the crystal so you can get through to the chest where you’ll find another part for a Seesaw and a Key.
Jump across the leaves to the right and use the Dream Sheild and a plank to bring water acros to the plant. It will make an air stream so you can float up.

Jump up to the top for another battle with Shadow creatures. When you’re done pull up the ledge for an Orb and then use it to bridge up. Use the firm rope to open the door and then plank your way across the next air streams.
To get up to the ledge with the Orb place a box on a plank on the second air stream and dash across. This tricky puzzle requires you to bring the water up to the flower. You can do it by attaching a rope between two boxes. Amadeus can move the boxes while he’s standing on the rope.
Have one box on the air stream and bring the other box up to the spikes. If the rope is high enough Pontius can use his Dream Shield and Shield to deflect water to the flower bud.

Inside you’ll find a large Orb. Drop down to the leaves and continue to the right. When you get to the two air lilies drop down and enter the hidden cave to the left for a few Orbs. Pull up the ring and make a bridge across to the lever which opens the gate below. Drop down and swing across to the other side and take out the Shadow creatures.
Use the firm rope to lift a box up so you can use it as a platform to jump up. Then place a box and use the Shield to open the flower bud for a large Orb.

Jump up to the next ledge and use a plank and Dream Shield to water the next plant. This releases the vines so you can get through.
Place a plank or box on the spikes and swing down for the Orbs underneath.

Swing up and head across the leaves. Smash the planks on the path to release an air stream. Make a sloped plank and smash a steel ball across to the crystal. A stream of Jars will flow out.

Drop down and place three boxes down to the right so you can jump up to the next area. Stomp on the tree log for a few hidden Orbs.
Use boxes on the air streams so you can bridge across to the next ledge.

Place two more boxes on the air stream to the right so you can reach the Orbs in the air. When you drop down you’ll be attacked by Shadow creatures.
Just to the right you’ll need to place three boxes down to activate the mechanism above. Climb up and continue to the right.
To get water to the next plant use three planks to cover the gaps as shown below.

Jump across the flowers to the right and pull up the ledge with the ring so you can jump down. Bridge across to the left for a few extra Orbs and then continue to the right for a battle with more Shadow creatures.
Once they’ve been defeated stomp on the wheel so it rolls across to the right and then jump up to the ledge.
Place a box down and float another one above it. Place a third box down so you can jump up to the pole and then then floating box. Blink across to the ledge to the right and drop down to the secret room for a chest with a Royal Tiara.

Take the lift down and head across to the right. Use the air stream to make it up to the next ledge and then a Plank, Dream Shield and Shield to water the next plant.
Float up the air stream to the top and use the firm rope to open the platform. Jump across and lower it again. Head to the right and drop down to the purple cave. Dangle a steel ball from the ring above and smash it into the crystal to reveal a few large Orbs.

Swing across to grab them and then climb back out. Box your way up the air streams and dash across to the bar on the wall to the right. Dash across to the ledge and head to the right for the boss fight.
Princess Zoya Boss Fight

Princess Zoya can be defeated in two ways. Either you can hit her until her health runs out or pull away here three charms. Once they’ve been taken away she’ll be defeated.
Depending on her shield use either the fire or ice arrow to remove it. Hit her a few times until she’s stunned. You then have a few seconds to grab one of the charms with your rope and pull it away. She’ll get angry and you’ll need to dodge the flying arrow attacks for about 10 seconds.
Repeat this process for the next two charms. Depending on what charms you take first she’ll lose some of her abilities.
Once you’ve taken the last charm she’ll be defeated.
Back: The Blueberry Forest Next: Snow-Topped Heights