The Thorny Hedge Maze
Back to Trine 4
Run to the right and break the wooden boards holding the gate shut. Pick up the Orb on the leaf and then swing over the spikes. Place a box on the next set of spikes and then shoot the rope holding the box in the gazebo. It should fall down and block the shooting plant.

Jump over and pick up the Orb along the way. Jump over the fence and smash the wooden boxes for a Jar.
There are two buttons on the next wall that both need to be pressed to open the door underneath. Place a wooden box on the button by sticking it in the spikes. Create a box and stick it in the spikes so it presses the other button and go through the door.
Make your way across the pool. To get the Orbs in the center place a box on one side of the see-saw and stomp down on the other. You’ll be flung into the air high enough to collect the Orbs.
Jump out the other side and place a box on top of the ledge above the spikes. Make a rope bridge between the box and the ring and walk up.

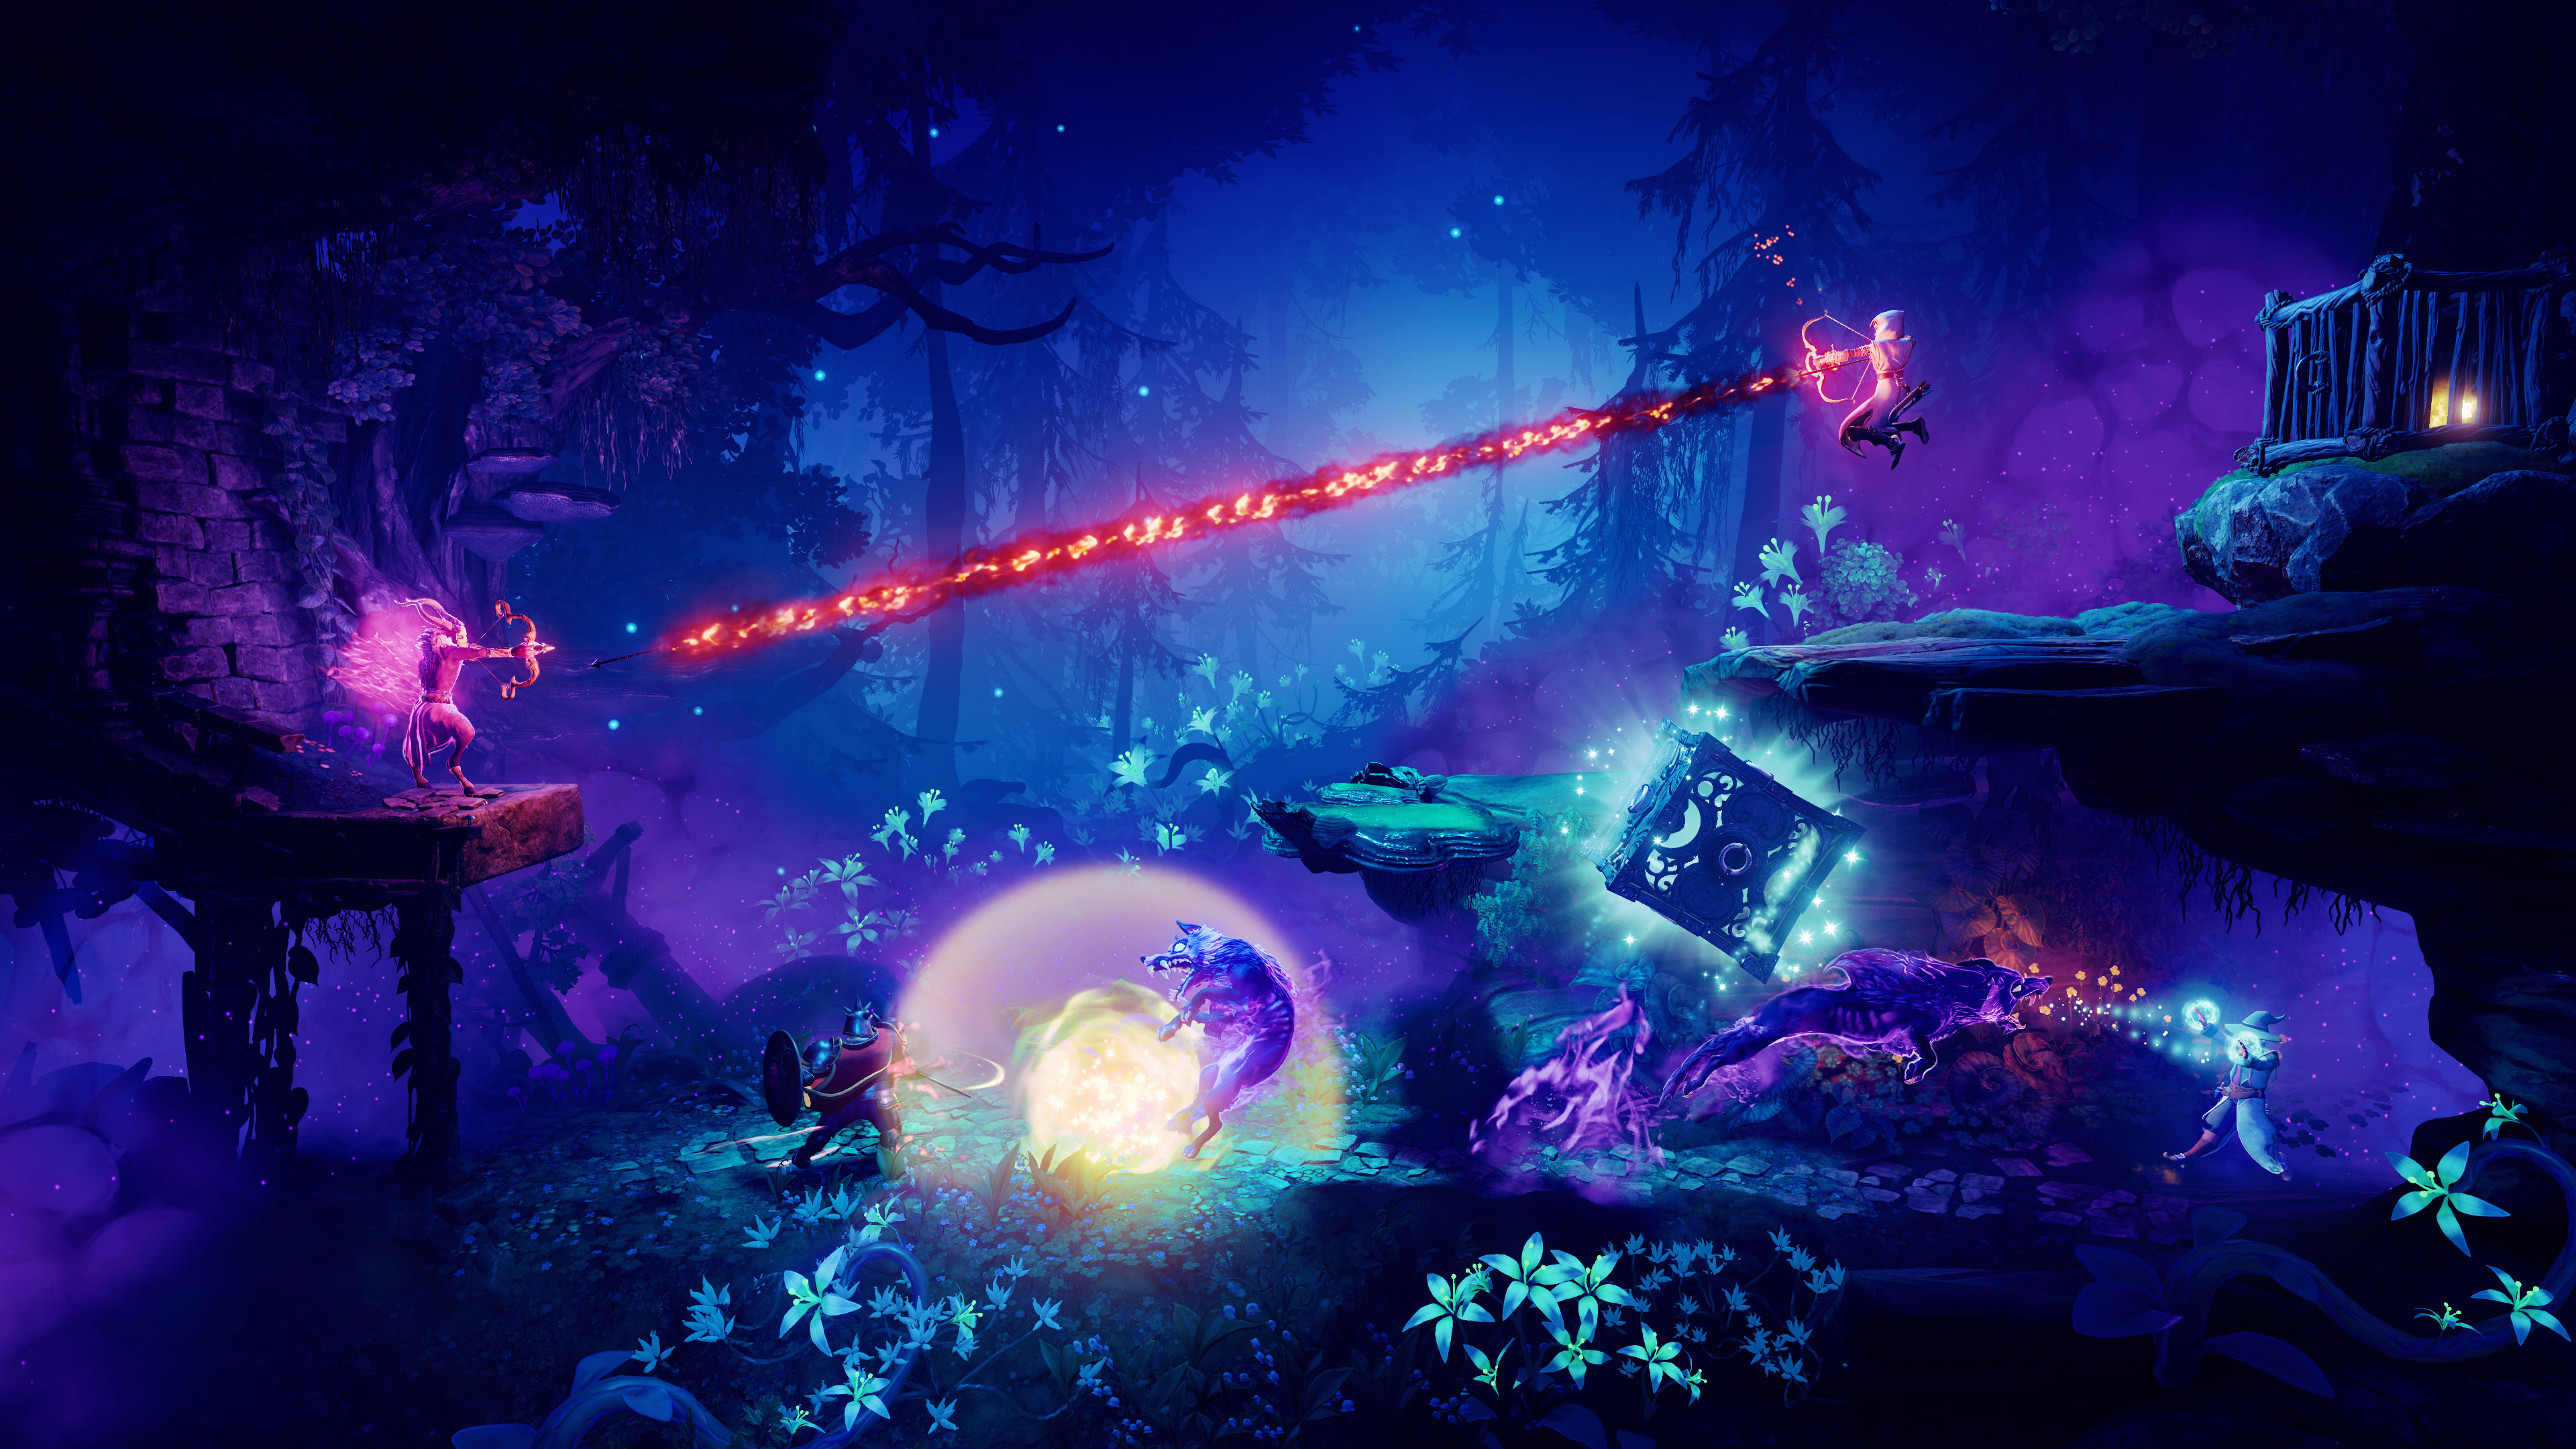
When you drop down the other side you’ll be attacked by red and blue spiders. The red spiders are weak to ice and the blue spiders are weak to fire. When you’ve dealt with them continue to the right.
Use a fire arrow to free the platform so it drops down. Walk down to the ice, kill the spider and freeze the platform so it stays up. Place a box on it and use it to jump up to the right.
Go through the gate and freeze the next platform. Place a box on this one and jump up for the three Orbs.
Block the fireballs to the right and use them to break the branches above for a couple of Jars. Freeze the center platform to the right and jump up the three platforms to the top.

Break the branches up the top for another Jar, then use the see-saw to the right to fly up and grab the three Orbs. Head to the right for another battle with shadow creatures and spiders.
Break the branches and go through the arch to the right. Place a box on the lift mechanism to bring the left side down so you can grab the Jar. Remove the box and walk onto the lift to the right. Place the box back on the left platform to be lifted up. Continue to the right.
Jump onto the roof of the lift mechanism for another three Orbs. Swing across to the right for three more Orbs.
Drop down to the right and place a box just to the right of the small ledge. Use a rope to pull out the stone on wheels and attach it to the box to keep the passage to the left open.
Go into the area under the stairs and place a box on the lower spikes. Stand on the box and freeze the platform above with the spikes under it. Step off the box and place a box on the top spikes. Jump across with Zoya and attach a rope to the box. Climb up the rope and swing over to the large Orb and treasure chest.

Inside the chest you’ll find a Blue Quill. Swing back down and head out. Continue to the right and smash the planks on the ground for a Jar.
Use Amadeus to place a box on the strange platform or push it down and freeze it to get up. Break the next branches for a couple of Jars.
Push the next platform down and freeze it. Jump on top of it and run to the right for a secret area with three Orbs.

Place a box on the button to the right to open the gate above. Unfreeze the platform while you’re standing on it and jump up through the gate as the platform lifts up.
Dodge the fireballs or place a box down to block them and drop down for an Orb. Smash the box for another Orb and then head into the little undercover area for more Orbs.
Walk to the right and use Zoya to create an ice raft so you can jump across the stream.
After the short cut-scene head through the gate to the right. Use the ring to swing up to the Orbs and continue to the right for another battle with Shadow Wolves.
Freeze the see-saw when it is on an angle so you can use it to jump up to the Orbs. Create an ice raft and continue to the right.
Drop down to the right but watch out for the spikes. Place a box on the spikes and make a rope bridge to the ring so you can pick up the orbs.

Jump over to the right and use Amadeus to attach the right platform to the scale. Jump on top of it and place a box on the left platform to be lifted up so you can jump across to the right.
Break the branches above for a few Jars. Use a box to block the fireballs and continue to the right. You’ll be attacked by Shadow Wolves and Fire Spiders.
Use a rope to pull out the see-saw and attach it to the ring. Create a box and have Pontius slam down on it to be flung up to the lever above.

Pull the lever to open the platform to the right. Cut the rope to bring the see-saw back to it’s original position and use it to fling yourself up to the Orb above. Grab onto the bar and jump up to the wall to the top.
Push the next platform down and freeze it. Place a box on top of it and use the box to jump over the next wall to the right.

Jump immediately to the left for a secret area. Use a rope to pull the platform open and jump up to the little ledge on the right. Break the rope so you can grab the Orb.

Walk back to the little ledge and place a box on the other side so you can get back down. Continue to the right.
Jump across the spikes and see-saw platform to an area with a heavy door on a chain. First use an ice arrow to freeze the platform under the door. Then place a box on the mechanism dangling from the roof.

When the door opens run through. Shoot an arrow through the bars to break the rope holding the trapdoor closed. climb up the wall to for the Orbs. Head to the right for a short cut-scene.
Smash the planks on the ground and move the box for a Jar. Pile up the boxes to grab the Orbs in the air. Walk to the right for a battle with Shadow Wolves and an Ice Spider.
Continue to the right and place a box on the spikes on the wall. Attach a rope to it and swing up to the Orb. Climb up to a secret area. There’s a couple of ways to get to the large Orb. One way is to use a box to push down the platform. Jump on top of it and then over to the small ledge to the left. Bring the box up to the Orb and attach a rope to it to swing yourself over.

Next to the large Orb you’ll also find a letter from Margaret. Drop back down, placing a box on the spikes so you don’t die and continue across the leaves to the right.
Place a box on the spike pit to the right and jump across. Break the branches above for more Jars. Drop down the other side and pull the platform across to the right and attach it to the ring. Now attach the rope from the top ring to the ring on the wall.

Use the rope bridge to climb up to the right. To reach the three blue Orbs in the air place a box down to the right and attach a rope from the box to the ring. Use it as a bridge and jump up for the orbs.
Head into the structure to the right. Place a box on the spikes above to push in the top button. Freeze the second and shoot a regular arrow at the third. The trapdoor above will open and Jars will fall out.
Attach a rope to the box above and swing up to the trapdoor. Climb up to the room above.
Attach a rope to the rings and drop down the other side to collect all of the Orbs. You’ll also find a new part for the Door.

Push the wall to the left to get out and drop back down. Head across to the right for another battle with Shadow creatures.
Create a box and attach a rope from the platform to the box. Climb up the rope and continue to the right.

Continue towards the gate to complete the level.
Back: Craghill Moors Next: Heatherwood Hall