Mission 7: Prepare for Trouble
Back to Shadow Gambit
Prepare for Trouble
Objectives:
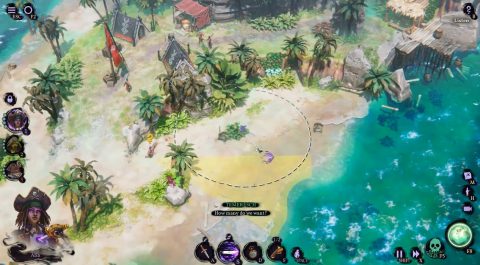
Listen
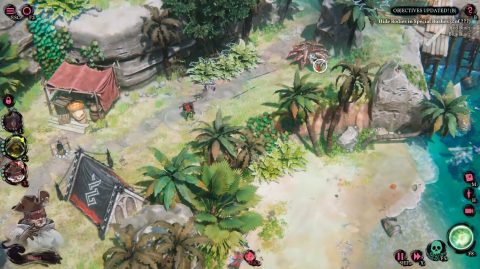
Hide Bodies in Bushes
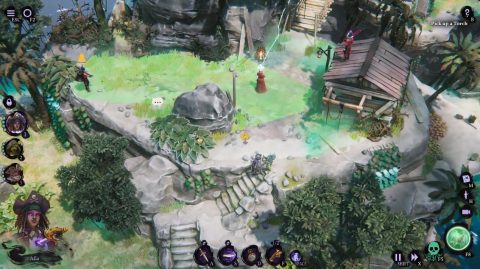
Pick up a Torch
Burn the Grog
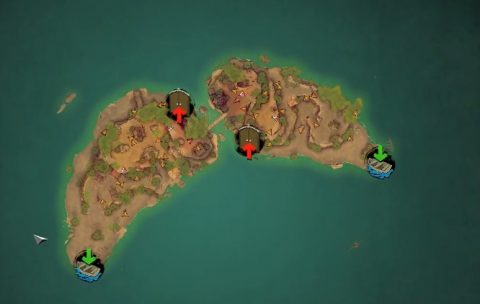
I chose Afia, Suleidy and Teresa for this mission. There are only two landing spots, one for each of the small islands. I started from the western side.
Guards will notice footprints in the sand and come running to investigate. You can use this to your advantage to lure guards down to the beach out of sight of the others.
As you get further into the island you’ll get a new objective to feed bodies to the red or blue bush. The west island has the red bush. Take out the guards and drag them back to the bush.
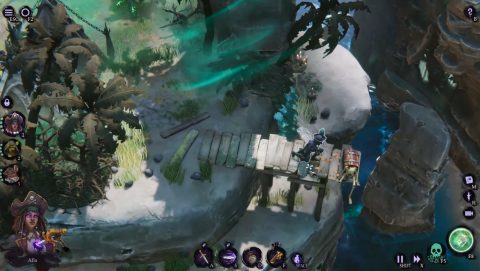
After feeding 4 bodies to the bush you’ll need to grab a torch. The torch is at the top of the island by the bridge between the two islands. there’s a Kindred in front of it as well as a few other guards watching.
Take out the 2 guards around the Kindred first because the Kindred doesn’t have sight on them. To deal with the Kindred I use Teresa to target the one across the bridge while another crewmate takes out the closest one. This will raise the alarm but there’s plenty of places to hide for 30 seconds.
Once you have the torch you’ll need to use it to burn the hole full of grog at the top of the other island. Just under the bridge is a cave that takes you too the other side. This might be a bit safer then walking across the bridge.
Take out the guards using your three crewmates and light the grog. Afterwards you’ll be free to pick up the Black Pearl. You can find it in a chest at the end of the walkway or broken bridge.
Make your way through a tear to compete the mission.
Next: Mission 8: Bone and Fingers
Back: Mission 6: Fruits of Her Labor