Ch 18: Pumping Plant
Back to Yooka Laylee and the Impossible Lair
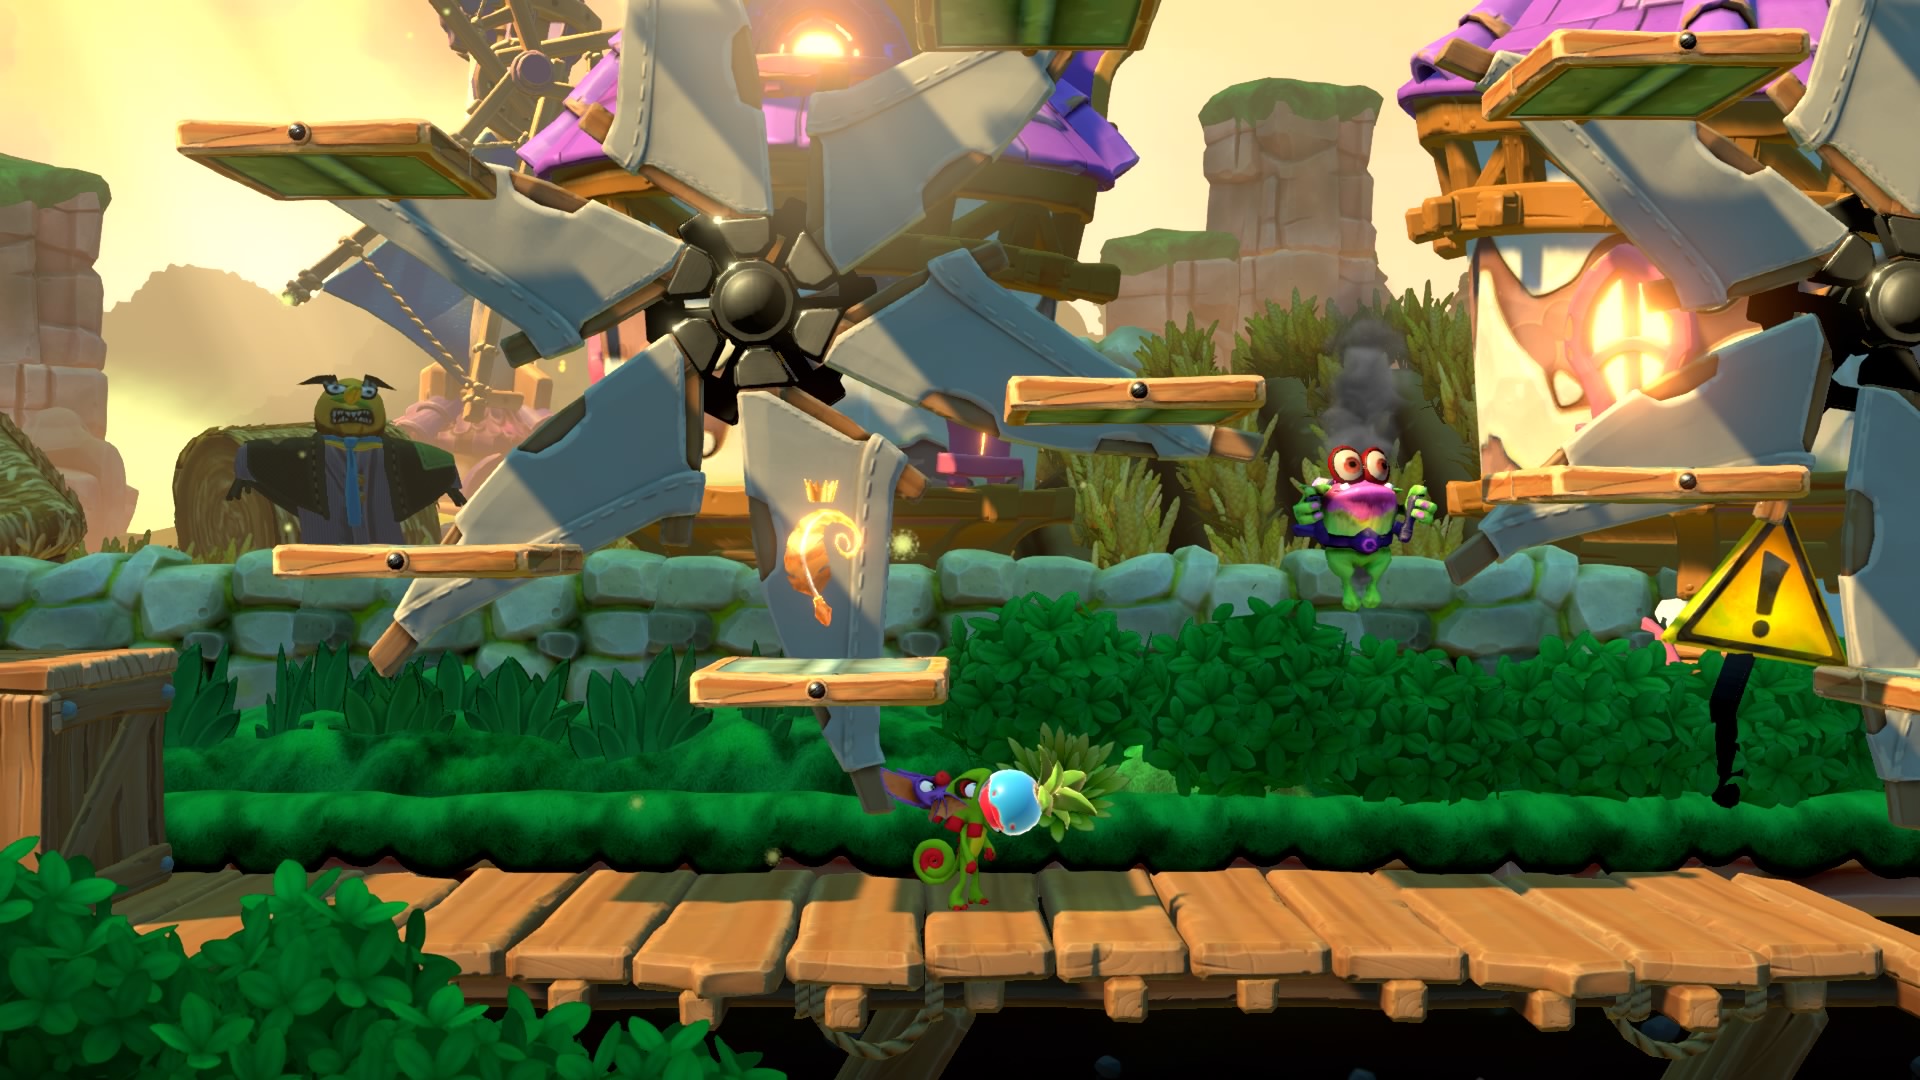
For this chapter I like to use the Spider-Cham tonic as there’s a little bit of climbing on vines. From the start roll and jump your way to the right. None of the wheels or conveyors are working.
Dive into the water and when you see the box with the arrow pointing left go through to the secret passage to the left. Inside you’ll find Coin #1.

Swim back to the right and continue making your way through the water until you can jump up to some vines. Climb up to Checkmate 1 and continue climbing up the next vine.
When you see the Psycho Snail to the left jump off and roll through the boxes. In a hidden alcove just behind the boxes you’ll find Coin #2.

Continue climbing on the vines and make your way around to more platforms. Jump across them to Checkmate 2. Use the hidden cannon to get up to the vines and then climb around to the boxes. Slam down and then dive into the water below.
Follow the Octopuses around and then make your way up to Checkmate 3. Dive into the water just to the right of the checkmate and at the bottom you’ll find Coin #3 in between 3 Octopuses.

Swim up to the other side and continue to the right. Head up the ramp and through the purple door. The slime will start rising so you’ll need to climb quickly. Near to the top there’s a secret room to the left of the vines. Jump into it for Coin #4.

Continue up and through the purple door to the right to Checkmate 4. Climb across the vines to the right while avoiding the slime as it rises and lowers.
On the other side you’ll have a chance to slide down the vine. Jump to the platform at the end and then onto the vine with the Blue Quill above. Grab the Blue Quill and collect all the Quills in time and Coin #5 will appear.

Head to the right for the Beettalion where you’ll find Stingven Onehertzzz.
Next: Chapter 18: Pumping Plant – Powered
Back: Chapter 17: Boom-Bloom Blast – Breakthrough