Fungal Wastes
Back to Hollow Knight
Fungal Wastes
To get to the Fungal wastes you’ll need to take a quick trip through Fog Canyon. You can get there from Greenpath by taking the exit shown in the map below.

Fog Canyon
Head straight down, avoiding the large jellyfish if you can because they shoot a fireball at you if you kill them. The small jellyfish are pretty harmless. At the bottom go right and then down to the bottom of the next cavern. The exit to Fungal Wastes is at the bottom to the right.

Queen’s Station
The Queen’s Station connects Fog Canyon with the Fungal Wastes. Inside the Queen’s Station you’ll find a Bench and Stag Station, as well as a Mask Shard but you’ll need the Mantis Claw before you can reach it. Take the exit at the top to the right of the station to enter the Fungal Wastes.
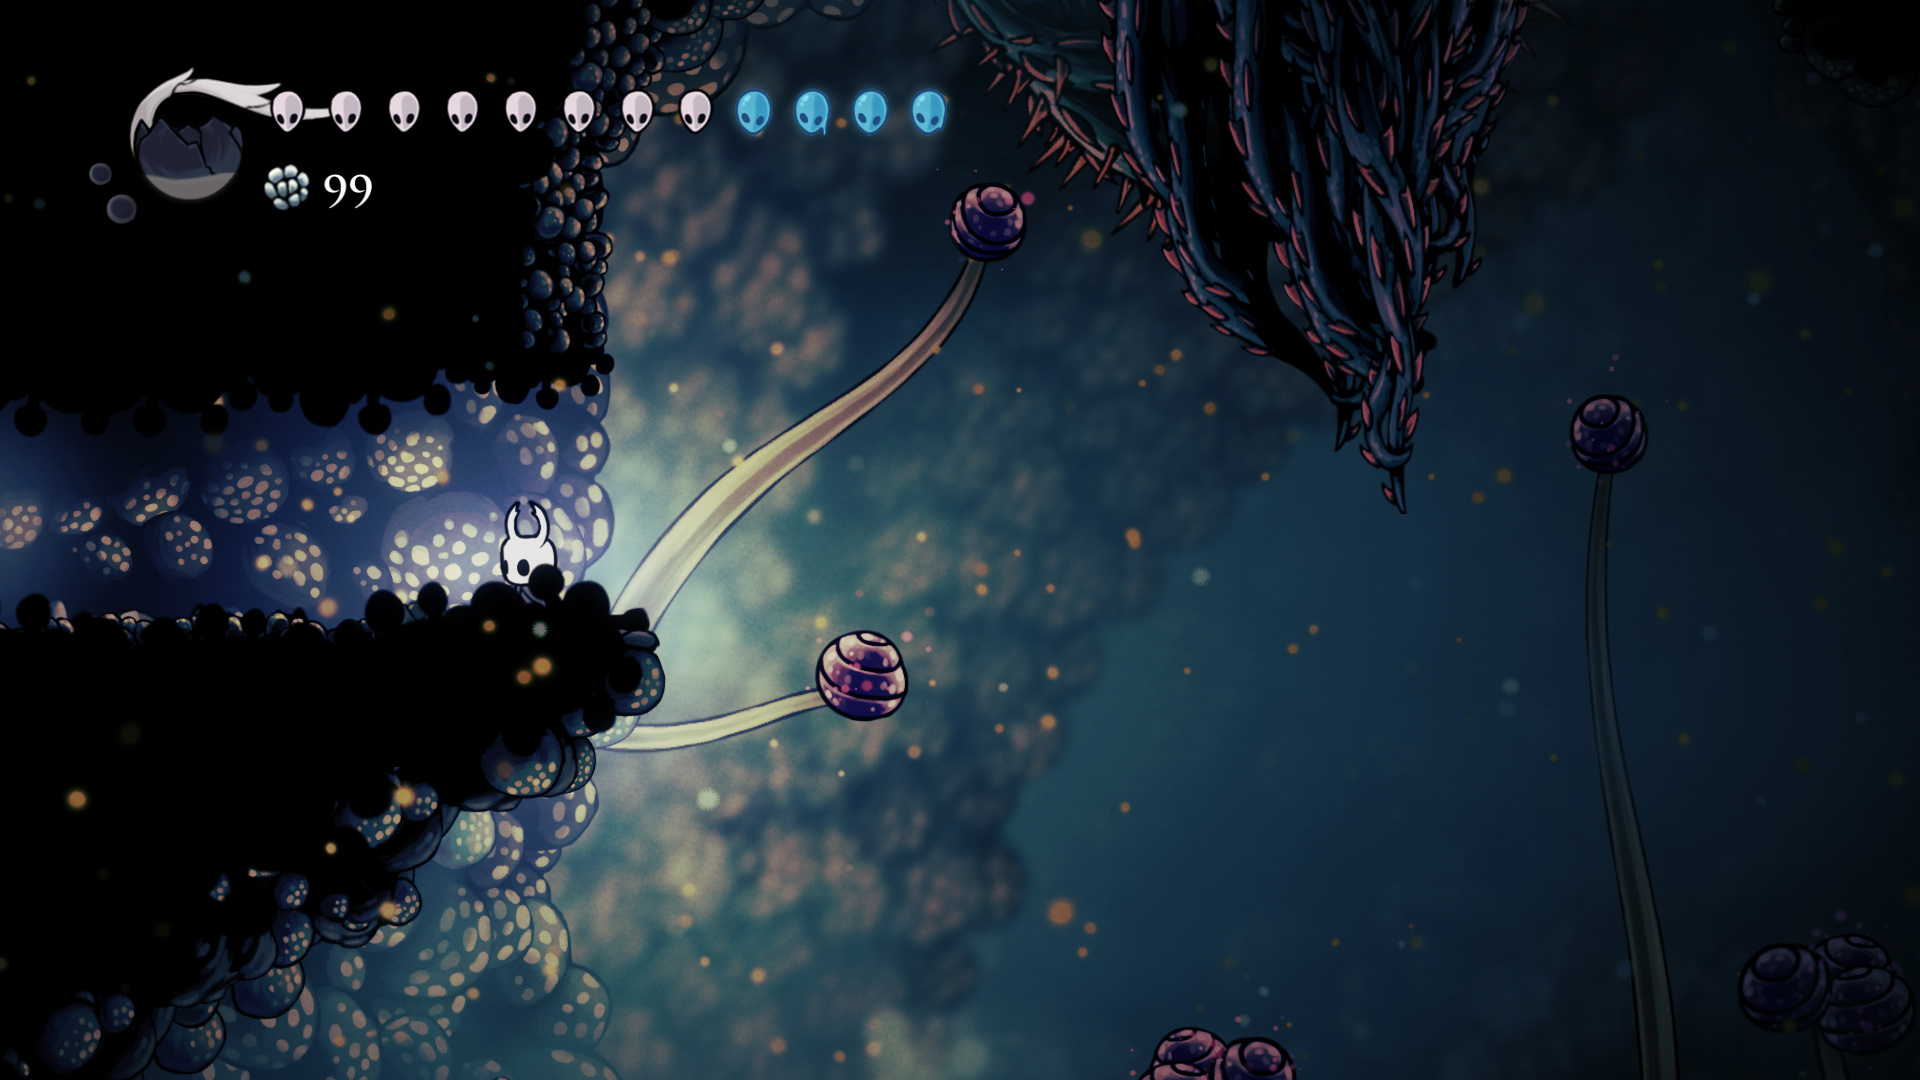
Fungal Wastes
There’s a few new creatures in the Fungal Wastes, including Fungoons, balloon like creatures that spew fire downwards when you pass beneath them. To find the map maker drop down the first exit and then head to the left. Cornifer will sell you a map for 75 Geo.
You won’t be able to proceed much further below Cornifer so jump back up the way you came. Head to the right and then jump up the small cavern, past the Sporgs on the wall, to the top where you’ll find a Hallownest Seal. You can sell this for Geo later on when you find the Relic Seeker in the City of Tears.

Drop back down and then take the only exit to the right. Jump up the cavern. You’ll notice a locked door with an item on the other side. You’ll need the Mantis Claw to reach it by climbing up the wall at the bottom.
Continue up to the top and take the next exit to the right. Do one lap around to the right, up and then back to the left until you find a Switch to open the short-cut.
Head up for a battle with 2 Shrumal Ogres. They have two attacks. The first is spitting orange goo at you from a distance. If you get close they will smash their head against the ground 7 times in quick succession.

They’re not too tough so you should be able to kill them fairly quickly. When they’ve both been killed a Charm Notch will drop down from the roof and the gates will open. Take the exit to the right.
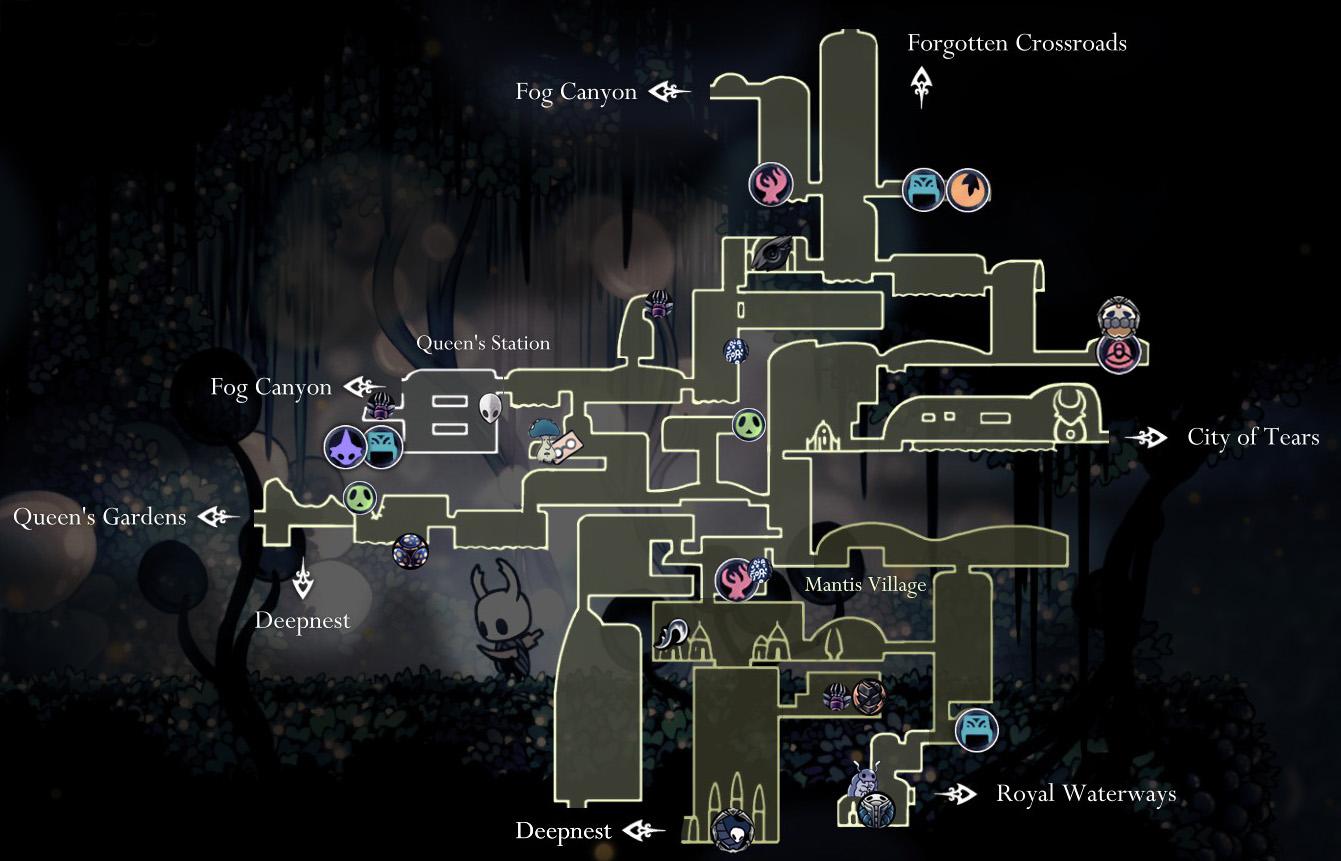
The large tall cavern leads to the Forgotten Crossroads. The path to the right has a Bench and the Vendor Leg Eater who sells Fragile Heart, Fragile Strength and Fragile Greed charms. The path to the left leads to the Fog Canyon but you won’t be able to get through there yet.
Continue to the right and down. The path to the left leads to Elder Hu’s grave. You’ll find out what to do with that later. Head to the left. Along the way Cloth will pop up for the first time with a message.
Make your way through the caverns down, to the left and then down all the way to another Bench. This is a good spot to rest before the fight with the Mantis Lords. Continue down for the Dashmaster charm. There’s a secret to the left but you won’t be able to rescue Bretta until you have the Mantis Claw.
Jump your way back up and take the first left into Mantis Village. Continue along to the left and flip the Switch at the end to open the door above. Head back to the right, jump up to the ledges and across to the left through the door you just opened. Jump up the walls and pick up the Mantis Claw.

This will give you the ability to climb up walls and reach new areas. You can practice your new ability by climbing up the walls to the right for the 2 Geo Clusters.
Drop down to the central ledges, head back to the left. You can take the exit above if you want and climb up the wall to the right for a Wanderer’s Journal.

Drop back down to the Mantis Village and climb around the walls to the right, avoiding the spikes along the way. You’ll come to a Switch. Hit it to open the large doors below which lead to the Mantis Lords. This also opens the small door to the left so you can get out.
Drop down through the large door that just opened in the floor. There are a series of Switches on the left and right that open up various sections of this area. Start with the left side and hit all the Switches. You can do the right side now as well or wait until you’ve defeated the Mantis Lords.
Drop down and Challenge the Mantis Lords.

The Mantis Lord has three different attacks which are fairly easy to telegraph but you’ll need to stay on your toes. The first attack is a charge with the spear, the second is a slam from above and for the third attack the Mantis Lord will cling to the gate on either side and shoot a ring from high to low or low to high. If he’s lower on the gate it will be a low ring attack.
The low ring attack is your opportunity to heal. Jump over the ring and heal up if you need to. Otherwise use Vigilant Spirit as often as you can and the first Mantis Lord should be quickly defeated,
For the second phase both remaining Mantis Lords will attack at the same time. Their attacks are the same except for the ring attacks. They will have a fast or slow ring attack. You’ll need to jump over the fast ring attack. If you stand directly in the center for the slow ring attack you’ll have a chance to heal up.

Once the Mantis Lords have been defeated you’ll be the new lord of Mantis Village and can claim your reward. Climb back up the right wall of the arena and open the sections to the right if you haven’t already. The Mantis Warriors will now be passive.
Take the exit to the right. The Mantis Warrior will bow instead of closing the door on you. Head to the right for a Bench and climb up the walls for the Mark of Pride charm. This greatly increases your nail length. There’s also a Hallownest Seal at the very top. Don’t forget to enter the treasure room to the right, just above the Bench area for lots of Geo!
How to Get to the City of Tears
Before leaving for the City of Tears hunt around for some goodies that you couldn’t reach before. There’s Bretta at the bottom of this map. You can reach her by entering the secret to the left of where you picked up the Dashmaster charm.
There’s a Mask Shard at the Queen’s Station and a Wanderer’s Journal near to the center of the map. See map below for locations.
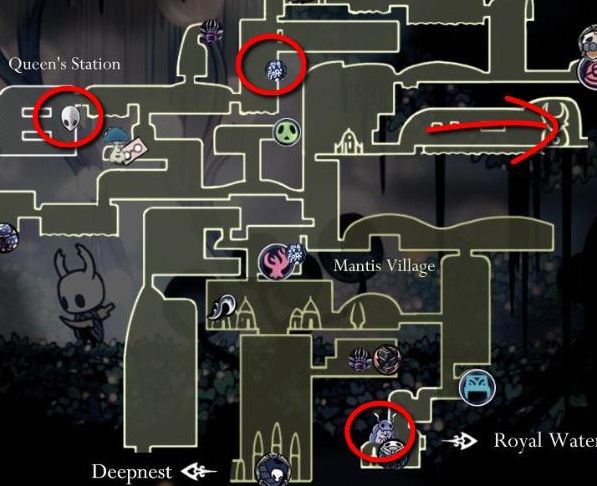
You can also search the area below the map maker and to the left for another Grub and the Spore Shroom charm.
Once you’re finished here make your way to the City of Tears. You’ll need to use your new found abilities to make it across the lake where you met Hornet. Dodge the spikes and hit the Switches to rebuild the bridge. Use the City Crest on the Large Knight Statue to open the large door. Once you go through the door will close behind you, locking you in to the City of Tears for the time being.
Back: Greenpath Next: City of Tears (West)