Crystal Peak
Back to Hollow Knight
Crystal Peak

From the Forgotten Crossroads there are two entrances to Crystal Peak, using Desolate Dive in the mines or the by purchasing the lamp and going through the lower path. If you use the Desolate Dive make a dash to the right to pick up the Rancid Egg on the way down.
The Crystal Peak area is a pretty location and thankfully not too difficult. You’ll also gain another new ability, the super dash, along the way.
Once you reach the bottom make your way all the way across to the right for the first Bench. Now you want to head back to the left and go up the main central column. In the first chamber you’ll find the first Grub for this area but you’ll need to make your way around the spikes to reach it.

Hit the Switch to open up the shortcut and then head up to the next chamber. Make your way past the lasers and then smash the secret wall on the left.

You won’t be able to reach the other side until you have the Crystal Heart Super Dash ability but when you do fly across you’ll find the Deep Focus charm on the other side.
Follow the paper trail to the top of the room of lasers and then head left to see Cornifer for the map. Once you have the Crystal Heart you’ll be able to super dash to the other side where you can find a Grub and another exit to Dirtmouth. There is a King’s Idol above Cornifer but you’ll need the wings for the double-jump to reach it.
For now head back to the right and continue up to the next chamber. This is where you’ll find the Shopkeeper’s Key. You can take it back to the shopkeeper in Dirtmouth and he’ll find new items to sell. Make your way up to the top on the right side to find the key.

Head back down and take the exit to the right for the boss fight.
Crystal Guardian

The Crystal Guardian is an fairly easy boss fight and has 280 health on your first encounter. Hit him while he’s resting at the Bench to start the battle. It has 2 attacks, a laser beam that it shoots from its arm and sky lasers that come down from the roof.
The quickest way to defeat the Crystal Guardian is to stay close to him and jump over to the other side whenever he starts to use the laser. Once it’s defeated it will drop 385 Geo.
You’ll face the Crystal Guardian in the small chamber above this one but you’ll need the double-jump to get up there. For the second encounter he has more health and will drop a Mask Shard as a reward.
The Crystal Heart
To get to the Crystal Heart you’ll need to unlock two gates so that you can get up and around to the cavern where it resides. From the boss fight head right and hit the Switch to unlock the first gate.
Now might be a good time to rescue the second Grub. Make your way down and to the left. Dodge the crushers and free the Grub at the top. You can hit the Switch for a shortcut back down.

Head back to the left and up, past where found the Shopkeeper’s key. At the very top you’ll find Quirrel once more, looking out over Dirtmouth. Continue to the right and drop down the next exit. If you continue to the right you’ll come across another Grub and if you climb to the top of Hallownest’s Crown you’ll find Pale Ore. You’ll need the Monarch Wings to make the jump across to the right.
Stop by the laser room to the right for a Wanderer’s Journal. The room to the left has a shaky bit of floor that you can downward dive to break. In the room underneath you’ll find a Rancid Egg.
Head back and drop down to the Switch below. This opens up the second gate. Drop down to the right and hit the next Switch at the bottom. This opens up the shortcut to the Crystal Heart. Head to the right and get ready for a bit of platforming. Make your way across the travellators, revolving platforms and lasers.

Follow the path along until you find the Crystal Heart. This will give you the ability to do a Super Dash through the air.
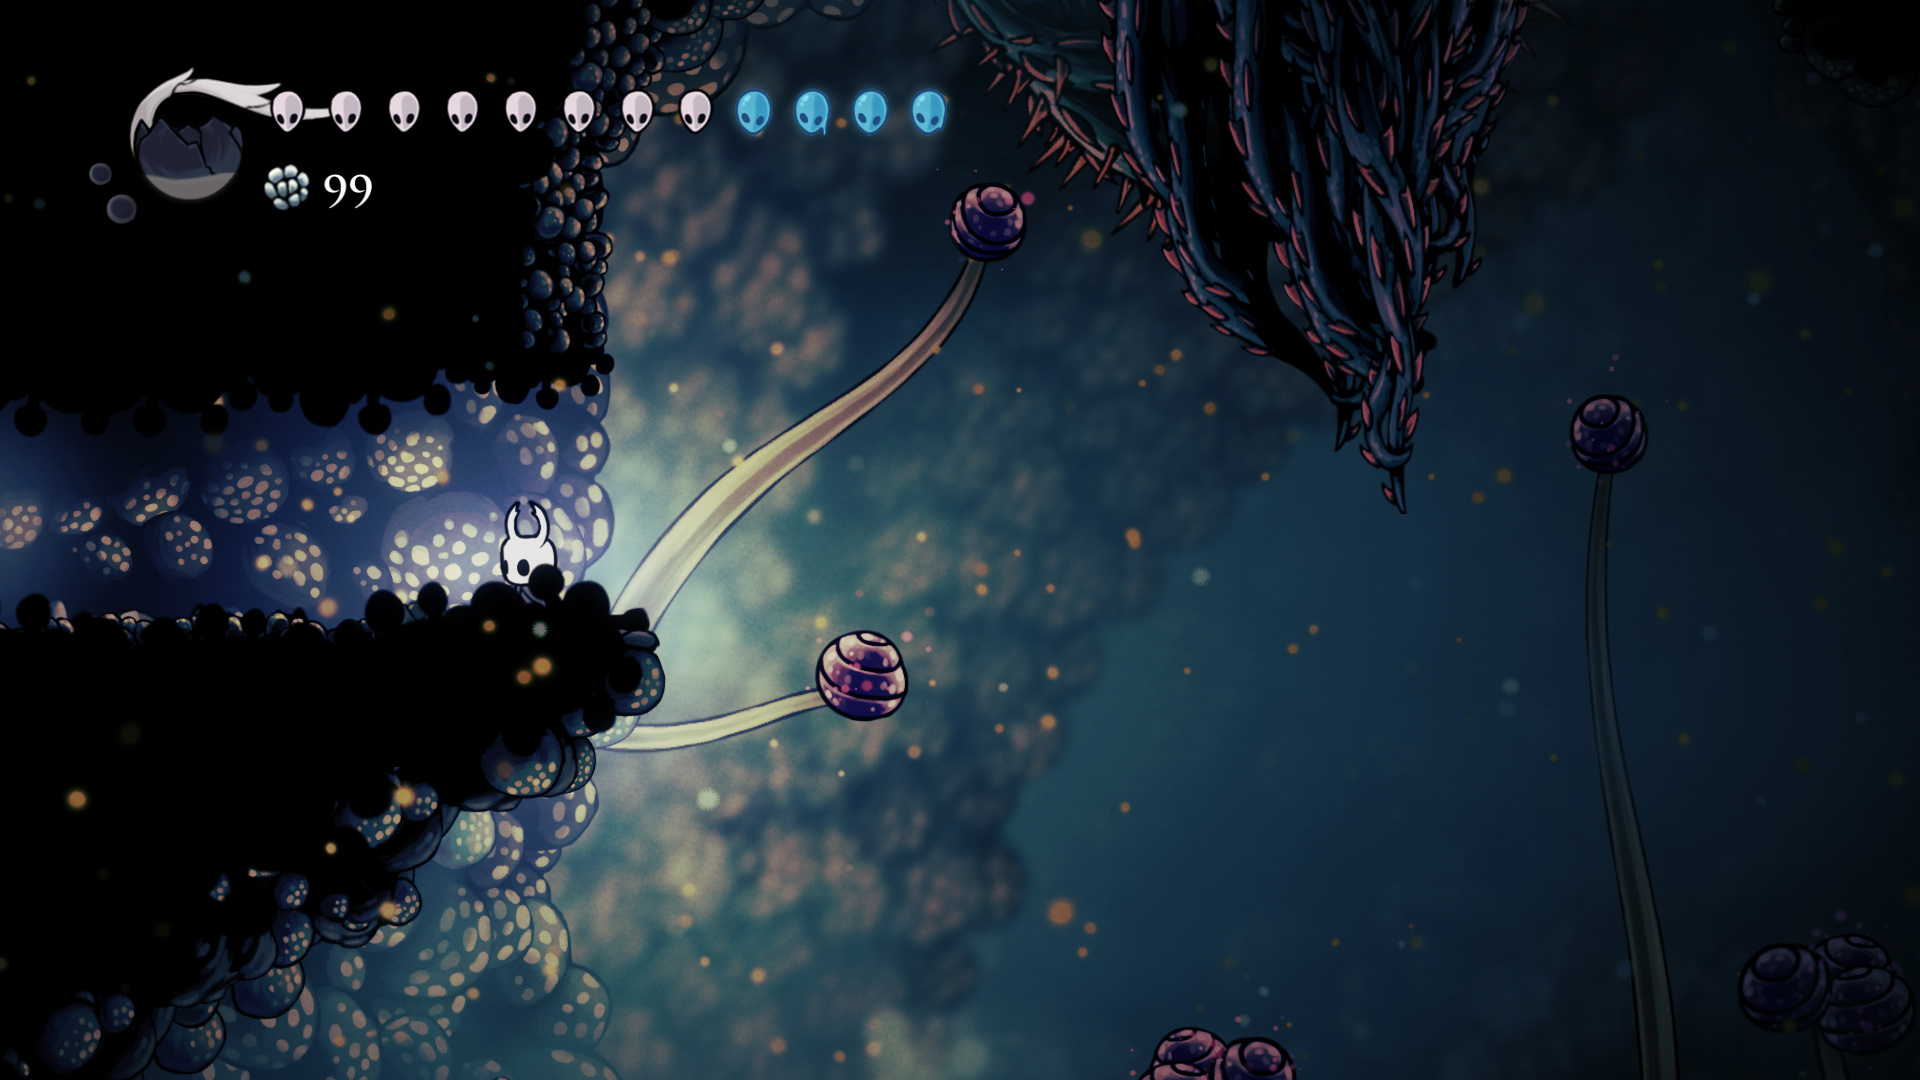
Super Dash to the left and when you get to the room with the giant bug in the background climb up the wall and Super Dash across to the Grub on the right.

Take the exit to the right and then down. Make your way down, through the crushers and then down to find the next Grub. Hit the Switch to open up another shortcut.

Crystalised Mound
Drop down and head to the right. You’ll need to jump your way across the ledges while dodging the flying Crystal Hunters along the way. Super Dash across the gap on the other side and enter the mound. Desolate Dive to break the rocks and then get ready for more platforming.
When you get to the point shown in the picture below head to the right to rescue another Grub and to the left for the upgrade to the Desolate Dive spell called Descending Dark.

A Few Last Secrets
Make your way back to the secret area below the map maker. Make your way through the crystal cavern to the left using your new super dash ability. You’ll have to time your super dash through the lasers to the other side. Once you get there you’ll be rewarded with the Super Focus charm.
Head back to where you met the map maker. Use super dash to fly across the crystal cavern to the other side. When you’re almost at the end take the path leading down for the last Grub.

When you break the jar the Grub will escape but turn into a Grub Mimic. It moves very fast but is susceptible to attacks from above. Once you’ve killed it smash the wall to the lower left and go through to find the real Grub.

Climb back up to the top and super dash to the left. You can take the lift to return to Dirtmouth.
Back: City of Tears (West) Next: Resting Grounds