Chapter 7: At the Rapids
Back to Unravel 2
At the Rapids
There are 11 collectibles in this level. Two of them you pick up automatically at the beginning and end of the chapter. The other 9 you’ll find in the rapids section of this chapter.
From the portal follow the Wisp to the left. Slide down the rocks and swing across the small puddles.
Swing across the broken bridge up to the other side. If you fall in the water the fire creatures will get you. Enter through the water pipe under the bridge and then through another pipe into a room with a wheel mechanism.
Separate the Yarnys and push the lever at the bottom to the left. Jump onto the lever with one Yarny and then up to the middle box. Jump over the knob on the wheel and back down the other side. Bring the second Yarny up the same way to the top of the middle box. Push the bottom lever to the left and then step on the top lever with the second Yarny. Release the bottom lever and the knob should rotate to the top of the wheel.

The Yarny on the ground should be able to climb up to the knob and jump across to the sparkle. Pull the other Yarny up as well.
Continue through the flap and jump on the lever. Swing across and land on the weights on the other side of the paddle wheel.
Drop down to the left and lasso the lever with one Yarny so that the other Yarny can run under the weights when they lift up.

Jump the first Yarny up between the weights to stand on the top of the weight cage. This should keep the mechanism going so the second Yarny can run under the weights also.
Jump off the wall and onto the top weight, then across to the left. Push the red weight over to the weight cage and then step on the lever. You can now push the red weight onto the lever to hold it down. Drop down and run under the weight stack to the left.
Push the fulcrum to the right until the right side of the lever is under the weight stack. Jump on the paddle on the left side and when it lifts up jump between the gap to the top

Enter the pipe and you’ll come out the other side. Separate Yarnys and have the first drop down where the cog is located to activate the weights. Have the second Yarny jump around the right and then over to the middle weight stack. Swing the first Yarny over to the red wheel and drop it down. Push it onto the cog to get the weight stacks moving automatically.

Bring the first Yarny up, run under the set of 3 weight stacks and head through the pipe. For the next puzzle have one Yarny jump off the wall and lasso the lever to pull it down. The other Yarny can jump off the wall and onto the weight stack on the left side.

Jump the second Yarny over to the left and then pull the first Yarny up. To the left are two levers. Have each Yarny pull one of them down to open the dam and release the water.
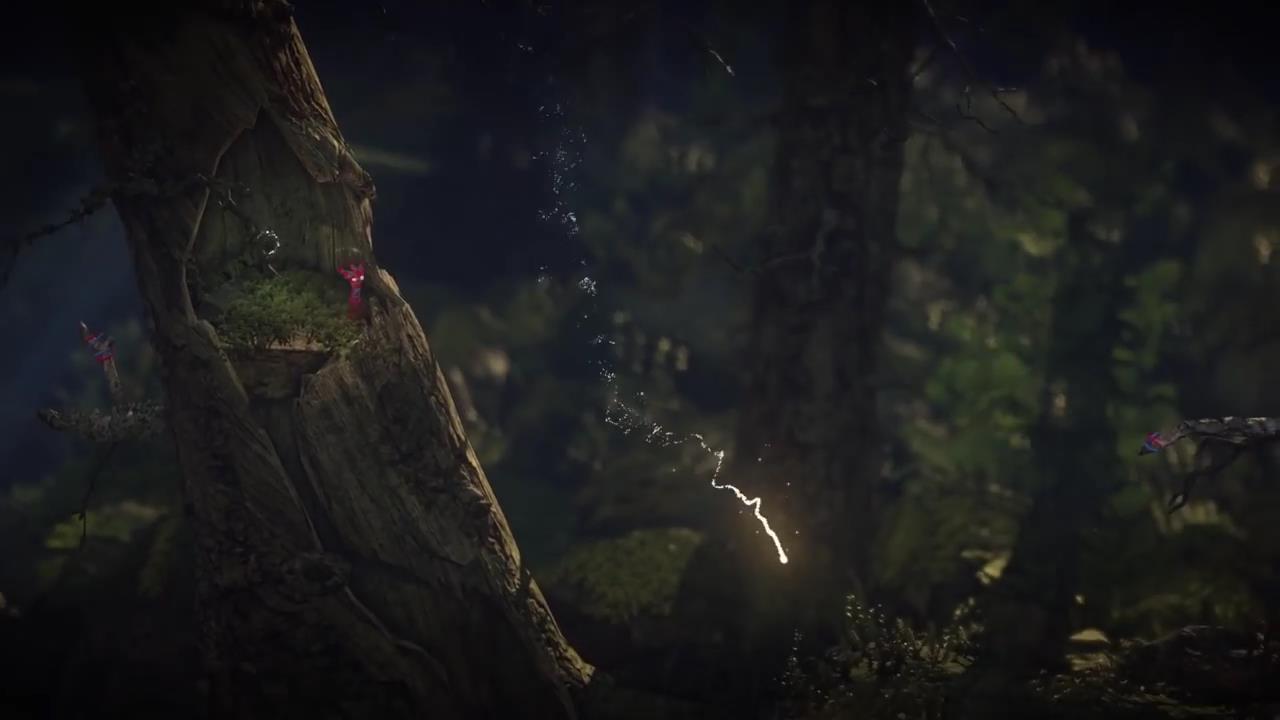
The Rapids
Make your way down the river, jumping from rock to rock. You now have a double-jump ability you can use to make life a bit easier. When you see the floating branch double jump up to grab Spark #1. You’ll need to use the double-jump to reach the side of the branch and then do another jump to reach it.

Continue down the river, using the Wisp trails for swings and to replenish your double-jumps. Head over the waterfall and go left at the base of the waterfall into a cave where you’ll find Spark #2.

when you reach the bucket do a double jump from the stump next to it to reach a branch. Double jump off the branch for Spark #3.

When you reach the rapids with the branch that’s on fire do a double jump from the rock to the first branch with the embers at the top. Jump over it to the right side of the branch and then again over to the second branch for the collectible, Spark #4.

Continue along the rapids until you reach the small waterfall. Jump across to the Wisp trail and then swing over the stump to the right.

Continue following the rapids. Once you reach the overhanging rock with the Wisp trail under it swing up on the right side and double jump up to the top with the lifebuoy. Do a super large swing with one of the Yarnys to the next rock. Bring the first Yarny across and grab Spark #5.

At the next small waterfall stand on the rock and double jump up. Separate the Yarnys and use the boost jump again to make it up to Spark #6 on the higher rock.

On the other side of the tree is the next collectible but you’ll need to go under the rocky overhang to get to it. Swing from the Wispy line up on the right side. Do a boost jump, separate the Yarnys and boost one over the burning branch. From here you can swing one Yarny up to Spark #7 on the right side of the tree.

Continue making your way down stream until you reach a point where the water is pooling from the left, right and behind. Jump to the rock on the right side and jump boost up to the branch on the left. Jump boost up the tree. Swing off the Wisp line and up to the branch with Spark #8.

Make your way to the right and swing up over the large tree. On the other side you’ll find a large waterfall. As you jump off the edge do a boost jump, separate the Yarnys and boost jump to Spark #9.

Swim to the right and boost jump up to the bridge to finish the chapter and the game! Congratulations on completing Unravel 2.
Back: Chapter 6: Ashes to Ashes