Level 1: Unintended Guests
Back to Ghostrunner 2
Collectibles:
Artifacts: 5
Swords: 3
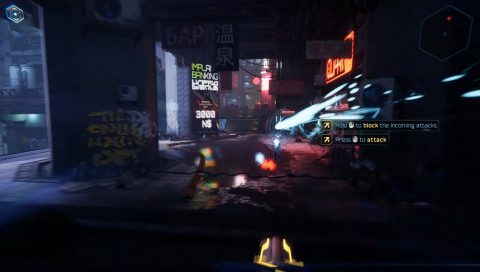
After the cutscene you’ll be sliding down the rail and straight into the action. Block the bullets and take out the enemy ahead. You begin with Sword #1 (TESA_JACk074) automatically.
Head up the stairs and wall run across the gaps. Jump onto the hover craft and ride it down.
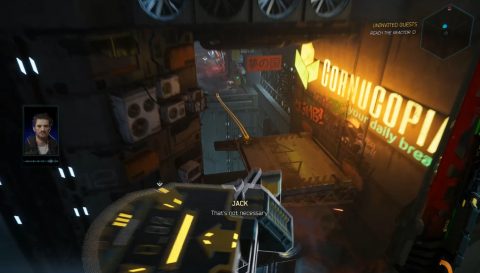
Slide down the rails, take out the next enemy and follow the path along to a platform with 3 enemies. Take them out following the tutorial instructions and head through the door marked in green.
Parry the next enemy and then look around to the left. You’ll spot an open vent in the wall.
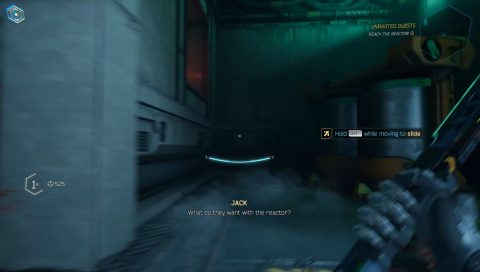
Follow the tunnel through to Artifact #1 (Recruitment Filter).
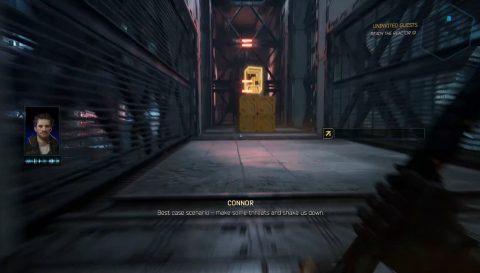
Head back and slide down the ramps. Jump and boost across the gap, then slide down the vent. Activate the sensory boost in mid-air to dodge the incoming bullet.
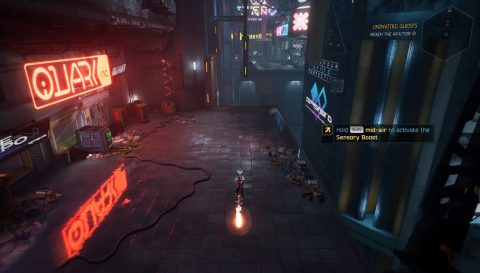
Wall run across the gaps and take out the next enemies. Once they’ve been killed the door ahead will turn green. Go through and wall run across the gaps. Use the hovercrafts to make your way over to the platform with the crates.
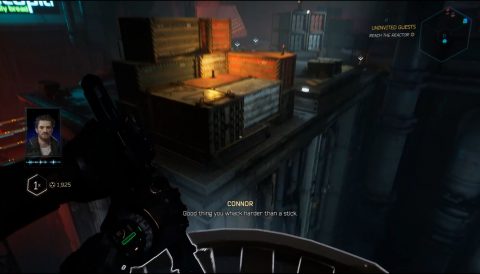
Clear out the 3 enemies and then climb up the crates on the right to find Artifact #2 (Energy Drink).
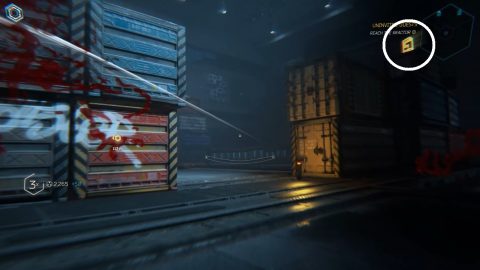
Climb up the crates opposite, enter through the hole in the wall and grab Artifact #3 (Alternate Currencies) hidden inside. You can see it behind the window from the previous artifact.
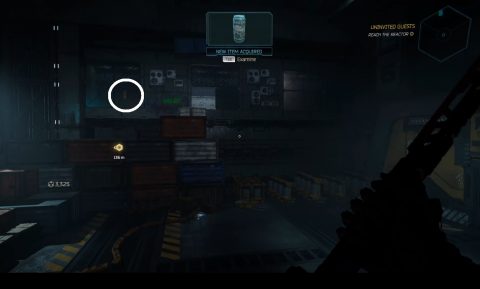
Head towards the marker shown on your screen and slide down the rails. You’ll need to dodge out of the way of the trains. Jump to the platform on the right and go through the green door.
Take out the enemies in the next area and on the right with the short ramp face down it towards the entrance. Wall run and jump to the ledge above. Then slide through the vent in the wall.
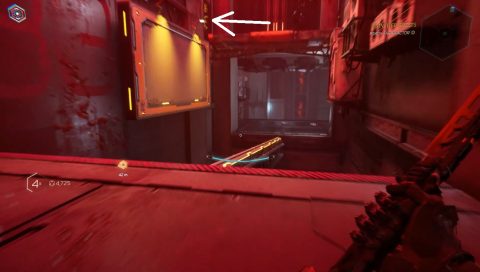
Go through the tunnel to find Artifact #4 (Tarot Card) at the end of it. Make your way back and go through the green door. In the next area you’ll start using the grappling hook.
Navigate through the area until you reach the next battle room.

Make your way around clockwise or anti-clockwise, clearing out the enemies. In the center you’ll find the Hidden Challenge Terminal. To get a gold rating you’ll need to pass through all 40 Cyber Gates in under 40 seconds.
In the corner of the room at the back you’ll need to slide under the crates under or jump over the crates.
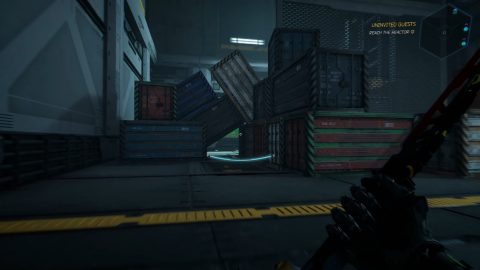
Climb up to the ledge in the room on the other side for Artifact #5 (Grilled Rat Meat). Head back and go through the green door.
Use the fan to boost across the gab and slide down the ramp. Use the train tracks to slide down and the fans to jump and grapple over the trains.
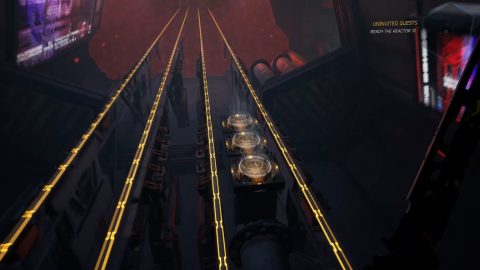
When you jump up the fans and land on the ledge above drop down over the edge instead of swinging across the poles.
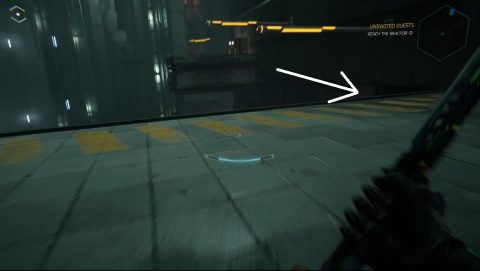
Break through the vent and follow the path to Sword #2 (The Owl). Head back out and follow the path until you can pull down the sign. Slide down the vent behind it. Watch out for the 3 enemies on the other side.
Slide down the ramp to a large battle room. This room is pretty tricky for Level 1.
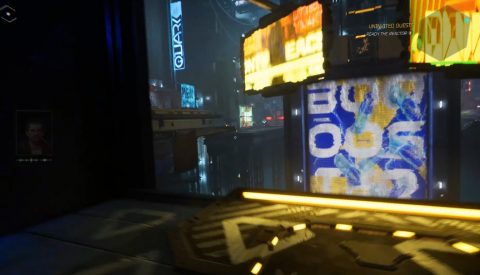
Use the fan to boost up and take the path either to the left or right. There are groups of enemies but you can pull the large signs on top of all of them to make it a bit easier.
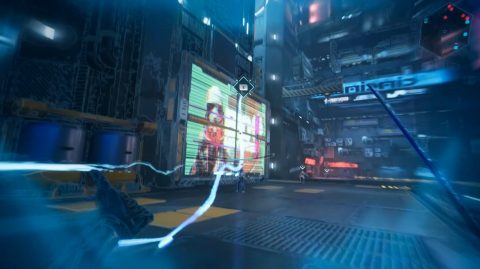
After the battle go back to where you pulled down the sign and slide down the vent behind it. You’ll find Sword #3 (TESA_BLOODBATH074).
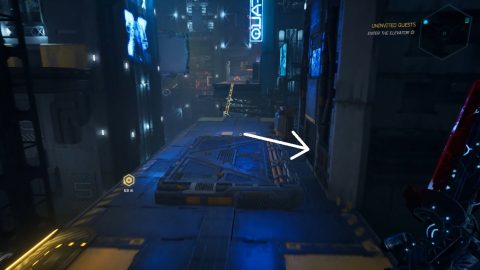
Pull the switch to open the doors back to the big room and go through the green door. Run forwards to the lift to complete the level.
Next: Level 2: Will Bushido Allow It
Back: Ghostrunner 2


