Chapter 1: Wilderness
Back to Little Nightmares 2
The Wilderness
Once you appear outside the TV sprint to the right and jump over the gap. Grab the grate to pull it open and run through the tunnel. On the other side continue to the right.
Past the log you’ll notice a rope across the path. If you hit the rope a box will fall on top of you. If you want to trigger it make sure you’re to the left of the rope to avoid the falling box. Continue to the right and push over the small crate. Push or pull it across to the rock wall so you can climb up.
Crouch down under the next ledge and you’ll be chased by a rolling log on the other side. Sprint down the hill and climb up the inside of another log. Swing across the rope to the other side.
Turn the crank to lower the box so you can jump across the next gap. At the broken bridge drop down in the foreground all the way to the ground and make your way to the right. Crouch inside the tunnel and you’ll find Glitching Remain #1.
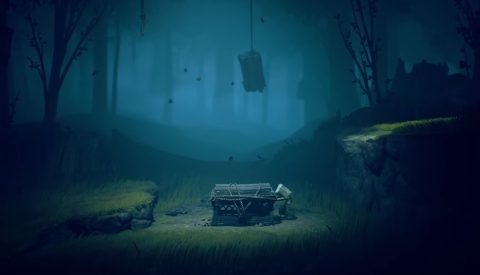
Head back and climb up the broken bridge. Sprint across to the right and drop down. Grab a shoe and throw it at the rope trap. As the net lifts up a log will drop down to the right. Climb onto the log and use it to climb up the ledge on the right.
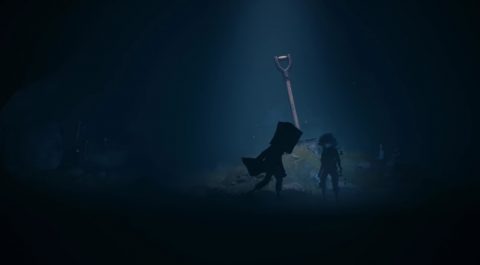
Continue to the right and watch out for the bear traps. Grab the Stick in the bear trap and use it to trigger the trap in front of the hollow log. Go through the log and slide down. At the bottom crouch under the log to the left. Inside you’ll find Glitching Remain #2.

Head back out and grab the stick. Use the stick to trigger the bear traps. Jump across to the next platform and throw the pine cones to trigger the next set of traps. Hop across to the right and climb up the steps on the tree stump.
Make your way to the house to the right and climb in through the window. Head through the door and come down the screen. Enter the room to the left and you’ll find Hat #1 (Raccoon Hat).
Leave the room and go through the door to the right. Head down the stairs and enter the room to the right. Jump up to grab the Axe and drag it to the left. Swing the ax to break through the door and walk inside. You’ll find Six!
Follow her up the stairs and to the right. Climb up the desk and go through the vent. Six will help boost you up to the handle.
Climb up the ladder and Six will help you push the suitcase to the left. Climb onto it and over the drawers.
In the next room a crank is missing. Let Six help you up the small cupboard and continue to the left. Grab the Crank from the lady mannequin and take it with you back to Six.
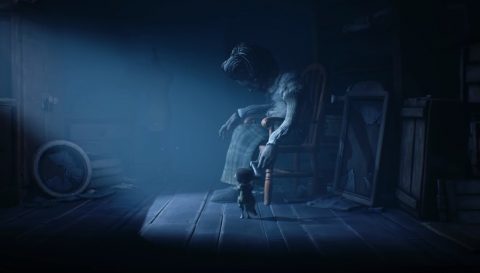
While Six uses the crank climb onto the bundle to the right. Jump across to the Key on the hook and it will drop down. Take it with you and then pull out the drawer to the right so you can get back to the ladder.
If you have the Nome Attic DLC a Nome will run out and head to the left. Follow it back to the left and climb up into the attic. Chase the Nome around until he runs away through the hole.
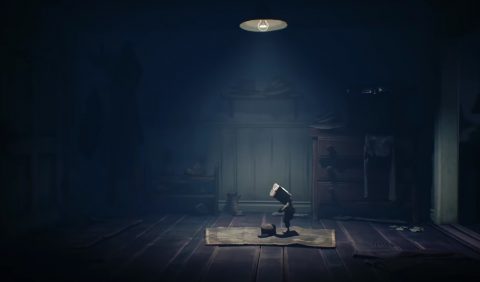
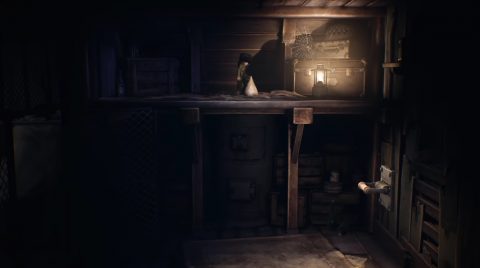
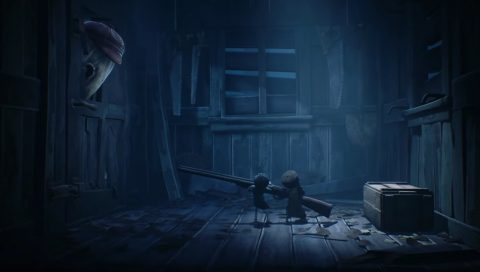
The next room is quite dark but the Nome has a candle which might help you navigate. Push the trolley so the Nome can get across the gap and then push open the gate. Pull the Lever to turn on the lights.
Head back to the previous room and pull out the drawer. Climb up and make your way around to the Nome. Go through the small hole and you’ll find the Nome Hat.
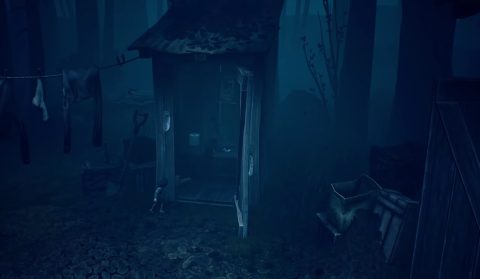
Follow the Nome through the hole to the right and you’ll drop down to Six. Climb the ladder down and use the Key to open the door to the right.
Let Six boost you up to the handle of the outhouse and grab Glitching Remain #3 from inside.
Enter the house to the right and push the box to the right. Climb onto it and jump through the window to the next room.
Sneak past the Hunter and go through the small flap in the door. The Hunter will notice you and start chasing. Hide behind the crates as you make your way to the right. Drop down into the ditch and wait for the Hunter to walk past.

Follow the Hunter to the right while staying hidden in the long grass. When you spook one of the birds stay still until the Hunter starts moving again. Once the Hunter stops sneak as far as you can to the right and make a run for the fox hole while the Hunter isn’t watching.
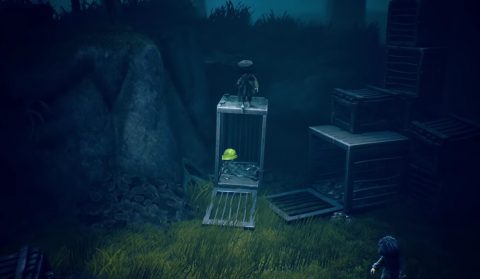
Run through the tunnel and you’ll comb back out into the forest. Pull back the rope so Six can jump across.

Once she’s across the other side call to her and she’ll help you jump across. Climb up the cages and jump across to the hanging cage. Jump on it a few times and it will fall down, revealing Hat #2 (Yellow Rain Hat).
Run to the right and hide behind the boxes when the Hunter starts shooting. Climb up the planks and enter the house. Run through the house and jump through the window. You’ll drop down into the water.
As the Hunter walks along the walkway walk along behind him in the water. Duck under the bridge and walk to the other side. As the Hunter looks towards you duck under water and continue to the right.
Push the tree into the water and use it to block sight to the Hunter. Climb up to the next ledge and dodge the Hunter’s shots by hiding behind the boxes. Hide in the small building and grab the Shotgun. When Six grabs it hold the trigger and you’ll shoot the Hunter.
Climb through the window to the right and push the door into the lake/ocean. It’ll take you a few minutes to sail across to the other side.
When you land run forwards and towards the TV. You’ll spot Glitching Remain #4.

Go through the door to the right to end Chapter 1.
Back: Little Nightmares 2 Next: Chapter 2: School