Chapter 3: Hospital
Back to Little Nightmares 2
The Hospital
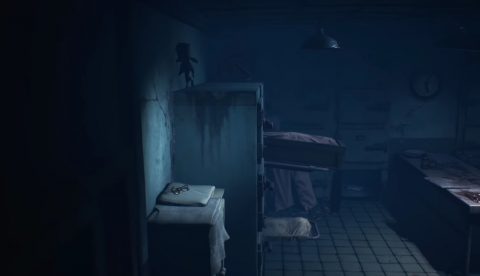
Run to the right and crouch under the bed. Push open the next door and make your way up the hanging beds. Climb up the rope and then jump across the beds to the right.
In the next room grab the Fuse and take it with you to the next fuse location to the right. Place it in the slot to open the door to the elevator. Drop onto the elevator but don’t jump or it might fall. Open the vent on the right wall and climb through.
Make your way through the pipes and drop down on the other side. In the next room you’ll find the Flashlight. Walk through the next door and then up the hallway. Near to a red wagon you’ll find Glitching Remain #1.

Come back and continue to the right. Go up the next hallway and into the room to the right. Use the vending machine to get a can of soda. Grab the can and use it to hit the button on the right. Go through the door into the next room and use the TV. Use the left stick to tune the TV.
After Six pulls you out go to the right but not up the stairs. You’ll be in the x-ray room. Look at the pictures on the back wall to see a teddy bear with a key inside. Walk to the toy room to the right and climb up the cabinet. Up the top you’ll find Hat #1 (Teddy Bear Hat).
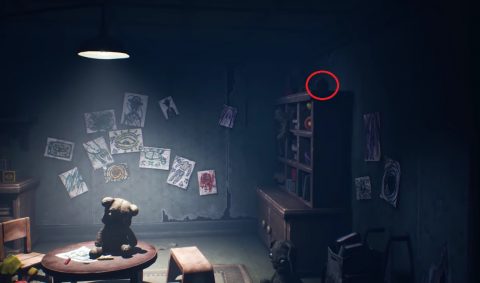
Drop down and grab the Teddy Bear on the floor. This is the one with the key inside. Use the x-ray machine to make sure the key is there. Walk to the left and use the lift. Toss the teddy bear into the incinerator and pull the lever. Go inside and grab the Key.
Take the lift back up to the main floor. Walk to the left, take the stairs up and go to the right. Use the key to open the door and go through.
Continue to the right as far as you can and then go up the hall. At the end you’ll find Glitching Remain #2.

Come back and go the other way down the hall towards the screen. Six will help you up through the window in the door. Head to the right and pull out the box of hands so you can crouch under the bed.
Climb over the next bed and avoid the Hand. Climb up the fencing and go into the vent. Drop down the other side, go up the screen and enter the room to the left.
Another hand will chase you as you make your way to the left. Climb up the table and through to the other side. Pick up the Hammer and hit the Hand at least 3 times to kill it.
Pick up the Fuse from the desk and take it with you to the left. Move the box from the door and toss the Fuse through the bottom window. The window will break so you can climb through.
Take the fuse with you to the left and back to the stairs. Ignore the two fuse slots and continue to the left. Place the fuse in the slot far to the left to open the cell gate.
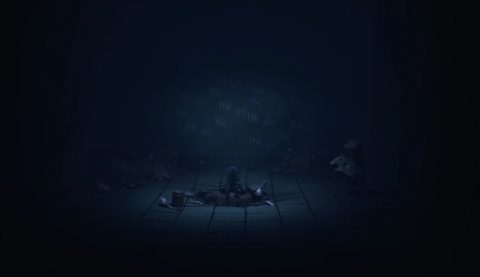
Go into the next room and up the screen. Six will boost you through the hole in the next gate. Pull the Lever to turn off the lights. The Mannequins will only move when in darkness. Wait for the Mannequin to move away from the door and flash the flashlight at him to stop him. The door should be free so you can go through.
Continue to the left and run up the hallway. Enter through the hole in the wall to the left and make your way through the Mannequins. Many of them will come to life so use the flashlight to freeze them.
Crouch under the bed and make your way past the next set of Mannequins. Jump through the hole in the door to the hallway.
Continue to the right, jump onto the trolley and into the vent. Drop down onto the bed and walk into the hallway to the left. Go up through the hole in the cell doors and into the room to the left. Inside you’ll find Glitching Remains #3.
Head back to the hallway and come up towards the screen. Make your way past the Arms and use your flashlight on the Mannequins that appear behind you.
Continue to the right and climb up the cabinet. Go through the hole in the wall and drop down the other side. Use the Switch to turn on the lights. Move the box of soap out of the way and climb through the vent. In the room on the other side you’ll find Glitching Remains #4.
Go back the way you came and use a bar of soap to open the cell door to the right. Turn off the lights and turn on your flashlight. There is a Mannequin sitting in the wheelchair but you need it to stand up. Move your flashlight away so it stands up and then walk backwards to the Switch to turn on the lights.
Go back and push the wheelchair to the window. Climb up and go out the window. Sprint through the next room and use your flashlight on the Mannequins. Make your way through the hole in the wall.
Grab the handle to turn on the electric chair. This will blow the Fuse so you can pick it up. Grab it and throw it into the chute on the right. Six will grab it and open the cell door.
Grab the Fuse again and head back to the right to the room with the stairs. Use the Fuse on one of the two slots next to the lift. Six will use the other one.
Pull the Switch and take the lift down. Head down the hall towards the screen and then go to the right. Jump up through the hole and continue all the way to the right.
Grab the Pipe and kill the Hand as quickly as possible. At some point a second Hand will break out. Once you’ve killed both of them help Six break through the door.
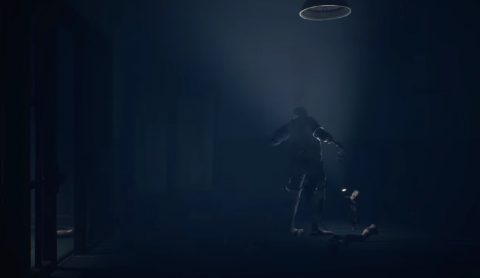
Continue to the right until you find the Doctor. Hide behind the box and continue to the right when the Doctor looks away.
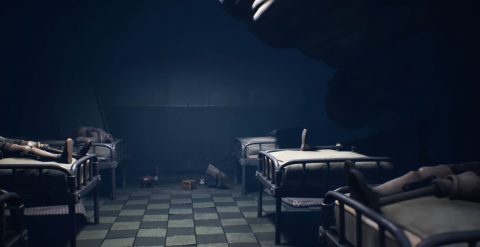
Make your way through the hole to the next room. Hide under the bed while the Doctor moves past. Continue sneaking under the beds to the right. You’ll need the block to push the button to the next room. Hide under the beds on the right side and carefully make your way to the back of the room.
Grab the block and sneak back to throw it at the button. Don’t go through the door, instead come back and hide under the table with Six until the Doctor continues to the next area.
Climb up the shelves to the right and go up through the vent in the roof. Avoid the holes and sneak through to the right. Run across to the far right hole and drop down.
You’ll need a Key to get through the door to the right. Run to the left and pull out the box. Get inside and Six will push you through to the other side.
Run to the left of the table and open the cabinet on the ground just to the left of the table. Inside you’ll find Hat #2 (Mummy Hat).
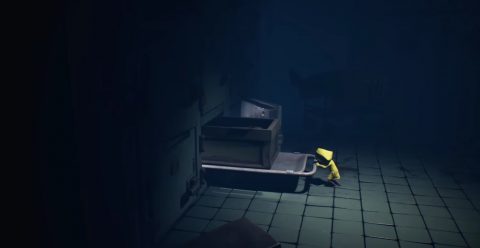
Pull the tray out on the left side, climb onto it and grab onto the tray above. It will slide out. Move around to the right side and pull the far right tray out. Climb onto it and jump across to the left.
From the table run across to the left and grab the top tray. Climb onto the top of the cabinet, drop down and grab the Key.
Head back to the box and Six will pull you back again. Use the Key to open the door to the right and push your way through.
Climb up the filing cabinet on the back wall and jump across the top to the hole in the wall on the right.
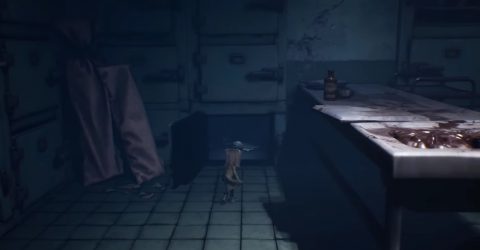
Climb up the ladder in the pipe and go through the hole to the left. The Fuse in the cabinet at the back of the room. Sneak under the table and then across to the left.
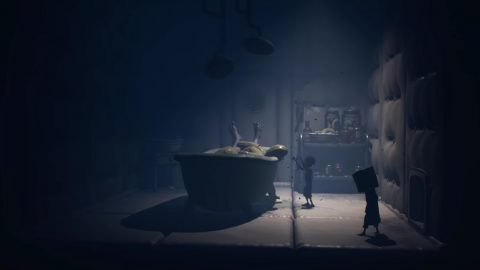
Six will help you through the next hole in the wall. Jump up on the linen tray and climb up the ladder. Run to the left and drop down to grab the Switch. This will turn off the power to the patient.
Quickly hide under the linen tray while the Doctor comes to help the patient. When he’s distracted sneak out and pull out the tray by the Fuse. Jump up to grab the Fuse and bring it with you to the room to the right.
Place the Fuse in the slot and run through the gate. Slide under the cabinets and make your way through the rest of the cabinets as fast as you can.
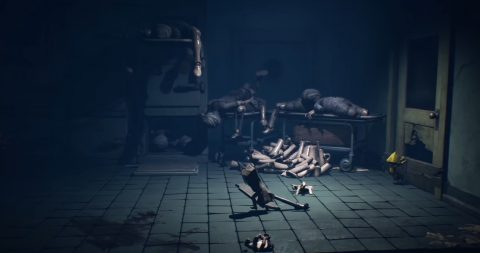
Run under the beds and then into the incinerator. Drop down the back and come out again. The Doctor will get stuck in the incinerator. You can pull the Switch to activate the incinerator or just take the lift up to the next area.
Back: Chapter 2: School Next: Chapter 4: Pale City