A Gilded Cage
Back to Sherlock Holmes Chapter One
A Gilded Cage is a sub-quest from A Mother’s Love. After visiting Stonewood Manor for the first time walk down the path to the west to a neighbour’s residence. You’ll notice a hot air balloon flying above the yard.
Gilden Residence
When you get close you’ll notice the gate has been smashed open. Walk down the driveway to the end and you’ll get a short cutscene showing the broken body of a man.
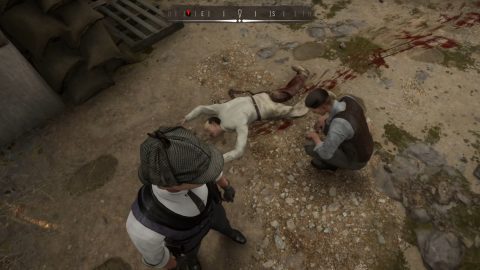
Inspect the body to find 4 clues, his head, missing finger, belt from a dressing gown and broken leg.
Head back out to the driveway and take a look at the wooden shed. It There’s a coal gas tank, a knife on the ground and a broken planks to the left.

Walk back into the estate and up to the elephant’s enclosure. By the entrance you’ll find a footprint (take a photo of it), a bullhook, splatter of blood and a broken chain.
Once you have the clues you’ll be able to reconstruct the series of events.
1) Elephant picks up man
2) Elephant tramples man
3) Elephant smashes through gate and bystander is hurled into the shed
Tracking a Goliath
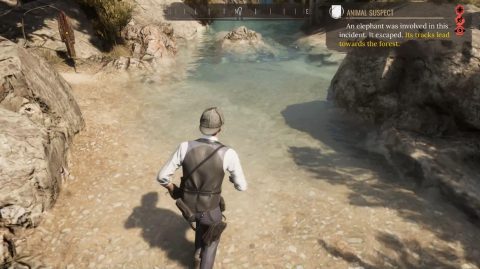
After Sherlock explains what happened open the casebook and pin “Animal Suspect” to your screen. Use concentration to follow the tracks. Cross the bridge to the north and on the other side you’ll find some smashed vases. Follow the tracks all the way to the water. This is as far as we can go.
Take a look at the robe to the left to find a letter in one pocket and a Key to the estate in the other.
Head over to Cordona Chronicle and use the archives. Use “Elephants Life” as the evidence and then choose “Period – 1870-1879”, “People – Journalists” and “Section – Front Page”. You’ll be shown a newspaper article called “The Lord of all Beasts”.
Gilden Residence
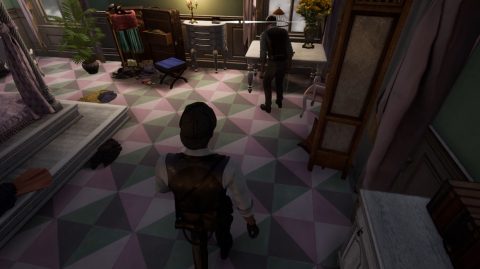
Return to the Gilden Residence and enter through the front door. Head upstairs and speak with Imogen Gilden in her room. Inside her room we’ll find a few clues, packed bags, a book and a photo of Imogen with someone called Paul.
Jon will tell you that you found the book “False Idols” and challenges you to find the other two books in the series.
Enter the other room upstairs, Gilden’s office. Take a look at the chair by the window and the desk for a number of clues, two pictures, a prosthetic finger and a vial of perfume. On the desk you’ll find a construction plan with a few clues. One of the names of the partners has been crossed out. Take a photo of the plans and then open your casebook.
Take a look at the bookshelves for a few more clues. Return to Imogen and ask her about the evidence. She’ll give you a little more information about a few things. The vial contains elephant sweat and Imogen was planning on running away with her partner at the yacht club.
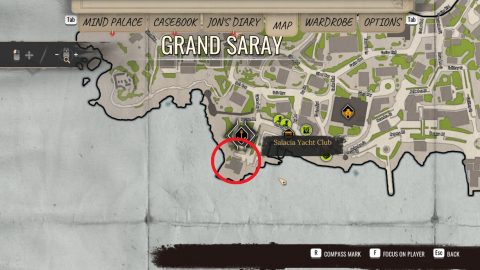
Yacht Club Workshop
The workshop can be found to the south of the Yacht Club in Grand Saray. Have the “Photo of Imogen” pinned to your screen and ask a well-dressed person about it. They’ll point you in the right direction.
Inside the workshop go to the far right and look at the yacht in the water.
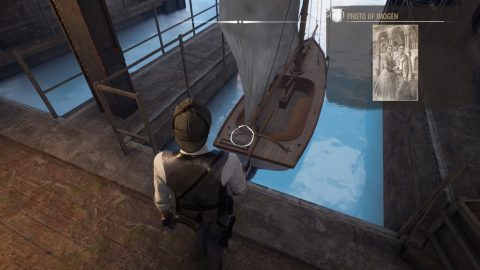
Next to it you’ll see a storage room. Go inside to find a Foghorn and the second book in the trilogy, Sails of Hatred.
The room next to it with the sign Whirlpool is locked but take a look at the bloody rags through the window.
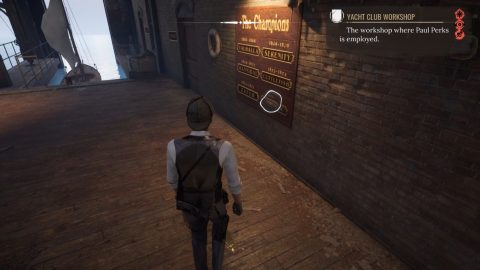
Pin “Yacht Club Workshop” to the screen and look closely at the wooden board on the wall. Move the “Whirlpool” sign to find the Key.
Open the office and inside you’ll find a desk and shelf with various clues. Pin the clue “Suspicious Note” to your screen and go back into the storage. This time look more closely at the tea tins to see they’re filled with psychotropes.
When you leave the room you’ll be confronted by Paul. Observe him to find out it’s actually a “Professional Yachtswoman”.
The drug dealers will then enter and you’ll have to fight them. You can arrest or kill them it doesn’t matter. After the battle talk to Paul and present all the evidence to him. Head back to the Gilden estate and talk to Imogen. Present all the new evidence to her as well.
The Construction Site
Pin “Ivory Baths Construction Plan” to your screen and go to the City Hall Archive. Search for “Subjects – Businesses”, “Registry – Legal Documents” and “Districts – Old City”.
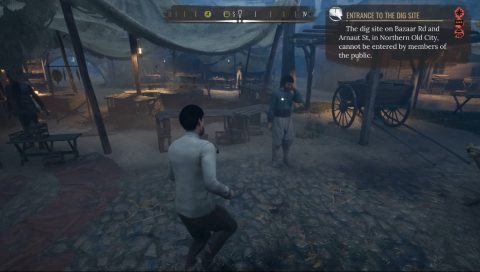
You’ll be shown the Registration of Gilden and Swift Ltd. The dig site can be found at the intersection of Bazaar Rd and Arnaut St, beyond the fortification walls in Old City.
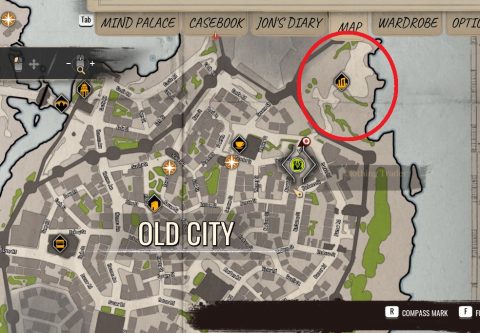
Travel to the location shown in the map above and eavesdrop on the two workers standing out the front. You’re looking for the words “Neck scar, “Pro-British” and “Old City Marketplace”.
To get into the dig site you’ll need to apply for a job. Go to the Old City Market which you’ve probably been to before but I’ll show you the location on the map below.
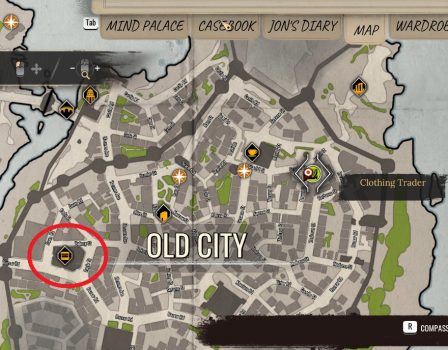
Pin the clue “Entrance to the Dig Site” to your screen and change your clothes to look like a worker. You can purchase a worker’s apron from the nearby clothing trader.
Find a man standing around in the center and talk to him. When asked about the Brits say “I’m all for them”, and then “I’ll sing the anthem”. You’ll be given a job at the dig site.
Go back to the Dig Site and enter. Run down the path and talk to the man overseeing the project, Mr. Arthur. Observe him and then make an assessment. I choose “knowledge-seeker” which gets a positive response.
Check out the clues on the noticeboard behind him, and also take a look at the clipboard on the crate to the left.
Continue along the path down to the dig site and take the first right. Listen to the men talking and try to figure out which statue was damaged.

Listen for the words “Kicked statue”, “Lion helmet”, “Tilted pedestal and “Closest to the beach”. You’ll find out that workers at the dig site found a statue with a lion helmet head but someone kicked it over the edge.
Come back to the path and walk towards the tents. Search under the tents for the third book in the series, Sharpest Pickaxe.

Past the tents head up the stairs on the left. Take a look at the first pedestal for an inscription. Examine the fallen statue in the center. Look at the head, the sickle and the stone slab to the right.
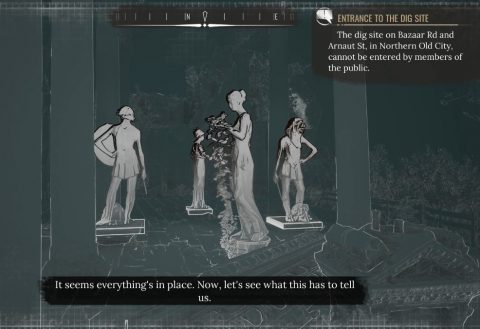
After looking at the pedestal and the statue you’ll be able to recreate the scene with your imagination. Click on the sparkle to begin.
You need to place the statues on the correct pedestals and facing the right way. It’s fairly tricky to figure out. Read all of the clues again if you need to. All of the statues should be facing clockwise around the circle. This is how it should look.
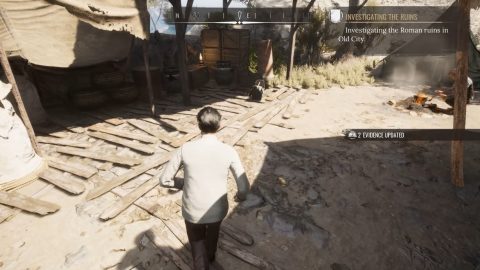
Pin “Investigating the Ruins” to your screen and use concentration mode to follow the tracks. They lead down to the beach. You’ll notice a mound in the sand. Click on it and Sherlock will make a discovery. Arthur will come down to take a look and oversee the digging.
Run back up to Arthur’s desk and take a look now that he’s away. Look at the box of darts, book on elephants and personal notebook.
Arthur Swift will come back and notice you snooping around. You’ll tell him who you really are. Ask him about everything and present all the evidence.
All the key evidence should now be collected so open up the Mind Palace and start putting the clues together.
Hunting a Goliath
As you’re putting the clues together you’ll figure out that you need to find Goliath. To do this you’ll need:
1) A strong scent to lure the animal
2) An instrument to mimic the trumpet call
3) Grey fabric to hold gas.
Open the casebook and conduct Chemical Analysis on the pungent vial of perfume. Sherlock will extract pheromones from the liquid. You now have the strong scent.
Across from Arthur you’ll see a chest under the tent. Inside is a large piece of fabric. This will work as the “Grey fabric to hold gas”.
Leave the dig site and return to the boat workshop. Enter the storage room to the back right and grab the Foghorn.
Now that we have all the pieces it’s time to ask Mrs. Nini for help. Her shop is just to the west of the Police Station. She’ll be sweeping outside when you walk past.
Go back to the Gilden residence and use the gas bottles to float the elephant dummy. Use all the trumpet calls and Goliath will come back.

Goliath will be back in his enclosure. Take a closer look at him and grab the poison dart. Perform chemical analysis on it to find out there are traces of strychnine inside.
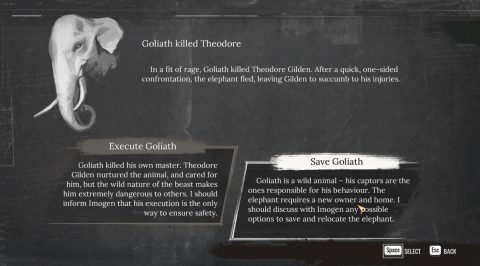
Finish off the Mind Palace clues and decide who the culprit is. Unfortunately there’s no definitive answer for this case. It could be either Paul, Arthur or Goliath who’s primarily to blame.
Both Paul and Arthur had the similar injuries, had access to darts and had grievances against Gilden. Given that there was no clear evidence I chose “Goliath Killed Theodore” and then to “Save Goliath” by having him moved to a new owner.
Return to Imogen to let her know about your conclusions. She’ll leave a few items for you and you’ll return to the main case.
Back: Sherlock Holmes Next: A Mother’s Love