The Muse from Abroad
Back to Sherlock Holmes Chapter One
The Muse from Abroad is a subquest of the main case, A Mother’s Love. It becomes available after you complete A Gilded Cage, and return to the Manor to receive the invitation to the gallery.
The Gallery
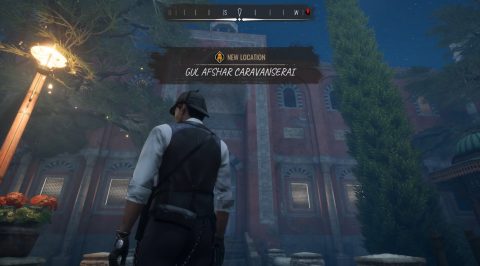
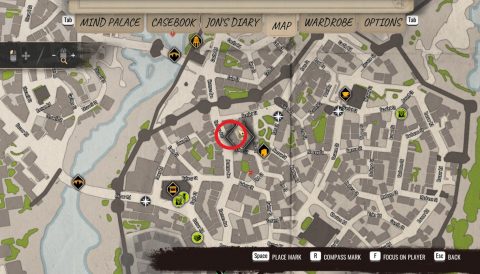
At some point during A Mother’s Love Verner Vogel will invite you to his art gallery. It can be found in Old City at the crossroads of Bazaar Rd and Hermes Ave. The southernmost side of Old City. On the map the gallery will be called Gul Afshar Caravanserai.
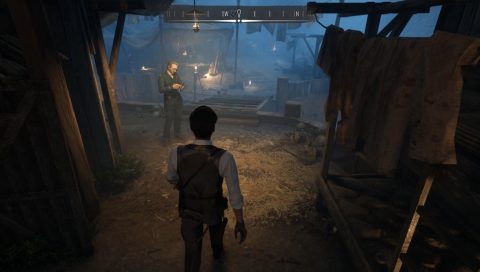
Verner will tell you about a break-in and ask you to investigate. Head downstairs and take a look at this strange gallery.
To the right as you enter the basement you’ll see a bloody shark sculpture. Head around to the left to see a coal chute. There are footprints on the ground, a shovel and scratches on the inside of the chute.
Turn around and walk back the way you came. Look at the open coffin for a few more clues. Take a look at the crow, the handprint and the skeleton that has been slightly moved.
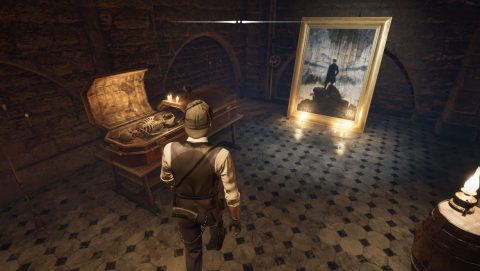
Continue around to a room with a strange painting and glowing mushrooms. Then enter the last room with the smoldering remains of burnt paintings. One of the frames is empty, meaning the painting has been taken. You’ll also see a Mallpall cigarette.
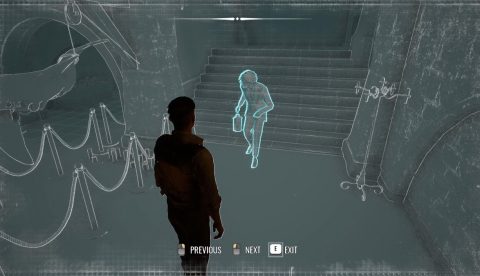
To the left is a chain for hanging up paintings. Use concentration to take a look at them. Return to the entrance and click on the sparkle to begin the reconstruction.
1) Someone crawling through the coal chute
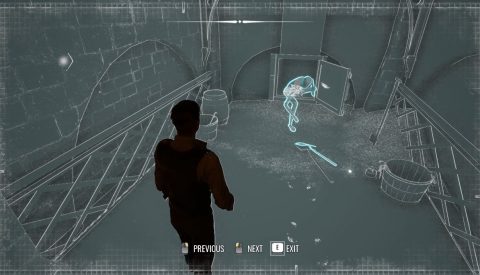
2) Vogel came down because he heard a noise
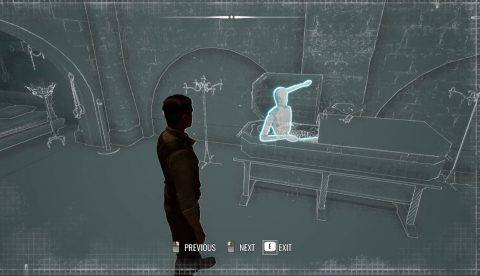
3) The intruder hid in the coffin
4) Intruder threw paintings on the fire
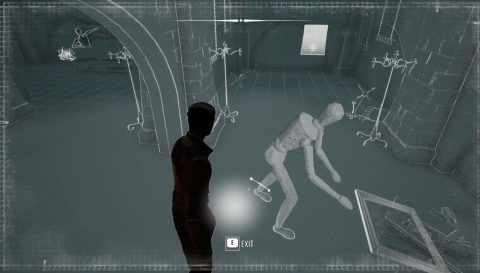
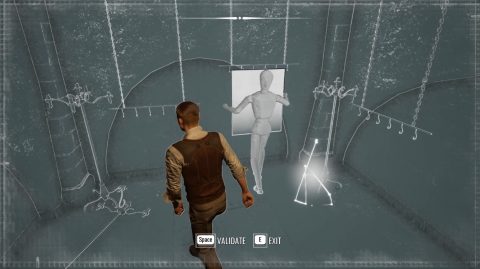
5) Intruder taking painting from the wall
Go back up and talk to Vogel to give your verdict. Sherlock will tell him what happened and let him know about an artist called Mercurio.
Mercurio’s Apartment
Verner doesn’t know where Mercurio lives but he knows he lives in Old City and is a prominent person. Go to the Cordona Chronicle and use the archives. Have “Mercurio’s Address” as evidence and search for “People – Celebrities”, “Section – Front Page” and “Districts – Old City”.
You’ll find an article about a brawl at the artists apartment. Read the article to find his address: Hermes Ave between Scarlet St and Olive St in Old City.
The lady inside won’t let you into Mercurio’s apartment unless she thinks you are Mercurio. You have a picture of him from the article so visit a Clothes Trader and buy the appropriate clothes. You’ll need: Bohemian Outfit, Messy Hair, Square Glasses, Artist’s Bristles and Artist’s Tan Powder.
Return to the apartment and the lady will give you a key. Enter Mercurio’s room to see him dead on the floor. Search the apartment for clues.
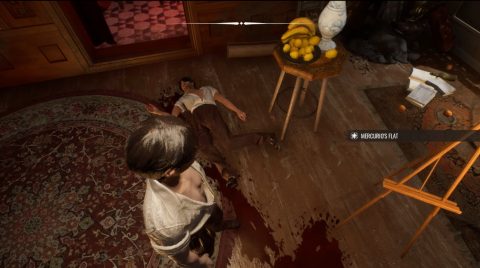
Take a look at the 5 clues on the body and the 5 clues on the desk. Then there’s the bottles on the floor, the picture frames in the chest and the painting on the bed. Go inside the bathroom for another 2 clues, the liquid and the photo hanging on the wire above.
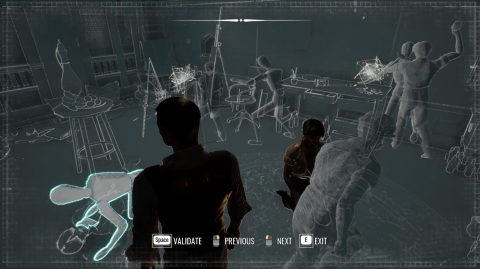
With that done you can start the imagination. Click on the sparkle to begin.
1) Someone searching through the paintings and Mercurio coming into the room
2) Mercurio hitting them over the head with a bottle
3) Intruder stabbing Mercurio
4) Intruder trying to stop the bleeding
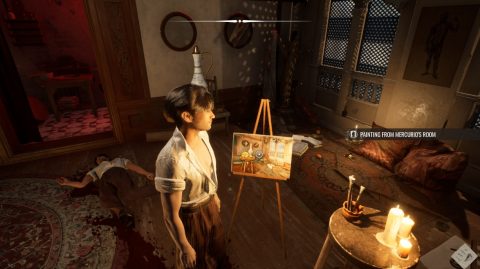
Pick up the painting stained with blood on the floor and perform Chemical Analysis on it. You’ll be able to remove most of the blood.
Place the painting on the easel and look carefully at the painting and the room. The skull is missing from the frame on the wall.
Enter the bathroom and find the skull to the left. Talk to Jon who will tell you to not tell the landlady the truth about Mercurio.
Leave the room and tell the Landlady to call the police if you want to follow Jon’s advice or tell her about the corpse if you don’t. Either way leave the apartment and change your clothes.
Pin “Jon’s Redrawing of a Pregnant Girl” to the screen and look around the streets for someone of African descent who is friendly or sympathetic. Ask them about the girl and they’ll tell you that you can find her tribe in the Refugee Camp under Victoria Bridge between Scaladio and Silverton.
Refugee Camp
When you arrive at the refugee camp you’ll see there’s quite a commotion going on. Go down the steps and speak to the Chief Detective. He’ll let you in to investigate. Take an observation of him and come to the conclusion that he’s a “Dazed Formalist”.
Go inside the camp and talk to Inspector Tewksbury. After you’ve spoken with him you’ll be able to search the camp for clues.
There are a lot of markers on the ground, 9 in fact, so I won’t go through every point of interest. Wander around the area and pick up all the clues.
You’ll find a wounded man on the ground. Inspect his chest and head and then pin “Wounded Refugee” to the screen. If you want to help him you’ll need some items to treat him. Take the clothes from the line and the boiling water from the large cauldron. Then grab the Aloe Vera from the ground to the right of the corpse on the pier.
Do a chemical analysis on the “Wounded Refugee” clue in the casebook to find out how to save him.
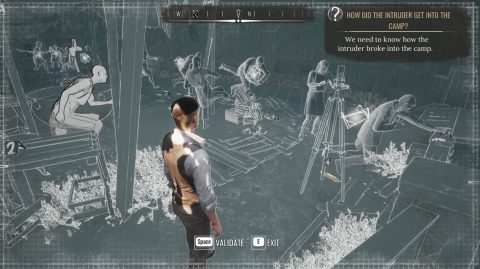
Pin “How Did the Intruder Get Into the Camp” to the screen and check out the various entries into the camp. There’s a spot by the water, the gate in the sewers and the ladder behind the inspector.
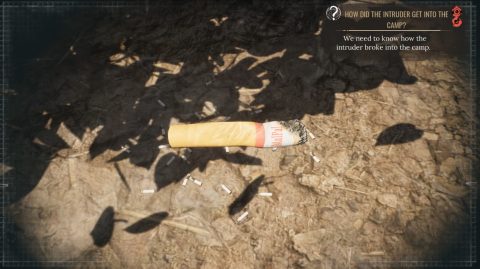
Leave the camp via the regular exit and you’ll spot cigarette butts on the ground. One of them is of a different brand.
Eavesdrop on the two policemen by the corpse and the sewers. You want to look for the words “Take Refugee Out”, “Money” and “Camp Lockdown”.
Now that you have all of the clues it’s time for the reconstruction. There are quite a few points here but we’ll start from the point furthest away from the entrance.
1) Man drags woman.
2) Man continues to drag woman and a refugee runs in to attack the man
3) Woman falls over and man looks startled
4) Man is chased by refugee
5) Man knocks over crates
6) Man falls into water
Talk to the inspector and detective and let them know what happened. At this point you’ll be able to interact with the refugees in the camp.
Pin “What’s Going On At the Refugee Camp” to your screen and talk to the refugees to be given a clue. They’ll tell you about refugees being taken away from the camp from time to time.
Pin “Jon’s Redrawing of a Pregnant Girl” to your screen and talk to the refugee at the end of the camp. If you healed the wounded refugee he’ll let you talk to the woman from the photo, Neila.
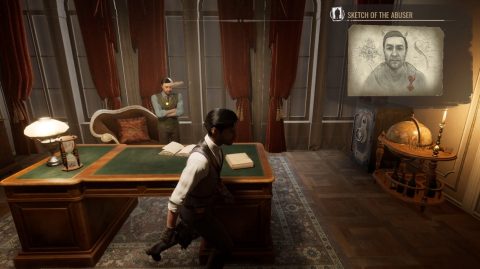
Open up the Mind Palace and connect all the clues you can find. You should unlock “Sketch of the Abuser” in the casebook. Pin that to the screen.
Talk to the inspector and detective once more and ask them about any new evidence you’ve uncovered. That’s all we can do here so leave the camp and head over to City Hall Archives.
City Hall
Using the “Sketch of the Abuser” as evidence search the archives. You want to look for “Subjects – Officials”, “Period – British (1800s)” and “Registry – Occupation”. You’ll find the profile of Thomas Norton who should be working right here at the City Hall.
Talk to Thomas Norton. You can find him in his office on the other side of the building. Observe him and find out that he is a “Partygoer”.
You can punch him in the face when the option arises. Otherwise finish up all the dialogue options with him and head over to the Police Station.
Police Station
Go to the archives and use “Camp Intruder’s Tattoo” as evidence. Search for “Crimes – Smuggling”, “Subjects – Suspects” and “Districts – Scaladio”.
You’ll find out about Nicolo Bernadotti and his main office located at South-Eastern Scaladio, Bazaar Rd, near the crossing with Roman Rd.
Bernadotti Main Office
Now that you know the location head over to the Bernadotti Main Office in Scaladio. When you try to enter you’ll be stopped by the guard at the door.
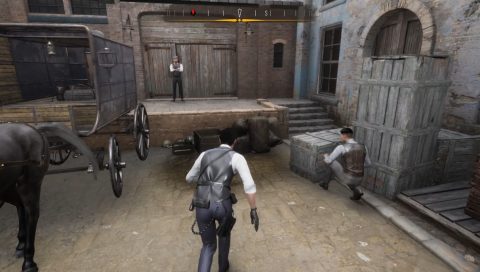
Put on your detective clothes and tell him you’re a private investigator. Punch him in the face to knock him out and then enter the building.
Defeat all the thugs, either by killing them or arresting them, then head through the only unlocked door. Check out the covered painting and the statue to the left.
Then look at the crate of small statues to the right of the painting for another 3 clues then go through the next door to the hallway.
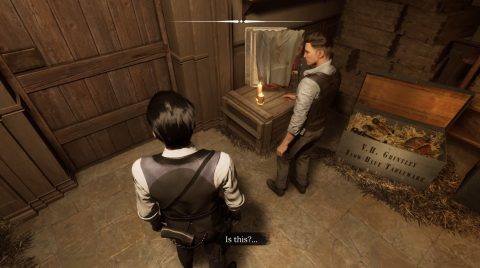
Tell the man to leave and he’ll run away. Then check out the newspaper on the bench.
Go through the door at the end of the hall to the foyer. Take a look at the portrait on the wall and the date below it. Look at the desk for another 2 clues, the paperwork on the left side and the invitation on the right.
Go through the door behind the desk to the head office. Take a look around the office and search for clues, then talk to Bernadotti.
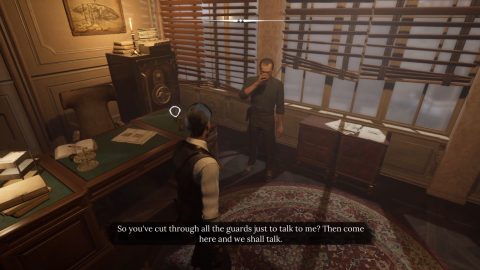
Observe him and figure out what his character is. I choose “Calculating Mastermind”. Ask him about everything and then leave.
Go to the Mind Palace and piece together the clues. You’ll have a few options here. Bernadotti wants to blackmail the Envoy or the Envoy wants to secure his reputation. Each of these has two reactions.
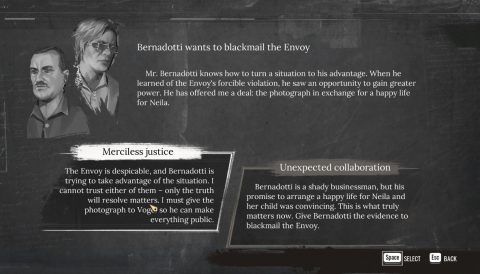
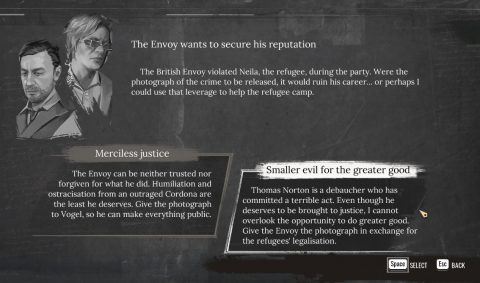
If you want to help the refugees find a better place then give the photo to Thomas Norton. He promises to relocate the refugees to a better place but the truth will remain hidden.
Giving the photo to Bernadotti will mean that he promises to help Neila but the other refugees will stay where they are.
If you give the photo to Vogel he’ll leak the truth to the public but there is no promise that any of the refugees will be helped. The choice for the conclusion to this case is up to you.
Back: Sherlock Holmes Next: A Mother’s Love