The Tombs (Level 6)
Back to Valfaris
Checkpoint 1
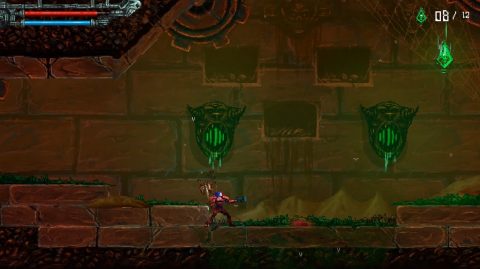
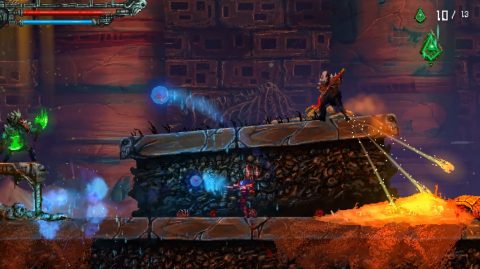
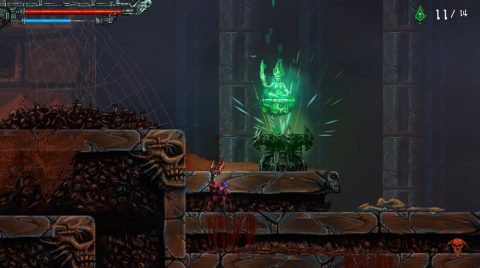
Drop down the collapsing platforms but make sure you don’t land on any spikes as that’s instant death. At the bottom you’ll face a new enemy, the Stone Golem. It will break out of the tomb and attack. Use your heavy weapon to kill it while avoiding the boulders it throws at you.
Head to the right and break the glass jar for the Bishop’s Reach. This “pistol” leaches the life of enemies but if you miss it will leach your own life.
Climb up on the right, picking up the Resurrection Idol along the way. Kill the Skeleton Warriors up the top and drop down the collapsing platform to the next checkpoint.
Checkpoint 2
Kill the Skeleton Warriors and make your way to the right. Run over the collapsing platforms to the other side and take the moving platforms to the first side room to the right. Inside you’ll find Blood Metal. When you pick it up Skeleton Warriors spawn behind you.
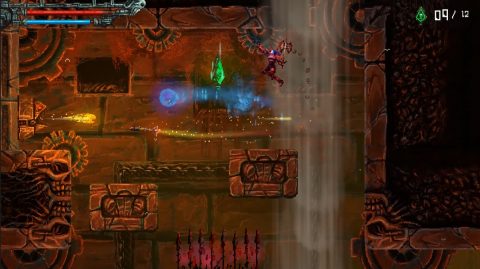
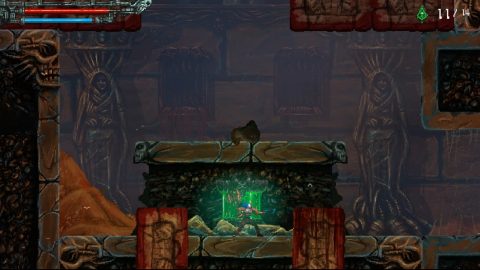
Go back to the moving platforms and enter the next room above to the right. This one has a Resurrection Idol but make sure you don’t stand on the red button in the center or the room will fill with poisonous gas.
Go back to the moving platforms and ride them up to the top for another Resurrection Idol.
Ride the platform around and get off to the left. Jump up the ledges and climb up the ladder while avoiding the fireballs. Jump up the pipes and take out another Stone Golem. Once you’ve killed the Golem get ready for Secret #1. Climb up the ladder on the left and break the blocks. This is the entrance to the secret.
Avoid the red buttons on the floor and grab the Blood Metal. Use the pipes to climb back to the right. Continue to the right for the next checkpoint.
Checkpoint 3
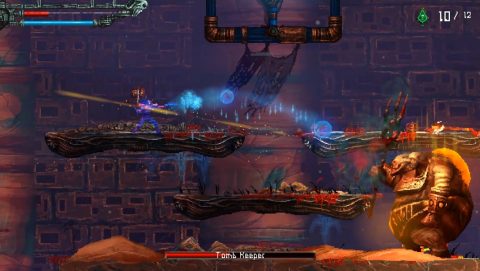
Continue up the moving platforms, watching out for the Pyromancers along the way. Half way across you’ll find a Resurrection Idol. Grab it and continue to the right for a small battle. It ends with a fight against a Tomb Keeper. I find it easiest to wait for them to move and then get in close for melee attacks.
Continue to the right and drop down to the chamber below.
Checkpoint 4
There’s a few different areas to explore here on a few different levels. Go straight to the right for Blood Metal, then take the gear down to the next level.
To the right take the moving platforms to the Blood Metal. Ride them back to the center and go to the left. Jump up the breakable platforms to the top where you’ll find a Resurrection Idol.
Drop down and take the next gear down to the lowest level. At the bottom you’ll find a Resurrection Idol. You’ll need an item to get through to the right so go to the left.
Grab the Unlimited Energy and kill the 2 Stone Golems. The second one will drop some Blood Metal. Continue to the left and break the skull pile for a Heart. A Stone Golem Champ will spawn behind you. Use your heavy weapon to destroy it or get in close to finish him off. He’ll drop a Golem’s Heart. Take this over to the right and you’ll be able to drop down to the next area.
Checkpoint 5
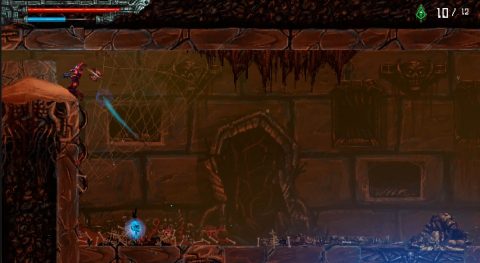
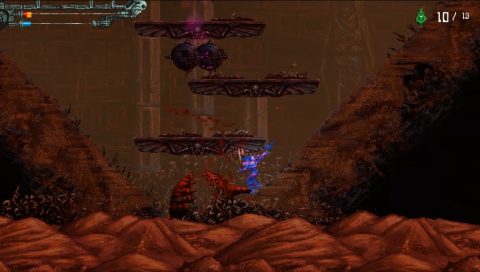
If you run along the sand you’ll be attacked by Sandworms. Instead jump up to the pipes and make your way across to the right.
Slide down the ramp but jump before you land in the center pit. If you get stuck with the Sandworm there’s no way out.
Land on one of the ledges above and make your way up. Jump up and to the right for the Resurrection Idol.
Climb up the ladder and take out the Stone Golem. This is Secret #2 where you’ll find a piece of Blood Metal. Drop back down to the pipes and climb over to the right.
Climb up the ladder and ride the swinging platforms to the right to avoid the Sandworms below. Slide down into a pit and then quickly climb up the left ladder before the walls close in on you.
Ride the gear up, grab the Blood Metal and head to the right for the next checkpoint.
Checkpoint 6
To the right you’ll have to fight the Tomb Hounds and Hound Lords. The Hound Lords can block your attacks so be careful when fighting them.
Jump up and then to the left. Take out the Hound Lords for Blood Metal to the left and a Resurrection Idol above.
Head back to the right and continue to the right to face a Stone Golem. Take it out and climb up the ladder. Ride the platform up and jump up to the platform above with the Pyromancer.
Climb up the ladder and get ready for a fight with a Stone Golem Champ. Use your heavy weapon to kill it quickly and grab the Golem’s Heart. Take it back down and head to the right.
Checkpoint 7
When you enter the next room you’ll be attacked by 2 Tomb Keepers. Try to focus one down at a time.
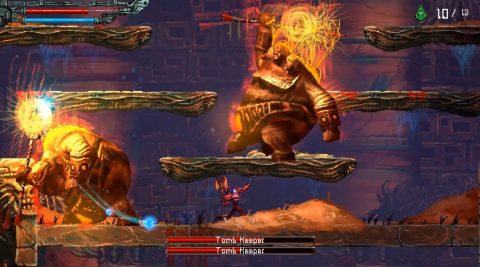
Once both have been killed you can continue to the right. Grab the Resurrection Idol and then drop down.
Drop down past the crushers and break the large stone block to the left. You’ll need to hit it with 2 melee attacks.

This is Secret #3. Ride the stone blocks around while avoiding the obstacles and you’ll be rewarded with Blood Metal and a Resurrection Idol.
Jump back to the previous room and continue to the right. Watch out for the button in the center of the room or you’ll be poisoned.
Run past the crushers and take out the Hound Lord. Jump past the next crusher and then ride the gears up. Half way up you’ll find a Resurrection Idol.
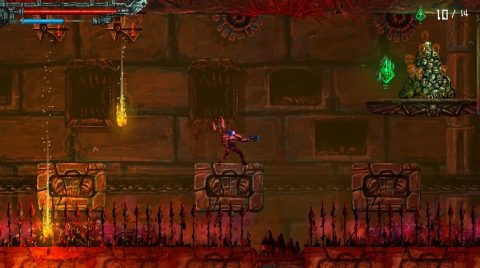
Climb up while avoiding the crushers. Jump onto the top one and up to the pipes. Continue up to the next checkpoint.
Checkpoint 8
Jump onto the crusher as it comes out and take out the Skeleton Warriors. Continue up the cavern as the crushers come out one by one.
At the top you’ll have a small battle with a few of the smaller enemies. Ride the lift up when it appears and head to the right for a Resurrection Idol and checkpoint.
Checkpoint 9
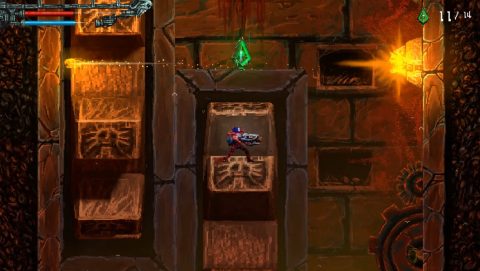
Stand to the left of the checkpoint and you’ll be able to drop down through the ledges. This leads to Secret #4.
Make your way down for The Knife and 2 Blood Metal. Take the portal back to the checkpoint.
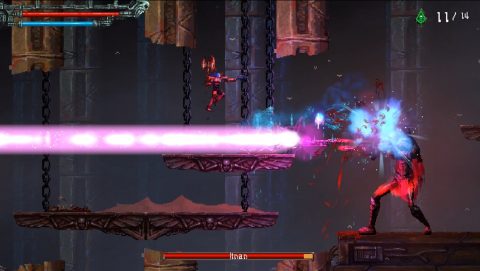
Itnan Boss Fight
Itnan has a large railgun. First he’ll target you with his laser and then shoot. When you see the laser jump to avoid the rail gun and continue firing.
If you try to get close to him he’ll teleport away in a mist. If you get caught in the mist you’ll take damage so try to avoid it.
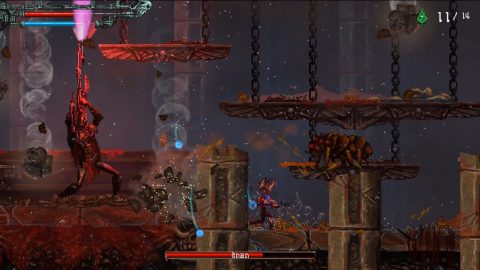
His other main attack is to shoot into the ceiling and cause rocks to fall. This is your chance to get close and hit him with melee attacks. To avoid the rocks stay under one of the pillars in the ceiling.
This is a tough boss fight so it might take multiple attempts. Once you learn is main attacks you should be able to avoid his rail gun attacks pretty consistently. Be patient and wait for good opportunities to hit him in return.
Once he’s been defeated hide behind one of the lower pillars because he will explode and release hundreds of damaging butterflies. After the fight head to the right and jump onto the stone worm to end the level.
Next: Worm Tunnels (Level 7)
Back: Power Chambers (Level 5)