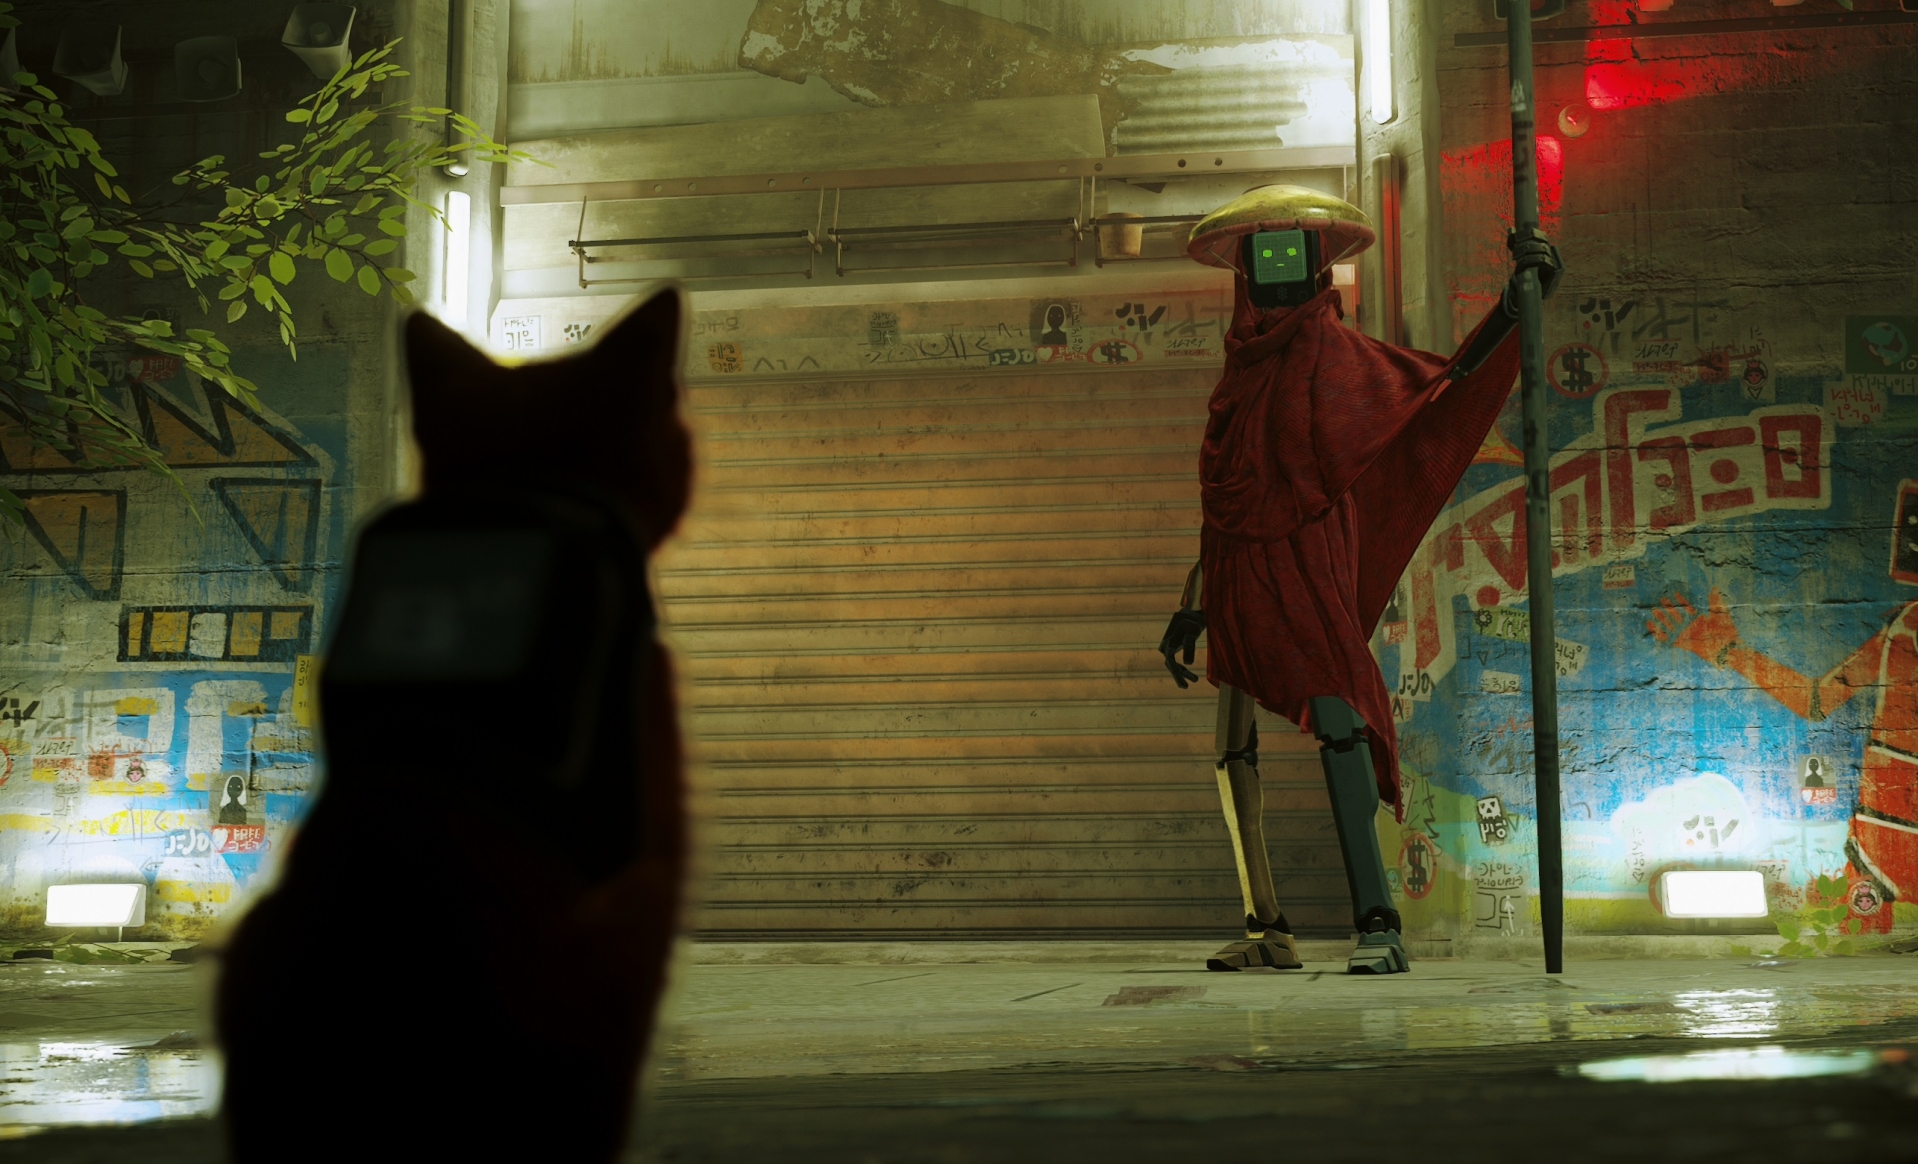
Midtown (Chapter 10)
Back to Stray
Main Objectives
Find Clementine.
Infiltrate Neco Corp and steal the Atomic Battery.
Optional Objectives
Cat Badge: Unlock the Midtown Safe.
Neco Badge: Find the worker’s missing keys.
Police Badge: Examine the dead robot inside the cell.
Find the 7 memories: Memory 19/27 to 25/27.
Walkthrough
Midtown is the largest chapter in the game. You may want to wander around for a while to get your bearings and to figure out where all the shops are located. Once you finish the main objectives you won’t be able to come back to this area.
Once you escape the sewers run along the passage and head up the stairs to the subway. You’ll need to get the train working eventually. When you enter this area you’ll unlock Memory 19/27 automatically. For now head to the other side of the station and go up the escalator into Midtown.
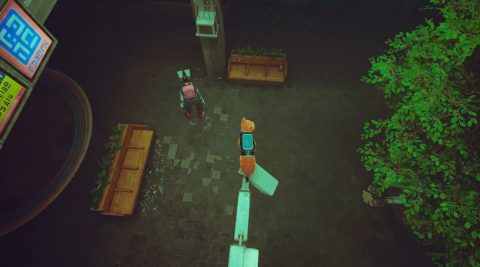
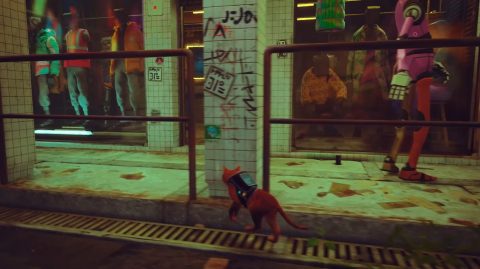
Exploring Midtown
Just across from the escalator is someone’s little hideout. Go inside and take a look at the books for Memory 20/27.
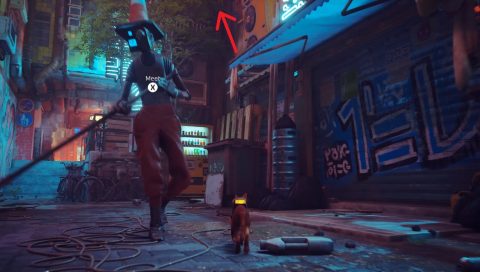
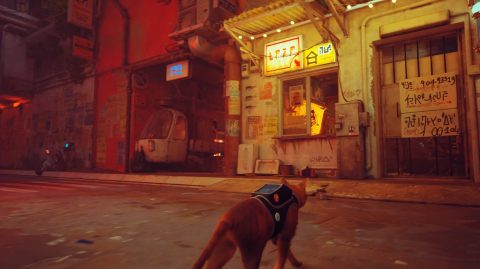
Enter the streets and start taking a look around. There are a number of robots who will give you a clue where to find Clementine. One of them is the robot worker in the alley.
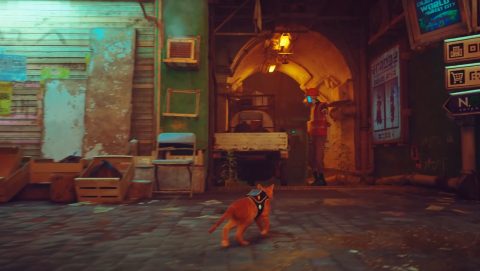
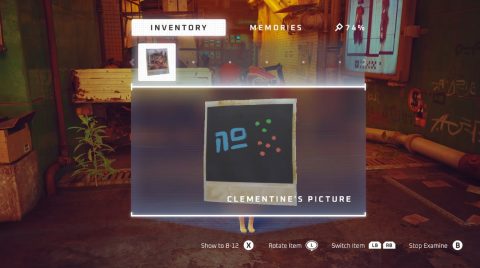
Show him the photo of Clementine and he’ll tell you that the symbols on the back are the street name, floor and door number.
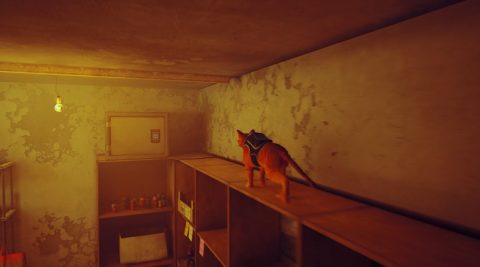
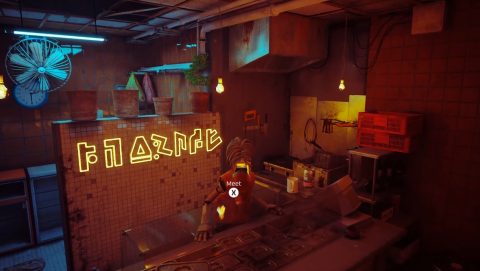
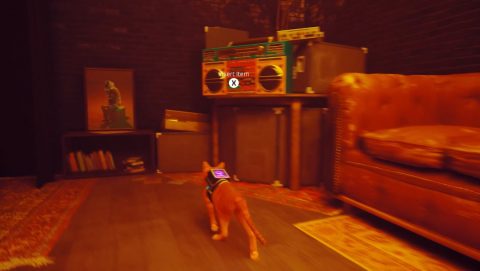
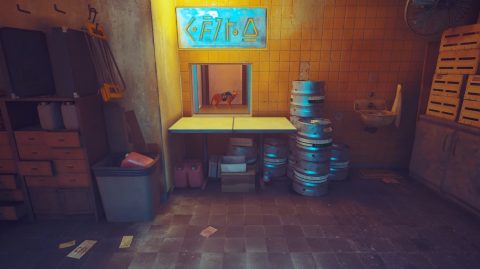
Find the battery shop and jump inside. Read the sign on the back wall. It says “2458:edoc” Read it backwards for Code:8542. Jump up the shelves and use the code 8542 to open the safe. Inside you’ll find the Cat Badge.
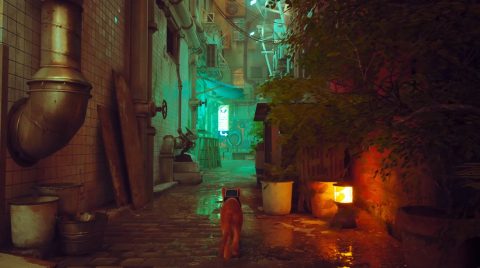
Head back out to the streets and find the street with the robot street sweeper. Jump onto the rubbish bin and rooftops above him. The up to the air-conditioning units and into the back corner for Memory 21/27.
Drop back down to the street level and continue exploring around. Find the dead-end street with the sign of the Outsiders painted on the far wall.
From here you can jump up to the higher levels. Start from the desk in between the pot plants and from there make your way up the side of the buildings until you can jump through the bars of an open window.
Inside the cell you’ll find a dead robot. Examine it for the Police Badge.
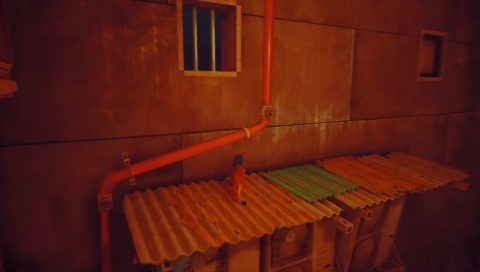
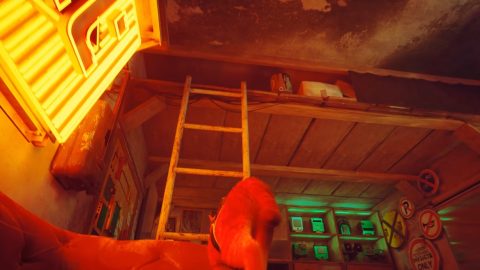
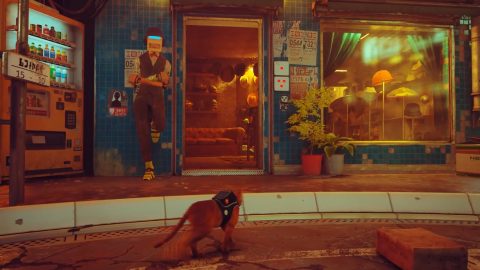
Drop back down to the street and find the barbershop window. This is what it looks like from the front. It’s just across from the robot sleeping on the couch.
Jump onto the couch and then up to the upper platform above the ladder. Knock off the can of paint if you want and then look in the far corner for Memory 22/27.
Find the restaurant with the chairs and tables outside. Jump onto the counter, the middle wall and then into the hole in the roof. Inside you’ll find Memory 23/27.
Residential Area
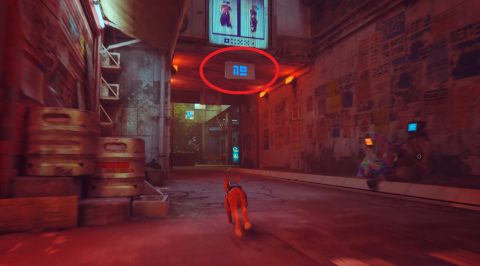
When you’re done exploring the streets find the street to the residential area. It will be the same street name as the symbol on the back of the photo of Clementine.
The three robots on the ground floor look bored. The robot named Simon has some tapes and he’s prepared to give you one if you somehow get rid of the 3 cameras that are spying on them.
Each of the cameras can be broken by jumping onto them and jumping off again. The cameras will fall off and break.
When you go back to the robots they’ll be dancing to music. Speak to Simon and he’ll give you one of his Cassette Tapes.
Head up to the third floor and find door number 5. It’s boarded up but you can jump through the hole in the window.
Speak with Clementine and she’ll tell you about her plan to use the Old Subway. You’ll need to find a way into Neco Corp and steal the Atomic Battery. She gives you a Contact Message that you can show to one of her associates.
The Plan with Blazer
Head back out to the streets and make your way back towards the subway. Down a side street you’ll find the robot Blazer with the gold chain and jacket reading a newspaper.
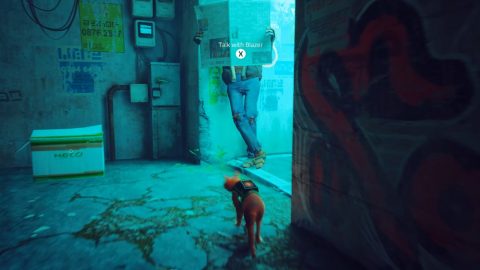
Show him the Contact Note and he’ll agree to get you into Neco Corp. He needs a worker outfit, a vest and helmet, before the plan will work.
Find the shop with the Worker Vest in the front window. If you try to take it the shopkeeper will stop you and keep a close eye on the merchandise.
You’ll need to distract him somehow. Walk around to the back room and use the Cassette Tape in the tape player. This will make a loud noise and the shopkeeper will come running.
Run back to the front of the shop and take the Worker Vest. Then head outside.
Next find the store with the hats and helmets. You’ll spot the Worker Helmet in the front window. If you try to get in the guard at the front will shoo you away.
Talk with the worker by the van and he’ll tell you that he’s waiting for his friend to help him take the boxes inside.
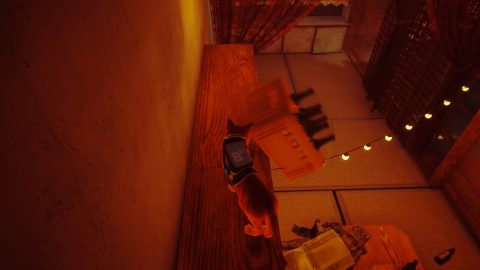
Go to the bar and enter the back room. You’ll find his friend passed out on the desk. Maybe a jolt will wake him up. Climb up to the shelf above him and knock over the box of alcohol.
The worker will stumble back to the hat store. Jump into the box before they pick it up and they’ll take you inside.
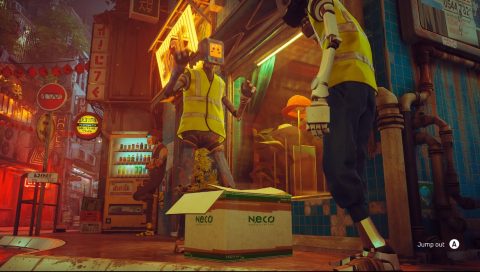
Once inside take the Worker Hat and then either leave by the front door or go out the grate on the side wall to the left.
Bring the Worker Hat and Jacket back to Blazer and he’ll tell you to jump inside the box. He’ll carry you inside the restricted area. Once he puts the box down you’re free to jump back out.
Neco Corp
While you’re here you’ll need to avoid the Sentinels. If you get spotted run away and hide in a box until they lose interest.
Follow the path over the bridge and around to the right and then left. Jump over the barrels in the water and across to the other side. You’ll want to make it through the back wall without being spotted.
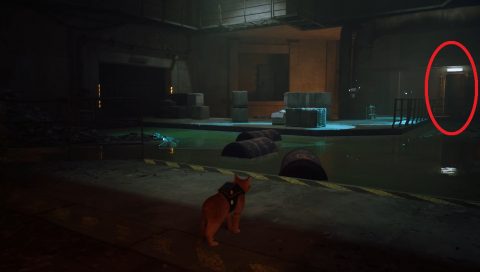
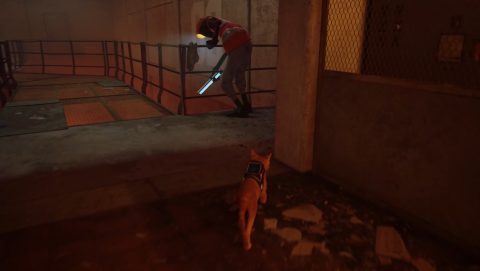
In the next room you’ll spot a worker looking down with a light in his hand. Go up and talk to him to find out he lost his keys and hasn’t been able to go home in a long time.
Go across the bridge and jump over the stacked items to the door on the far side. Pull down the Switch to open the gate to the left but watch out for the Sentinel patrolling this area.
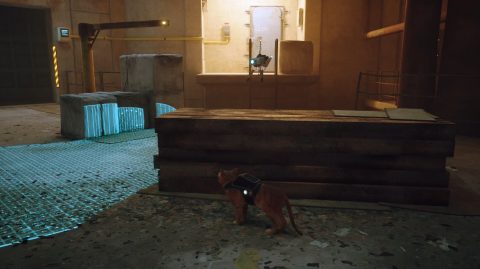
Jump back across and then make your way through the gate to the left that you just opened. The cranes are carrying containers full of items. You’ll need to walk along behind them to avoid being spotted by the Sentinels.

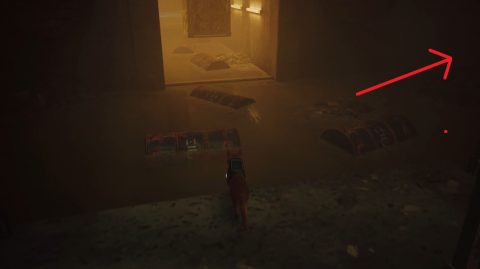
When you get to the barrels in the water jump across them to the left, rather than following the cranes. In the corner you’ll find the Worker’s Keys.
Continue forwards to the next area and you’ll notice a closed gate to the left. Pull the Switch to open the gate leading back to a previous area. From here you can go back and give the Keys to the worker for the Neco Badge.
From here you can either go back to the gate you just opened or continue forwards and go around again by following the path of the cranes.
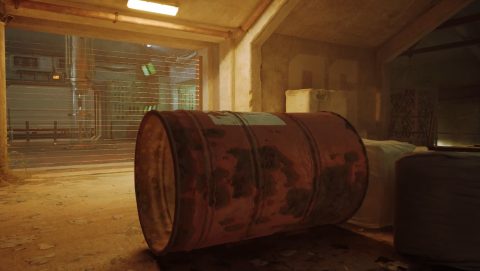
Follow the cranes as far as you can go and you’ll come to a sealed room with a barrel out the front. Hop in the barrel and roll it through the lasers.
The Atomic Battery is sealed inside a container. To open it you’ll need to press down all 3 pressure plates. Bring the little robot to the fenced off room and use it to jump over the fence.
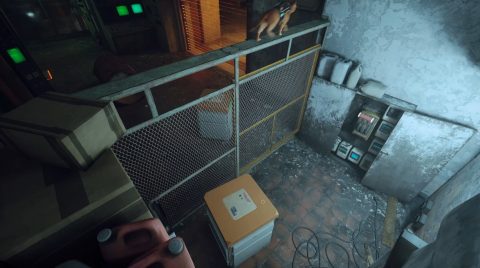
Drop down onto the Switch to open the gate and now you can pull out the second robot. Place the robots on the left and right side of the Atomic Battery. The device will lift up so you can roll the barrel through to the third pressure plate.
The container will open and you’ll be able to steal the Atomic Battery. Head out the back door and ride the bucket down to the streets of Midtown.
Powering the Subway Station
Head to the center square and just to the left is an office lit up with a yellow light. This is the peacekeeper’s office and is only open after you steal the Atomic Battery.
Go inside and examine the picture of the Sentinel on the wall for Memory 24/27. Head back out and sneak your way past the Sentinels back up to Clementine’s apartment.
Examine the wall with notes to find out that she’s gone but has left clues around the apartment. She’s given you 4 symbols showing you where the clues are located.

The lamp on the round table is one of them. The next is on top of the bookshelves. You’ll need to claw at the cloth coming out of one of the drawers to jump up. On top you’ll find a blue rock with some candles and the next clue.
Jump back down and go into the bathroom. Inspect the mannequin for the third clue. The final clue is found under the lava lamp on a top shelf in the kitchen.
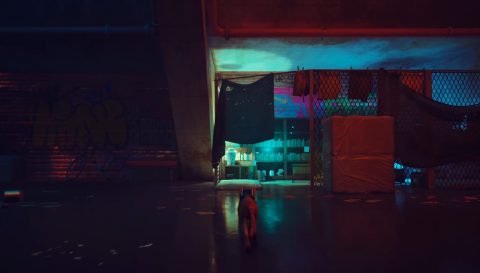
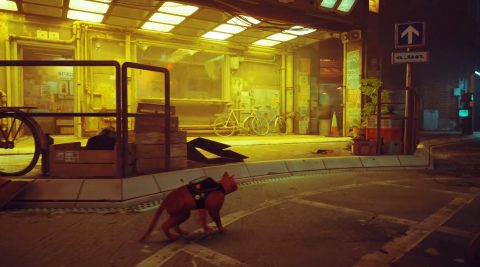
Putting the four clues together you get the message “I’m with Blazer, come to Nightclub.” Sneak back out of the apartment complex and find the Nightclub. There’s a bouncer blocking the front door so you’ll need to find another way in.
Go down the alley on the right side of the club and you’ll notice a robot swinging his legs on top of one of the shades. This is the area where you need to climb up.

Jump onto the bin by the sweeper and then up to the blue shade. Run across the plank to the robot swinging his legs and continue along the pipes to the robot looking out the window. He’ll invite you inside for the party.
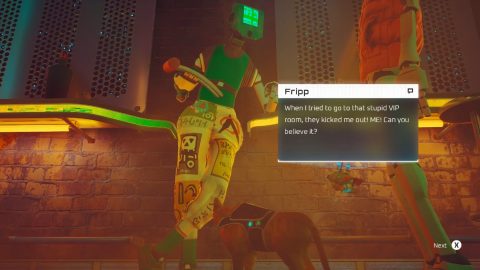
Have a look around the nightclub and talk to Fripp with the green vest. He’s holding a Lever. If you can get him a drink he’ll give you the Lever.
Jump up to the drinks bar and stand on the dumbwaiter. You’ll be taken down to the basement.
Examine the table in the center for the final memory for the chapter, Memory 25/27. Take the dumbwaiter back up to the nightclub. Just to the left you’ll find a yellow drink in a glass. Take it and give it to Fripp.
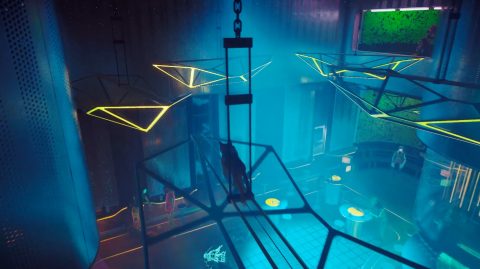
Fripp gives you the Lever. Head over to the robots playing the music and attach the Lever to the device. Pull the lever down to lower the dancing station down. Jump up to the counter and onto the dancing station before the robot flips the switch back up again.

Jump up to the desk on the floor above and notice there are three red buttons. These change the location of the hanging frames. Press the red button on the far right and the red button on the far left. You’ll now be able to jump across the frames to the other side.
Walk up the stairs and you’ll find Clementine. Unfortunately Blazer tricked you and you’ll both be thrown in Jail.
Next: Jail (Chapter 11)
Back: Antvillage (Chapter 9)