The Slums (Chapter 4)
Back to Stray
Main Objectives
Find Momo’s Apartment.
Retrieve the 4 Notebooks.
Find your way onto the Rooftops.
Optional Objectives
Music Badge – Find the 8 pieces of music.
Find 7 Memories. Memory 2/27 through to 8/27.
Find the 4 Energy Drinks.
Walkthrough
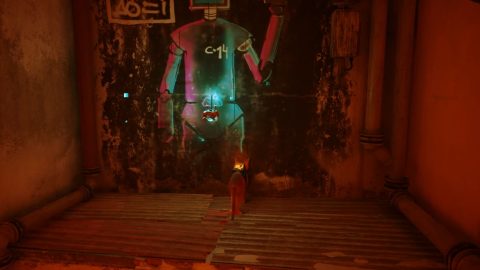
When you drop down and walk towards the robot it will get scared and run off. The alarms will start blaring. Make your way through the alleyways until you find the Guardian.
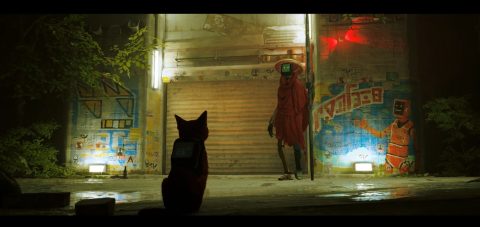
Go up and interact with the Guardian to let him know you’re not really a Zurk. He’ll open the Slums back up again. Talk to the Guardian again and he’ll point out Momo’s apartment. You can go there now or explore the slums first.
The Slums aren’t that large but you might want to do a few laps around so you get the general idea of where everything is located. I’ll assume you have explored the ground area a little bit.
To the left of the Guardian you can find the guitar player. Give him the sheets of music as you find them and he’ll attempt to play them. Once he has all 8 pieces you’ll get the Music Badge.
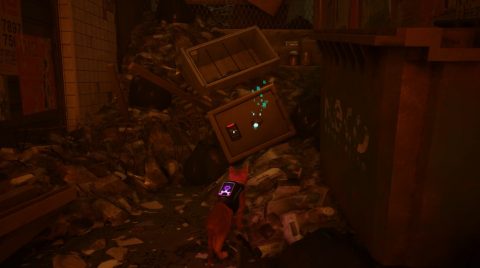
Just past the guitar player around the corner is a safe. Take the Note on it for a clue but it’s written in binary. You’ll need a nerd robot to translate it.
Climb up the alley to the left of the guitar player to find Memory 2/27 by examining the graffiti on the wall.
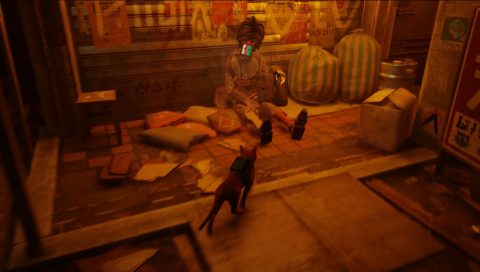
To the right of the Guardian you’ll find the little marketplace run by Azooz. Give him 3 Energy Drinks and he’ll trade them for the picture which unlocks Memory 3/27.
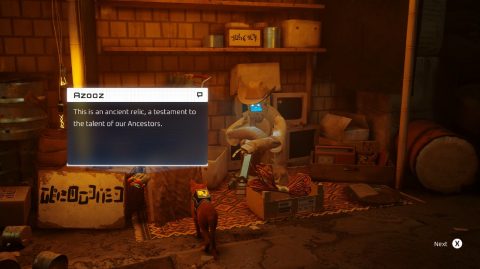
You can also trade 1 Energy Drink for a Music Sheet 4/8 and Super Sprint Detergent for the Electric Cables. Just in front of the Guitar player you’ll spot a working Vending Machine. Interact with it to get an Energy Drink so you can bring it back and exchange it for the Music Sheet.
Elliot’s Programming
Follow the signs to Elliot’s Programming. This is what his front door looks like.
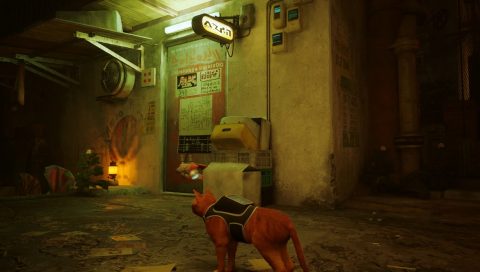
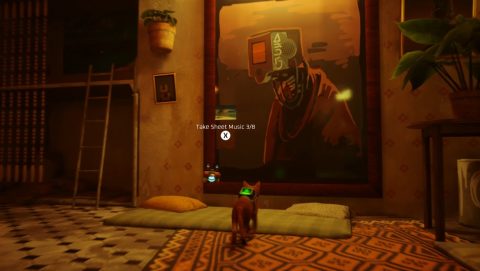
Scratch at the door to be let in. On the picture on the back wall you’ll find Music Sheet 3/8.
Then head upstairs and check out the plants for Memory 4/27. Then talk to Elliot and show him the Mysterious Note that you found on the safe. He’ll translate it and tell you that it means “Dufer Bar”.
Scratch at the curtain by the plant to open it and jump out the window to the ground below. Just in front of you will be the entrance to the bar.
Dufer Bar
Go inside and jump on the front counter. Scratch at the picture on the left side under the “Dufer Bar” sign to find a code.

This is the Digicode for the safe in the alley behind the guitar player. The code is (1 2 8 3). If you go back and open the safe now you’ll find Sheet Music 8/8 inside.
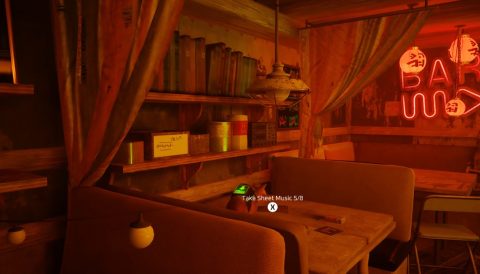
Heading upstairs in the bar you’ll find Sheet Music 5/8 on one of the tables.
Also on the round table by the window you’ll find a bowl of computer parts. Examine it for Memory 5/27.

To get back out either jump out the window or go back down the stairs to the front door.
You may want to take the music sheets back to the guitar player, Murosque, as he takes a while to play each of them.
Continue looking around or follow the signs until you find Grandma Clothing. Later you can give her the Electirc Cables and she’ll knit you a Poncho. For now continue back to where you entered the slum and take the steps up through the now open gate.
To the left you’ll find Memory 6/27 by looking at the graffiti on the wall and also a working vending machine where you can find the second Energy Drink.
Momo’s Apartment
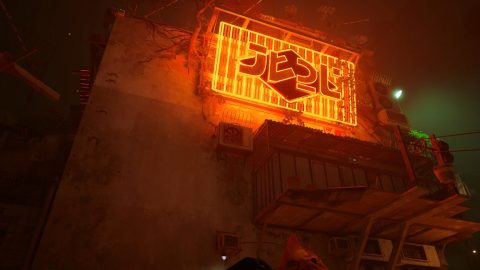
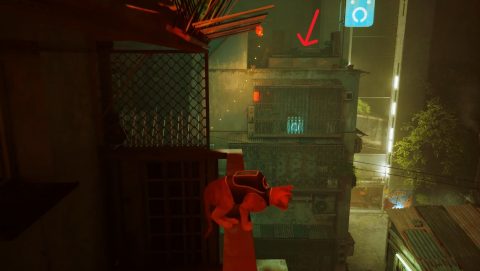
There are many ways to climb up to the rooftops above. Once you get there you’ll spot a number of robots. Momo’s apartment is right under the sign. Climb up the units on the left side to the balcony and then climb in the window.
Talk to Momo and he’ll give you Momo’s Notebook. That’s the first of four that you need to find. Enter the room behind Momo and look at the video game poster on the wall for Memory 7/27.
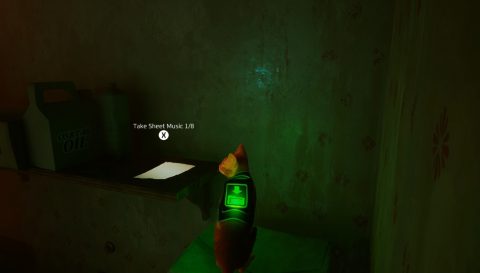
Come back out to the main room and enter the dark room with the white section on the door and the bars on the bottom section. you can walk through the bars. Jump up the boxes to the shelf and you’ll find Music Sheet 1/8.
When you leave by going back out the window B-12 will tell you to look for the blue symbols as a clue to the other Outsiders. Sitting on Momo’s balcony you can see all of them. One to the left, one right ahead and one to the right.
Clementine’s Apartment
Clementine’s apartment is found on the opposite side of the slums to Momo’s. On a table on a nearby balcony you’ll find Music Sheet 2/8.
Inside Clementine’s apartment you can go through into the back room and search the small bookshelf on the right for Music Sheet 6/8.

Go through to the room to the left and jump up to the computer. Next to it you’ll find Clementine’s Notebook. Just two more to find.
Zbaltar’s Apartment
Zbaltar’s apartment is to the left when looking out the balcony from Momo’s apartment. Once you find a way up there you’ll need to unplug the power unit from the fan and drop down from the ceiling above.
Once inside knock over all the boxes until you find Zbaltar’s Notebook. There’s nothing else here so scratch at the curtain to open it and then head out the window.
Take the bucket down to the roof of another building. Climb up the rooftops and you’ll find the final memory hidden behind the sign, Memory 8/27.

Doc’s Apartment
Doc’s apartment is to the right when looking out from Momo’s balcony.
On a ledge below it you’ll find the third vending machine. You might want to stop off and grab the Energy Drink while you’re nearby.
Drop down to grab it and then enter Doc’s apartment. Inside you’ll find a house filled with books. Hunt around until you see a room blocked by books. Jump over them to knock them over.
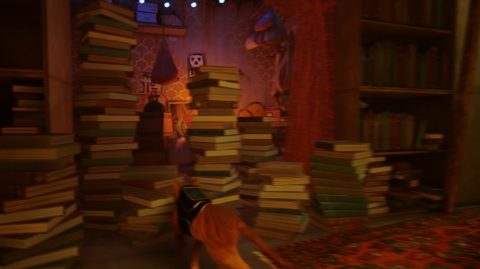
Inside this small room you’ll find the Safe Keys and a clue that the safe is hidden behind stacks of books. To knock over the stacks of books you’ll need to jump on top of them first. Then you can push them out of the way.
The safe can be found on a shelf in one of the side passages with stacks of books lined up in front of it.
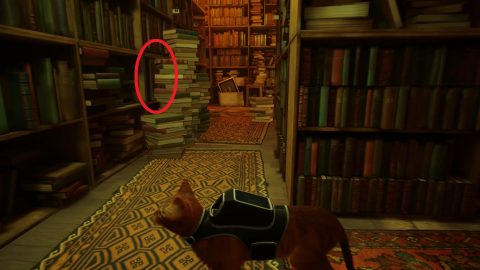
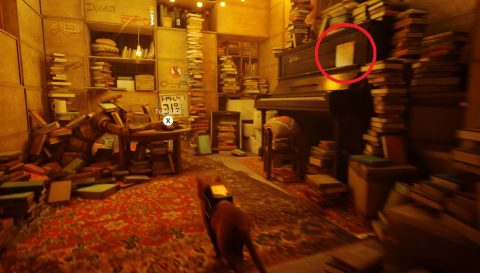
Knock over the books and then use the Safe Key to open the safe. Inside you’ll find Doc’s Notebook. That’s all four of them so you can head back to Momo’s but first find the room with the piano and jump on the keys to find Music Sheet 7/8.
Finishing Up
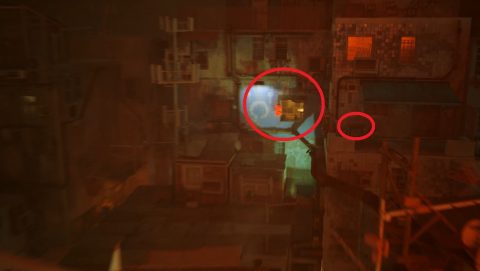
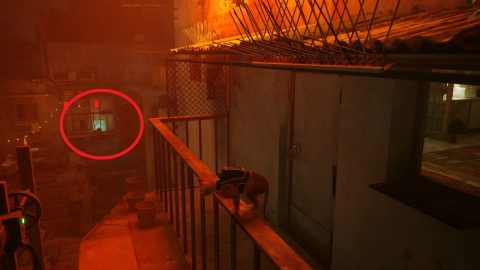
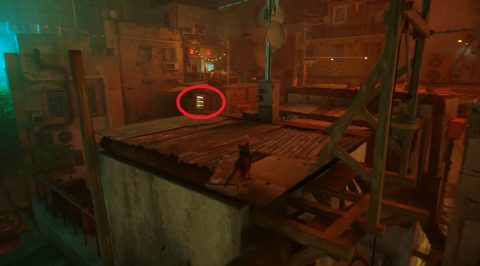
Leave Doc’s apartment and look around for the final collectibles. There’s a vending machine half-way between the rooftops and the alleyways below.
It’s hard to spot so keep looking down over the edge of the buildings. Look down the gap where you find a plank with a barrel on top of it. You’ll see the vending machine.
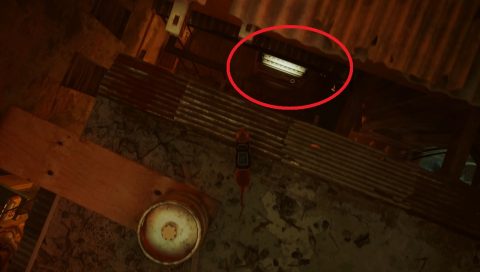
Drop down and get the final Energy Drink. You can head back to the market and trade them in for the picture to unlock one of the memories.
If you don’t find all the collectibles right away don’t worry, we’ll be coming back here a few times before we leave this area for good.
Back to Momo’s
Head back to Momo’s and show him all the Notebooks. He’ll realize there is a way to fix the transceiver an communicate with the other Outsiders. After giving you the Transceiver he’ll open the back door so you can get access to the Rooftops.
Next: Rooftops (Chapter 5)
Back: The Flat (Chapter 3)