Chapter 6: Ruined Castle
Back to Ender Lilies
Ender Lilies Chapter 6 Walkthrough
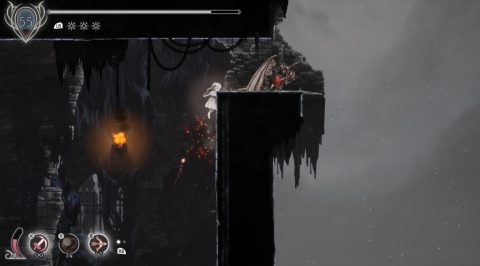
After defeating Ulv, the Mad Knight, you’ll have the ability to wall climb with the Bloody Knight’s Claws. This means there’s lots of areas we can go back to for hidden treasure chests, relics, blight and so on.
Given the amount of backtracking we need to do I’ve added it as a seperate video below. If I miss anything I’ll pick it up before completing the final chapter.
Backtracking
Click on map for a larger version. Thanks to DigitalQ for the map.
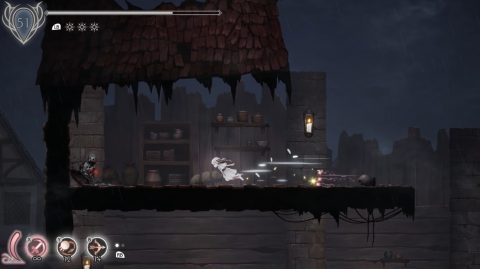
From the Collapsed Shack (B5) take the path up to B6 that led to the Western Merchant boss. Go through the first houses and then onto the roof of the small house. Drop down underneath for a chest. Inside you’ll find the Bloodstained Ribbon.

Return to the Respite and go to the right to B8. When you find the breakable floor climb up the side of the building and smash down through it. Inside you’ll find two lots of Stagnant Blight.
Continue to the right of this area and jump-dash into the room at the end for another 10 Stagnant Blight.
Return to the Respite and Fast Travel to the Bridgehead (B11). Take the higher path to the left to B9. Climb up the ledges and take the higher exit across to the top right to the new area B17.
Break the floor to the right. You’ll need to climb up to the roof of the house above to get the height. Inside you’ll find 30 Stagnant Blight.
Jump back up to the rooftops and make your way back to the left. Along the way you’ll face a mini boss.
Cliffside Hamlet Elder

There should be no issues with this boss. Just dodge behind him when he turns to face you and slash away until he’s defeated. You’ll get the Cliffside Hamlet Elder spirit as a reward.
Climb up on the left side and smash down to break the floor down below for 30 Furious Blight.
Return to the Respite and Fast Travel to the Cathedral Cloister (A6). Run to the left and climb up the wall to take the exit above to A12.
Go to the left and take out the enemies if you want the experience. Drop down and go back to the right to find 30 Furious Blight.

Continue to the left for another mini boss.
Chief Guardian Boss Fight

The Chief Guardian is a large version of the Banshee and has the same attacks. Dodge behind when it throws the spinning blade. Once defeated you’ll get the Chief Guardian spirit as a reward.
Return to the Respite and Fast Travel to the Coven Halls (C14). Take the underwater path to C11. Climb up the wall on the right and dash across to the high ledge with 30 Stagnant Blight.

Return to the Respite and Fast Travel to the Witch’s Hermitage. Go through the door to the left to D10. Make your way to the left and climb up the wall to the door that should now be open. Behind it you’ll find a Priestess’ Wish.

Return to the Respite and go to the right to C12. From here take the upper exit to the right to C18. Inside you’ll find a Finding, Eleine’s Diary 1, an Amulet Fragment and the Spellbound Anklet in chests and Eleine’s Diary 2 up the top.
Return to the Respite and Fast Travel to the Bottom of the Well. Drop down to D2 and make your way all the way to the right. Climb the wall and jump back to the ledge for 30 Stagnant Blight.
Return to the Respite and Fast Travel to the Ossuary. Drop down on the left and climb straight back up the wall on the right to the Ossuary but underneath. You’ll find 30 Furious Blight.
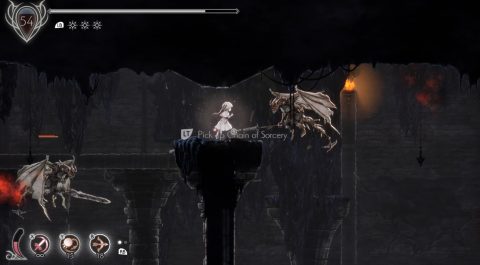
Return to the Respite and Fast Travel to Bastion Gates. Climb up the castle wall on the right to E14. Keep climbing up to the Dragons and the climb up the pillar on the right. Break the boxes to find a Chain of Sorcery.
Go back to the left and keep climbing up the outer wall to E19 where you’ll find 30 Stagnant Blight.
Return to the Respite and Fast Travel to the Courtyard. Climb up the wall on the left for the Amulet Fragment.
Climb up the wall on the right to E6. Just watch for the Dragon waiting for you above! Climb up the right wall for 30 Stagnant Blight.
Return to the Respite and Fast Travel to the Second Spire Chamber. Go left and then down the lift. Go right and climb over the outer wall. Drop down on the right side to E8. You’ll land on a ledge with 30 Furious Blight.
Return to the Respite and Fast Travel to the Mourning Hall at the top of the Spire. Drop down a level and climb up the wall on the right for 30 Furious Blight.
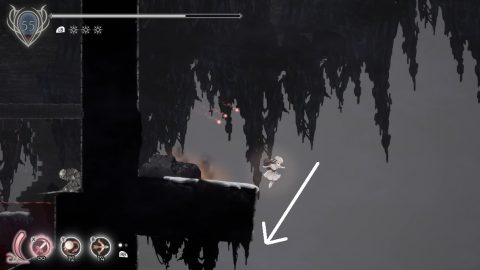
Return to the Respite and Fast Travel to the Monument of the Wind. Go right twice through E12 and E11, then up to E16. Climb up the outside wall on the right. You’ll need to go a long way up until you find a ledge with a barrel. Break it for a Chain of Sorcery.
Return to the Respite and climb up to under the bridge at E18. Climb up the wall next to the sloped pillar and dash across to the Chest. Inside you’ll find the Amulet Gem.

Ruined Castle

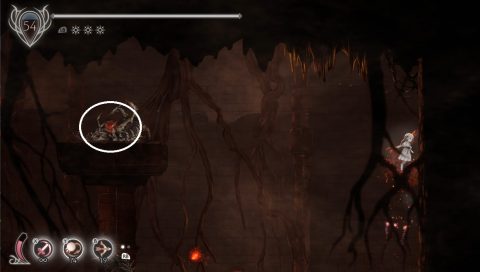
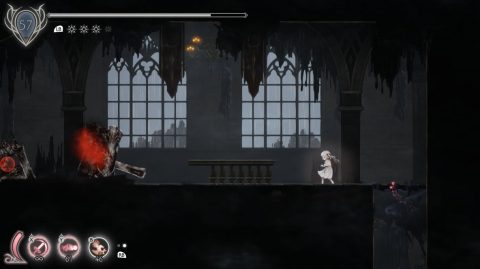
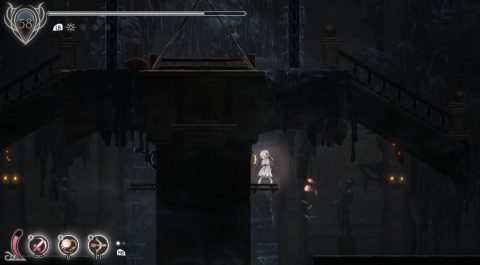
Fast Travel to the Bridgehead and make your way to the right. Climb over the tower at B13 and down the other side. Continue to the right to F1 where you’ll find the mini-boss, Castle Town Maiden.
Castle Town Maiden Boss Fight
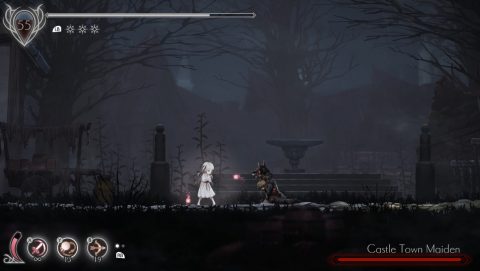
This doggy will just sit down in front of you and not want to fight at all. You should be able to defeat her in a few strikes. Afterwards you’ll get the Castle Town Maiden Spirit.
Head up the ramp to the right and jump back up to the platform on the left. Take out the enemies and grab the Priestess’ Doll from the ground. This increases Prayer uses by one and takes three slots.
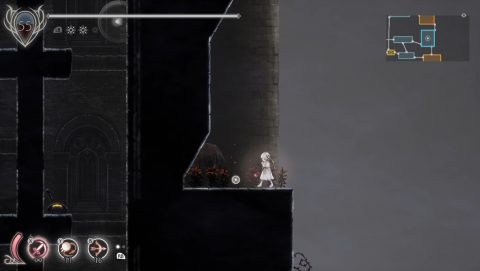
Make your way to F2 and you’ll get the notification that you’ve reached the Ruined Castle. Take the higher path to the right and break the blighted floor to open up the shortcut.
Drop down and go down to the Respite at F3 where you’ll find a Report from a Verboten Mage. Return to F2 and take the door at the top to F4.
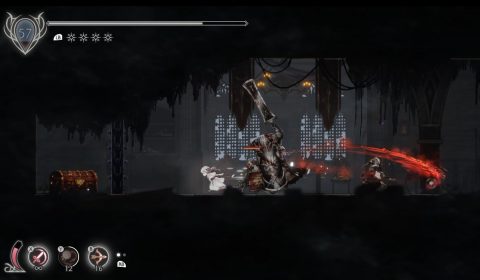
Head across to the right to F5. There are a lot of Knights here and in some rooms you’ll be locked in with them.
Pull the lever to the bottom right to open the hatch with the lift. Ride the lift up to the middle floor. Go to the right and climb up the right wall for a secret area with Stagnant Blight.
Drop back down and enter through the door to F6 with a Respite and the Proof of Founding.
Leave and climb up to the top level of F5. Go all the way to the left, open up the shortcut and jump the gap for a chest with the Royal Aegis Crown.
Go back and enter through the door to F7. Go to the right first and make your way up. Call the lift by pulling the lever and ride it back up. Get off on the right and jump up the platforms. On the level above you’ll find the King of the First Age’s Diary 2 on the bookshelf.
Now head to the left and use the small ledges to jump over the large gap. On the other side you’ll find the King of the First Age’s Diary 1 on another bookshelf. You can drop down off the edge on the right to find 30 Stagnant Blight on a ledge. You may want to go left first and open up the shortcut so you can get back easily.
Take the exit to the left to F12. Go all the way to the right and pull the Lever to open the first set of door above.
Drop down to the room below, F8. In the center of the room you’ll find an Amulet Fragment.
Drop down to F4. From here go to the left to F9. Head all the way to the left to find 10 Stagnant Blight in the corner. Climb up the wall for another 10 Stagnant Blight. Climb up the wall again for a small room with the third lot of Stagnant Blight.
Drop down to the stairs below and go to the right. You’ll get trapped in a room with some Knights. Take them out and the doors will open so you can grab the Blightwreathed Blade.
Climb up the wall to an alcove above for a Chain of Sorcery.
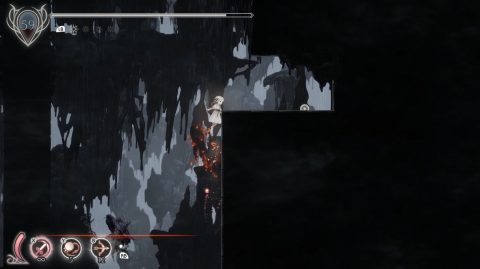
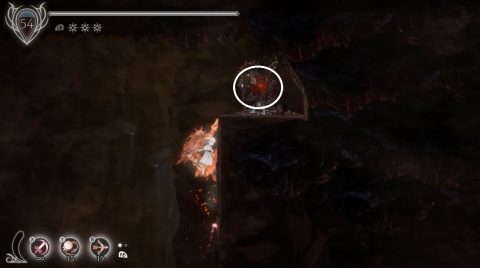
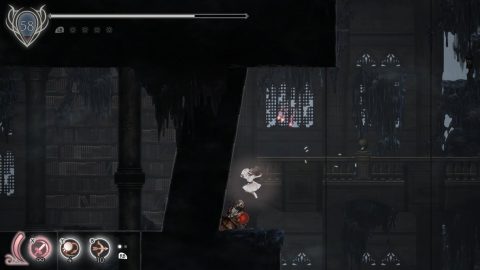
Now jump across the gap to the left and take the stairs up to F10. At the top of this room you’ll find 30 Furious Blight. You’ll need to jump around a broken pillar hanging down from the roof with a little jump-dash-jump to land on the other side of the pillar. Then jump across to the Blight.
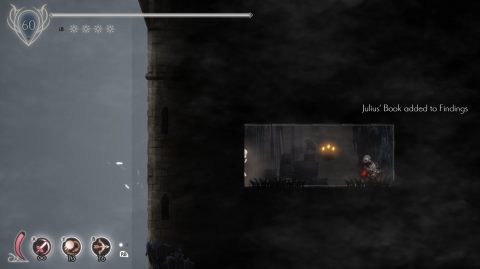
Drop down, take out the enemies to unlock the doors and go left to the Respite at F11. To the left you’ll find Julius’ Book. Drop off the edge and jump into a secret room below for 30 Stagnant Blight.
Drop off the edge and you’ll land on a flag pole below where you’ll find the Decayed Crown. Jump back up the wall to the Respite.
Go back to the right to F10, and right again to F12. Go to the right side and pull the Lever to open the second set of doors, then take the lift to F13 above.
Go right to F14 and make your way up to F15 above which is a Respite. You’ll find the Preistess’ Castle Memo and a Priestess’ Wish here as well.
Drop down to F14 and back to F13. This time head to the left to F16. You’ll need to get through a series of small battles as you’re locked in various rooms.
Make your way around and up. About half way through this area you’ll find 30 Stagnant Blight. Continue along until you can take the exit to the room above to F17.
There’s nothing here for now so just take the exit to the right to the Respite before the final boss fight for this chapter. Next to the respite you’ll find King’s Note 1. Head right for the boss.
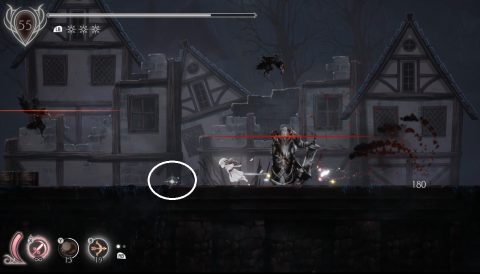
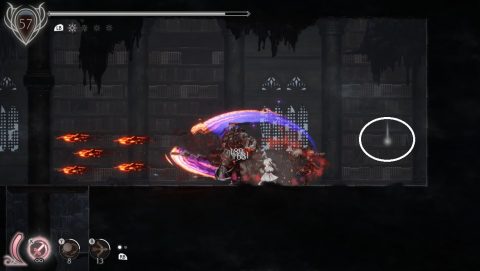
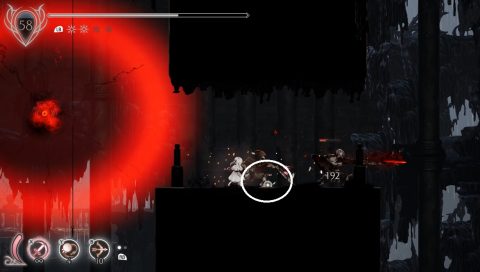
Knight Captain Julius Boss Fight
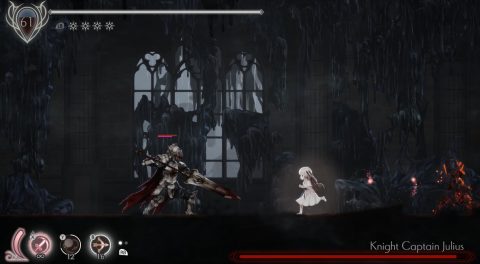
Julius has a charge attack and a power thrust. Both are quick attacks but if you can see them coming you can dodge behind him for some counter attacks.
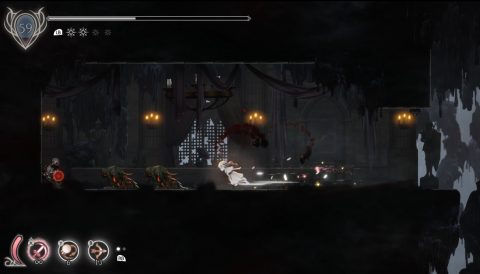
In the second phase Julius has a longer and more powerful charge attack. Once again you can just dodge behind to continue attacking. If you get too close Julius will do a swirl attack and knock you back.
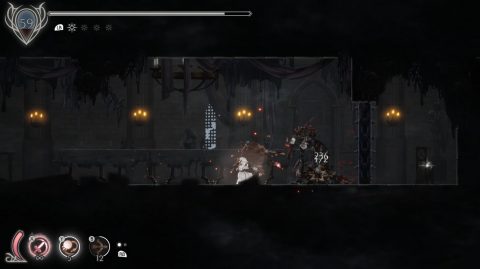
In the third and final phase Julius shoots out a beam of energy. You can’t block or dodge it, you’ll need to dodge past him before the attack begins. He takes a couple of seconds to charge it up.
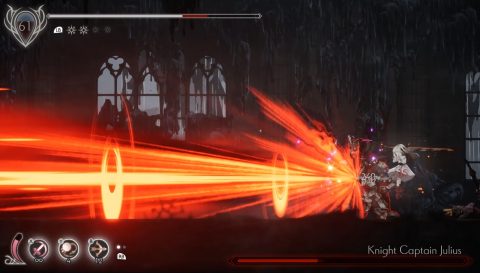
Once Knight Captain Julius has been defeated you’ll get the Knight Captain Julius spirit and also the Dash action so you can ride along with Julius at a faster speed and the Piercing Spectral Lance to break through blighted walls.
Next: Chapter 7: The Stockade
Back: Chapter 5: Twin Spires