Chapter 3: Witch’s Thicket
Back to Ender Lilies
Ender Lilies Chapter 3 Walkthrough
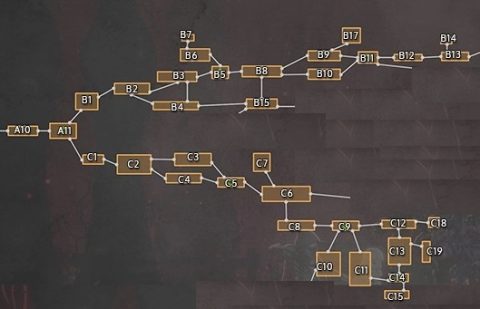
After defeating Gerrod at B12 head to the right for the Hamlet Scrawl Findings, and then past the house with the hole in it for the Hamlet Request 2.
Enter into the house to B14 and smash through the breakable floor to the basement and pick up the Priestess’ Wish to increase the power of your Prayers.
Backtracking
Make your way back to B8 and smash through the breakable floor for the Furious Blight.
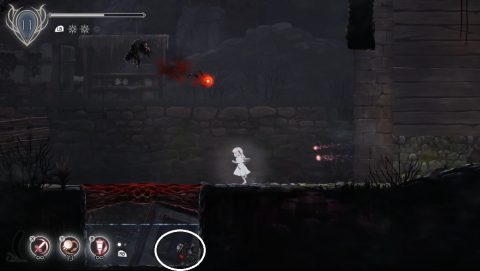
In the center of town is a breakable floor leading down to access to the Catacombs but we’ll get to that later. For now continue past the Respite to B3.
Climb up the inside of the house and smash down to break the floor below. This takes you down to B4.
First go to the left but watch out for the Exploding Goblin. Just below you’ll find a Chain of Sorcery in a box.
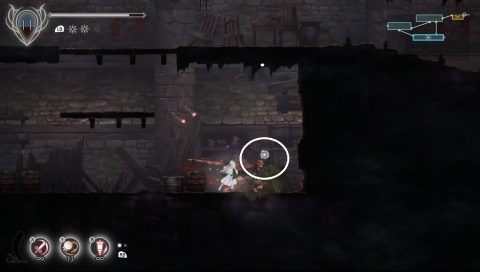
Further to the left kill the monster in the box and then pull the lever to open the shortcut. You can’t reach the chest above just yet so make your way all the way to the right.
Drop down, go to the left, drop down again, avoid the Exploding Goblins and grab the Stagnant Blight on the right.
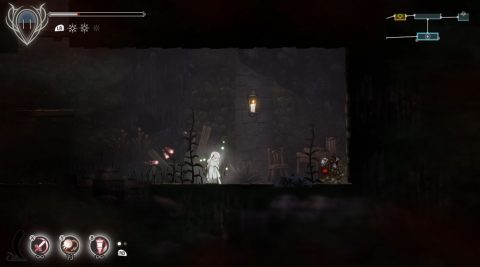
The rest of this room is blocked off for now so go back to B3. Run over the bridge between houses and break through the floor under the roof. Take out the enemies and grab the Amulet Fragment and Blight on the left side.
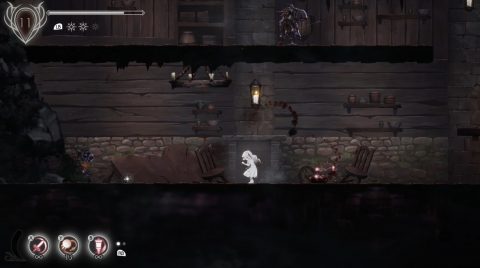
That’s all for here so return to the last Respite and Fast Travel to the Crossroads (A11). Go to the left to A10. Smash through the breakable floor by smashing down from the ledge above and pick up the Chain of Sorcery.
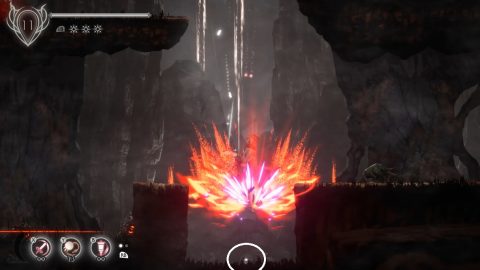
From the Crossroads drop down and take the lower exit to C1, the start of the Witch’s Thicket.
Witch’s Thicket
Travel through C1, taking out the Witches if you want the extra XP. There’s nothing else here to find. In C2 you can drop down and find Stagnant Blight to the lower left, just past the Witches.
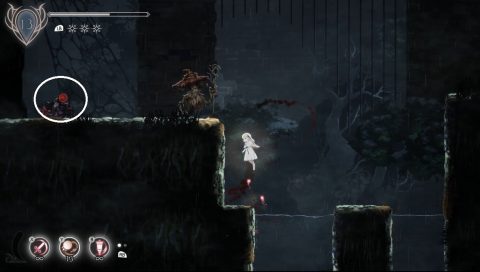
Take the top exit to C3 because the lower exit doesn’t have anything we can grab at the moment. C3 is a fairly large room. Make your way over to the lower right to find an Amulet Fragment in a Jar.
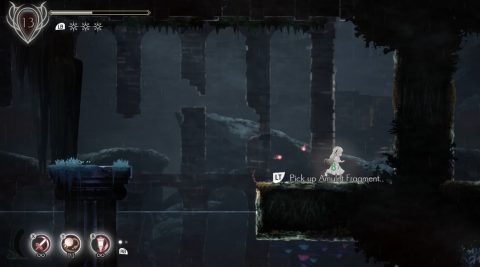
From here head up to the level above and jump up to the left. Under a breakable floor you’ll find Stagnant Blight.
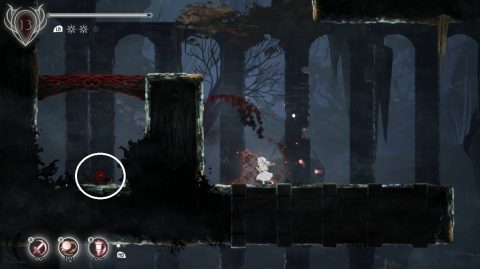
Jump up to the right and then up to the left. Follow the top ledge to the left and drop down. You’ll find the Relic, Rusted Blue Ornament below the top ledge.
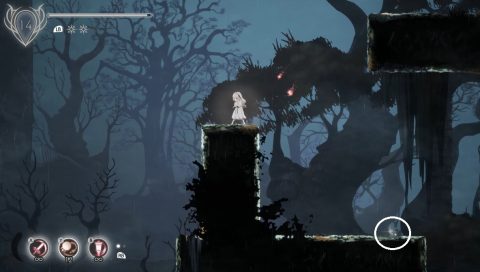
That should clear this room so take the exit to the right to the Respite at C5. You’ll also find the Coven Handbook here.
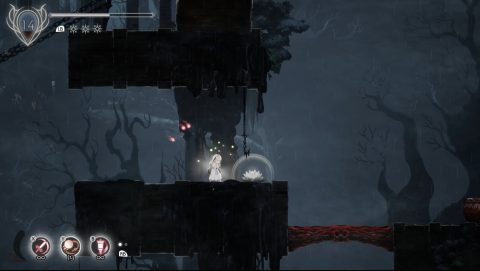
Take the exit to the right to C6 and immediately head up to C7. Jump up and to the left and keep making your way up. Run up the chain and drop down and jump to the right. Smash through the breakable floor by the White Flower for Furious Blight.
Head back and continue climbing up for the boss fight.
Fungal Sorcerer Boss Fight
The Fungal Sorcerer isn’t too different from the regular witches. He has a fireball attack and a poison mist spray.

Use your Spirit skills and regular attacks to take him out quickly. Then purify him for the Fungal Sorcerer Spirit. Just to the right of the boss you’ll find the Lover’s Letter.
Head back down to C6. This time instead of going up for the boss continue to the right. Drop down and go to the bottom right of the room for Stagnant Blight.
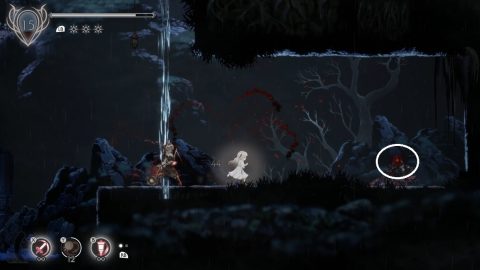
Now go back to the left, climb up the chains and jump across the platforms to the left. You’ll find an Amulet Fragment in a jar.

Continue to the left and open the door from this side by breaking the teal lamp.
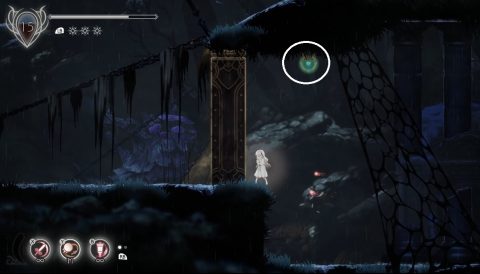
Drop down to C8. In this room you can ride the waterfalls up if you fall down too far. You’ll want to jump across to the left half way down to land on a ledge for Furious Blight.

Go all the way to the bottom right but don’t leave the room. Instead go up and jump up and to the left from a pillar to land on a ledge with a chest protected by a Tree Root Creature.

Inside the chest you’ll find the Manisa’s Ring relic. It slightly increases spirit uses when equipped. Take the exit to the bottom right to C9 where you’ll find a Respite and Finding, Sorcerer’s Notes.
From the Respite you can take either of the doors to the left or right. The door to the left doesn’t have anything for us yet so enter through the door on the right to C11.
Head to the left and drop down the lift. Half way down there’s a little indent in the wall step into it for a secret alcove with an Amulet Fragment.
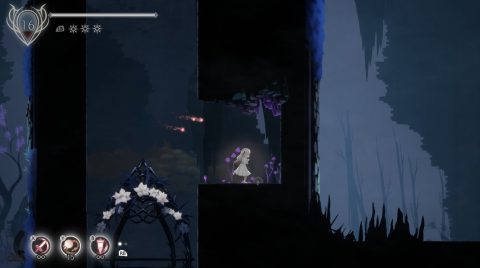
Drop down to the bottom and head past the Tree Root Creatures to the right. Explore the lower path to the right and take another lift down for a mini boss.
Floral Sorceress Boss Fight

The Floral Sorceress has a 3 fireball attack and a flame whirlwind. Dodge past them and take her out. Once defeated you’ll get the Floral Sorceress Spirit to summon a flame whirlwind attack.
Take the lift up and continue on the lower path to the right. On the level above the Hidden Pot Monster you’ll find a Chain of Sorcery in a large jar.
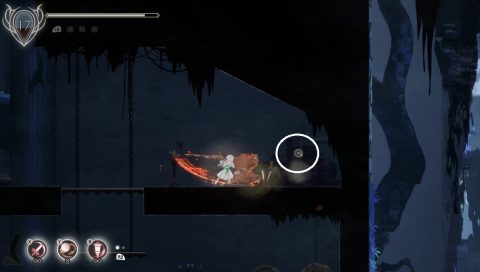
That’s all in this room for now so respawn at the Respite or climb back up to C9. Take the path to the right to C12. The water here is dangerous so make sure you stay on the ledges.
Make your way across the ledges and jump to the lower ledge with the Tree Witch above. Grab the Amulet Fragment from the jar.

Do a tricky double-jump to get up to the ledge above and continue up past the locked door. Climb as high as you can and then jump across the gap to the right. Drop down to the other side of the locked door and break the Teal Lamp to open the door for a shortcut.
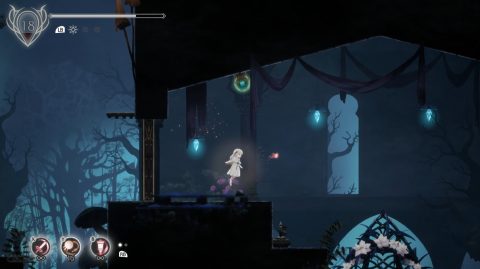
The lift leads down to C13 but if you want all the loot jump across the platforms to the right for the Stagnant Blight. Then take the lift down to C13.
The hatch to the right is closed so the only way forwards is to the left. Drop down to the water below and then make your way back to the right. The water here is clean. Just watch out for the Lizard Men.
Swim up the waterfall and break the Teal Lamp to open the hatch for a shortcut.
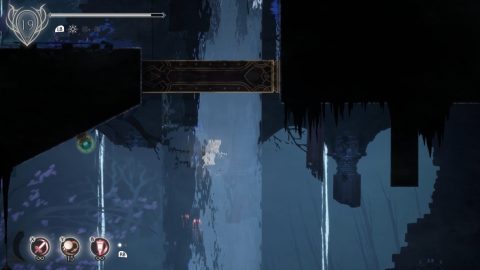
Drop down and take the path to the mid right. Behind the Tree Root Creature and Witch you’ll find Stagnant Blight.
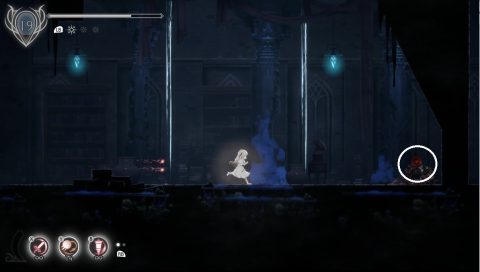
The lower door to the right is also locked. So follow the waterfall all the way down to the locked hatch and go to the left. Break the Teal Lamp in the alcove to open the door to the right.
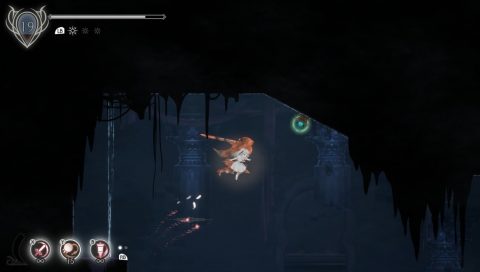
Go through the door on the right, take out the enemies and drop down the waterfall. Head down the steps to the left, up the next waterfall and break the Teal Lamp to open the hatch.
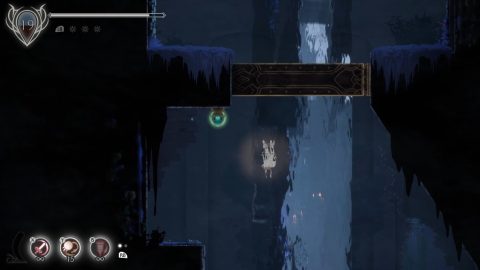
Drop down the waterfall to C14 and you’ll find a place of Respite before the boss fight. There’s also a Finding, The Parish Way 3, to the left.
Head to the right past the waterfall and take the lift down to C15.
Dark Witch Eleine Boss Fight

For Phase 1 Dark Witch Eleine will either throw out a fast fireball or a series of slower and small fireballs. Either way dodge under them and hit her back.
For Phase 2 she will begin throwing out 2 fast fireballs, one after the other. Dodge past both of them to get in an attack. She still has her series of small fireballs, as well as a whirlwind fire attack that takes up the entire height of the screen.

For Phase 3 Dark Witch Eleine will transform into more of a spider type creature. She has the fast fireball attacks, releases slow fireballs from the top of the screen and the same chain of slow fireballs. After releasing the fast or chain fireballs she’ll teleport above you and strike down.

Make sure you’re always ready to dodge after these attacks. Then turn around and get in a strike of your own. Once she’s been defeated you’ll gain the Dark Witch Eleine Spirit for the Fireball ranged attack. You’ll also get the Witch’s Bubble so you can swim, attack and summon spirits in the water.
Next: Chapter 4: The Catacombs
Back: Chapter 2: Cliffside Hamlet


