Chapter 7: The Stockade
Back to Ender Lilies
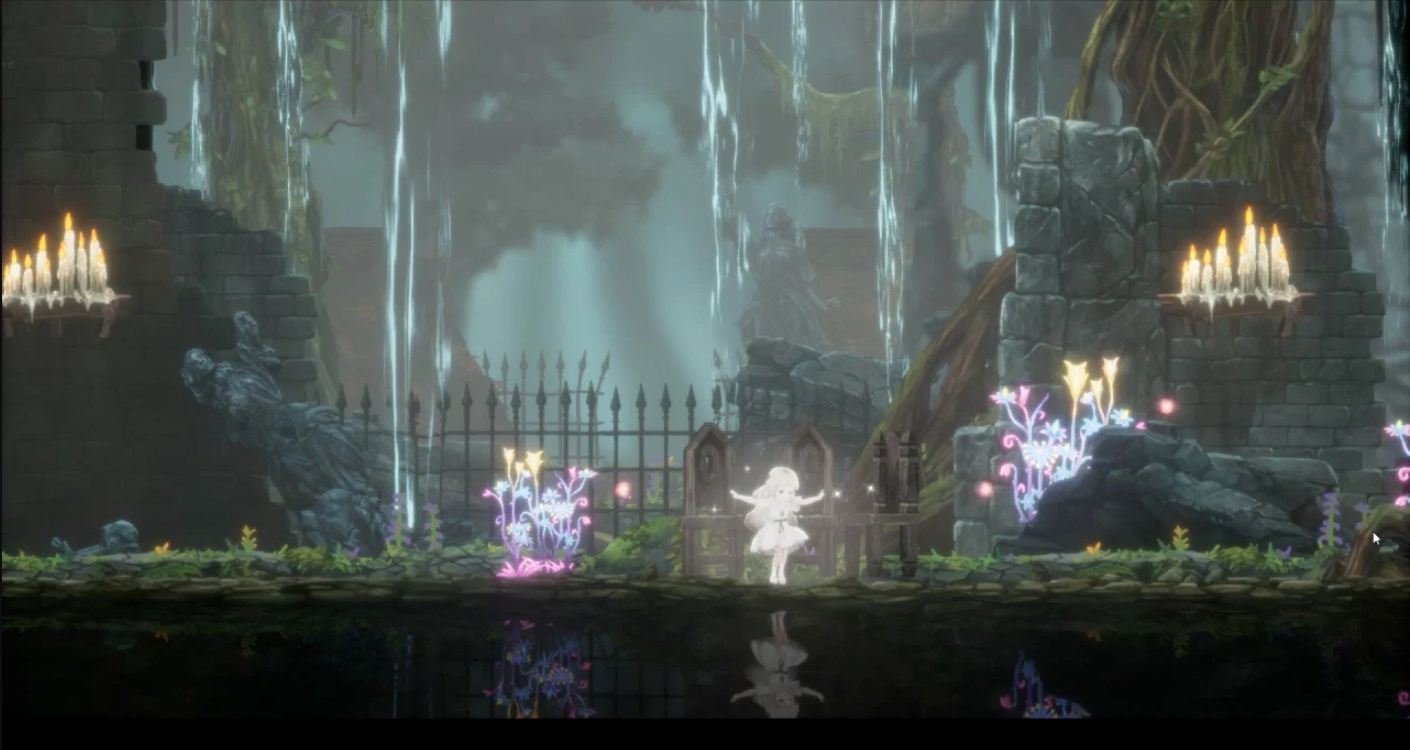
Ender Lilies Chapter 7 Walkthrough
After defeating Knight Captain Julius in the previous chapter you’ll have the ability to Dash with Julius, giving you faster movement. You’ll still need to dodge past enemies.
You’ll also have the Piercing ability to break through blighted walls. Some walls are thicker and will need a longer run up. You’ll see Julius flash once to indicate the pierce ability is ready to break through thin walls, then flash again to indicate you can break through thick walls.
Backtracking
Click on map for full size image
We’ll clear out this area first so head to the left to F17 and break through the wall for an Amulet Fragment.
Continue to the left and break through the thicker wall. You’ll need to use all the run up you can get to break through it. Behind it you’ll find the King’s Note 2 and Eldred’s Ring in a chest.
Return to the Respite and Fast Travel to to the Tower Alcove (F15). Drop down to F14 and head across to the right. Under the broken stairs is a secret entrance to the tower. You’ll need to break through the wall on the right side.
Drop down on the other side for 100 Stagnant Blight. Return to the Respite and Fast Travel to the Maelstrom Ramparts. Drop down on the left to F1. Break through the wall to the lower right for 100 Furious Blight. There’s another wall on the left side of this area with 100 Stagnant Blight.
Return to the Respite and Fast Travel to the Cathedral Cloister, A6, back at the start of the game.
Climb up to A12 and you’ll see a thick wall to the right. You can’t break it yet. Instead head to the left and climb up into the secret corridor above. From the corridor start your dash. When you drop down pierce through the wall.
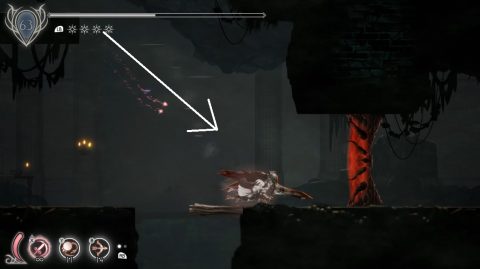
On the other side you’ll find the Vibrant Plume to increase the height of your jump when equipped. Return to the Respite and Fast Travel to the Bastion Gates, the entrance to the Twin Spires at E2.
From here go right to E4 and take the lift up. At the top you’ll see a breakable wall on your left. Use all the space you have for a run up and break through the wall for 100 Stagnant Blight.
Return to the Respite and Fast Travel to E7, Courtyard, and from her go to the right, E8. On the right side of the room is a thick breakable wall. Break through for the Snowdrop Bracelet.
Return to the Respite and Fast Travel to the Monument of the Wind, E13. From here go left to E14 and take the higher exit back to the right to E15.
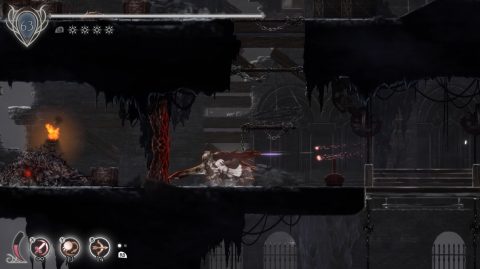
Drop down and take out the Axe Throwers. Ride the platform across and break through the wall on the other side for 100 Stagnant Blight.
Drop down to E12 and double-jump dash across to the ledge on the left. Break through the wall for a boss fight.
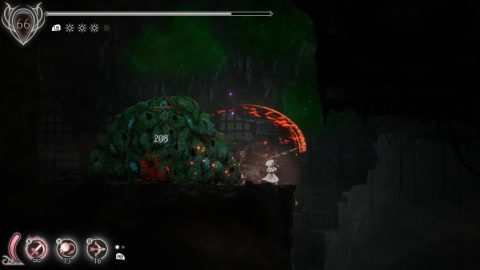
Forsaken Fellwyrm Boss Fight
The Fellwyrm can breathe out a toxic mist covering half of the room. Get out of it quickly and either use ranged attacks or wait for it to come back into range.
The Fellwyrm can also shoot out a couple of slow fireballs and perform a swooping attack. Overall it’s not too difficult to defeat. Purify it for the Forsaken Fellwyrm spirit and then return to the Respite.
Path to the Stockade
Fast Travel to C5, the Dryad Lake. Take the exit to the right to C6. Take a big jump and dash from the end ledge over the gap to the other side. Climb up the cliff on the right side of the water for 30 Stagnant Blight.
Take the underwater exit to C17. Swim through the mines by dashing past them. They do a ton of damage if you get hit by them.
About half way through there’s a secret on the right wall. You’ll notice a small indent. Go inside for 10 Stagnant Blight.
Continue through the underwater corridor. As you near the end you’ll find another secret, this time on the left wall. Inside you’ll find an Amulet Fragment.
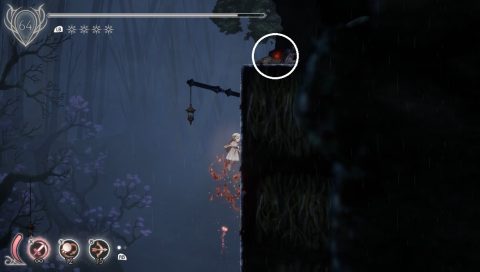
Take the exit to H1 which is a Respite and the beginning of the Stockade. To the right of it is the Executioner’s Vow.
The Stockade
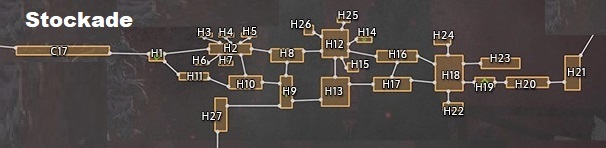
There are two paths from the Respite, to H2 and H11. There’s only some Blight at H11 and we can grab it more easily from the other side so take the higher path to H2.
At H2 there are a number of doors leading to small rooms. To the top left is a breakable wall. Break through it for 100 Stagnant Blight. On the upper and lower floors you’ll find 10 Furious Blight in H3, the Forbidden Text Scrap in H6, a Chain of Sorcery in H7 and a boss in H5.
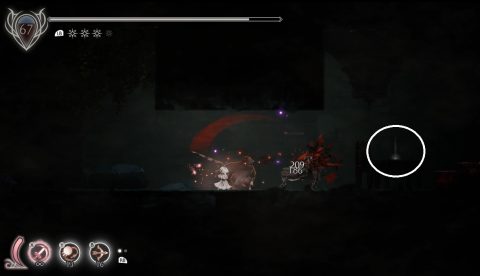
Secret Experiment Boss Fight
This boss is one of those jar creatures. If you get too close it can let out a scream for a area of effect attack.
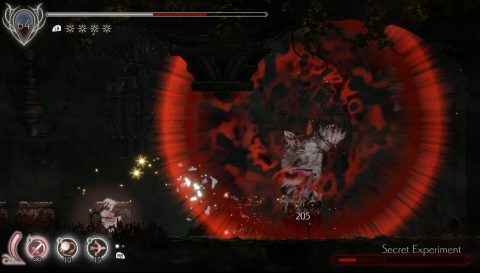
Wait for it to finish and get up close to dodge behind it. It’s invincible when it hides in its jar. Once you’ve defeated it you’ll get the Hidden Test Subject spirit.
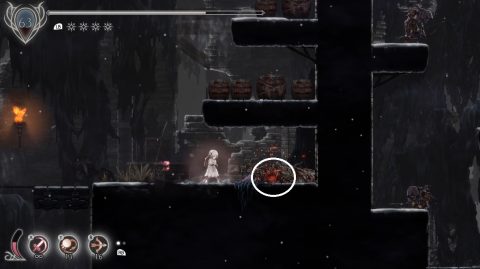
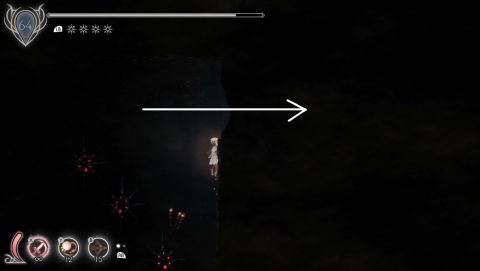
As you continue across to the right you’ll drop down to H10. Watch out for the giant slime creature spewing out poison clouds under the water.
Climb up the wall to the right and dash across to the left. You’ll want to use the piercing ability to break the heavy wall on the left. If you perform the attack just as you’re about to enter the water you should break the wall but the timing can be tricky.

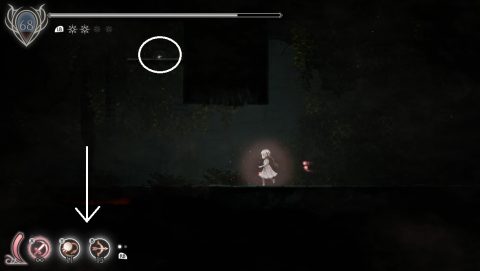
Inside you’ll find 800 Stagnant Blight! Drop down under the water and explore the tunnels. On the left side you can head across to H11 and pick up the 10 Furious Blight.
Go back to H10 and you’ll find 10 Stagnant Blight on the left side past some mines, and 10 Stagnant Blight on the right side.
Take the exit to H9 for the Respite. Drop down and go to the lower right corner for the Executioner’s Missive.
Take the exit at the top to H8. On the left side you’ll find an Amulet Fragment and on the right side 10 Stagnant Blight.
Back at the Respite take the exit to the right to H13. From here climb up the wall on the left side and kill the Giant Slug. Behind it you’ll find 2 x Amulet Fragments.
Underwater activate the levers to call down a lift. You can ride this one up and jump across to the other lifts to the right. At the top of the final lift you’ll find 30 Stagnant Blight.

Head to the center and ride the lift up to H12. There’s nothing here to pick up but you can head to the lower right, H15, to find a room with a Giant Slug. Kill it to find the Executioner’s Gloves.
Go back to H12 and take the exit to the top right for the Respite at H14 and a Finding, Hoenir’s Diary 1.
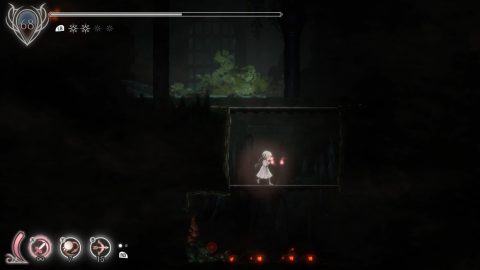
Drop down and take the exit to the right to H16. On the top level to the right you’ll find a breakable wall. Smash through it for 100 Stagnant Blight.
Drop down to the lower level and go immediately to the right for a Slip of Paper finding.
Head back to the left and pick up the 30 Stagnant Blight. Go back to the right and drop down to the lower level. The lower right has nothing so head to the lower left.
Just before you enter a large room jump up to the right wall for a Chain of Sorcery. The floor is a trap and will drop you down to the room below.
Then you can drop down through the floor to H17. Watch out for the Rat Spawners and Rats. They can cause trouble when there’s enough of them.
Smash the ground below where you entered. You may need to jump up the ledges on the left to get the height. Underneath you’ll find a secret room with 30 Furious Blight.
Take the exit to the right to H18. At H19 you’ll find a Respite before the final boss fight at H19.
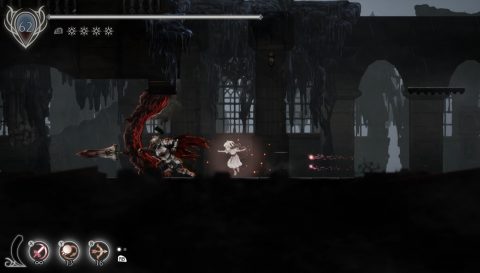
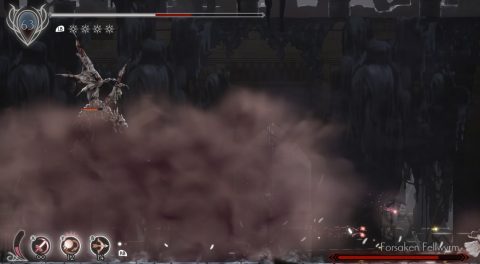
Hoenir, Keeper of the Abyss Boss Fight

Hoenir will spawn in Executioners throughout this fight. I like to take them out with ranged attacks, Western Merchant and Dark Witch Eleine.
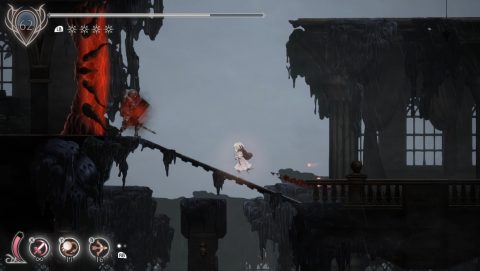
For the first phase Hoenir will shoot fireballs and jump around a bit. In the second phase Hoenir has a larger jump and will shoot fireballs downwards as he flies above you.
For the third phase Hoenier has a spinning jump attack. I switched to the Forsaken Archer to do massive damage while he’s in the air. Once Hoenir has been defeated you’ll get the Hoenir, Keeper of the Abyss spirit and the Executioner’s Hook so you can grapple up to hooks.
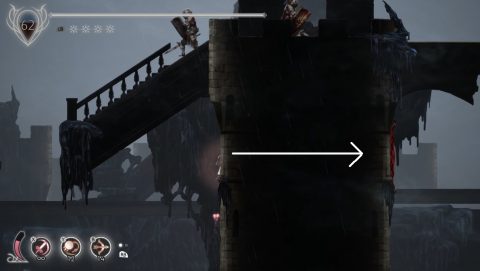
Continue to the right to H21 where you’ll find Stagnant Blight. Grapple up the cliff to find a Priestess’ Wish along the way. Continue up and to the right to the next screen for a Respite at the Hinterlands.
Next: Chapter 8: Verboten Domain
Back: Chapter 6: Ruined Castle