Chapter 2: Cliffside Hamlet
Back to Ender Lilies
Ender Lilies Chapter 2 Walkthrough
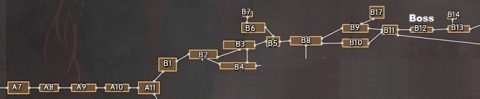
Thanks to DigitalQ for the map
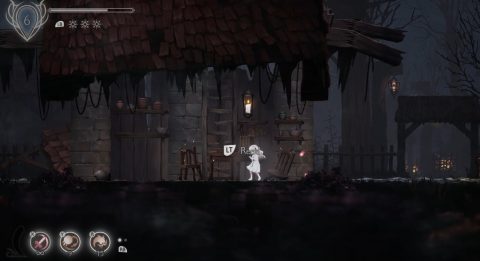
As you walk to the right you’ll spot a horse and cart and a Finding, Groa’s Letter. A little further along you’ll find a White Flower that replenishes Prayers and a Red Flower that replenishes Spirit.
Skip the little slugs in pits in A10 if you want and make your way to the right and then up for a mini boss fight with the Cliffside Hamlet Youth.
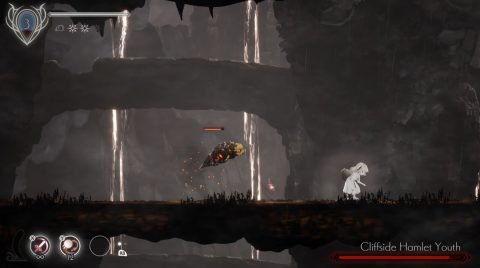
It’s a pretty simple boss fight and he’s not much more than a big slug. Once he’s defeated and purified you’ll get the Cliffside Hamlet Youth Spirit. This gives you a ranged attack that leaps just like the slugs.
In the next screen, A11, the horse and cart will follow you. You’ll also find a Respite and Finding, The Parish Way 2, across the wooden bridge. We’ll explore the area under the bridge later.
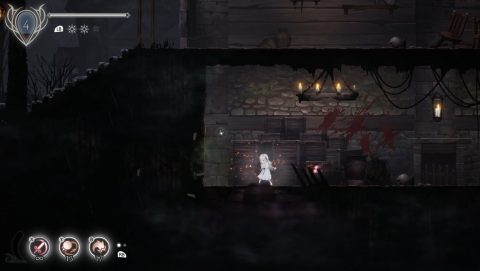
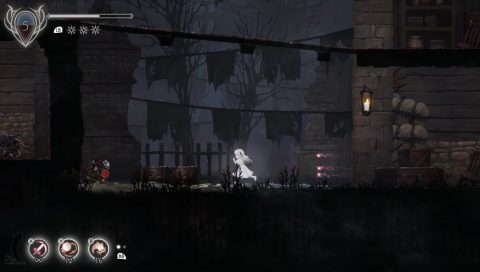
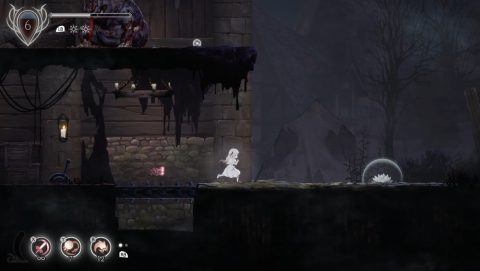
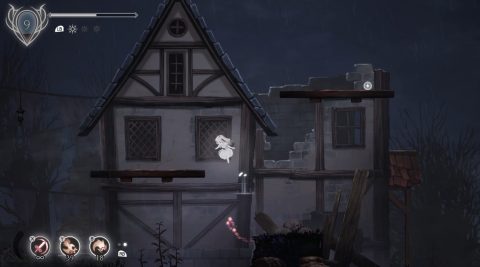
Take the exit to the right to B1. Here you’ll face Goblins and Crows with a fireball attack. In B2 you’ll find more Goblins, Archers and a Dog with a fast triple bite attack. You might notice some Blight on a ledge above which we can’t reach at the moment.
Enter the house on the right, drop down into the basement and break the crate on the left for the Amulet Fragment.
Climb to the top of the house and drop down on the other side. Clear out the rest of the enemies and then you can take one of two paths.
First drop down to B4 for the Blight. The rest of the room is blocked so climb back up and go right to B3.
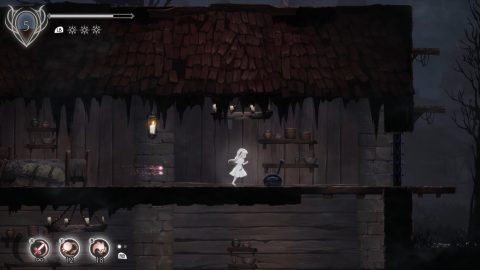
Go through the second house and climb up to the roof. Make your way along a bridge to the left, taking out a big Toad along the way.
Drop down on the left and head back under the roof. Pull the lever to open up a shortcut into this house. We’ll be back later once we have the downward smash ability.
Drop down to the lower level, take out the Knight and Archer. Then head left for the Blight.
Go through the gate you just opened and make your way to the right. Climb up the second house and double-jump across to the chest between the houses. Inside you’ll find the Broken Music Box. It slightly reduces damage by enemies and will come in handy for the next boss fight.

Head over to B5 for a Respite and a Finding on the table, True Believer’s Note. When you’re ready take the path through the arch to B6.
There’s a trapdoor on the left. You’ll be coming up there later. Instead climb up the house and take the bridge over to the left. Watch out for the Toad and Crows!
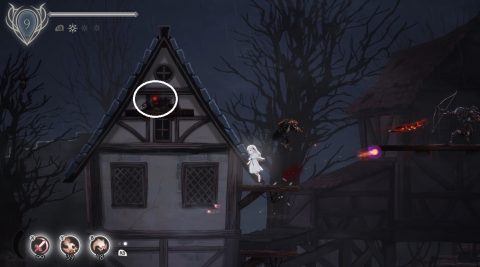
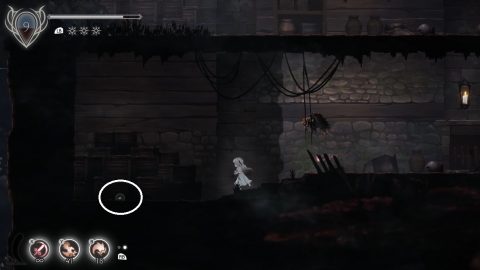
In the next house take out the enemies as you work your way down. Defeat the Knight and continue to the left. You’ll see a house with a light on. That’s the boss. If you need an extra Prayer swipe the White Flower to the left. You can also pull the lever to open the trapdoor and grab the Amulet Fragment from behind the Toad on the level above.
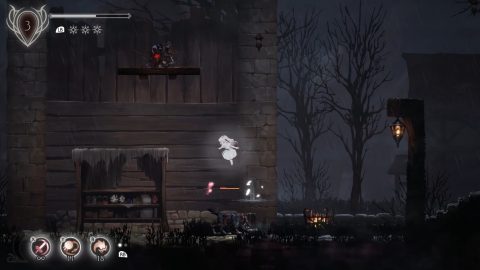
Western Merchant Boss Fight
The Western Merchant is a tough Crow creature that hovers above the ground. Jump and use the Guardian Siegrid spirit skill for a powerful attack as you continue your regular attacks. The Western Merchant should be defeated in no time.
Once he’s been purified you’ll gain the Western Merchant spirit that summons a Crow with a fireball attack. This spirit is very useful taking out enemies in hard to reach places.
Leave and drop down the hatch for the alternative path back. Along the way you’ll find some Stagnant Blight. You’ll come up where the Knight is watching. Pull the lever to open the hatch and head back to the Respite at B5.
In B8 the door in the second house is locked. You’ll need to climb up to the top and pull the lever. Before dropping down jump across to the rooftop of the house on the left for an Amulet Fragment.
Drop back down and continue to the right. There are lots of enemies here so dodge past them or go slow and take them out one-by-one.
There’s a center well with a breakable barrier. That gives us access to The Catacombs in Chapter 4. We’ll be back here later. Enter the next house, use the lever at the top to open the door at the bottom.
There are two paths, an upper and a lower to B9 or B10. You can explore both if you want but we’ll go to B9 for some loot.
You can’t reach the Blight on the first house but you can jump up the ledges for the Stagnant Blight on the second house.
Jump up the ledges on the next house for a Chain of Sorcery. This increases your Relic slots.
B11 is a Respite and you’ll also find the Adherent’s Letter above and the Hamlet Request 1 below the bridge. Both are Findings.
If you take the lower path back to B10 stay on the lower level and walk through the secret wall to the left for an Amulet Fragment.
On the way back to B11 you’ll face the Headless Defender.
Headless Defender Boss Fight

This mini boss is a bit like the Knights and has similar attacks. Dodge behind when he attacks and swing away with your sword. Purify him for the Headless Defender Spirit.
Go back to B11, take a rest and get ready for the second main boss fight at B12.
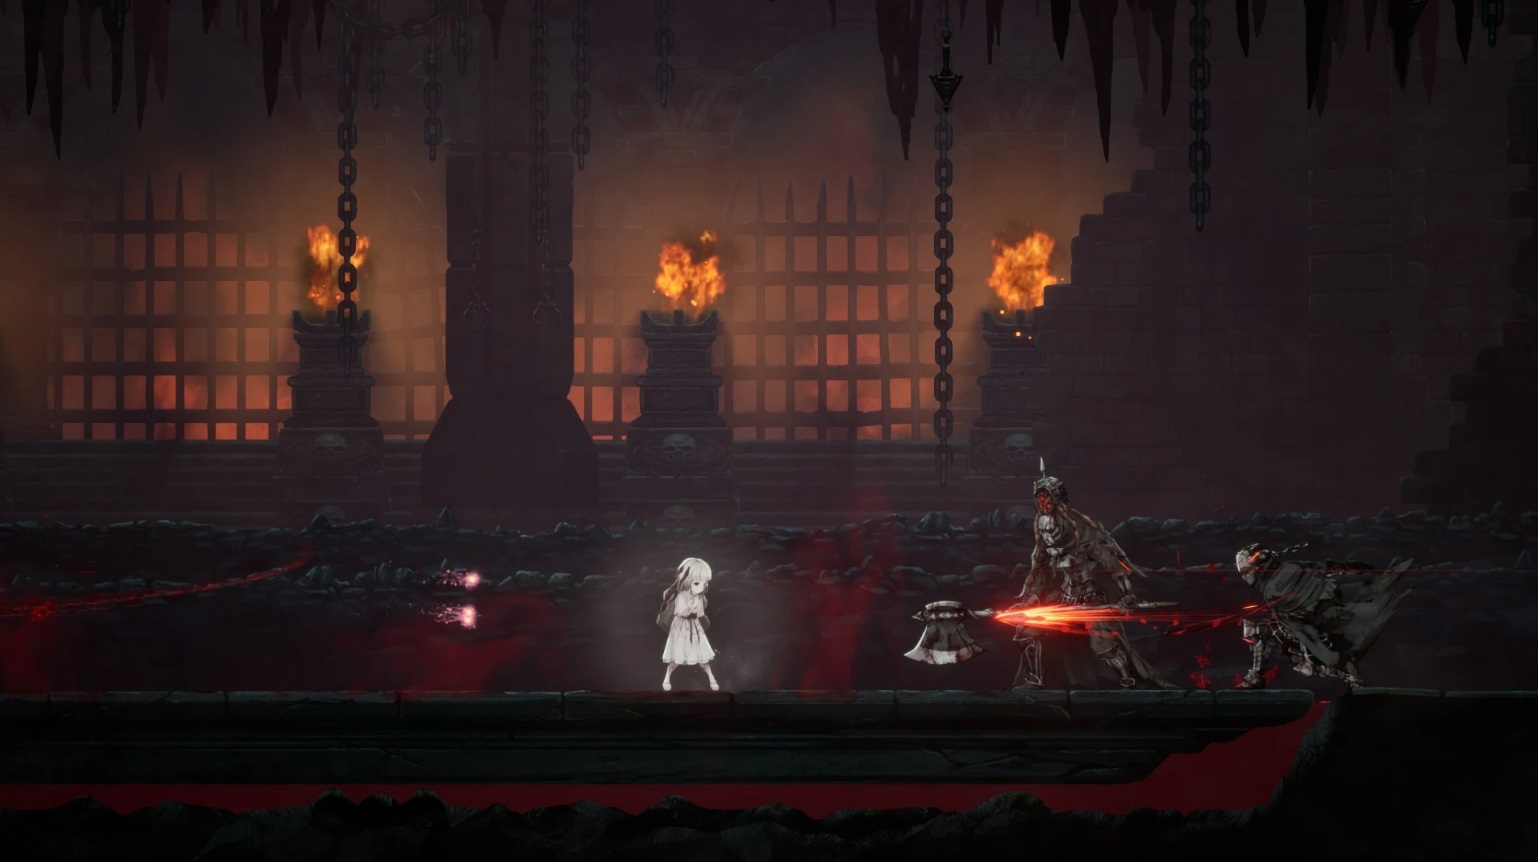
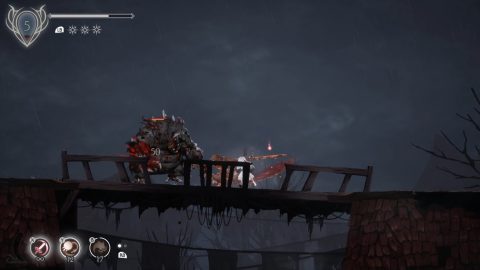
Gerrod, the Elder Warrior Boss Fight
This is the main boss for Chapter 2. In the first phase Gerrod will have a big swing attack and a jumping ground pound with a large area of effect.
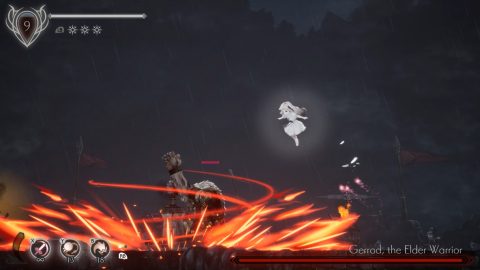
Dodge past the swing attacks to hit from behind and jump when he does the ground pound attack.
For the second phase Gerrod can also hit the ground and produce a fire wave to the front and back. He has an additional swing that hits behind him as well.
For the third phase Gerrod will jump 2 or 3 times and slam the ground. Stay out of reach and then go in for a strike after the third attack. Sometimes he’ll charge instead.
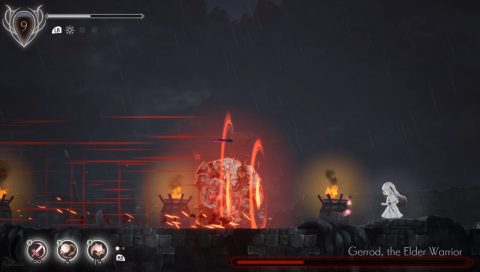
After he’s been defeated you’ll get the Gerrod, the Elder Warrior Spirit for a heavy attack and the Giant’s Hammer for smashing through breakable floors.
Next: Chapter 3: Witch’s Thicket
Back: Chapter 1: White Parish