Chapter 8: Verboten Domain
Back to Ender Lilies
Chapter 8 Walkthrough
The Verboten Domain is the second last chapter of Ender Lilies and we will be able to clear out most of the rooms. There is still one more ability to get however, so we can’t clear the whole map just yet.
The Verboten Domain is a difficult area to complete and is filled with a red poisoned mist that damages you as you go through it. For this reason you’ll need to find the Heretic’s Mask to reduce the amount of passive damage you take in this chapter. We’ll find this mask in the Backtracking section below.
Backtracking
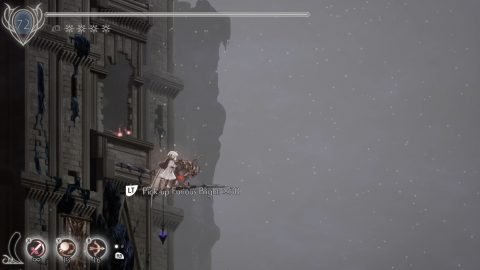
Fast Travel to the Execution Grounds, H19 , head to the left and use the Execution Hook to grapple up. Close to the top on the left you’ll find 10 Furious Blight on a ledge.
In the center of the room smash down through the breakable floor. Drop down to the room below, H22. Inside you’ll find an Ancient Soul to enhance your main weapon, the Umbral Knight.
Go back to the room above and take the exit to the top right to H23. Take out the enemies as you head to the right and get ready for a mini boss, Dark Executioner.
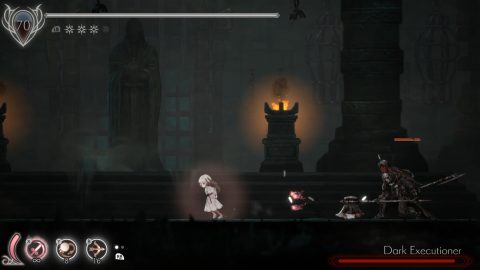
The Dark Executioner will teleport behind you and swing with his axe so get ready to dodge out of the way. He’s not too different from the regular enemies so shouldn’t be too difficult to defeat. Afterwards you can grab the Dark Executioner spirit.
Go back to H18 and take the top exit to H24 by using the lanterns. Inside you’ll find a Slime Creature and behind it a chest with the Aura’s Ring. This ring increases spirit uses when equipped.
Drop back down to H18 and take the exit to the lower left to H17. Follow the line of lanterns to the left, down and then back to the right for 30 Furious Blight on a ledge.
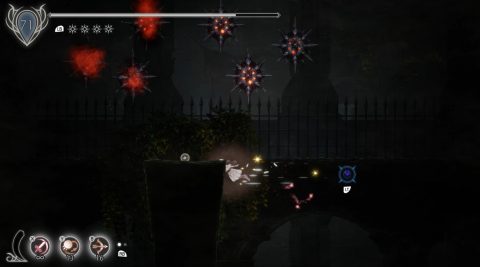
Return to the Respite and Fast Travel to the Dark Chamber, H9. From here take the exit above to H8. Go to the right and grapple up. Dodge the mines as you make your way to the center of the room for a Chain of Sorcery.
From here go to the left and take the exit to H2. Pull the lever to open the gate and enter through the top middle door to H4.
This room looks like it has nothing in it but you can climb up the right wall to a secret passage above. Use the lanterns to grapple up and you’ll find 10 Stagnant Blight at the top. Drop down to the room below for an Amulet Gem and 30 Stagnant Blight.

You can then break through the blighted floor to get back to the main part of H2. Take the left exit to the start of this area, H1. From here drop down to H11 and grapple up the lanterns starting on the left side to find 30 Stagnant Blight on a ledge.
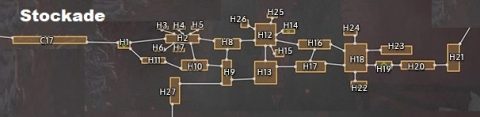
Return to the Respite and Fast Travel to H14. Go through the door to H12 and take the top left exit through the doorway to H26. Kill the Slime Giant and grab the Chain of Sorcery behind it.
![]()
That clears out the Stockade so Fast Travel to the Cathedral Cloister, A6. Take the exit up to the left to A12. Head to the left to roughly the center of the room where you can grapple up to the room above, A13, using the lanterns. In this room you’ll find a Priestess’ Wish and Lily’s Note.
Return to the Respite and fast travel to the Bridgehead, B11. Take the exit to the left to B9. Explore the village to find 10 Furious Blight at the top of one of the houses.
Return to the Respite and this time take the lower exit under water to the right to B16. Climb up the wall on the left and then grapple up the lanterns. Follow the path to the right for 800 Stagnant Blight.
Return to the Respite and Fast Travel to the Monument of the Wind, E13, in the Twin Spires.

Go to the left to E14 and head to the left side outside the castle. Use the lantern to get up to the chest with the Immortal’s Crest inside.

Return to the Respite and Fast Travel to the Tower Alcove, F15, in the Ruined Castle. Grapple up and take the exit above to F20. Make your way along the castle path picking up the Stagnant Blight along the way. There should be 100 in lots of 10.
About half way across you’ll face the One-Eyed Royal Aegis mini boss.

He’s a tougher version of the heavy knights with full shields. Once he’s defeated you’ll get the One-Eyed Royal Aegis spirit.
Drop down to F17 and pierce through the hidden wall on the right side. You’ll need to use the lanterns to get enough height. Inside you’ll find 100 Furious Blight.
Return to the Respite and Fast Travel to the Maelstrom Ramparts, F11. Go to the right, right and up to F13. You might want to wait until you have a spirit with an upward lunge but it is possible to make the jump now.
Start from the wall on the left of the lift. Jump, dash, glide and jump again to land on the higher part of the left wall.
Grapple up to the ledge above for an Amulet Gem. Take the lift down to F12.
Drop down to F8 and down towards the bottom left you’ll be able to grapple across to 30 Stagnant Blight on top of a pillar.
Return to the Respite and head across to the right. Go right and right again to F7. At the top of the room you’ll find a Chain of Sorcery.
Return to the Respite and Fast Travel to the Ruined Castle Cellar, F3. Head up and and go to the top right using the lantern to grapple up for 30 Stagnant Blight.
Return to the Respite and Fast Travel to the Guest Chambers, F6. Take the exit out to E3 to find 30 Furious Blight on a pole outside the castle.
Path to Verboten Domain
Fast Travel to the Dark Chamber, H9, in the Stockade. Take the lower path to the left through the breakable wall to H27. This is a difficult little section where you’ll need to break blighted walls and floors while avoiding exploding enemies and mines.
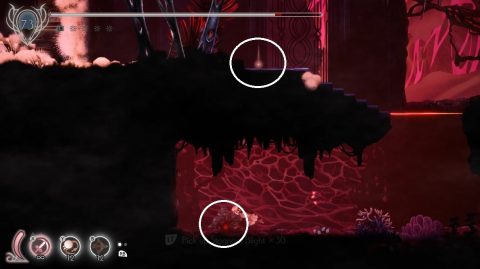
Once you are done drop down into the Verboten Domain. You’ll find a chest. Inside is a Heretic’s Mask which you can equip to reduce the amount of environmental damage you take from poisonous mist and water.

Break through the floor for the Verboten Domain Notice. To the lower left you’ll find a Respite. Take a rest and then Fast Travel to the Witch’s Hermitage, C9, as we’ll enter the Verboten Domain from a different direction.
Enter through the door on the left ,C10, and drop down to the bottom left. Pull the lever and quickly head through the timed door. Take the exit to the left to C16.
Use the Executioner’s Hook to get up to a ledge in the top left to find 30 Furious Blight. Drop down to the bottom, pull the lever and head through the next timed door.
Take out the Giant Spike Slug and exit to the right to the Respite and entrance to the Verboten Domain, I1, to the right. Grab Faden’s Archives 3 finding and take a rest if you need it.
Verboten Domain
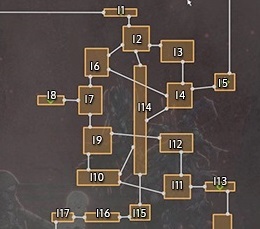
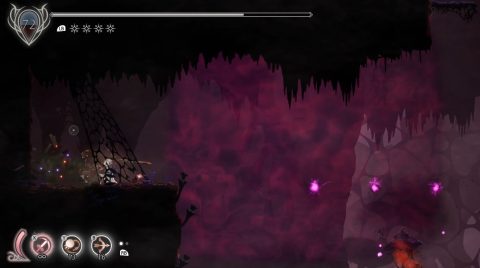
If you followed the path above you’ll be at the very top of Verboten Domain in I1.
Take the elevator down to I2. The objective is to find the levers on either side of the tall room I14 and open the various doors so we can eventually get down to I15.
From I2 jump across the pillars to the right for 30 Furious Blight. Head back to the left and drop down to the left. There’s a secret wall to the left where you can find an Amulet Fragment in a box.
Take the exit to the right to I3. Drop down almost to the bottom and jump up a couple of ledges to the right. Fight the Spike Slime and behind it you’ll find a Chain of Sorcery.

Drop down to I4. Make your way down to the water and find the path through the water to the lower level between the two pillars.
At the bottom of the pool you drop into you’ll find 100 Furious Blight. Explore the pool to the right to find another 30 Stagnant Blight. Then take the exit through the blighted wall to the left to I14.
Head to the left and climb up the wall for an Amulet Fragment.

Drop down and pull the lever to the left to open the first gate.

Return to the Respite, drop down to I2 and this time take the lower exit to the left to I6. Jump across the top ledges to the top left to find 30 Stagnant Blight.
Drop down and take a lower path to the right under the water. There’s a secret in the wall to the right with a chest. Inside you’ll find the Weathered Necklace which replenishes your HP when you defeat an enemy.
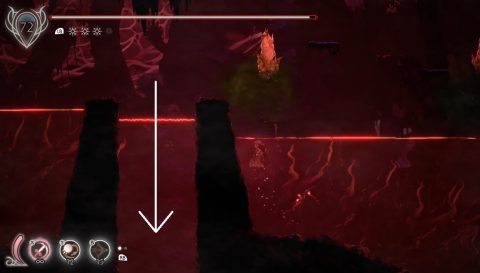
Drop down but don’t take the lift to the lower right. Instead drop down off the screen to I7. Grab the Amulet Fragment in the corner, then climb back up the left wall to I6.
Head to the left along the platforms above the water and you’ll find another way down to the main part of I7 after breaking through a blighted wall.
In I7 you’ll be smashing through two blighted floors before you can take the exit to the left to the Respite at I8. Here you’ll also find 30 Stagnant Blight hidden under the water and Faden’s Archives 4.
Go back to I7 and continue down through another blighted floor. To the bottom right, just behind the final blighted floor that takes you to the room below, you can make your way up using the lanterns.
On the way up you’ll find a lever to open up a shortcut, 30 Furious Blight and a second lever to open up the shortcut from the very top.
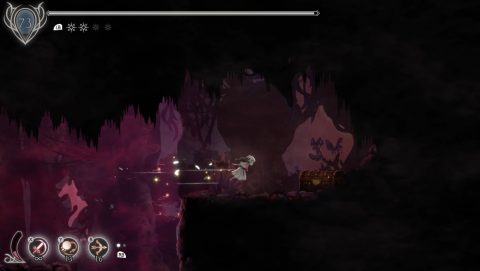
Drop back down and break through the blighted floor to I9. Make your way all the way across to the right. Defeat the Spike Slime for 100 Stagnant Blight.
Head back to the left, drop down and to the left for a fight with a Spike Slime and Hive. Once you defeat them you’ll find a Chain of Sorcery under the slime and the door leading back out will open.
Follow the path around and down to I10. Drop down into the water. On the left side under water you’ll find 100 Stagnant Blight. In the center under the pillar you’ll find an Amulet Gem.
On the right side underwater you’ll find 100 Furious Blight. Jump up on the right side to the lift and ride it back across.
When you get to the center call the other lift and ride it across to the right. When you’re about half way across use the lamps to grapple up.

Take the exit up to the right to the western side of I14. Go to the right, take out the enemies and pull the lever to open another gate.

Climb up the wall and make your way through a small cavern above to find Calivia’s Ring under a Spike Slime. Break through the blighted floor to get back to the entrance.
Go left to I10 and then take the lower exit using the lift to the right to I11. From I11 you can make your way to the exit to the right for the Respite at I13. You’ll also find Faden’s Archives 2. Break the floor to the right of the Respite to find a secret cave. Inside is a Priestess’ Wish.
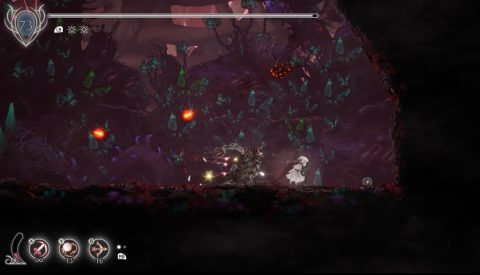
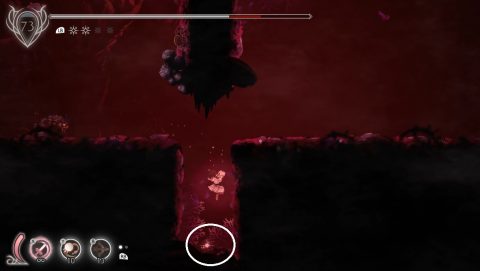
Go back to I11 and drop down into the water in the lower right for a mini boss fight with the Incompetent Sinner.

This boss can be hard to see against the red background. It’s basically a beefed up version of the Frogmen that you’ve seen in other areas.
He has a long dash attack and a breath attack. Once he’s defeated you’ll get the Incompetent Sinner spirit. This gives you forward dash that we can use to reach areas we couldn’t normally reach.
Go back up to the Spike Slime above and take the lift across to the left. You want to make your way up to the exit above.
As you ride the second lift over to the right drop off just after you make it past the second mine.

You’ll land on a ledge with 30 Stagnant Blight. Make your way back up and take the exit above to I12.
Head past the Walking Slimes to the intersection above. To the right you’ll find a relic, Blighted Appendage, and to the left through the poisonous mist you’ll find an Amulet Fragment.

Return to the Respite at the Subterranean Lab B1, I1, take the lift down to I2 and then drop down to the to of I14. Take the elevators all the way down to the Respite at I15 where you’ll also find Faden’s Archives 1. Head to the left for the boss fight at I16.
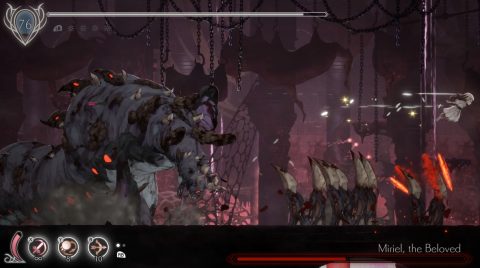
Miriel, the Beloved, Boss Fight

Miriel is a big boss that takes up most of the screen. She shoots out fireballs and slashes at you when you get close. She’ll also shoot out bombs that roll along and explode.
During the second phase she’ll punch the ground and claws will rise up underneath you. For this you’ll need to jump and dash to avoid them.
After the fight head across to I17 where you can purify the boss for Faden, the Heretic spirit, and the ability to open locked doors. Just to the left you’ll also find Miriel’s Blighted Letter.
Drop down the ledges a little to the right for Faden’s Archives 5 by the locked door. The door leads to the Abyss but we’ll get to that later after completing the map entirely.
Next: Chapter 9: The Abyss
Back: Chapter 7: Stockade