Part 3: Zi
Back to Axiom Verge
Zi
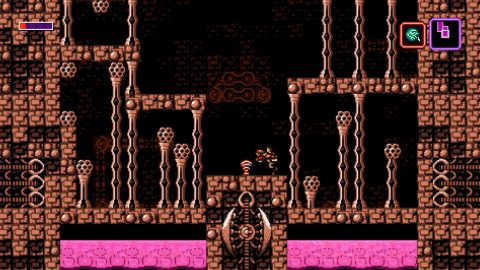
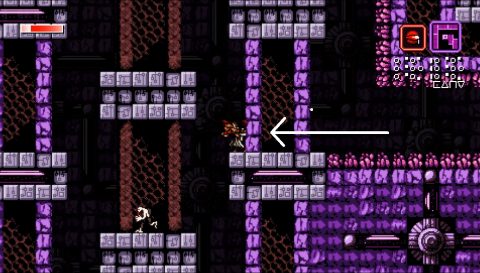
From the SAVE Room (1) continue right twice. In the tall room you can drill through the wall to the bottom right and take the side passage up rather than dealing with the enemies in the center.

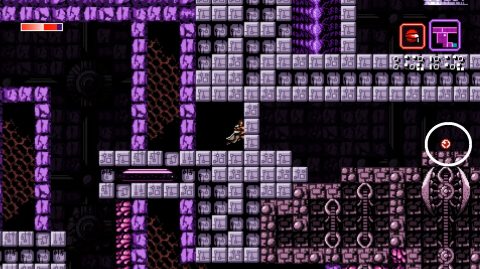
Drill your way out at the top and then take the exit to the right. Go through the passage and you’ll emerge at another tall room. Climb up to the top and you’ll find another SAVE Room (2) to the top right.
Take the right exit and climb to the top of the room. First take the exit to the top right and continue right. You’ll be in the region of Kur for the Field Disruptor jump upgrade but we’ll be back to Zi later.
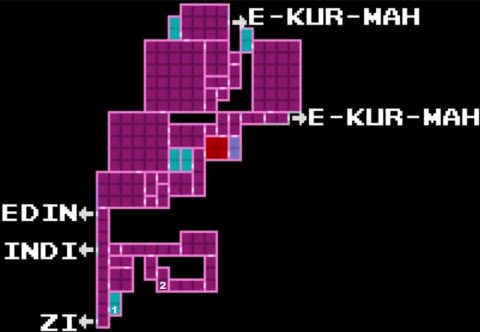
Kur
You can use the Address Disruptor on the laser enemies in this room to make them harmless. They’ll even destroy walls for you if there are breakable tiles nearby.
The first exit to the right leads to another SAVE Room (1) but if you continue up and disrupt the laser enemy it will break the tiles to the left.
Climb up on the left side and break the tiles or disrupt the laser enemy and jump out. Take the top exit to the right and continue through to the long room.
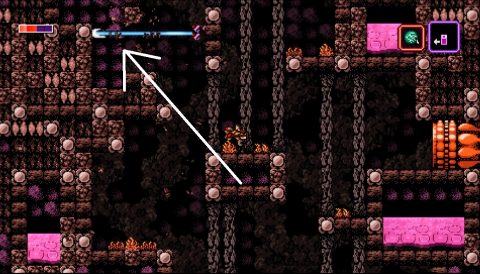
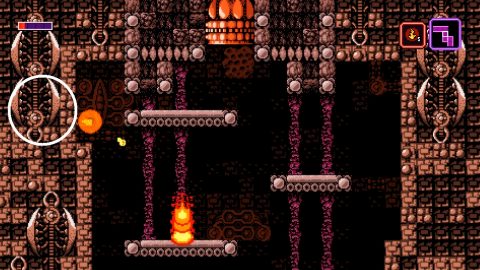
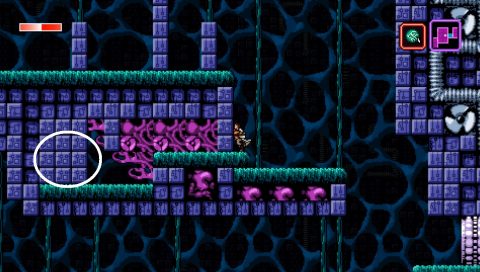
Disrupt the laser enemies to make them harmless and make your way across the pink pool. Take the exit down. Drop down and take the lower exit to the right. This room is a dead end but if you drop down to the bottom you’ll find the Field Disruptor for a bigger jump.
Jump back up and take the exit to the left. Now you’ll be able to reach a secret to the top left. Behind the wall you’ll find the Firewall.
Take the exit up and the left. Retrace your steps, dropping down and continue left, back to the region of Zi.
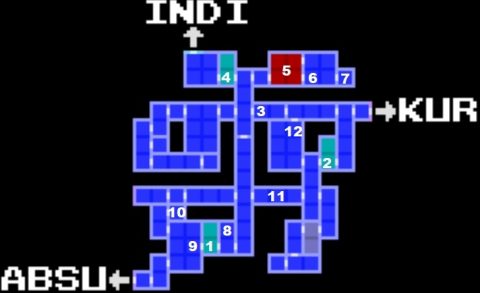
Zi
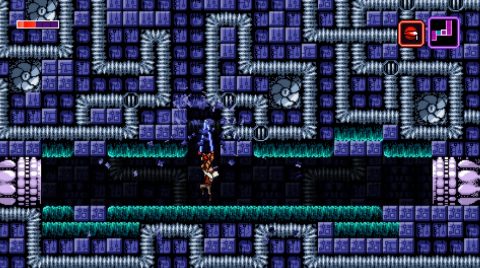
Drop down to the SAVE Room (2) if you need it, then climb up and take the top exit to the left. Head all the way through the passage. and in the next room drill up in the center between the two platforms. Drill up and to the left and you’ll find a Security Notice (3).

Take the exit to the left, climb up to the top and go to the left for the next SAVE Room (4). From here go all the way to the right until you find the boss (5).
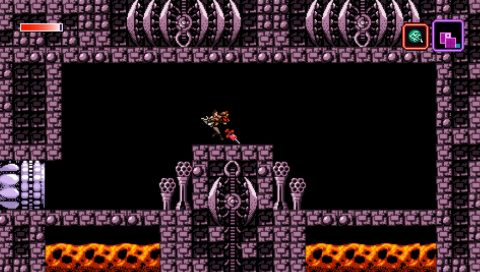
Uruku Boss Fight
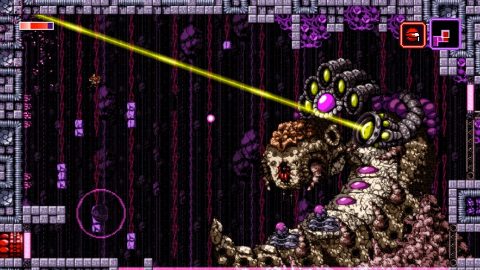
This boss has a number of different sections that you need to destroy while avoiding its laser. First jump up to the highest platform and shoot directly across to take out the 5 small green laser guns at the top.
Then you’ll need to take out the bomb thrower at the bottom.

Then jump up half way to destroy the large laser. Finally shoot the mouth when it opens and soon the boss will be destroyed. Uruku looks much tougher than he actually is.
Quickly run across the pink water and use the address disruptor to reveal some platforms. Jump up and take the exit to the right.
Shoot the Power Filter (6) on the ground and you’ll get a short cutscene. Take the exit to the right for the Modified Lab Coat (7).
This coat will let you phase through single-tile walls by double tapping.
Go back to the boss room. Jump up the platforms and phase through the wall above for a Health Node.

Return to the SAVE Room (4) if you need it, go back to the right one screen and drop down. Take the exit below. Drop down to the bottom and take the exit to the lower left.
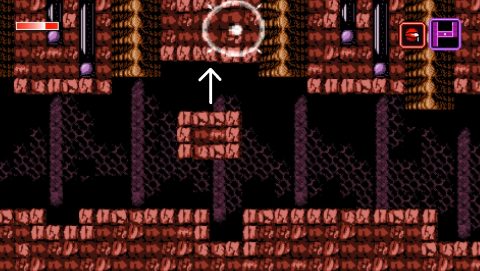
Drill up near the center and you’ll find a spot where you can jump up.
Jump up to the room above (8) for Health Node Fragment 3/5. Drop down and go to the left for SAVE Room (1). Take the exit to the left and with our new jumping ability jump up and to the left.
Phase through the bit of wall on the platform and behind a wall you’ll find a Range Node (9).
Phase back out and take the upper left exit. Jump the ledges and take the upper right exit. In this room you’ll find the Bioflux Accelerator (10). This gives you a positive mutation at max health.
Go back the way you came and return to SAVE Room (1). Go right twice and then climb up the tall room. Take the exit to the right. In the center of this hallway is a platform. Jump up through the fake roof and a little to the right you’ll find a Size Node (11).
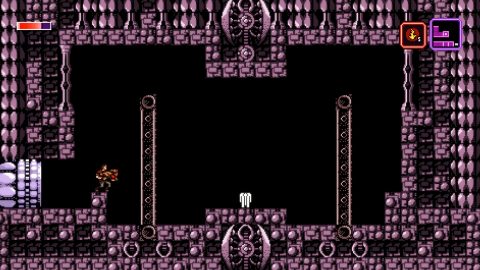
Take the exit to the right, jump up the ledges and take the upper exit to the left. In this fairly large room jump up and phase through the two purple walls.
Now jump up to the top and phase through the two purple walls and one grey wall to the right. You’ll eventually find Health Node Fragment 4/5 (12).
Phase back through the walls and take the exit to the bottom right. Continue right to SAVE Room (2).
Go right, top right and right again to the region of Kur.
Kur

Return to SAVE Room (1) and we’ll pick it up from here in the next section.
Next: Part 4: Kur
Back: Part 2: Absu