Part 6: Ukkin-Na
Back to Axiom Verge
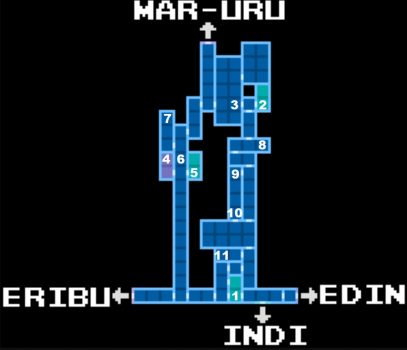
Ukkin-Na
From SAVE Room (1) take the upper exit to the left and then the next upper exit to the right. You’ll spot the clone once more. Go through the passage to the right.
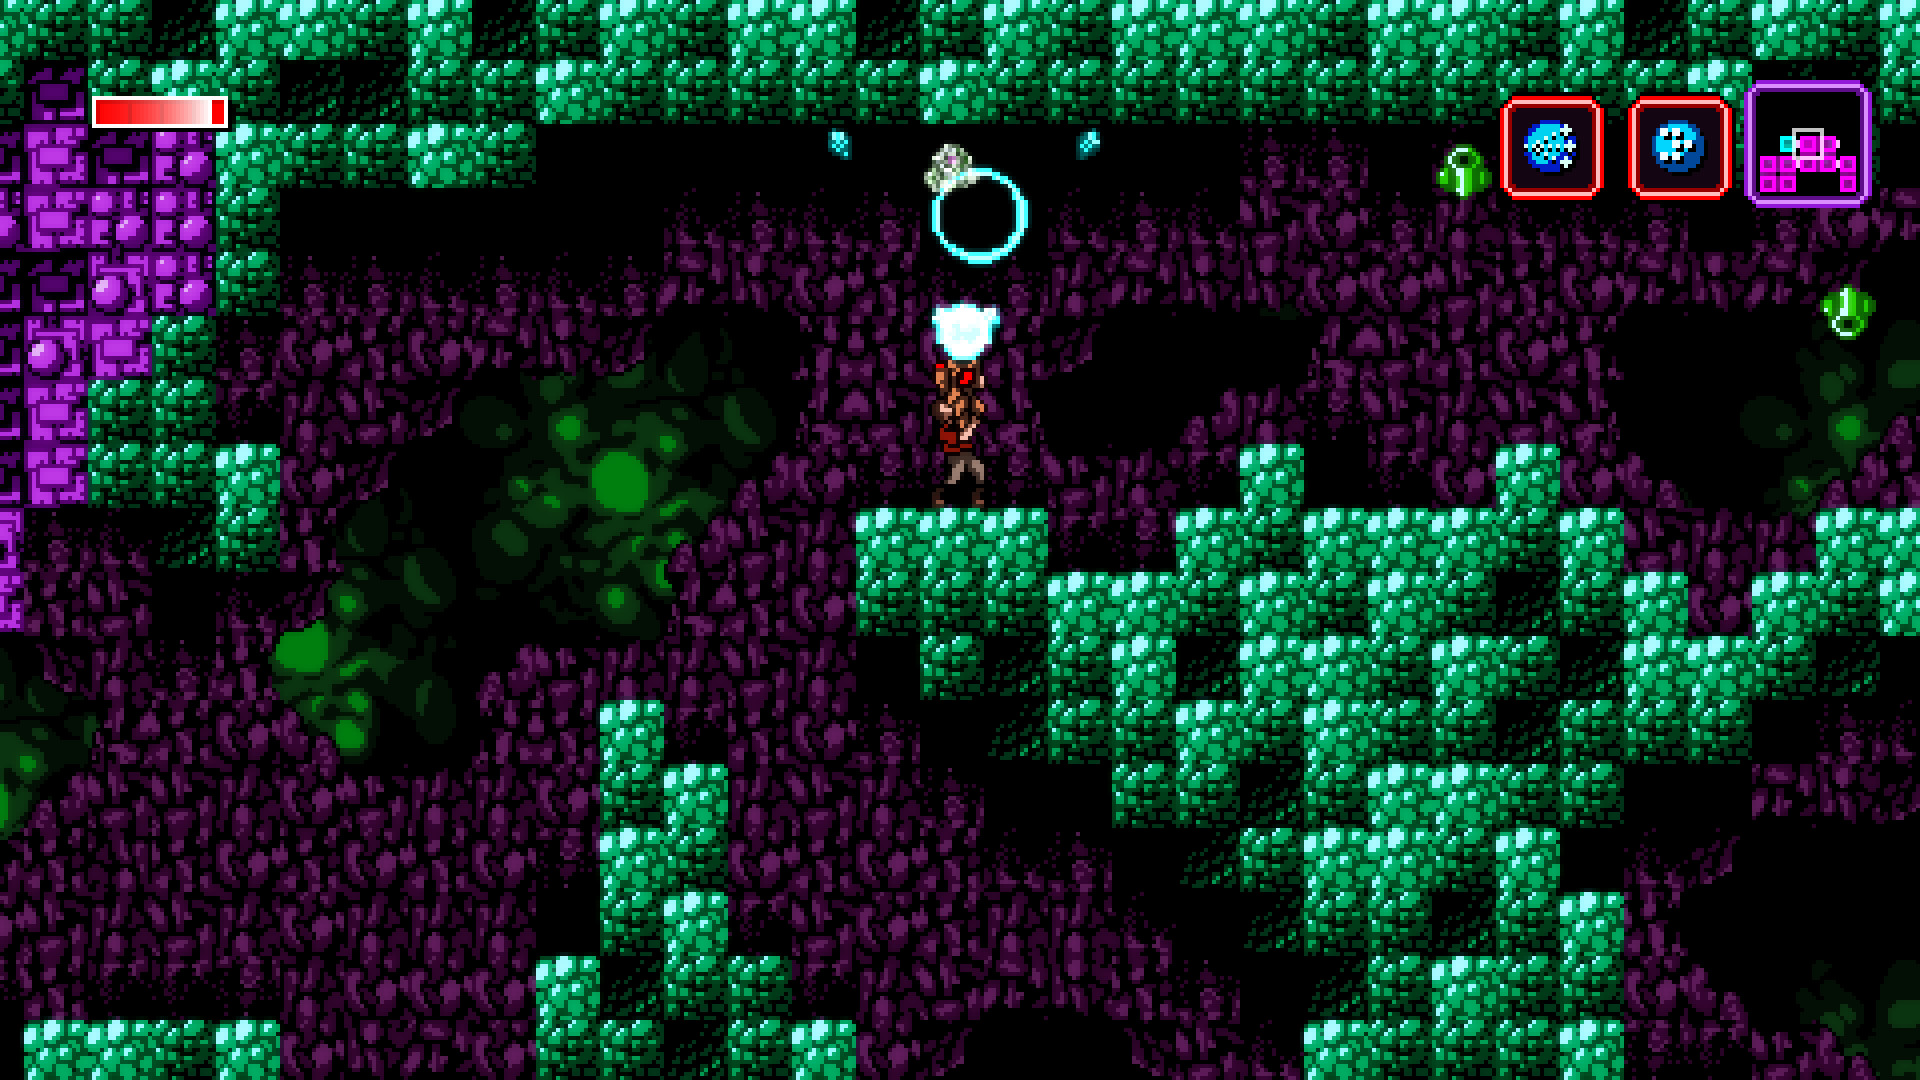
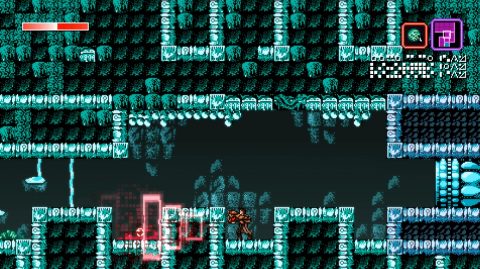
You’ll find a new enemy, the flying drones that shoot out purple bullets. They can be difficult to deal with. Keep moving left and right to avoid their attacks.
Take the exit above and run all the way to the left, phasing through a wall along the way. Climb up and then run all the way to the right. Take the exit at the end to the room above.
Jump up the platforms while avoiding the fireballs from the faces on the walls and take the exit above. Continue through the next room by running to the left and take the exit above.
Run to the right and take the exit above. Take the exit above once more and you’ll be in a familiar room with SAVE Room (2) to the right and the boss room (3) to the left.
Vision Boss Fight
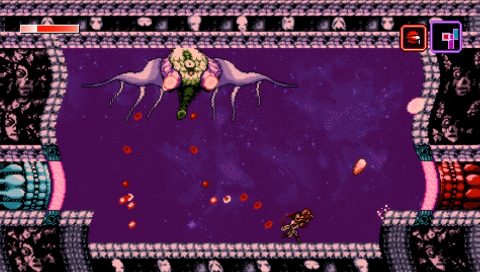
This is a strange boss fight in that you play the boss. There’s no way to win so just let Vision be defeated. After the fight you’ll faint.
There’ll be a short cut scene and you’ll wake up in another room (4). Take the exit to the right and right again for SAVE Room (5).
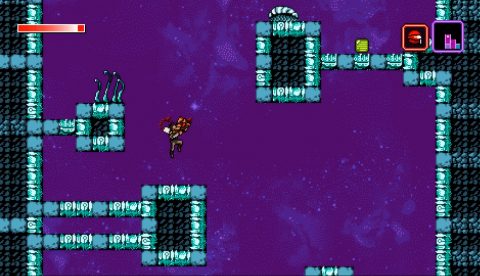
Go back and climb up the platforms. You’ll find a Health Node (6) along the way.

Use the grapple to swing across to the exit to the top left. Grapple up the platforms to the top where you’ll find the My Lovely page (7).
Drop down and return to the previous room. Continue climbing up and take the top right exit. Take the top right exit again and go right. You’ll be back at the boss room but from the other side.
Take the exit to the right and then go down. Now that you’re not hallucinating you’ll get access to some new areas.
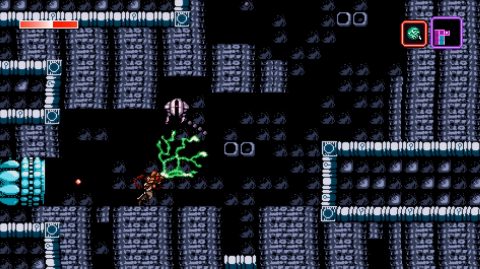
Take the exit below and run to the left. Wait for the ball on the very left to be revealed and use the Disruptor on it. Get close enough that it jumps up and breaks the floor. Once the floor has been destroyed kill the creature and drop down the drone.
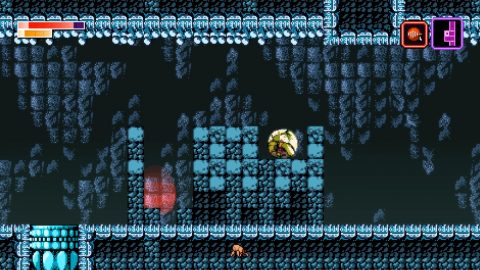
Send the drone all the way to the right and eventually you’ll find Power Node Fragment 2/6 (8). Leave the drone and take the exit below. Run to the right and drop down again. Drop down and go through the exit below. You’ll be back in the large rectangular room.
Make your way around to the left and back up. This time you’ll be able to take the first exit above. Climb up to the top of this room and you’ll find the next upgrade, the Trenchcoat (9).
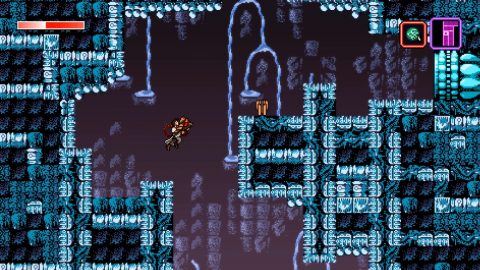
The Trenchcoat lets you teleport in any direction. Drop down and teleport through the wall on the left for the Power Node Fragment 3/6 (10).
Take the exit below and phase through the floor for a shortcut down. Take the exit below and then phase through the wall on the left to take the upper left exit.
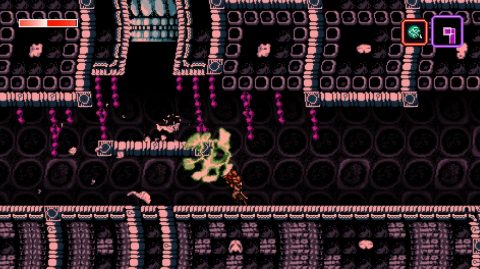
Use the Address Disruptor on the first worm until it turns into Health Node Fragment 5/5.
Use the drone to clear out the rest of the worms and go through the small hole to the left for The Breach (11).
Leave the drone and return to SAVE Room (1).
Next: Part 7: Edin
Back: Part 5: Indi