Part 4: Kur
Back to Axiom Verge
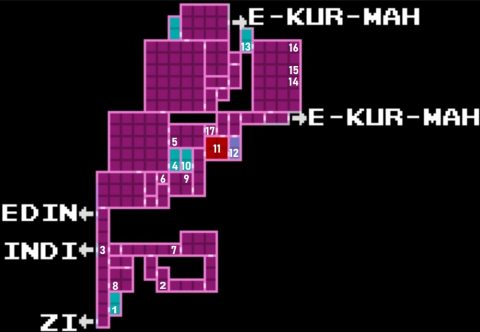
Kur
From the SAVE Room (1) go back to the left and climb up the tall room until you can phase through the wall and pick up the Power Node (3).

Continue up and take the exit above. You’ll be in a very large room. This region features a few of these large rooms.
Run to the right and drill through the tiles. Phase through the wall and climb up where you can. Keep climbing up and take the exit above.
Run to the right and take the exit to the right which leads to SAVE Room (4) if you need it. Go back to the large room to the left and make your way up.
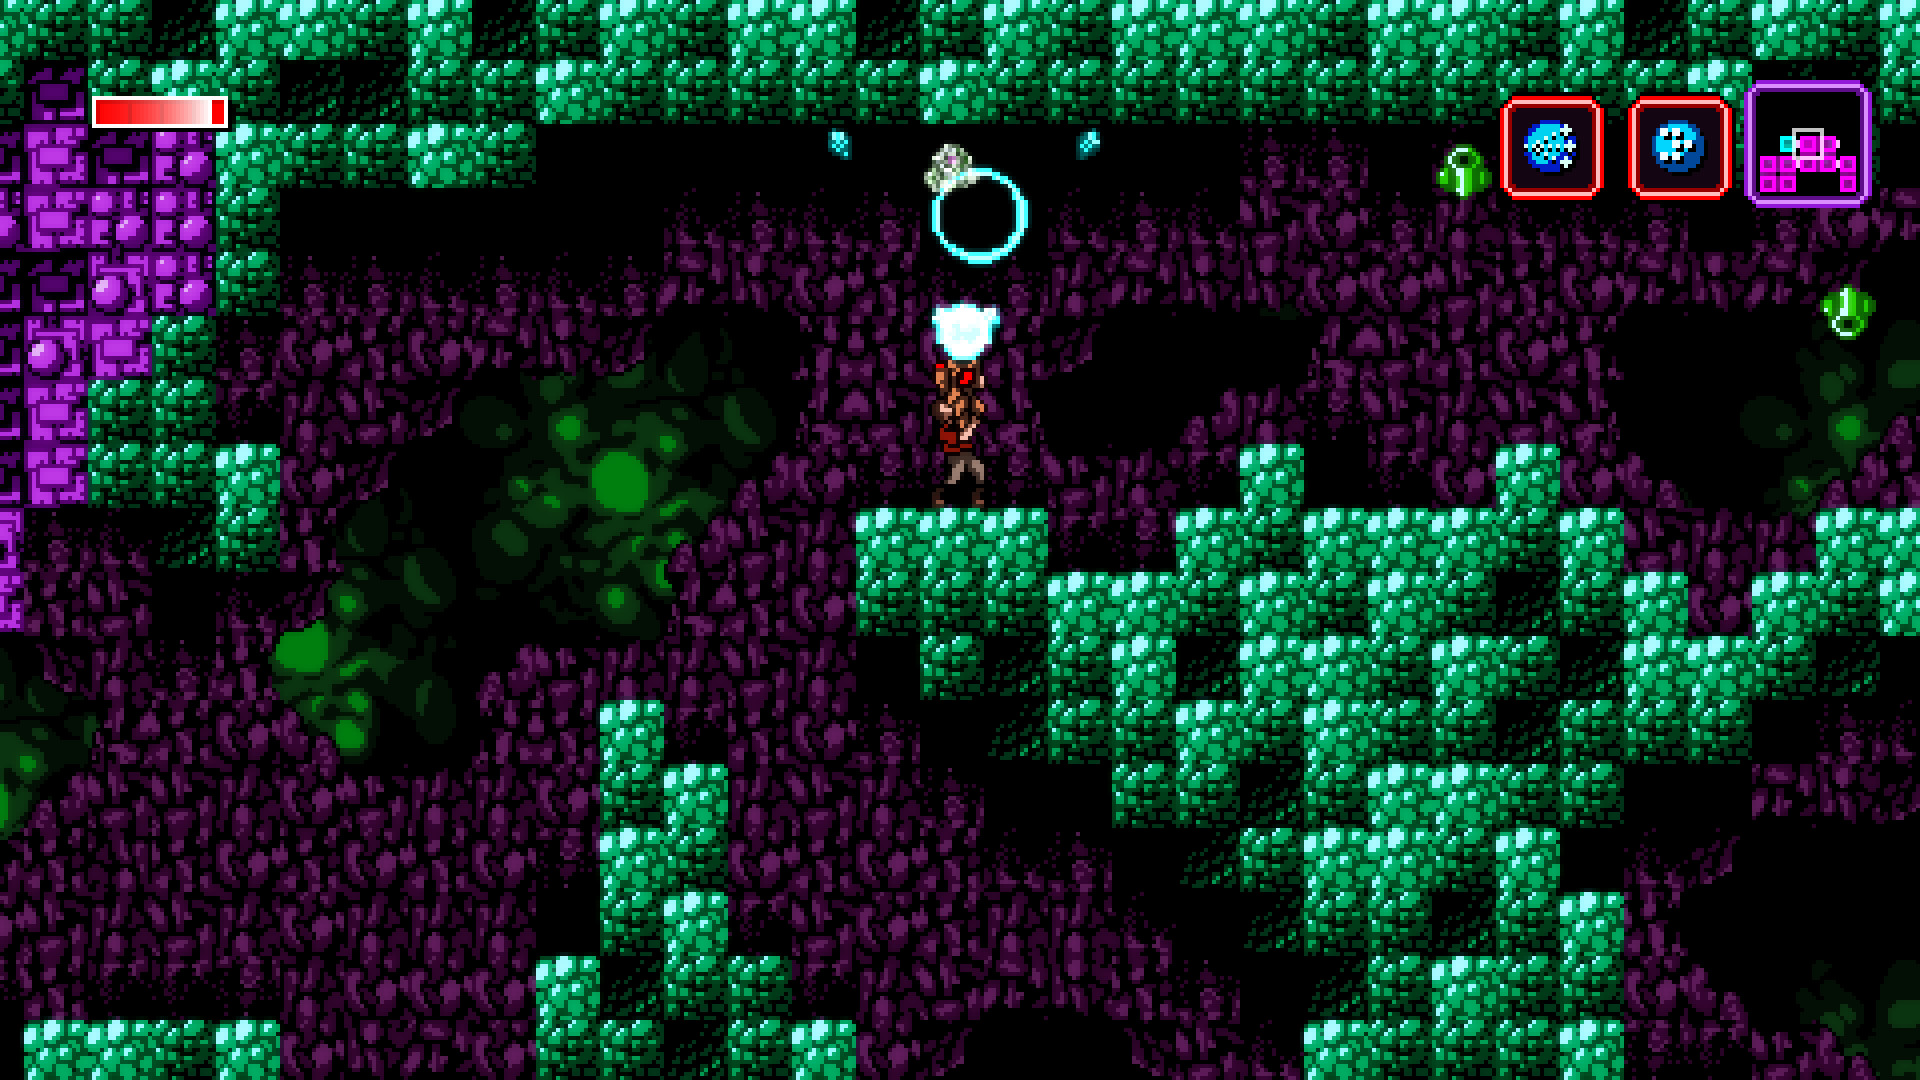
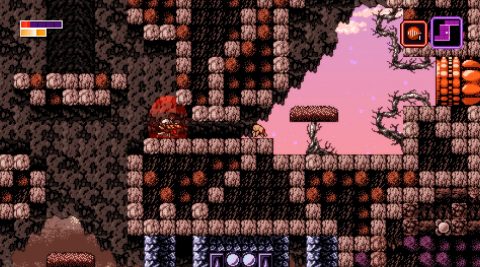
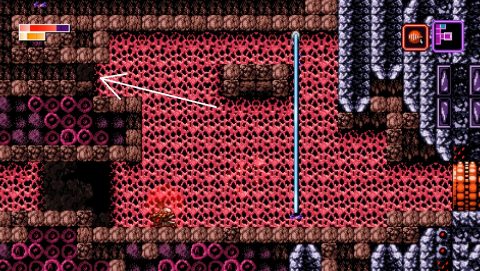
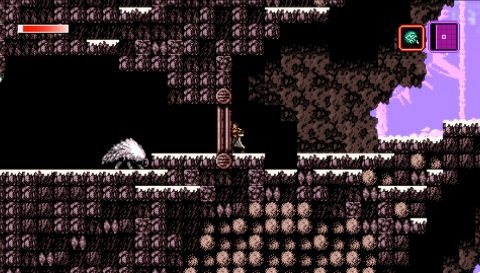
Dodge the falling boulders as you continue up and take the highest exit to the right. Phase through the laser wall and drop down. You’ll land on the Remote Drone (5). This can be used to navigate through levels and collect items. It even has some rudimentary weapons.
Launch the drone and send it through the tunnel to the right. Use the flamer to destroy the blocks and the enemy above. Jump across to the left and hit the button to open the two laser walls below. Switch back to your character and take the exit to the lower left. Hit the button to open the laser gate and drop through.
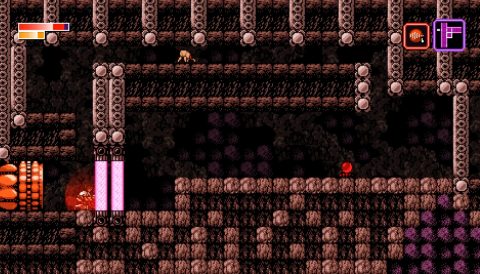
Run to the left and drop down. We’ll be back to this room once we have more abilities. Drop down and you’ll find a spot near the middle on the right side where you can release the drone. Go through the exit to the right.
Use the drone to jump up the platforms while avoiding the laser enemies. Take the exit to the right and you’ll find the Hypo-Atomizer (6).

Switch back to your character, run to the left and take the exit below to the tall room. Drop down, phase through the wall and take the first (highest) exit to the right.
Continue to the right and make your way across the pink water. Drill through a couple of tiles on the right wall and release the drone.
Use the flamer to break through the rest of the way and you’ll find Health Node Fragment 5/5 (7) towards the end.
Return to your character and take the exit back to the left. Continue through to the left to the tall room and take the next lower exit to the right. Use the drone to climb around and hit the button.
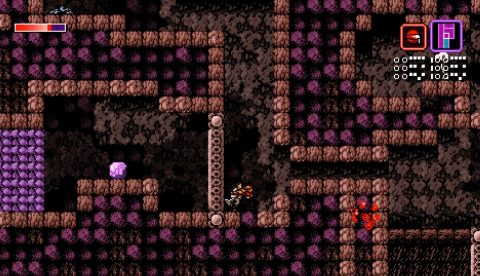
The two laser gates will open. Switch back and phase through the two walls. Take the exit below. Watch out for the zombie and then release the drone to the left. Take out the flying enemies before dropping down on the left.

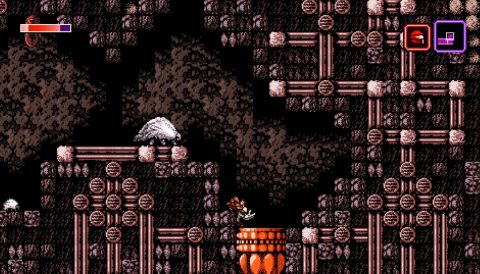
Dodge or kill the Zombies and hit the button on the right side of the room. This opens the lasers above. Switch back to your character. Make your way around to the left and phase through the wall.
You’ll find the Address Disruptor 2 (8), a more powerful version of the Address Disruptor. You can use it to turn the malfunctioning tiles to the left to rocks. Drill through them and take the exit to the left.
Climb up the tall room and take the exit above. Use the Address Disruptor 2 on the tiles to the right. You’ll be able to get through to the lower right exit.
Continue through the small room to the right. Climb up the ledges with the pink pools and take the upper exit to the right.
Make your way through the room to the right. The Address Disruptor can be used on the tan enemies so they can be destroyed. Before going through the exit through the drone into the small passage above.
Send the drone around through the passage and eventually you’ll find Health Node Fragment 1/5 (9).
Switch back to your character, take the exit to the right, climb up the tall room and take the upper exit to the left for SAVE Room (10).
Go back and take the upper exit to the right for the boss fight (11).
Gir-Tab Boss Fight
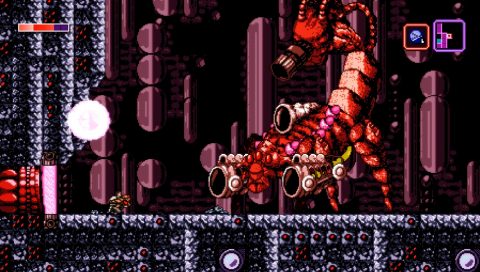
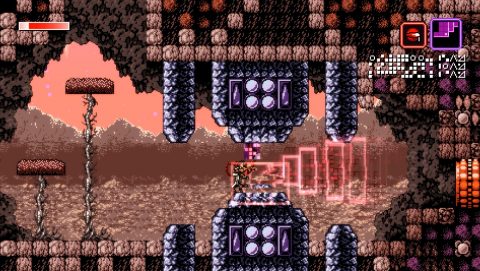
This boss has a weakness to the Hypo-Atomizer weapon. Duck down and shoot under the boss when it stands up. The side bullets will shoot up from under the boss causing damage.
Avoid the flame thrower and cannon attacks. Occasionally Gir-Tab will do a big leap forwards. Keep firing to hit the boss from underneath and once you’ve done enough damage it will be defeated.
Take the exit to the right and you’ll meet what remains of Katrahaska (12). Jump up the platforms and take the exit above.
Jump up and take the exit to the right. Phase through the laser and hit the button to release the friendly drones.

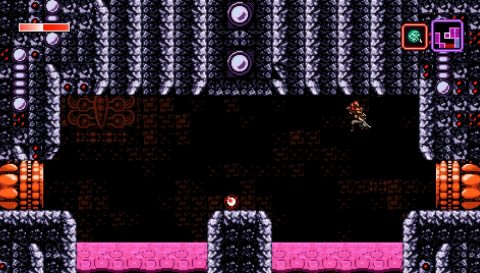
After the short dialogue take the next exit to the right. Take the exit above into a huge room.
Work your way around to the left and then up. Place a drone in the passage above the two laser gates. Head across to the right and shoot the button to open the lasers. Switch back and climb up. You’ll find SAVE Room (13) in the top left corner.
Continue around this giant room to the right. When you fall through the tiles shoot the drone onto the ledge on the right.

Jump up for the Grapple (14). It will allow you to reach previously unreachable areas but can be fiddly to use. Switch back to your character who has fallen to the bottom. If you missed throwing the drone onto the ledge you can jump up from the bottom and throw the drone into the passage above. Then climb up to the Grapple.
Use the Grapple to make your way up the platforms. Swing across to the right to the place where your drone picked up the grapple. Jump up the passage on the right and grab the Health Node Fragment 2/5 (15) above.
Drop back down and make your way up once again. Once you’ve gone as high as you can go to the left and phase through the wall.
Climb back up around past the save room. This time when you head to the right you can grapple onto the ceiling and swing across for the Power Node (16).
Head back around and take the exit down. Go back through the left exit, left again and then phase through the wall to take another left.
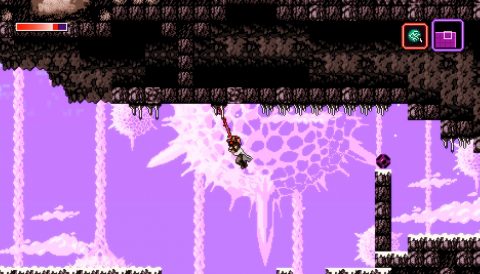
Jump or grapple over the pink water for the Health Node (17).
Path to Indi
Take the exit to the left and drill down. You’ll then need to drill to the left and up until you’re out. Take one of the exits to the left. Run to the left and take the exit below. Take the next exit down to the tall room.
From here you may want to drop all the way down to SAVE Room (1), then climb back up and take the middle left exit to Indi (3).
Next: Part 5: Indi
Back: Part 3: Zi