Part 7: Edin
Back to Axiom Verge
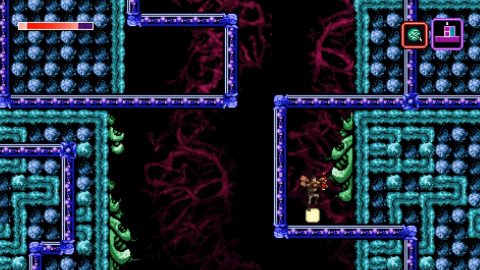
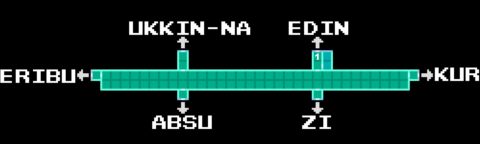
From the lower SAVE Room in Ukkin-Na head right three times and you’ll enter the Edin region.
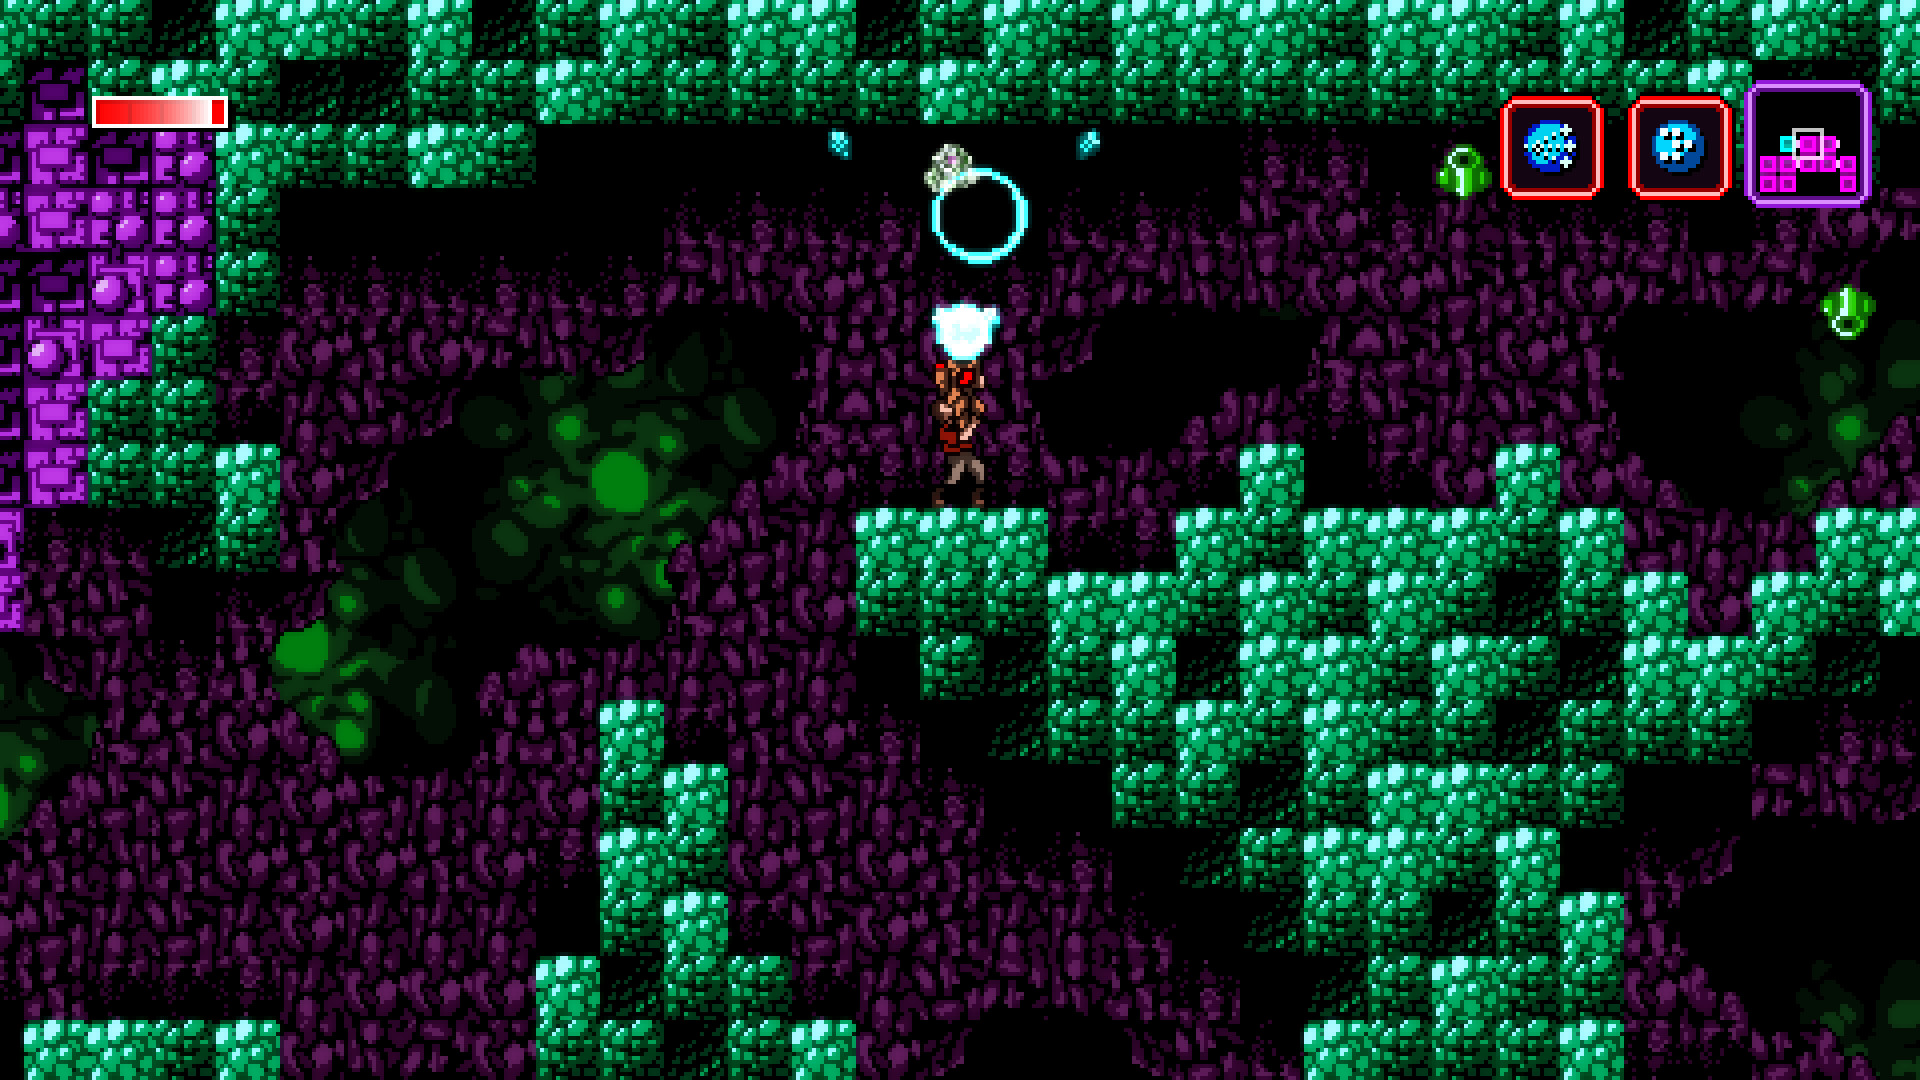
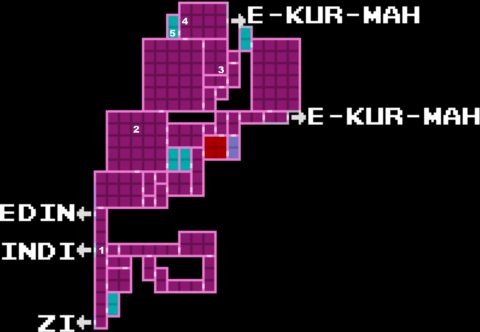
Edin
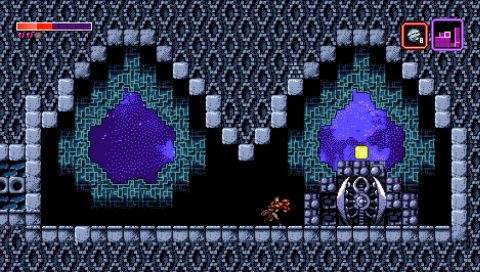
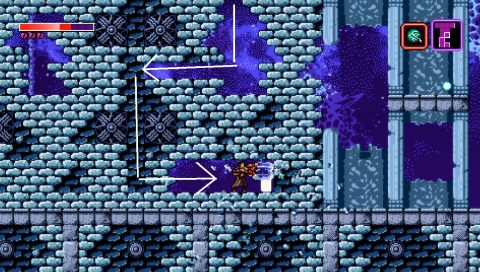
The first room is a huge room. Make your way along the floor to the right. The enemies here aren’t too difficult to deal with. When you find the ruined building teleport your way to the top. Once you’ve made your way through the room take the only exit on the right side.
Watch out for the Zombies that jump up from the ground. I like to use the drone to deal with them.
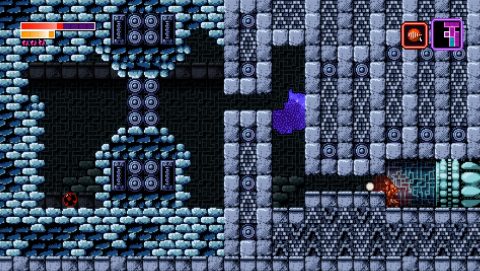
When you drop down and see the lower exit break through the tiles to the left. Jump up and teleport to the open space above. Teleport to the open space below. Use the drone to dig down and around to the left.
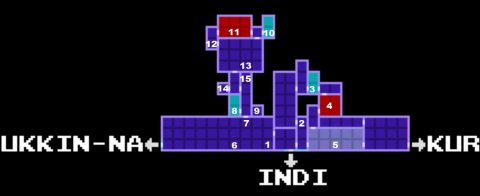
Take the exit to the left and you’ll find a Range Node (1). Leave the drone and teleport your way back out. Navigating these small spaces can be difficult.
Take the exit down to Indi briefly. In the room below you’ll find the Athetos page.
Go back up and take the exit to the right. Climb up to the top, teleporting past the laser beam. At the top on the right side you’ll find the Axiom 1 page (2).
To reach it you’ll need to drill through at the top of the right wall. Take the top exit to the left.
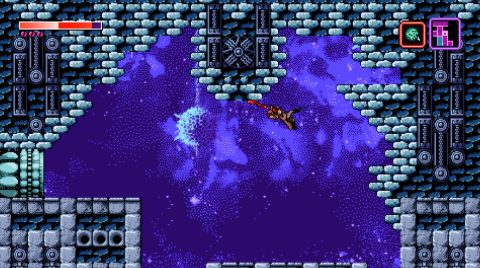
Ride the steam vents up on the left side. and jump up to the ledge above. Ride the next vent up, jump and teleport to the highest ledge. This can be a tricky jump to make.
Take the exit to the top right. Continue right to the SAVE Room (3). Go to the right and drop down to the boss room (4).
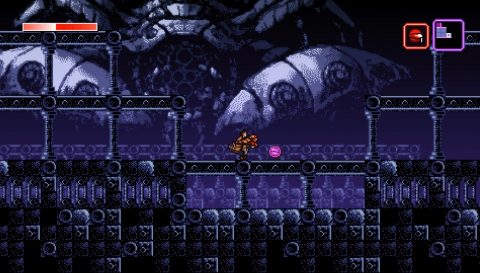
This is not really a boss fight. Just shoot the Aborted Clones on either side.
After the dialogue you’ll be killed and return to SAVE Room (3). Return to the boss room (4) and take the exit to the left.
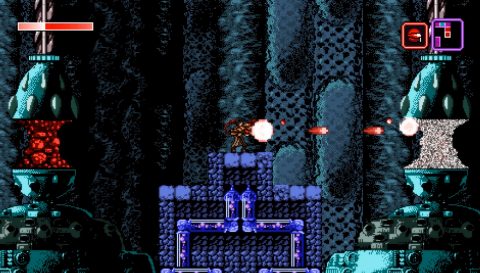
Take the exit down to the room below and run along to the right. There’s a short dialogue along the way. Keep going until you find the Address Bomb (5). This is like the Address Disruptor but is more powerful and covers the whole screen.
Go to the left and use the Address Bomb to clear the corruption. Then take the left exit. Use another bomb on the other side and jump across to take the exit to the left.
Make your way up this room and take the exit to the top left back to the outside area. Run to the left and use the Address Bomb when you see the corrupted area.
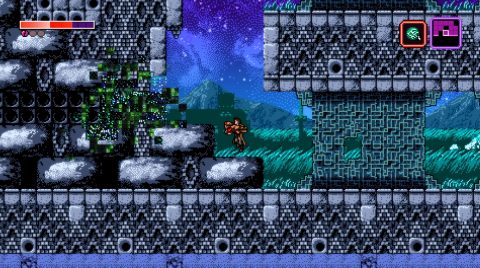
Head through the passage that opens up and you’ll find the Shards weapon (6). Climb and teleport your way up to the exit above (7). You’ll need to use another Address Bomb to clear the corruption.
To the left you’ll find SAVE Room (8). To the right is a hidden room through the wall on the ground level. Inside you’ll find the Oracca page (9).
Climb up the tall room and take the exit at the top left. Climb up and take the exit above. You’ll be in a large room and heading towards the real boss fight.
Climb up the platforms using the teleport ability. Take the exit up to the top right. On the right side you have SAVE Room (10) and to the left the Ukhu boss (11).
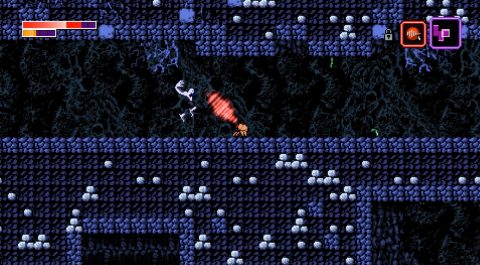
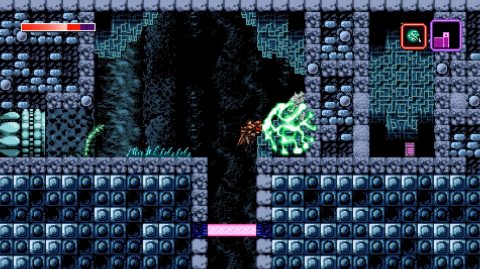
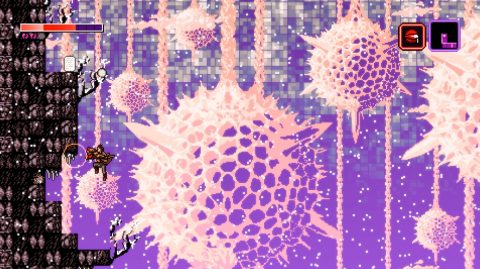
Ukhu Boss Fight

This boss is quite challenging and can only be damaged by shooting into its mouth. When it opens its mouth it will spit out poison. If you use the starting weapon and shoot diagonally up you can get in a few shots when Ukhu opens its mouth.
Ukhu will sometimes spawn smaller enemies. I switch to Kilver to kill them quickly, then focus on the main boss.
Once the boss has been defeated to the exit on the left side. Use the drone to make your way through the passage and pick up the Drone Teleport at the bottom (12).
Take the lower right exit and go through the small passage. Teleport to the drone so you can teleport through the wall. Then release the drone for the next small passage. Teleport to the drone on the other side.
Around the center of this room teleport down to the space between the bricks below. Drill the bricks to the left, deploy the drone and drop down. Teleport to the drone and teleport through the wall to the right. Drill the right side for the Vykhya Translation (13).
Make your way back out the way you came and take the exit to the room below. Take the exit to the left. Use the drone and teleports to make it over to the Health Node (14).
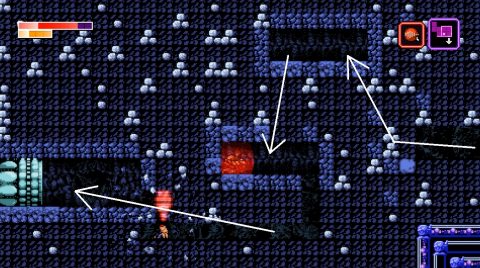
Go back to the right and go right again. Get ready for a difficult grapple. Jump up to grapple the ceiling above. You need to swing over to the right and grapple the higher ceiling. Then release the drone onto the small ledge.
Send the drone through the passage, teleport over to it, then release the drone in the higher passage. Send it over to the left. Teleport to the drone and teleport up for the Power Node Fragment 4/6 (15).

Return the way you came and take the exit to the room below. Use the Address Bomb to clear the way. Take the exit to the right. Take the exit down to Indi. The next destination is E-Kur-Mah but we’ll need to pass through a couple of other regions to get there.
Path to E-Kur-Mah
Indi
You’ll enter from Edin at (1). Drop down to the huge hallway. Ride the creature back to the right. It travels in the direction you’re facing when you jump on it.
Take the exit to the right and go right again to the tall room in Kur.
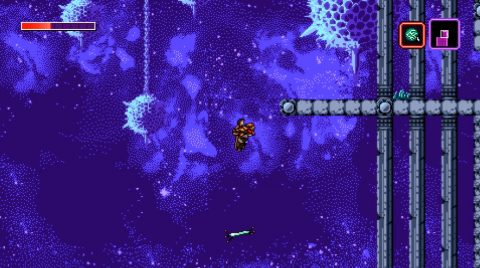
Kur
You’ll enter Kur from (1). Jump up the tall room and take the exit above.
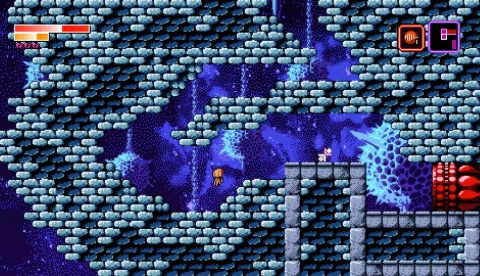
Jump up the ledges to the top right and take the exit to the room above. Continue towards the top right and teleport up through the laser. Once you’re near the top head to the left and use the grapple to swing across the platforms. You’ll find a Health Node Fragment 1/5 on one of the platforms (2).

Continue swinging to the left, jump up the platforms to the left and swing onto the large ledge that you were swinging from earlier. Run along to the right and take the exit above. You’ll be in another big square room.
Climb up the platforms using the grapple. You can get to some hard to reach platforms by jumping and releasing the drone or jumping and teleporting. Make your way up to the top right and take the exit to the top right.
Release the drone and drop down with it so you don’t have to climb backup. Head to the right for the Enhanced Drone Launch (3).
Leave the drone and go back to the left. Take the exit to the room above and use the drone to jump and shoot it up to the ledge on the side of the cliff above. Teleport to the drone and then shoot the drone up to the higher ledge for the From the High Priestess page (4).
Drop down and go left for SAVE Room (5). Go back to the right and continue to the right side of the room. Use the drone to get up to the exit and take the exit to the right to enter the next region.
Next: Part 8: E-Kur-Mah
Back: Part 6: Ukkin-Na