
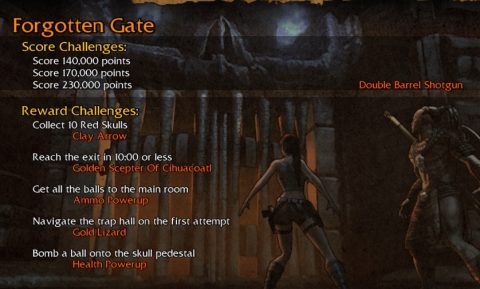
Level 5: Forgotten Gate
Back to Lara Croft and the Guardian of Light
Forgotten Gate (Level 5)
Entrance & Large Ball #1
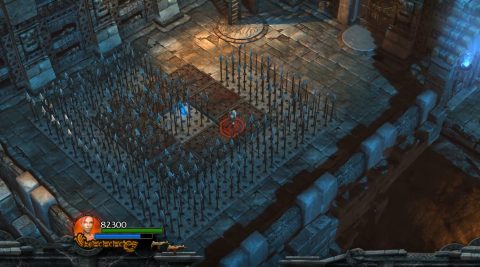
Step forwards into the large room with the gate and pressure pads. To open the gate you need to bring the 8 balls to the pressure plates. For the speed trial you can bring just 7 balls and step on the last plate yourself. Start by heading up the stairs on the right side.
Large Ball #2
Enter through the first arch and take out the Lizards. Drop down to the lower area and shoot the target. Roll Large Ball #1 onto the column and shoot the target again. Place a bomb behind the ball and blow it across to the higher level.
Ride the column up or use spears to climb up to the higher level. You’ll be attacked by more Lizards. Roll the large ball back to the main room and then continue past the arch up the next set of stairs.
Large Ball #3
Jump the gap and break the jars for ammo and health if you need it. You’ll spot Large Ball #2 inside a cage. Stand on the edge of the cage to tip the ball into the center hole. It will drop down to the entrance below.
Large Ball #4
Go up the stairs just to the right of the cage. Stand on the lowered column and hit the target. When the column lifts up grapple across to the next room.
Take out the enemies and then drop down on the south side for Red Skull #1.
Use a spear to climb back up and then stand on the pressure plate to lower the column with Large Ball #3. Stand off the plate and throw spears at the column as it lifts up. You can now climb up the spears to the top.
Jump up to the ledge above for Red Skull #2 and then push the large ball off the column. Roll it back to the cage and push it down the ramp.
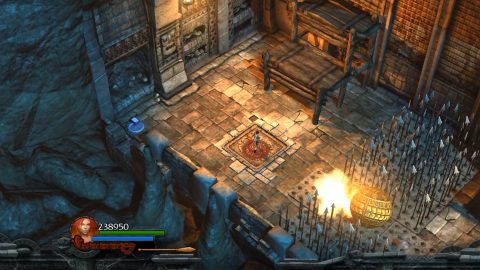
Challenge Tomb #1
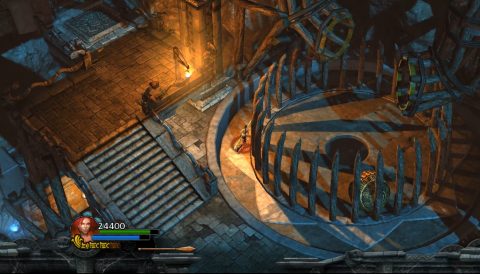
Continue around the cage to the northwest and press on the pressure plate to open the gate. Go through and take out the enemies.
Jump across the first spiked pressure plate to grab Red Skull #3 and then roll back. This opens the small alcove with the Health Upgrade. Grab it and then enter the challenge tomb to the north.
Place a bomb by the target and then grapple the ring while you’re on the opposite side. Blow up the target and the central column will lift up. Hang onto the rope and climb up for the Artifact (Stone Arrow).
Jump back down and leave the tomb.
Large Ball #5
Climb down the ladder for the Lightweight Machine Pistols. Climb down the next ladder and run over all of the pressure plates to unlock Large Ball #5. You’ll need to jump over the first pressure plate or you’ll get stuck.
Grab the large ball and roll it through the gate to the southeast. Roll it onto the pressure plate to lower the wooden gate and lift up a platform in the area above. Roll the ball into the entrance.
When you drop down to the entrance to place the balls on the pressure plates you’ll be attacked by an Ogre and other enemies. Take them out and then head up the stairs on the right side again.
Large Ball #6 and #7
Go past the first arch and continue up the stairs. Jump the gap and run around to the left side of the cage. You’ll be attacked by enemies jumping across the gap to the west.
Jump over the gap and head up the steps to the Arrow Traps. Navigate past the arrows and use a Spear to get up to the next ledge.
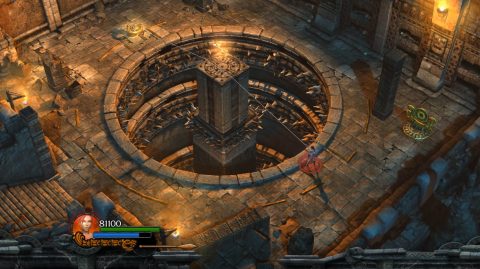
Climb up the ladder and enter the room up the top. There’s a large ball on top of a column and a pressure plate underneath. To get the second ball climb up the ladders to the south of the column.
Challenge Tomb #2
Enter the tomb and take out the enemies on the other side of the crevice. Jump over the gap and pick up the Relic (Scepter of Huitzilopochtli) on the platform.
Leave the tomb and follow the path to the northwest. Kill the enemies and the pull out the handle to lower the spikes. Jump on the ball to grab the Health Upgrade and then place a bomb next to the ball to blow it away from the spikes.
For the “Bomb a Ball Onto the Skull Pedestal” challenge place a bomb next to the ball so that it lands on the pedestal.

Drop the ball into the tube on the left side and then climb back down the ladders.
Place the second ball on the pressure plate to raise up the centre column. Climb up the columns so you can grab the first ball and push it off the edge.
Roll both the large balls into the tube to the northwest. You’ll be attacked by a large Ogre along the way.
Large Ball #8
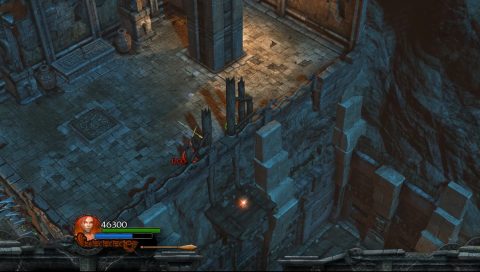
Just past the tube to the southwest is a gap with another walkway. Jump across the gap and take the stairs leading up first for Red Skull #4.
Take the stairs down and pick up Red Skull #5 from the spiked pressure plate. Then place a spear on the wall behind it and climb up.
Head up the stairs into the room with spikes. Climb up the platform and grapple across to the other side of the room. Place the ball on the pressure plate to open the gate with the Ammo Upgrade.
Roll the ball to the gap in the spikes and place a bomb behind it. Stand on the pressure plate to lower the spikes and explode the bomb.
Grapple back across to the other side and roll the ball down the stairs and into the tube. Make your way back down to the cage. Roll the balls into the central hole and they’ll fall down to the entrance. Head back down and entrance.
Entrance Revisited
Take out all the enemies and place the large balls on the eight pressure plates. The large gates will open.
Trap Hall
Blow up the stone coffins on either side. The first one on the left has Red Skull #6. Make your way along the hallway while avoiding the crushing spikes. Then jump across the collapsing platforms with Red Skull #7.
Make your way through the next crushing spikes section. Continue along the collapsing platforms and pick up Red Skull #8, #9 and #10 along the way. Just watch out for the falling boulders!
Enter the tomb at the end of the hallway to complete the level.
Back: Level 4: The Summoning Next: Level 6: Toxic Swamp
