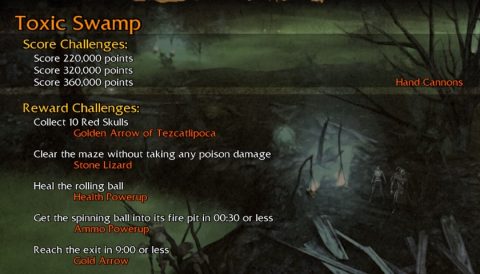
Level 6: Toxic Swamp
Back to Lara Croft and the Guardian of Light
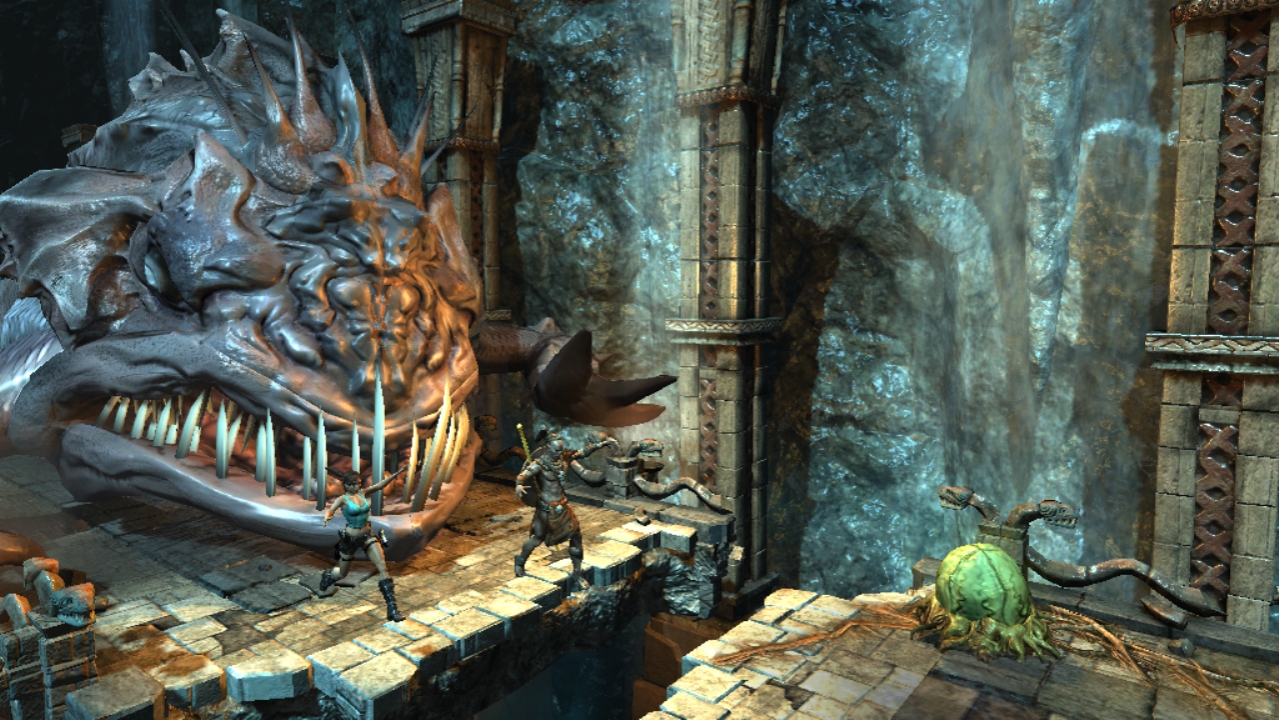
Toxic Swamp (Level 6)
You’ll notice venomous pods scattered throughout this level. If you bump into them or shoot them they’ll explode. From the start grab onto the grapple ring above and climb up for the Ammo Upgrade.
Head down the stairs and use a Spear to climb up the side of the cliff for a few extra gems if you want. Drop down and make your way to the north. You’ll see a couple of enemies explode next to the pods. Continue north and head up the stairs. Jump over the pods and grab Red Skull #1.

Head up the stairs to the east and climb up the broken pillar to the north of the tomb. Jump across to the ladder on the pillar and climb up. Grab the gems and jump down to the roof of the tomb for Red Skull #2.
Drop down to the ground and enter the tomb.
Challenge Tomb #1
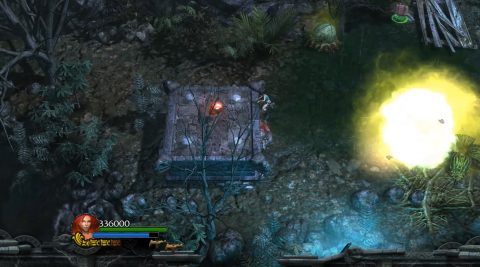
Drop down to the right and use a bomb to free the rolling ball. Place it in front of the 3 pods and shoot the pods. The pods will explode and the ball will be shot up to the higher ledge. Roll it onto the fire pit. Head across and grab the Artifact (Stone Feather) from the pedestal. Leave the tomb.
The First Gate
Run down the stairs and across the wooden bridge to the northwest. On the other side you’ll get a short cutscene. Take out the enemies, follow the wooden path to the south of the gate and enter the tomb.
Grab the Grenade Launcher from the pedestal and use it to destroy the locked mechanisms on either side of the gate. You’ll see a cutscene of the large wooden gate above lowering.
Leave the tomb and go through the open gate. Follow the path along to a Health Shrine and continue west.
The Second Gate
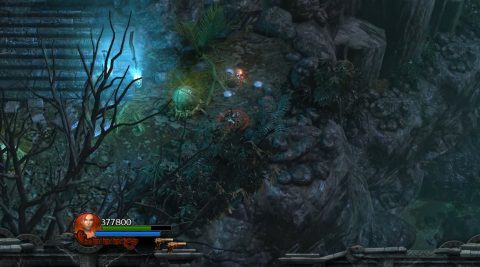
As you reach the second gate you’ll be attacked by a Great Ogre. Kill it and all the mist in the lower areas will dissipate. To the south of this area you’ll spot a pillar with a Red Skull on top. Throw an arrow at the side of it and jump up for Red Skull #3.
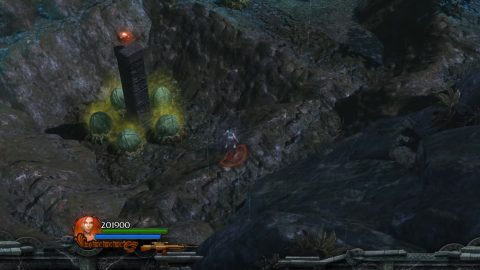
To the north of it is a tower. Climb up the ladder to the top for Red Skull #4.
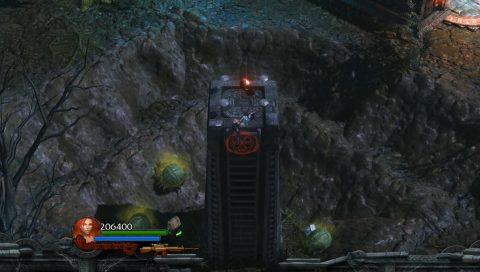
Drop down and approach the tomb to the north. Use a Spear to climb up and grab Red Skull #5 from atop the entrance.
Drop down and enter the tomb.
Challenge Tomb #2
For this tomb you need to use the grenade launcher to blast the ball into the fire pit. When you get it the alcove to the north will open with the Relic (Three Arrows of Tezcatlipoca).
Leave the tomb and explore the lower areas that were misty. You’ll not be able to access the tomb below the second gate.
The Maze Tomb
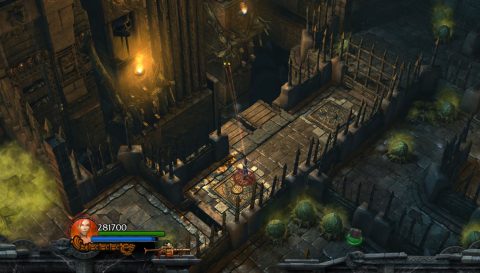
Head down the stairs and make your way through the maze. Watch out for the large Ogres along the way. If you can clear the maze without taken poison damage you’ll get a reward.
The maze isn’t that difficult. Just watch out for exploding pods. To the southwest you’ll see a pressure plate behind three pods. Jump over the pods and hit the pressure plate to open the metal gate.
Step on the first plate in the walkway and shoot at the blocked gears.
Then step on the second plate to shoot the other blocked gears. The large wooden gate will lower, giving you access to the next area.
Leave the tomb and head up the path to the second gate. Go through to the next area.
The Third Gate
Go under the fallen pillar, up the stairs and then use a Spear to jump across the gap. Take out the enemies and then pick up Red Skull #6 from the stone platform.
When you grab it a large Ogre will drop down. Take it out and then use a Spear to climb up the ledge bye the broken bridge. Grapple across to the other side, grabbing the Health Upgrade along the way.
Follow the wooden path along and take the stairs up. Clear out the enemies and pick up Red Skull #7 from the ground to the east.
Take the next stairs up and then approach the bridge.
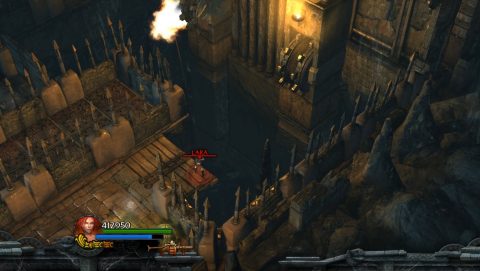
Crossing the Bridge
As you cross the bridge enemies will rise up. Wait for them to be taken out by a falling pillar. Run to the right side of the bridge and make your way across. Grab Red Skull #8 along the way.
Once you reach the other side you’ll be safe. The third gate is locked so head down the stairs. Just to the south you’ll spot Red Skull #9 at the top of a ladder. Grab it and climb down the ladder. Continue to the south and enter the tomb.
Third Gate Mechanism
For this tomb you need to pull out the handle and quickly make your way through the tomb to where you can shoot the gate mechanism. If you free up one side you can actually stand on the corner of the wooden platform and shoot the second mechanism.
Leave the tomb and use a spear to climb up to the wooden ledge. Head up the stairs and make your way back to the third gate. Go through to and enter the tomb.
Rolling Ball Tomb
Use a bomb to release the rolling ball and then use bombs or roll it down to the east. If you get it to the fire pit in 30 seconds you’ll finish a challenge. You may want to place it on the pressure plate instead. This opens an alcove at the entrance to the tomb with the Artifact (Gold Owl).
Make your way back down to the east, place the ball in the fire pit and leave the tomb. Head up the stairs to the east and then down the stairs to the northeast for Red Skull #10 sitting on top of a tower.
Climb back down and cross the wooden bridge to the northwest.
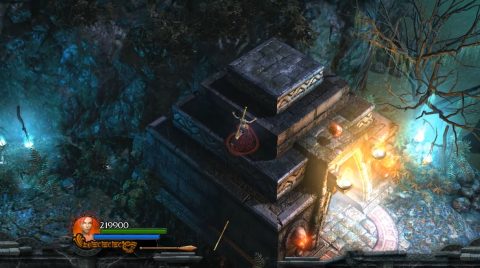
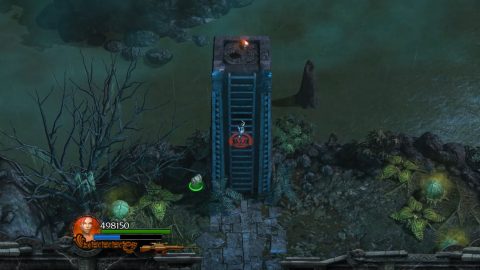
Island Tomb
After the cutscene head towards the entrance and stand on the pressure plate. the gate is locked. Run up on the left side and pull open the gate. Run around to the other side of the tomb and pull open the second lock.
Drop down and stand on the pressure plate again. The pods will start to explode. Do a loop around the tomb, jump down to the entrance door after it falls down, and enter the tomb to end the level.
Back: Level 5: Forgotten Gate Next: Level 7: Flooded Passage