Chapter 3 – Hard-Light Surfaces
Back to Portal 2
3-1
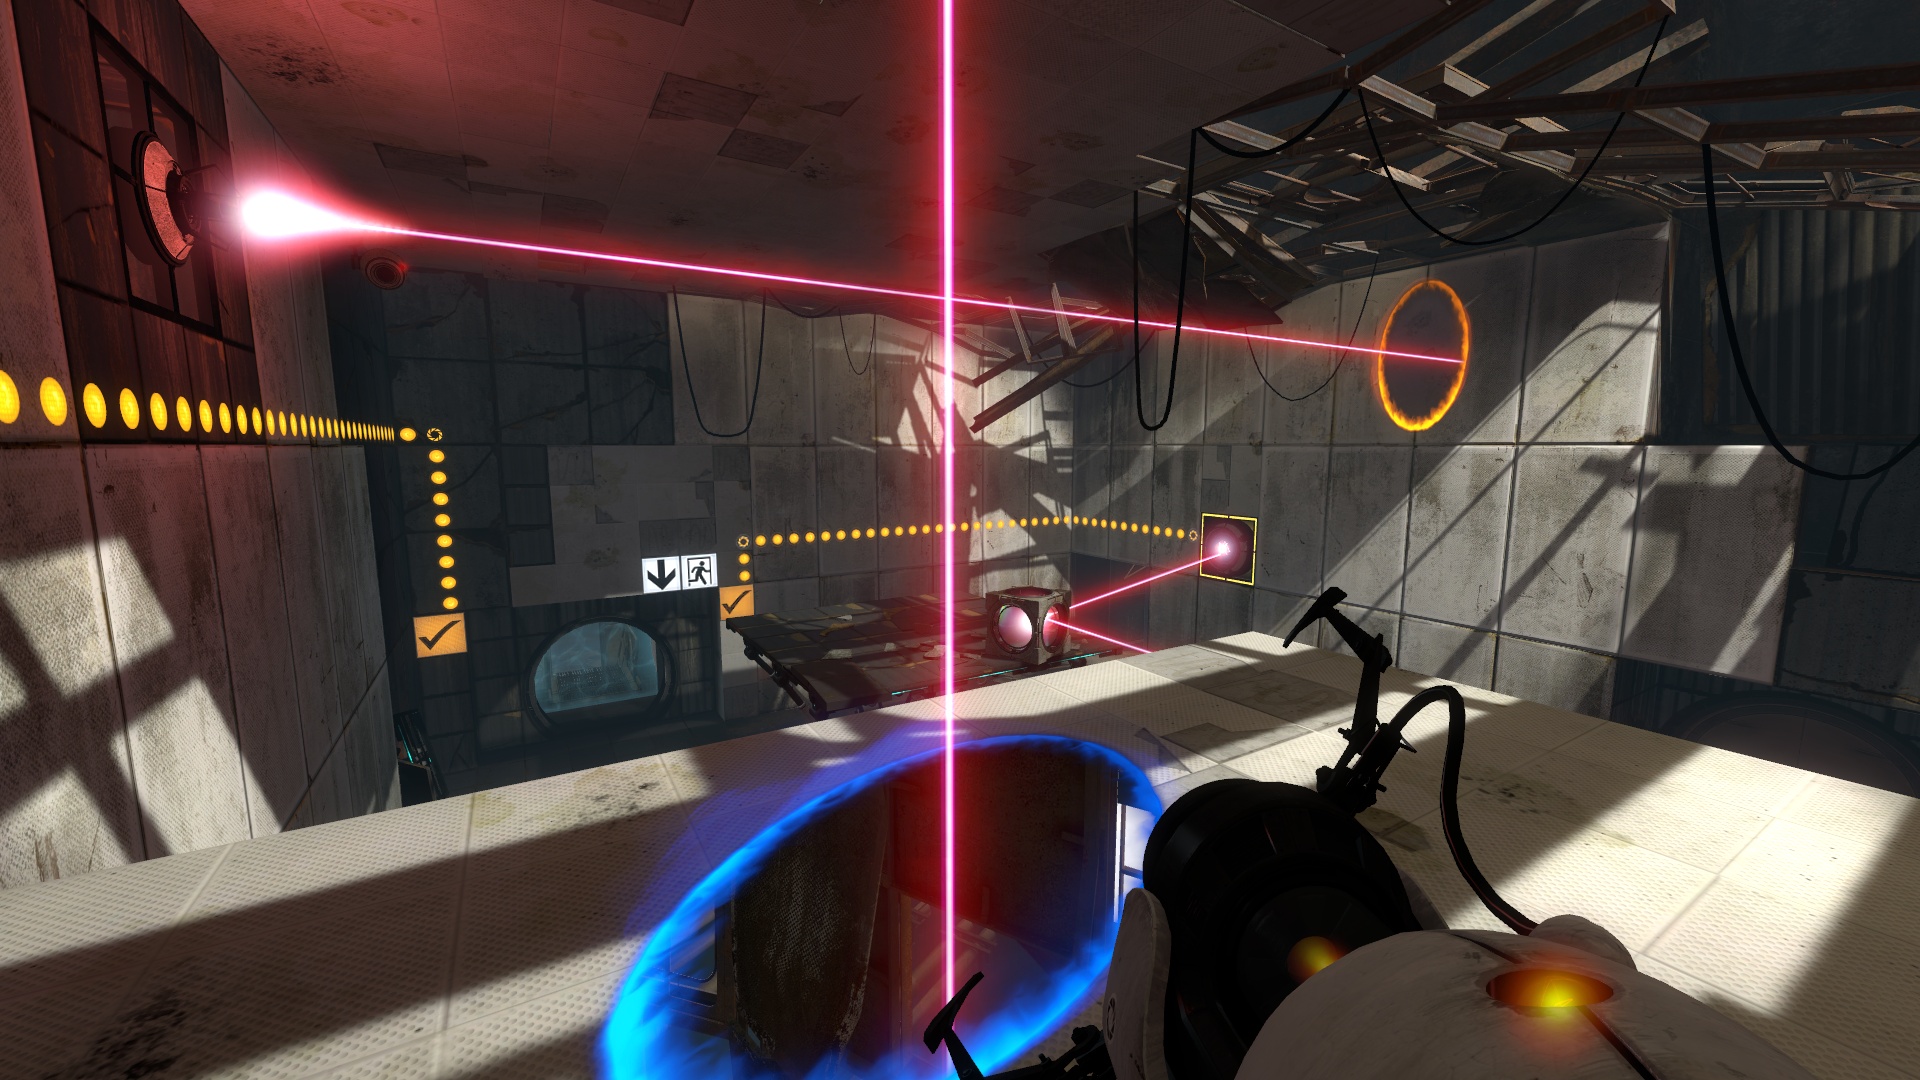
This level introduce light bridges. You can walk over them and send them through portals. The bridge will continue until it hits a hard surface. Place a portal on the wall at the end of the bridge and then on the wall to the left. Walk across the bridge and place a portal on the wall below and to the left. Continue along the bridge, using portals to extend it over the water, until you get to the door.
The next room has a bouncer in the middle that throws you up into the air. Orange places a portal on the other side of the bridge, Blue uses the bouncer, and while Blue is in the air Orange places the second portal on the wall to extend the bridge so Blue lands on it.
Blue can go through the portal to walk on the higher light bridge. Orange places the portal below the bridge so blue can drop down and press the red button which releases a ball. Blue now places portals while Orange holds the ball and bounces. Orange will need to drop the ball before he goes through the barrier near the roof or the ball will disintegrate. Place the ball on the plate to open the exit door.
3-2
Orange places a portal at the end of the bridge and then on the wall to the left. Blue walks along the bridge until he can see another place to put a portal. Place the portal and walk back to the start. Blue places a portal at the end of the bridge and then Orange walks along to find a new spot a bit further along. Continue alternating to get further and further along until you find the exit door.
3-3
Place a portal on the wall next to you and one down by the bridge. Walk onto the bridge and place a portal at the end of the light bridge and on one of the side walls so the bridge goes under or next to where the ball will fall down. Press the red button and catch the ball.
The other player now places a portal at the end of the second bridge and on the white walls hanging above you. You should be able to walk through and drop down to the platform with the door. Put the ball on the plate and go through to the next room.
Orange places a portal at the end of the light bridge and on one of the lower white walls in the center of the room. Blue uses the bouncer to bounce across to the other side of the room. Blue places a portal at the end of the second light bridge and then on the roof in front of the first bounce. Orange bounces across but should hit the bridge coming down from the roof so he lands on the lower bridge. Blue jumps across and does the same thing.
Blue changes his second portal so that it is on the higher portion of the white wall. Walk along the bridge to the exit.
3-4
Orange places a portal at the end of the light bridge. As Blue bounces up Orange places the second portal on the wall underneath him. He can walk through the portal to the higher bridge. Blue replaces the second portal of Orange to get rid of the bridge. Blue bounces up and places the second portal on the wall so he can land on the bridge and walk through to the higher bridge as well.
Orange places the second portal on the white sloped platform in the distance. You can now go back through the portal and walk down the sloped light bridge to the door.
In the next room Orange places a portal at the end of the light bridge and the second on the wall below you. Walk through the portal to the lower bridge. Blue places a portal at the end of the second light bridge and then the second on the wall a little lower down. You should be able to jump to the lower light bridge and then to the ledge.
A platform will rise up as you walk close to the edge. Walk onto the platform and place a portal on the white wall off to the right in the distance. The second player should place a portal on the platform down near the water and the second portal on the white wall higher and to the right. Walk along the light bridge until you’re over the platform. Remove the light bridge by changing the portal and you should both drop through the portal below and get flung across to the exit.
3-5
Orange places a portal above the bouncer and the second portal on the slightly raised platform in the corner. Blue bounces through and places a portal on the far wall. Orange moves the second portal to under and to the side of the light bridge. Bounce through and onto the bridge. Blue places a portal at the end of the light bridge. You should now be able to walk through. Blue can lower the light bridge a bit by moving the portal lower down on the wall. Walk along the bridge and jump over to the door.
The next room is a little confusing. There’s a light bridge in the middle of the room and a bouncer to the left. There are two barriers that when you fly through them will remove your portals.
Orange places a portal above the bouncer and on the sloped platform facing the first barrier. Blue bounces through. Orange places a portal at the end of the light bridge and on the white panel on the wall closes to where Blue bounced up to, by the water. Blue places a portal on the sloped panel, drops onto the bridge below and walks back to the bouncer. Blue places the second portal above the bouncer and bounces through. Now place the second portal on the sloped panel beyond the second barrier.
Orange arranges the bridges so Blue can get back to the bouncer. Orange bounces through first to the exit and then Blue.
3-6
Orange places the first portal at the end of the light bridge and the second to the right of the stairs. This will block the turrets from shooting you when you get through. Blue places the first portal on a nearby wall and the second on the left side of the stairs. Go through the portal and up the stairs.
Orange places second portal to the right of the next set of stairs. Blue places first portal at the end of this bridge and then the second portal to the left of the stairs. This blocks off both sets of turrets from targeting you. Walk up the stairs.
The next room is flooded with murky water. The light bridge is just below you. There’s a sideways light bridge near the roof in the middle of the room. Orange places the first portal at the end of the light bridge and the second one panel higher up. Walk along the light bridge to the little alcove to the right.
Orange places second portal on the back wall of the alcove so the bridge extends across to the exit. Blue places first portal at the end of the sideways light bridge and the second on the back wall of the alcove, nearer to the turrets. This should block the turrets from spotting you as you walk over the bridge.
Both players walk to the center of the room. Blue removes the sideways bridge for a second while Orange presses the red button. Replace the bridge and grab the cube as it falls down. Take the cube to the other side and place it on the pressure plate to open the exit. Remove the barrier and head through the exit.
3-7
Blue places a portal at the end of the sideways light bridge and the second portal on the wall just ahead to create a barrier between you and the turret. Orange places a portal in the same wall and in the wall on the ledge above. Go through the portal to the higher ledge and move the barrier up one panel.
Orange places a portal above the bouncer and on the sloped panel in the far left corner. Bounce through and you should knock off the turret along the way. Go through to the next room.
Orange places a portal at the end of the sideways light bridge and the second portal on the nearer wall to create a barrier between you and the turrets. Orange stands on the red button.
Blue places a portal on a nearby wall and the second on the panel high up in the distance. Blue goes through the portal and drops down near a red button.
Blue places a portal in the panel to the left of the turrets and one on the left wall. You need to line them up so when you press the red button the cubes and balls will knock off the two turrets. You may need to try a few times. Now place a portal on the panel above the red button, where you first came through. Press the red button again and let the cubes and balls fly over to Orange who can place one on the red button. Place a portal so Orange can get over. Go through the barrier and through to the exit.
3-8
Once again you’ll be outside the official testing chambers. Walk along the walkway and up the stairs into the building. Blue goes through the barrier to the left while Orange places a portal on the other side of the barrier by shooting just above it and the second portal on a nearby wall. Blue grabs the ball and passes it through the portals to Orange. Orange places the ball in the laser slot on the right corner.
Head through to the right and along another walkway. Talk the first left and use the device to turn the light bridge on. Orange places a portal on the wall at the end of the bridge and one on the beam above. The balls will hit the bridge and bounce back. Blue places a portal where the ball lands and another on the other beam.
Once the ball hits the first barrier Orange must quickly change the second portal to the sloped panel to the right. The ball will land on the sloped bridge and roll through the portal to the beginning of the light bridge. Orange should be able to pick up the ball.
Take the ball back along the walkway and place it in the second laser slot. Go through the barrier to the office. Pull both switches at the same time to open the next door.
Blue places a portal at the end of the light bridge and then high up on a pillar in the center of the room. Walk through the portal. If you look around you’ll see two sloped panels, one to the left and one to the right. There are also platforms below you. Orange places a portal on one side and on a platform below. You’ll need to line it up so when the bridge disappears you’ll fall into the portal.
As Blue is using the portals for the bridge this player will have to click quickly. Place a portal on the other sloped panel. The bride will disappear. Look down and place the second portal in the platform below. Both robots should go through the portals at the same time and crash in the middle, landing on a central platform.
Go into the office, pick up the disc and place it in the player to end this section.
Back: Chapter 2 – Mass and Velocity Next: Chapter 4: Excursion Funnels