The Escape
Back to Portal 2
5-1
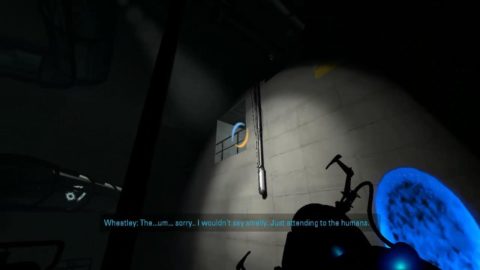
The next door will only partially open so place portals on either side to get to the other side. Follow the walkways until the lights turn off. From now you’ll need to use Wheatley’s spotlight to see where you’re going.
Make your way through the facility and drop down to a conveyor belt. Dodge past the metal plates and welders, then get off on a walkway to the left. Continue along the walkways to a dead end. You’ll need to portal up to a passageway above.
Wait for Wheatley to come around and light up a wall on the other side and then portal across to it. Repeat for the next wall. Make your way to a vertical tunnel with a spiral tube in the center. Jump down to the tube and walk down it to a passageway.
Head through the office to a couple of conveyor belts with turrets heading towards and incinerator. Place a portal on the wall above the first conveyor belt and drop onto it. Just before the incinerator jump over to the right. Walk over the pipes to the second conveyor belt. Head back along the conveyor in the opposite direction. Along the way you’ll see the little turret that says “I’m different”. Pick him up if you want to but you can’t take him far.
Drop down to the walkway below on the left. Continue through to a room where the turrets are practicing their marksman skills. Place a portal on the roof behind the target and one on the wall. Drop down behind the target. Wait for a turret to misfire and place a portal behind the turrets and one on the wall behind the dummy. Quickly go through to portal behind the turrets.
Head down a walkway to a conveyor belt with a machine throwing away defective turrets. Wait for one to fly past and grab it. You’ll need it later. Walk up the steps and into the office. Portal into the small room with the scanner and place the defective turret on the scanner.
Go through the door and head through another office. Go past the displays and down another walkway. Follow Wheatley through another set of doors.
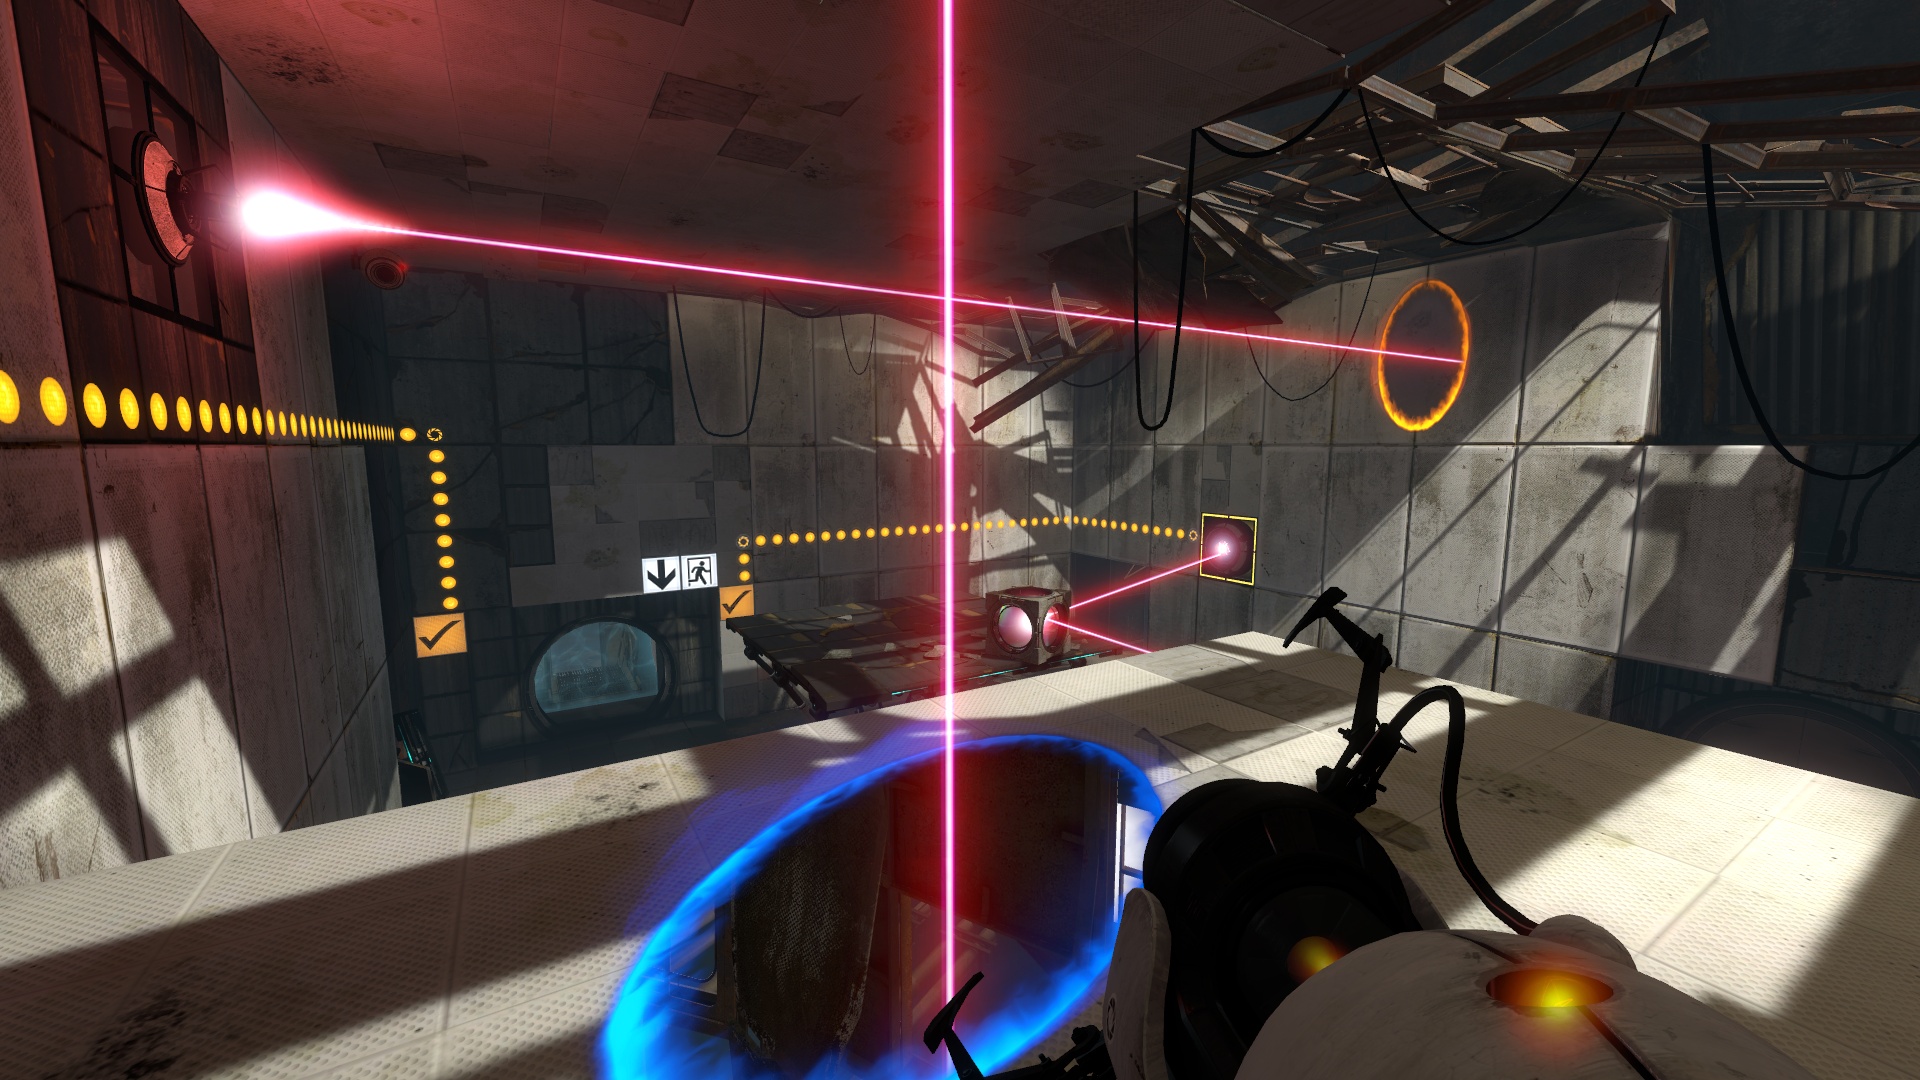
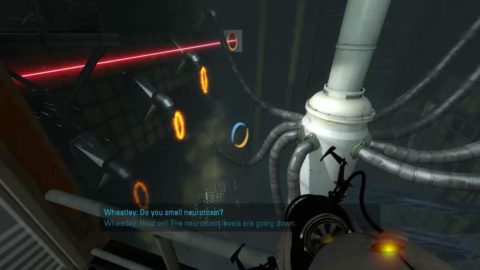
Continue along the walkways to a room with giant cannisters of neurotoxin. Follow the walkways around and take the lift up. Press the red button to open the door. When you enter Wheatley will tell you he’s working on it but you’ll need to destroy the cannisters yourself. Head back out and place a portal on the wall with the laser.
Go back to the office and place the second portal on the panel that’s lifting up from the ground on the left side.
The laser will destroy half of the large pipes. Place the second portal on the panels moving along above the pipes on the right to destroy all the pipes on the other side. As the room begins to collapse turn around and run into the room with Wheatley on the left. You’ll be dragged into a pipe.
Along the way Wheatley gets lost. You’ll meet up with him later. Head up the stairs and out to a broken walkway overlooking a massive area. Place a portal on the wall next to you and one on the panel far off in the distance. Step through, open the door to the “Emergency Shutdown” and watch the next cut-scene.
When Wheatley arrives pick him up and place him on the receptacle. To make the core transfer you’ll need to press the red button. Portal over to it. GLaDOS will lift up barriers to prevent you reaching the button. Portal behind them and quickly press the button.
Back: Ch.4 The Surprise Next: Ch.6 The Fall