Part 1 – A Friendly Place
Back to Return to Monkey Island
Part 1 – A Friendly Place
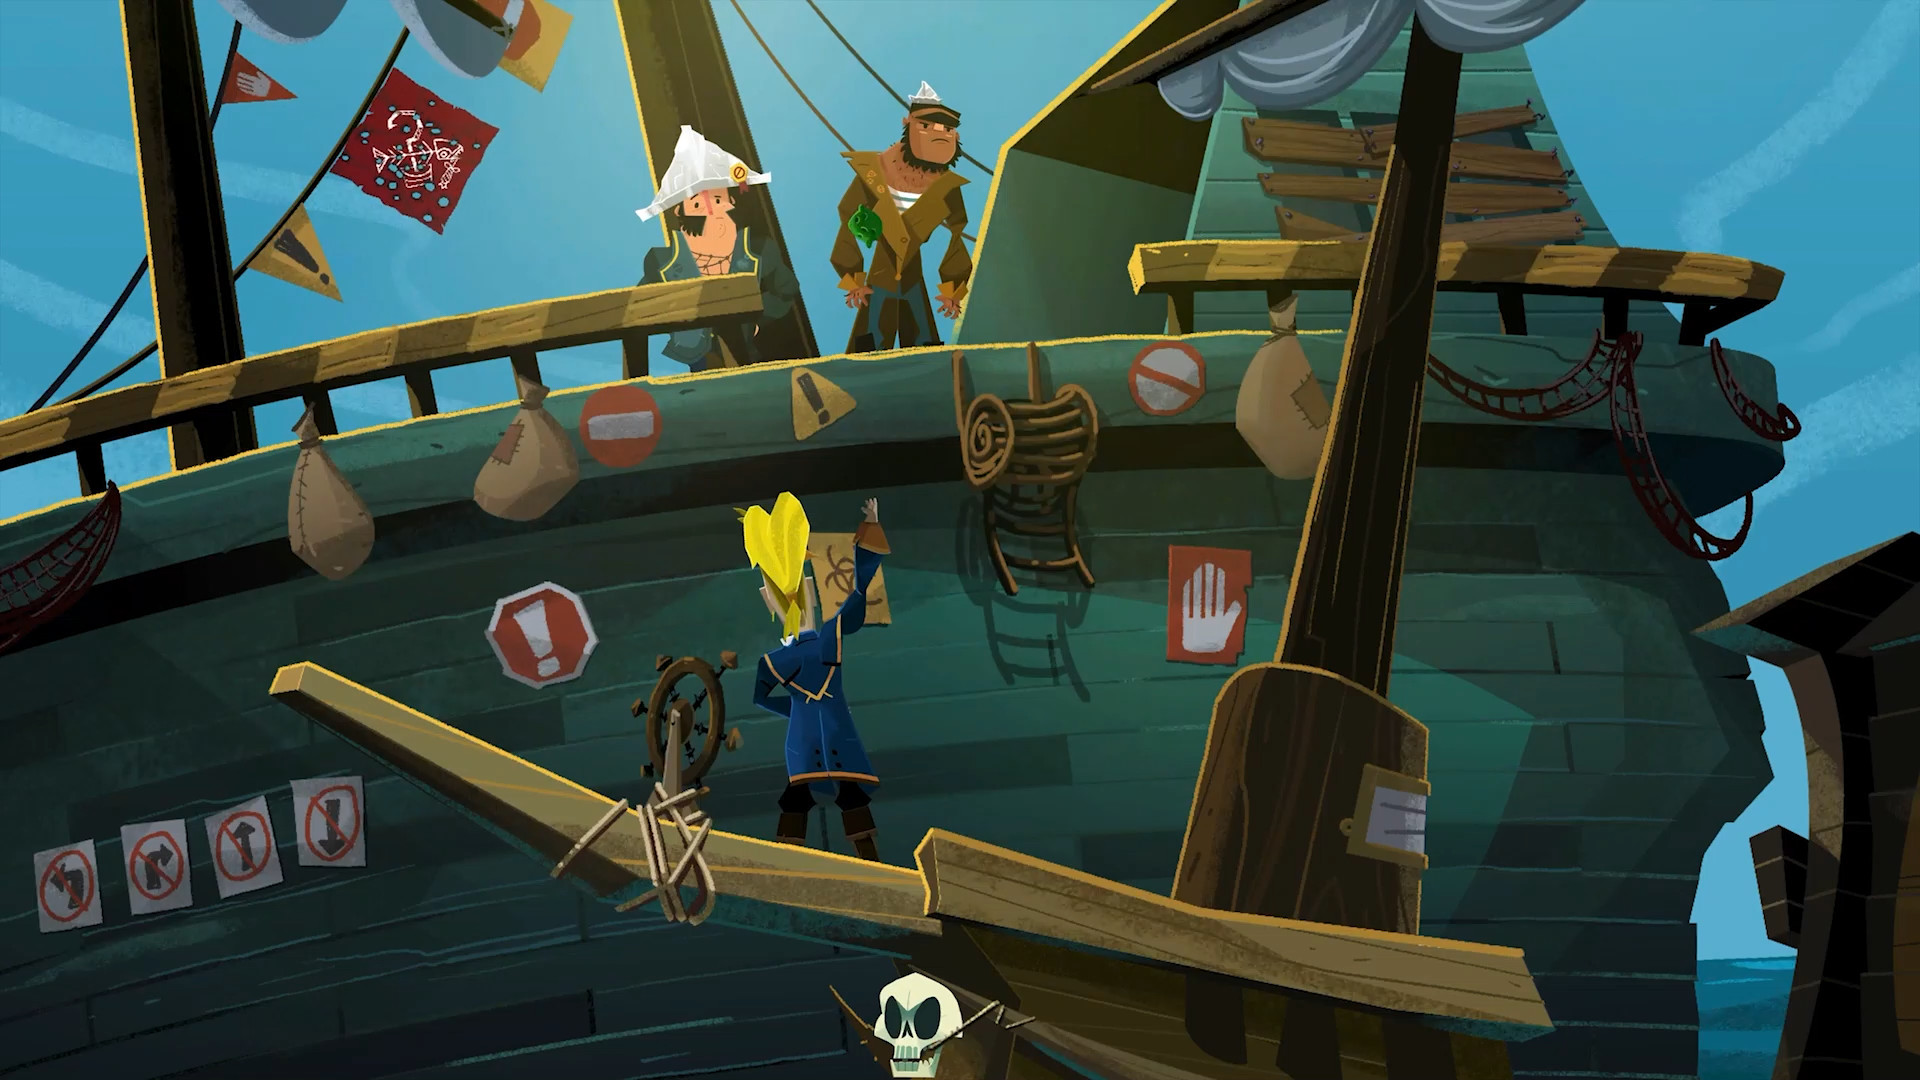
You start at the lookout. Make your way into town and enter the Scumm Bar. Walk to the back and talk to the new pirate leaders. No matter what you say to them they’ll refuse to help and you’ll be on your own.

Now that you’ve spoken with the pirate leaders you can walk down the pier to LeChuck’s ship. The quartermaster won’t let you onboard as Guybrush is on the banned list. You’ll need some form of disguise and also a mop so you can sign on as a swabbie.
Low Street
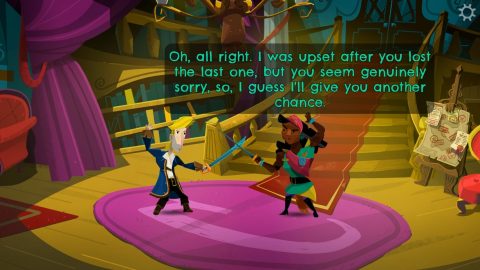
Walk to the right to enter Low Street where you’ll find Elaine. Have a chat with her and then view the statue of the new governor. Read the plaque, you’ll need that information later, then enter voodoo shop.
Talk to the Voodoo Lady and she’ll give you a Book of Hints. After the conversation take a look around the store. Look at the empty bag of disguises and the Voodoo Lady will tell you about the Eyepatch of Jon Laney.
Buy the Ceremonial Knife and Forgiveness Frog on the front table, then the Skull on the back shelf.

Head outside and enter Wally’s Map shop on the other side of the street. Talk to him and then take the Monocle on the table by the lamp. Walk through the arch to High Street and you’ll get a short cutscene with LeChuck.
High Street
Here you’ll find the alley, jail and the locksmith. Enter the locksmith store and talk to Locke. You’ll find out she can make keys based on the serial numbers, which conveniently can be found on each lock.
Leave and enter the jail. Both Otis and Stan are locked up behind bars. Talk to both of them. Only Otis wants you to help him escape. Use the Monocle on Otis’ locked door to find the serial number. Guybrush will write it down.

Go back to the locksmith and give her the note with the serial number. She’ll cut the Cell Key. Take it back to the jail and free Otis.
Continue along the street to the Governor’s mansion and go inside. Talk to Carla about everything and then look at the Stuffed Animal. Carla will let you keep it.
Finding a Mop
Go back to the Scumm Bar and enter the kitchen at the back. Talk to the chef and then try to pick up the mop. You’ll need to find a mop of your own. The chef will give you some advice on how to find it.
Walk out to the pier and pick up the pile of String, then leave the Scumm Bar. Enter the Scumm Bar again to find a well-dressed man sitting at a table waiting for his food. Talk to him to find out he wants a dish that was served at the Governor’s mansion.
Leave and go to the Governor’s mansion. Use the Quill on the Forgiveness Frog in your inventory. You’ll need to use the information you found about her from the poster at the town entrance left of the Scumm Bar and the plaque on the statue in Low Street. The details might change from game to game.
Dear Carla,
Sorry for losing the book I borrowed.
I admire that you are hard on softness. (Poster)
…as shown by your actions on (Location written on plaque)
You scare the heck out of me.
Give Carla the Forgiveness Frog and she’ll let you borrow a book. Take out the “Ingredients” by Barbie LeFlay book. Leave and enter Wally’s Map store. Take a second Monocle and ask Wally about a Mop Map. He needs a sliver from a mop to make one.
Go back to the kitchen at the back of the Scumm Bar and give the chef the “Ingredients” book, then use the Ceremonial Knife on the mop in the corner. You’ll cut off a Sliver. Give the Sliver to Wally and he’ll draw you a Mop Tree Map.

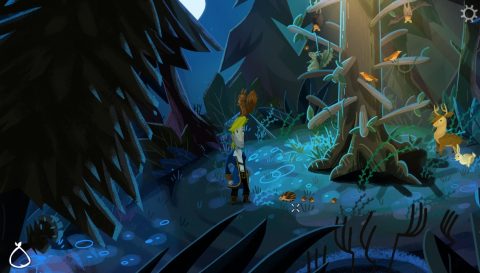
Make your way to the forest, either behind the Governor’s mansion or up the path to the left of the Scumm Bar. While you are in the forest look for a small Carnivorous Plant and use the Ceremonial Knife on it to take a Sample.
Then follow the map to reach the mop tree. Look for the plats at the exit of each location and take that exit. Take the exit by the purple plant, purple plant, carnivorous plant, green mushrooms, green mushrooms and finally the purple flowers. You’ll reach the clearing.
Use the Ceremonial Knife on the mop tree to carve a Mop Handle. For the mop head you can use the String, the Stuffed Animal, The Skull with the hair or the Sponge if you’ve already been to the Shipyard. Combine one of those items with the Mop Handle to make your own Mop.
Finding a Disguise
From the forest entrance walk to the right to find the Museum of Pirate Lore. Talk to the curator Conrad and examine the displays. One of them holds the Eyepatch of Jon Laney.
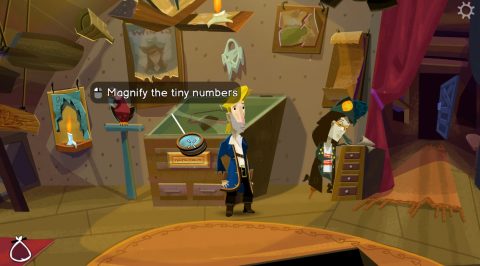
It’s locked but luckily you know someone who makes keys. One Monocle won’t be enough so combine the two Monocles in your inventory and use them to read the serial number on the lock.
Walk to the storage room at the back and pick up the box of Cracker Mix. Leave and go to Wally’s map shop. Give the Cracker Mix to Wally and he’ll let you take the old Crackers. Give him the Serial Number for the display case and he’ll make the Display Case Key.
Return to the museum, give the Crackers to the Parrot, then use the Display Case Key to unlock the display case and take the Eye Patch.
Return to the Voodoo Lady and give her the Eye Patch. She needs the “Bite of a Thousand Needles” to complete the spell. Give her the Carnivorous Plant Sample. Once the spell is complete wearing the Eye Patch will give you a full disguise.
Getting Onto LeChuck’s Ship
Walk down the pier to the quartermaster and hide behind the crates to the left. Use the Eye Patch on yourself to turn into a zombie.
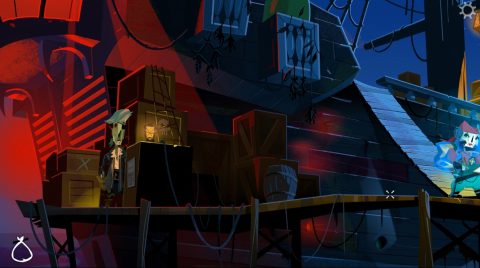
Show the quartermaster the Mop and you’ll get a job on board the ship as a swabbie.
Next: Part 2 – A Dangerous Journey
Back: Prologue – An Unexpected Story Begins