Part 5 – Beneath the Monkey Head
Back to Return to Monkey Island
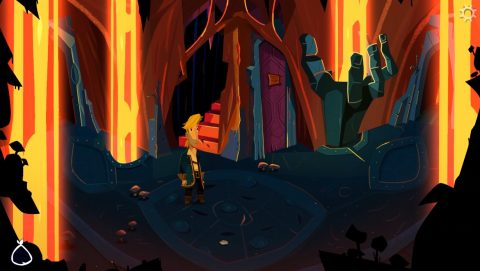
Beneath the Monkey Head
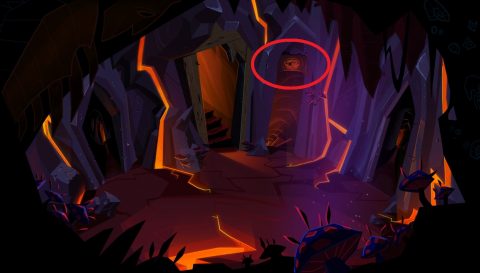
After the cutscene you won’t be able to return to the surface so your only option is to head deeper into the cavern. You’ll meet Wally along the path to the right. You can’t free him from his shackles unless you went into LeChuck’s ship and made a key for them in the previous part.
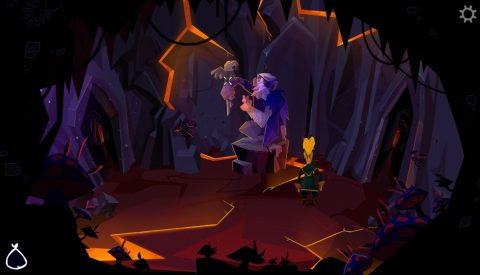
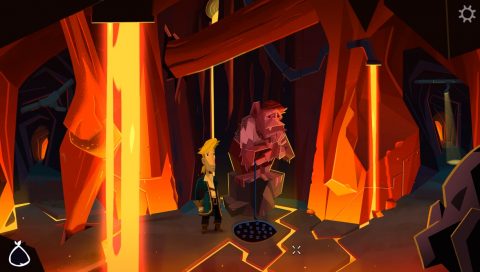
Continue through the cavern until Flambe jumps out in front of you. After a brief conversation head along the path to the end and jump off the cliff.
The Organized Pirate Puzzle
Read the sign on the door which tells you that only the organized pirate will pass. The doors to the left and right lead through a number of rooms and then back around again. The room to the left has a monkey with a parrot. Give the Crackers to the monkey.
Head one room to the left to find a frustrated monkey. Give it the Ceremonial Knife and then continue to the left. In the next room you’ll see a squinting statue. Give it the Double Monocle.
Go to the left again and look at the jolly monkey. Give it the Empty Mug and you’ll hear the door in the next room open. Before going through you can go back to all the rooms and pick up your items.
Also look for the Stone Coins on the ground. There are two in this area. There’s one in the room with the Frustrated Monkey and one in the room with the Squinting Statue. You should have 2 Stone Coins before you leave this area.
When you’re done go back to the door you just opened and take a look at the picture above it. You’ll need this to solve the code wheel at the end. Two of the doors have pictures above them and one of them has a date. Take note of them.
Head down the stairs when you’re done.
The Observant Pirate Puzzle
Pick up the Stone Coin on the floor and then read the sign on the door. Only the observant pirate will pass.
Walk to the left and place one Stone Coin into the small chest in front of the cabin monkey. Also pick up another Stone Coin here.
Walk to the left and place 2 Stone Coins in the medium chest in front of the monkey. Pick up the Stone Coin just to the right of the monkey.
Walk to the left and pick up another Stone Coin. Then place 2 Stone Coins into the large chest. You need one more coin in the large chest but you’ve run out of stone coins. Luckily you still have one Real Piece of Eight in the coin purse. Place it into the chest and you’ll hear the door to the stairs open. Head down the stairs to the third area.
How to be a Bloodthirsty Pirate
The passageway to the left is collapsed so you can only walk to the right. The first room has a sad monkey. Use the knife on the sad monkey and it will drip oil into the grate.
Walk into the next room to the right and look at the screaming monkey. Use the knife on the statue to stab it and release the oil.
Walk to the next room to see a broken statue. Walk back to the left and use the Mug to collect some of the oil. Head back to the broken statue to the right and pour the oil into the grate. The final door will open.
Solving the Code Wheel
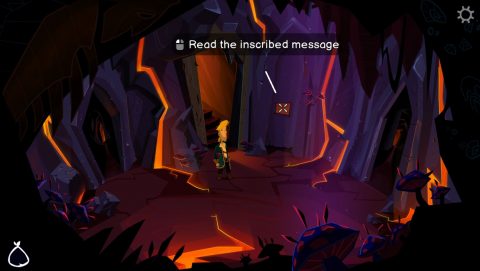
Walk along the path to the right and take the lower path by the lave. Peer at the stone slab for a clue.
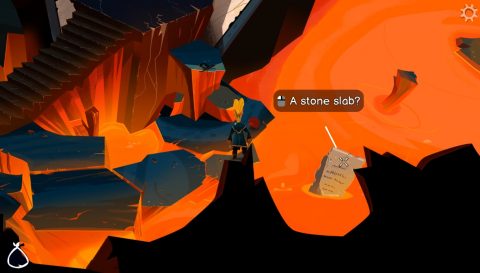
The inscription reads:
“After 4 extra years out at sea,
their peglegs grew weak in the knees,
3 steps right but 2 left,
till they fell off the deck and they met Davy Jones for some tea.”
Head up to the code wheel and spin the three sections of the wheel to match the pictures and date you saw at the top of the three doors. This is what my starting position looked like but yours will be different.
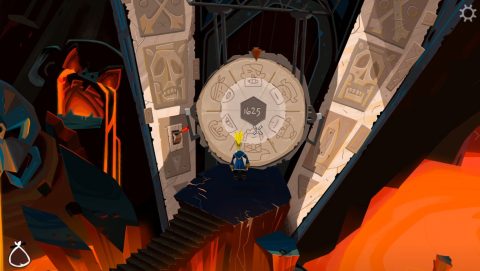
Here is the solution:
Change the Date 4 times (After 4 extra years out at sea)
Rotate outer wheel 3 times (3 steps right)
Rotate inner wheel 2 times (but 2 left)
The code wheel will lift up revealing a door behind it. Head out the door and you’ll be in the back alley of the town on Melee Island. Walk out to the street for the final reveal.
One Final Task
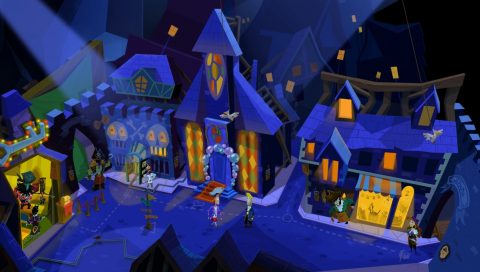
Stan will give you his Keys and tell you to turn off all the lights before leaving. If you really want to open the gold chest walk to the left and look at LeChuck. Grab the Key from Locke hanging upside down and use it to open the chest. Inside you’ll find a T-Shirt.
Walk over to the right and talk to Elaine about everything. Then use Stan’s Keys on the light switches on the sides of the buildings to turn off the lights. Tell Elaine you’re ready to go and you’ll be back with your son on the bench. You have a few dialogue options to choose when telling him about the real secret of Monkey Island. You’ll get a different ending graphic depending on how you answer this last question.
That’s all for Return to Monkey Island. I hope you enjoyed the adventure. Congratulations on completing the game! If you want to see where it all began check out The Secret of Monkey Island.
Back: Part 4- Things Get Complicated